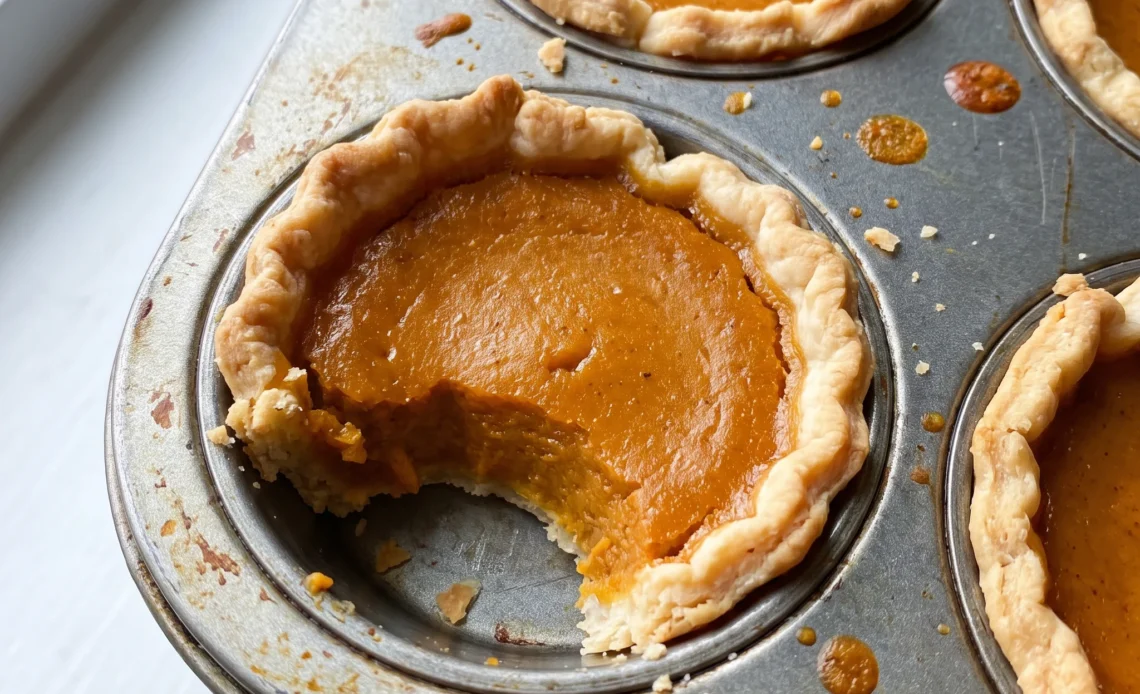
Most pumpkin pie recipes ask for a full-size crust that cracks or sogs before you get a clean slice. These mini pumpkin pies skip that gamble entirely by baking individual portions in a muffin tin, so each one comes out with its own crisp edge and smooth center.
The catch is the filling’s timing: it goes from jiggly to overcooked fast, and the crust can brown before the custard sets. You’ve got a small window, but that’s part of the appeal. They’re the kind of dessert that feels like more effort than it is, and they vanish quickly at a party.
If you’ve ever ended up with a cracked pumpkin pie or a crust that didn’t hold, this version gives you a more forgiving path to the same cozy flavor.
Store-Bought Crust Done Right
Refrigerated pie dough is your friend here. It’s consistent, forgiving, and rolls out without fuss. Because the crust bakes in a muffin tin, you don’t need a circle.
Cut rounds slightly larger than the cups, then press them in. Let the edges pleat on their own; that rustic look isn’t just charming. Those folds grip the tin and help the crust hold its shape as it bakes.
A cold dough straight from the fridge rolls easier and shrinks less. Handle it quickly, and you’ll get tender, flaky cups every time.
Sweetened Condensed Milk Does the Work
Sweetened condensed milk brings sweetness and structure in one pour. No extra sugar needed, and the filling bakes up dense and creamy.
You pour it just below the rim because it puffs a little in the oven. That headroom keeps it from spilling over.
Then comes the resting time. As the pies cool, the filling sets into a sliceable custard.
Patience here pays off. Ten minutes on the rack, and you get clean edges, no cracking.
Two Temperatures, One Silky Result
A hot oven gets the crust going quickly. That initial blast sets the dough and starts cooking the filling before it has a chance to soak in. Then you drop the heat.
Gentler heat finishes the job without curdling or overcooking the edges. If the crust browns too fast, a loose foil shield slows it down. The payoff is a crisp shell and a filling that’s just set, smooth from center to rim.
Don’t Whip the Filling
Whisk just until everything comes together. Overmixing beats air into the pumpkin mixture, and those bubbles cause trouble.
They make the filling frothy, and as they expand in the oven, they can crack the surface. Room-temperature eggs help here.
They blend more easily, so you get a smooth emulsion without extra stirring. Stop when the mixture looks uniform.
That’s all it takes.
Ingredient Notes
Pumpkin puree: Buy unsweetened, not pumpkin pie filling. It’s just pumpkin, so you control the spice and sugar.
Sweetened condensed milk: It’s already sweet and thick, so skip any extra sugar. It also helps the filling set creamy.
Eggs: Room temperature eggs blend more smoothly, so you won’t overmix and create air bubbles.
Pie crust: Keep it refrigerated until you roll it. Cold dough rolls easier and shrinks less in the oven.
Judging the Filling as It Bakes
Reading the Crust’s Color
Watch the crust edges during the first 10 minutes at 400°F. You want them to turn a light golden brown, not dark. If they’re browning too fast, that’s your cue to lay a loose foil shield over the tin.
A pale crust after the full bake means the dough was too thick or the oven ran cool; next time, roll thinner.
Spotting When the Filling Is Set
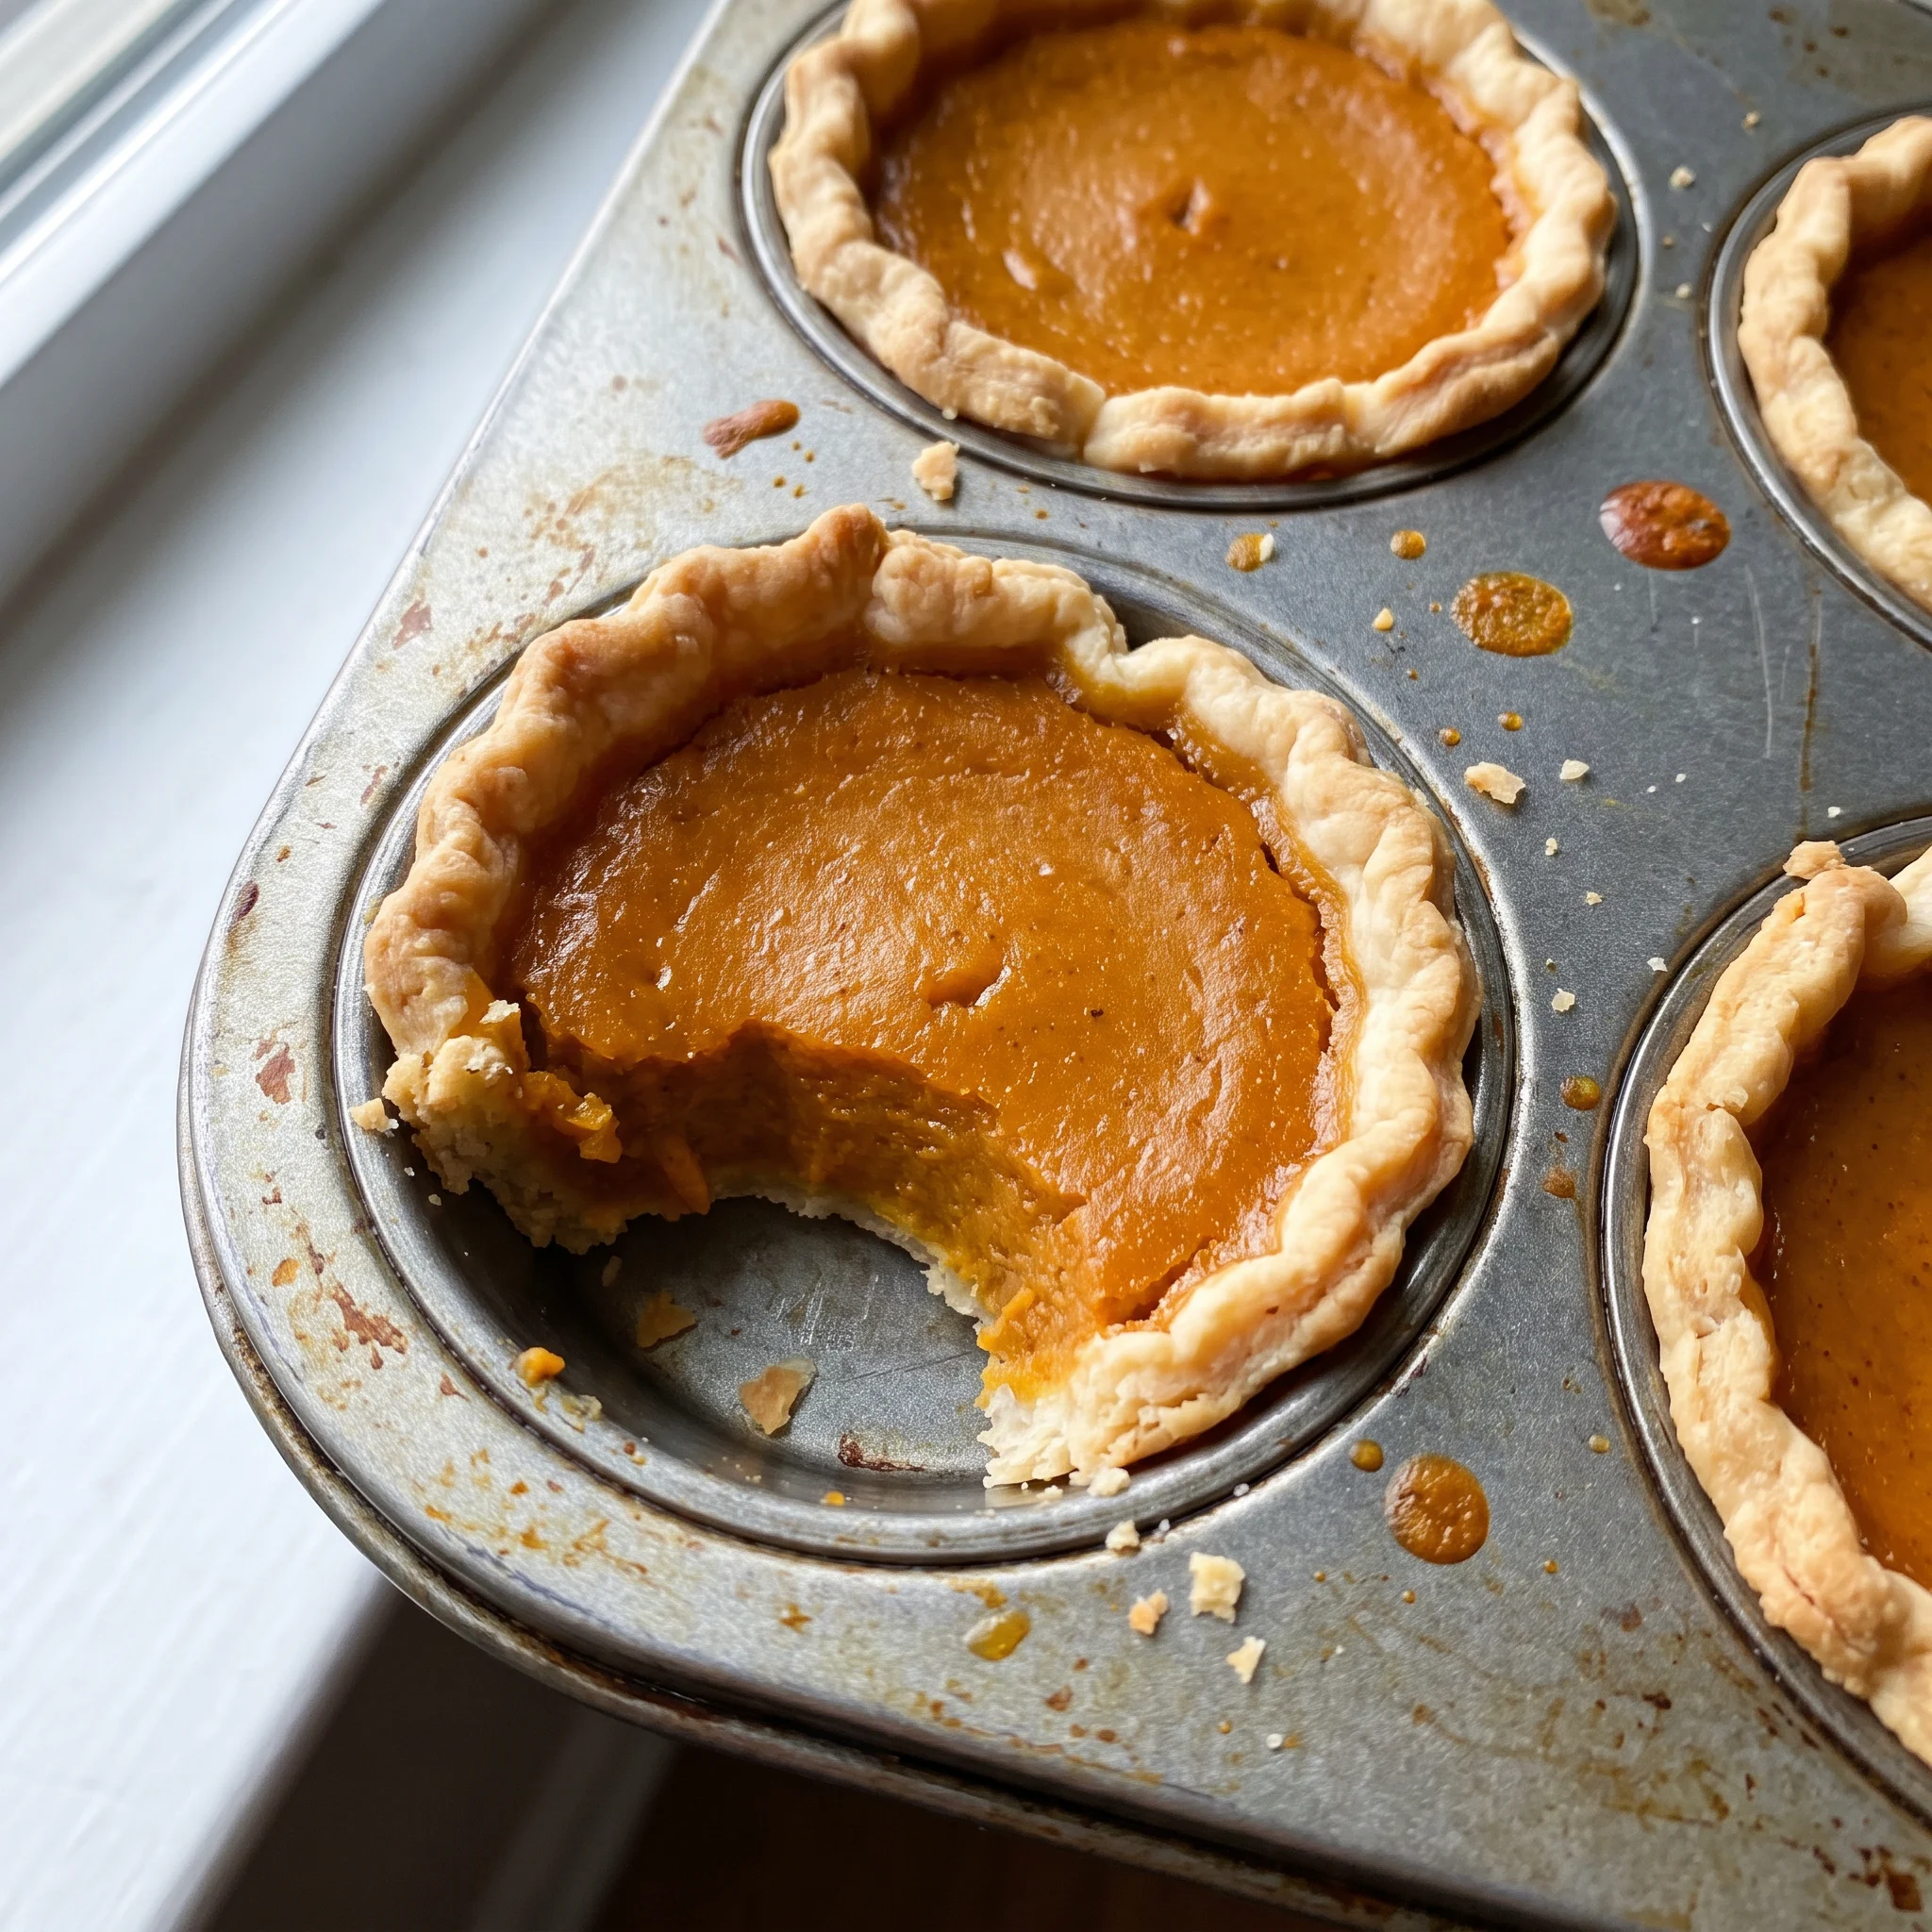
At the 20-minute mark, the filling should look set around the edges but still have a slight jiggle in the center. That’s the sign it’s done.
If it’s completely firm, it’s overbaked and will crack as it cools. If it’s liquidy, give it a couple more minutes, checking every minute so you don’t overshoot.
Checking for a Smooth Top
Look at the surface of the filling before you pull the tin out. It should be smooth, not frothy or cracked. Froth means the filling was overwhisked, which traps air that expands in the oven.
Cracks come from baking too long or too hot. A smooth top tells you the eggs were blended gently and the temperature stayed steady.
Feeling the Crust’s Crispness
After the 10-minute rest, press a finger on the crust rim. It should feel crisp, not soggy.
If it’s soft, the filling likely seeped into the dough because the rounds were cut too small or the dough was too warm. Next time, chill the dough thoroughly and press it firmly into the cups to seal the seams.
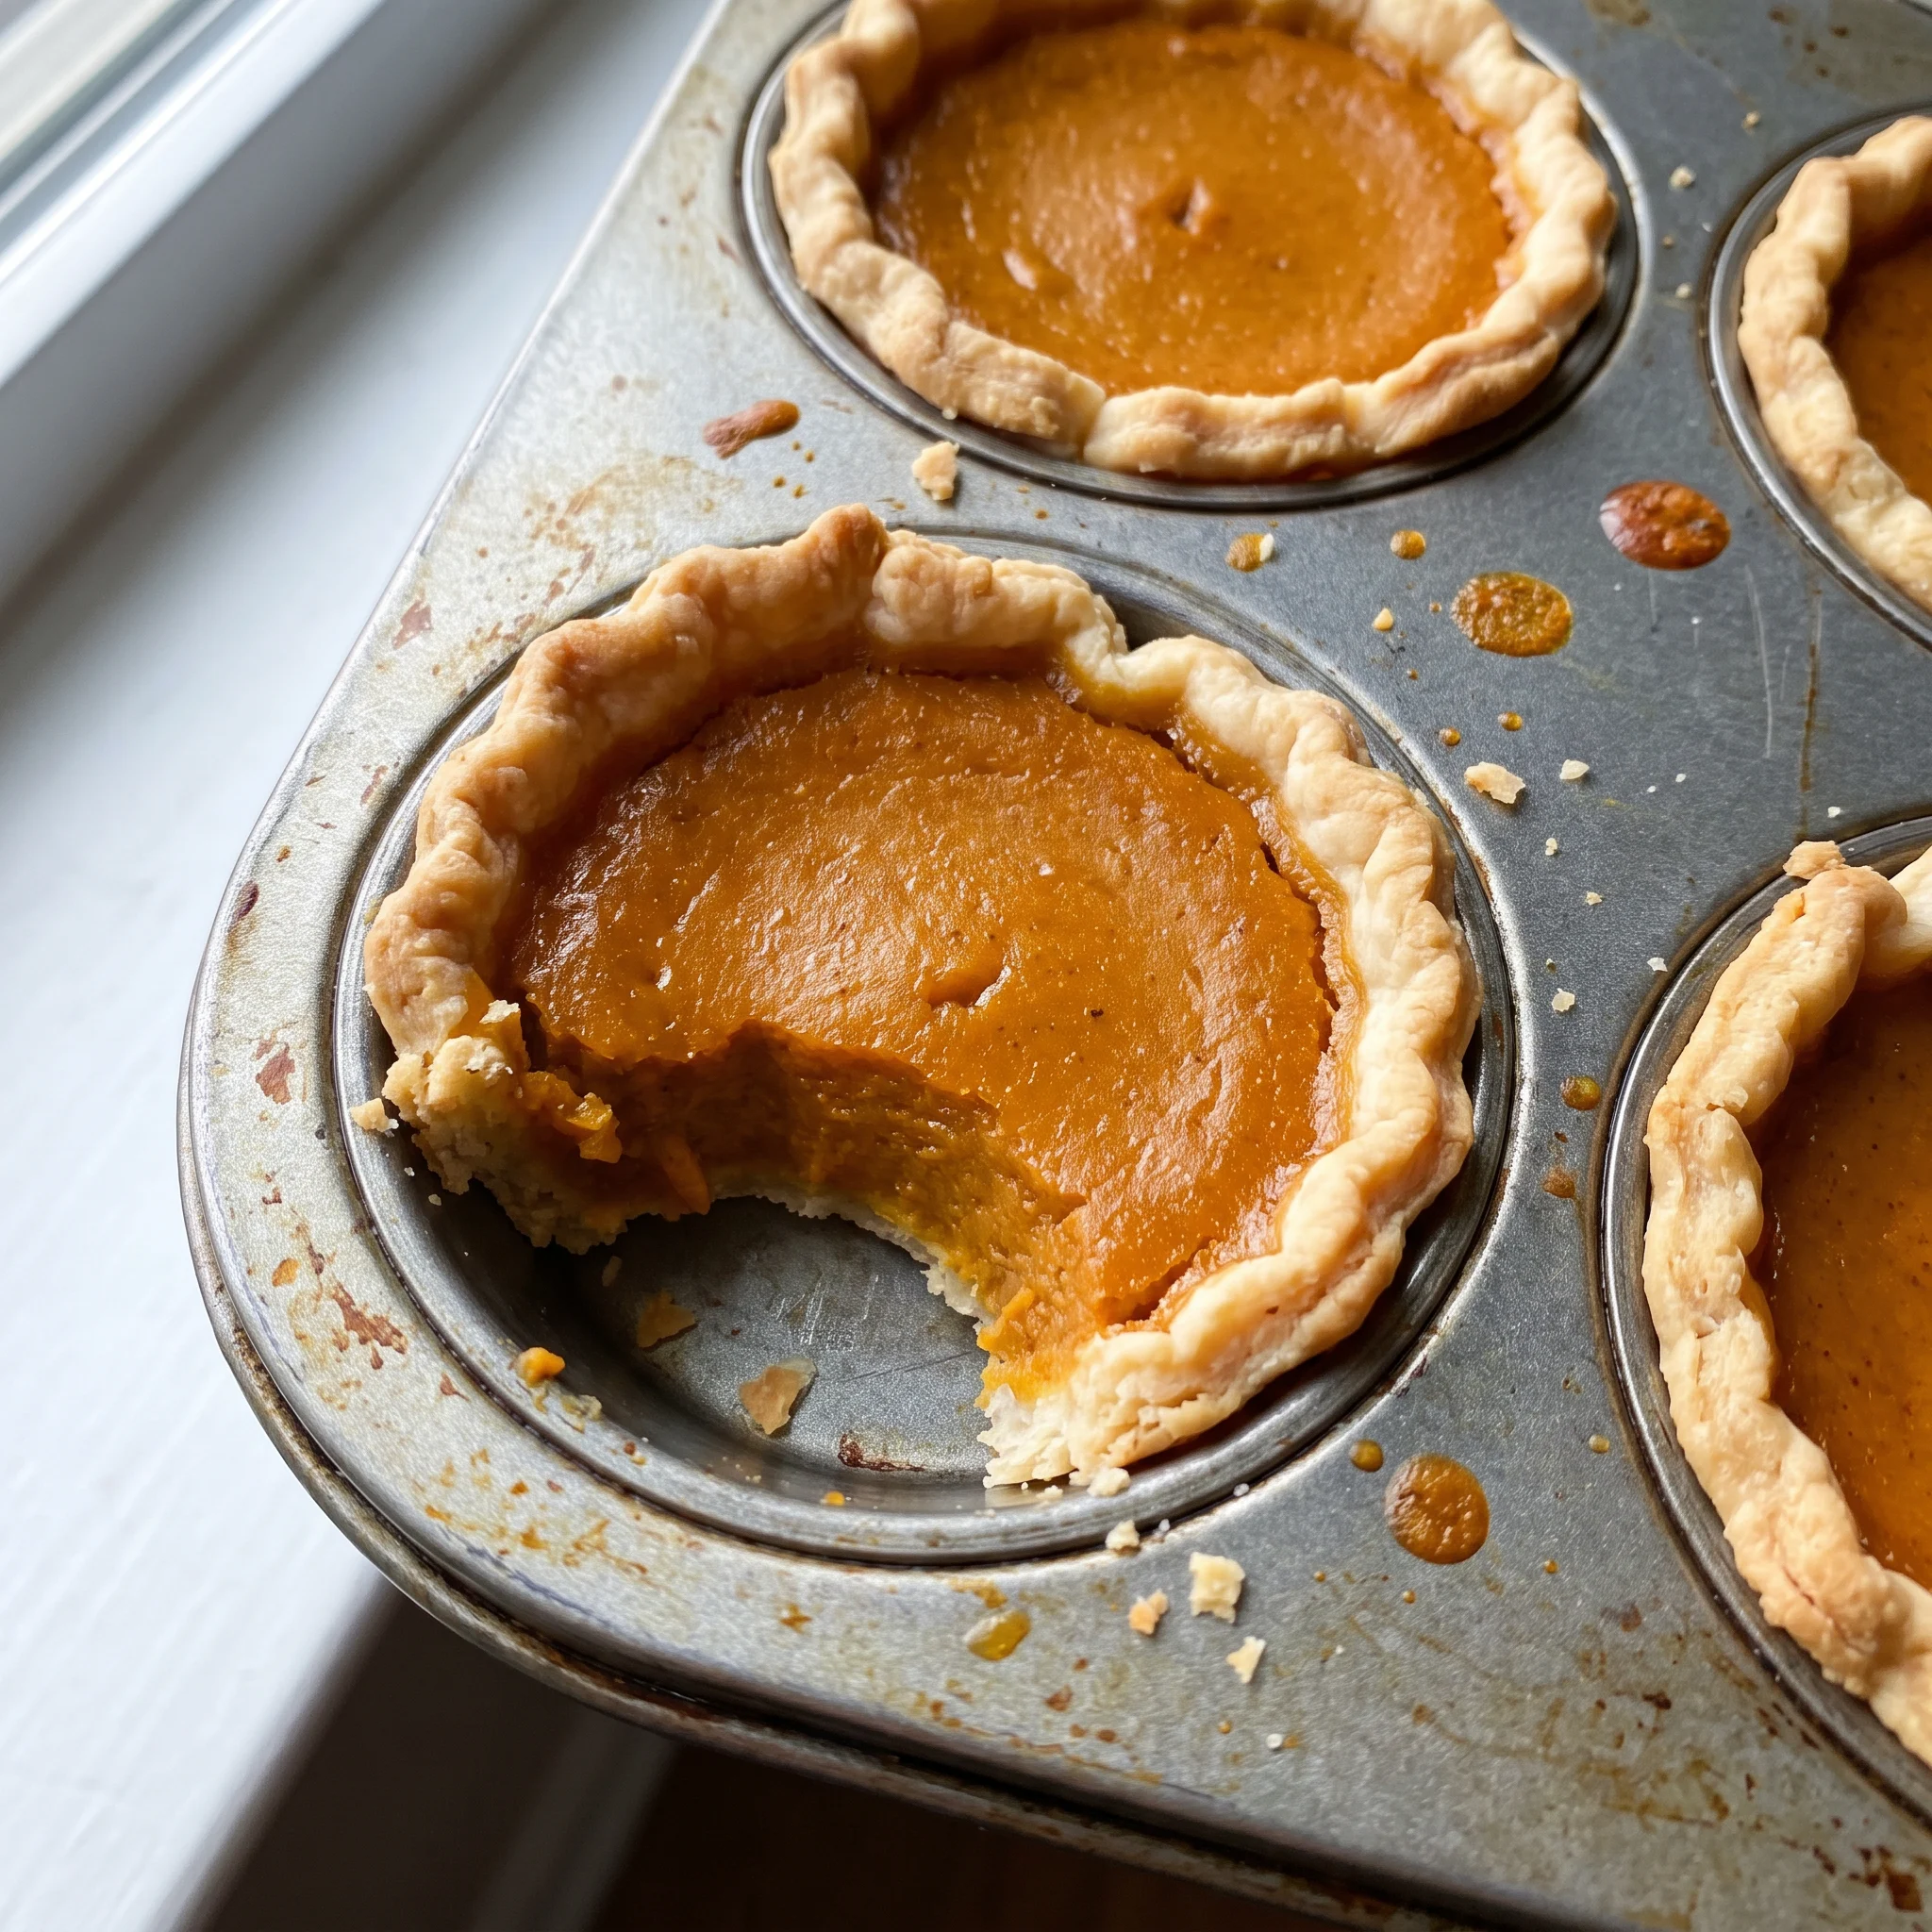
Mini Pumpkin Pies with Condensed Milk
Ingredients
Method
- Set the oven to 400°F (205°C). Grease a muffin tin with butter or nonstick spray. On a floured surface, roll out the chilled pie dough to an even thickness. Using a round cutter, stamp out circles that are a bit larger than the muffin cups. Fit each dough circle into a cup, allowing the edges to pleat naturally for a rustic appearance.
- In a medium mixing bowl, whisk together the pumpkin puree, condensed milk, eggs plus extra yolk, cinnamon, ginger, nutmeg, and salt. Stir gently until the mixture is smooth and uniform; do not overbeat, as that will introduce air bubbles and make the filling frothy.
- Pour the filling into the prepared crusts, stopping slightly below the rim to leave room for expansion during baking.
- Place the muffin tin in the preheated oven and bake for 10 minutes at 400°F (205°C) to set the crust and begin cooking the filling. Then lower the oven temperature to 325°F (165°C) and continue baking for another 10 minutes. Should the crust edges start to over-brown, shield them with a loose piece of aluminum foil.
- Remove the mini pies from the oven and set the tin on a wire rack. Let them cool for a minimum of 10 minutes so the filling can set properly before you serve them.
Swap Smart, Keep the Filling
Pumpkin puree: Use canned butternut squash puree in the same amount. Butternut squash is drier and less sweet, so the filling may need a touch more condensed milk or a pinch of sugar. The texture stays close, but the flavor shifts from classic pumpkin to a milder, earthier note.
Sweetened condensed milk: For dairy-free, use a canned sweetened condensed coconut milk (like Nature’s Charm) in the same amount. It has a different sweetness and a coconut hint that can come through. The filling sets a bit softer, so expect a slightly less firm slice.
If you need to avoid dairy but not coconut, this works well.
Eggs: For an egg-free version, try a commercial egg replacer or a flax egg (1 tbsp ground flax + 3 tbsp water per egg, whisked and rested until gooey). Use 3 flax eggs (one for each egg plus the yolk) and add an extra 2 teaspoons of cornstarch to help set.
The filling will be less sturdy and may not set as firmly. It will be more custard-like and might crack less, but it will be softer.
You’ll need to bake a few minutes longer, but watch it closely.
Pie crust: Swap in a gluten-free refrigerated pie crust (like Wholly Gluten-Free) or a homemade gluten-free dough. Keep the same amount.
Or, skip crust entirely and bake the filling in greased muffin cups as crustless mini pies. Gluten-free crusts can be more crumbly and may need extra chilling before rolling. They brown faster, so check the edges early.
Crustless pies turn out like baked pumpkin custard cups; they’ll release from the tin more easily if you line the cups with parchment strips or grease well.
Storage and Serving
Serve these mini pies within a few hours of baking while the crust is crisp and the filling is just set. If you have leftovers, refrigerate them in an airtight container for up to 3 days.
The filling will stay smooth, but the crust will soften as it sits, absorbing moisture from the filling. To bring back some crunch, reheat individual pies in a 350°F oven for 5 to 7 minutes. Let them cool slightly before eating, as the filling gets very hot.
Freezing the assembled pies isn’t ideal; the custard can weep and the crust turns soggy on thaw. Instead, freeze the baked, cooled filling in a container for up to a month, then thaw in the fridge and serve in fresh crusts if you want to plan ahead. For the best texture, don’t add any whipped cream or garnish until just before serving, whether fresh or reheated.
Tips
- If your pumpkin puree can is 15 ounces but the recipe calls for 1 can, measure it out to ensure you use the full amount. Some brands pack more or less, and using a scant cup could throw off the filling’s consistency, making it too loose or too dense.
- Before mixing, taste a spoonful of the puree. Unsweetened pumpkin is mild and earthy; if it tastes sweet or spiced, you’ve grabbed pumpkin pie filling, which will over-sweeten and over-spice your pies. This quick check takes seconds and prevents a batch that’s off.
The store-bought crust is rolled thin and cut into circles, then fitted into the muffin cups. During the initial high-temperature bake, the dough’s gluten strands tighten and the fat melts, causing the crust to shrink and pull away from the sides. This can lead to a smaller crust that doesn’t hold the filling properly, and the edges may slump or become misshapen.
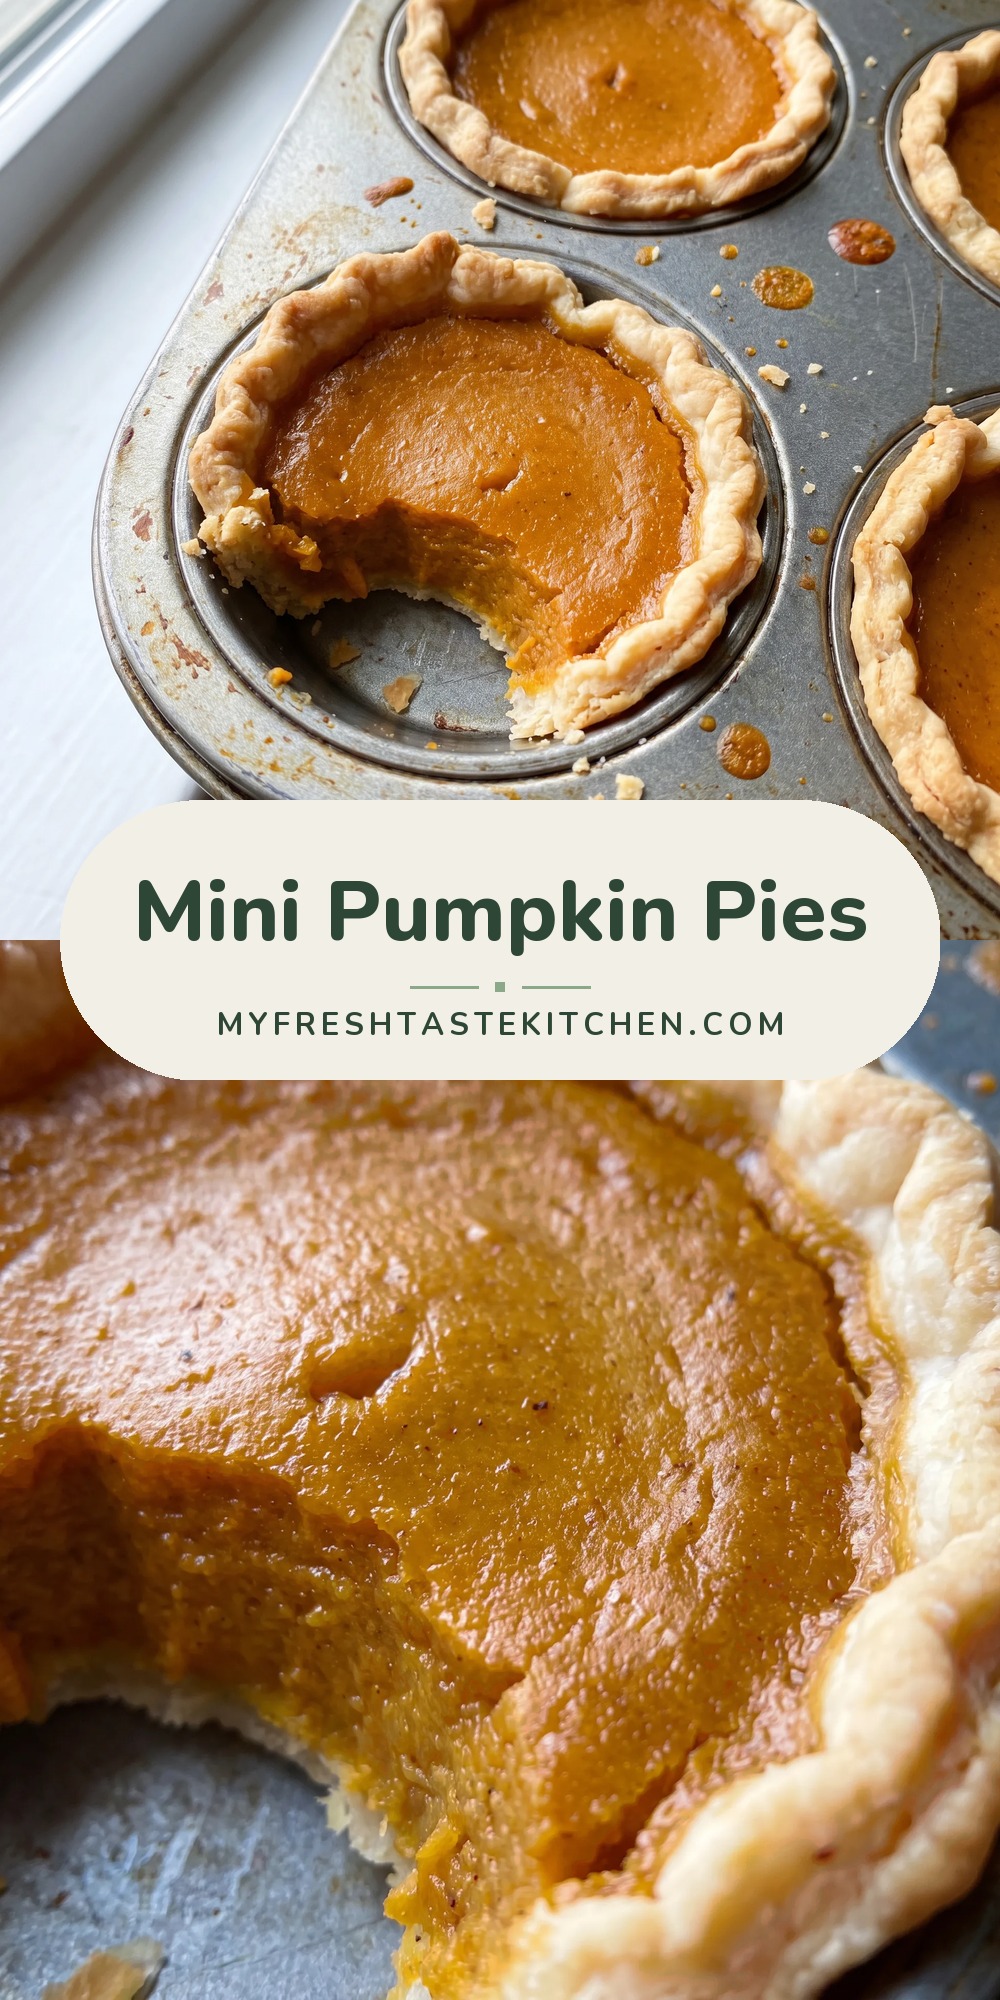
Frequently Asked Questions
Can I make mini pumpkin pies ahead of time?
Yes, you can make them a few hours ahead and serve within the day for the best crust. If you need longer, refrigerate them for up to 3 days, but know the crust will soften.
To crisp it back up, warm individual pies in a 350°F oven for 5 to 7 minutes. Freezing the assembled pies isn’t great; instead, freeze the baked filling separately and spoon it into fresh crusts later.
Why did my mini pumpkin pies crack on top?
Cracks usually mean the filling was overbaked or the oven ran too hot. You pulled them when the center was fully firm instead of just set. Another culprit is overwhisking, which traps air that expands and breaks the surface.
Next time, mix until just uniform and check for a slight jiggle in the middle at the 20-minute mark.
How do I know when the mini pumpkin pies are done?
Look for the edges to be set and the centers to have a gentle jiggle, not a liquid wave. The crust should be golden, not pale or dark.
If the filling looks completely firm, they’re overdone and will crack as they cool. After the 10-minute rest, the crust should feel crisp to the touch, and the filling will have firmed up to a smooth, sliceable texture.
