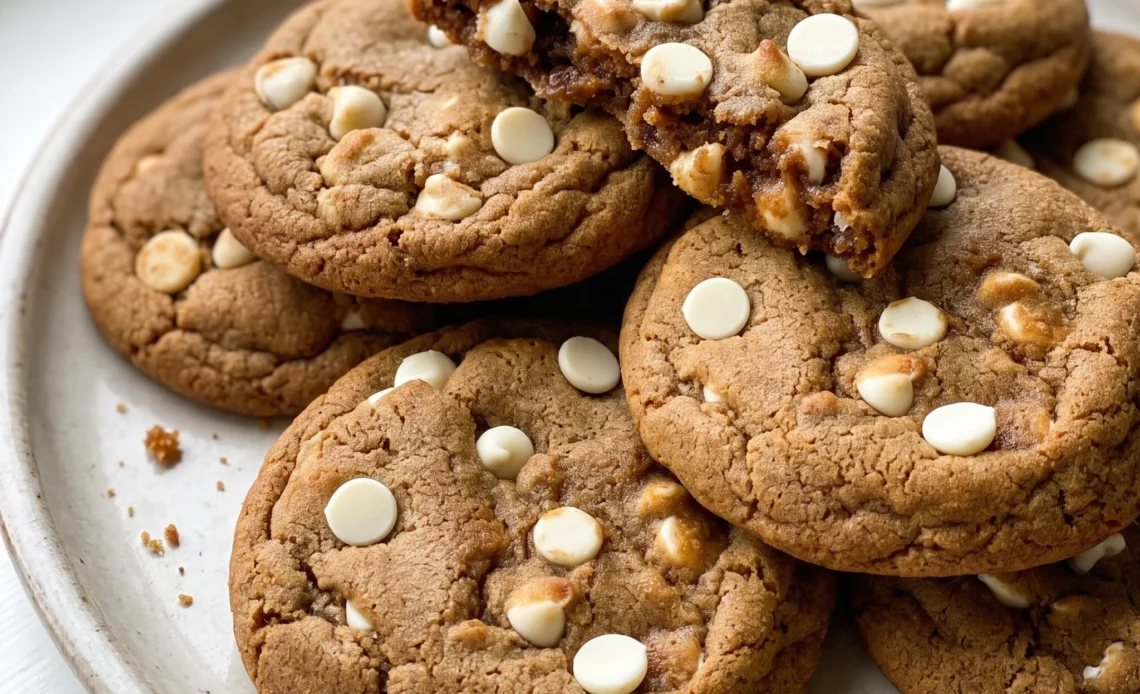
This isn’t a crisp ginger snap. It’s a soft, chewy cookie that pairs warm spices with cool, creamy white chocolate, a combo that’s easy to get wrong if the dough isn’t handled right.
The main challenge is keeping the dough cold enough that the cookies bake up thick and tender, not flat and crisp. That chill does more than prevent spreading; it lets the center stay soft while the edges get a slight bite.
The white chocolate melts into sweet pockets that temper the ginger’s heat, making each bite balanced rather than one-note. If you’ve had gingerbread cookies that turned out dry or hard, the molasses here adds moisture and chew, so the texture stays pleasant for days.
These gingerbread white chocolate cookies are worth the extra time in the freezer, and once you’ve tasted one warm from the oven, you’ll know why the effort pays off.
The Freeze Before the Bake
Chilling the dough is the difference between a puddle and a proper cookie. Warm dough spreads the moment it hits the hot sheet, turning into a flat, crisp disk.
Cold dough holds its shape, so the edges set while the center stays soft. That contrast is what gives you a chewy middle and a slight crunch at the rim.
The cold also slows the butter from melting too fast, so the cookie rises a bit before it settles. You’ll notice the tops crack as they bake, a sign the outside set early and the inside kept pushing up. Plus, you can scoop the dough ahead and pull out just what you need.
A batch in the freezer means fresh cookies on demand, no mixing when you’re short on time.
The Spice Blend and Molasses
Ginger, cinnamon, nutmeg, cloves, and molasses. Each has a job. Ginger gives the sharp, warm kick you associate with gingerbread.
Cinnamon adds sweetness and body. Nutmeg brings a nutty undertone, and cloves a hint of something almost smoky. Molasses does double duty: it deepens the flavor with its dark, caramelized notes and adds moisture, so the cookie stays tender rather than dry.
If you want more bite, use an extra half teaspoon of ginger. You’ll taste the difference immediately, a stronger warmth that lingers after each bite. The molasses you choose matters, too.
Blackstrap is too bitter and will throw off the balance. Stick with a regular molasses, and the sweetness of the spices and sugar comes through clearly.
White Chocolate’s Counterpoint
White chocolate acts as the cool, creamy partner to all that heat. The spices hit first, then the chips melt on your tongue, bringing a sweet, milky note that softens the edge.
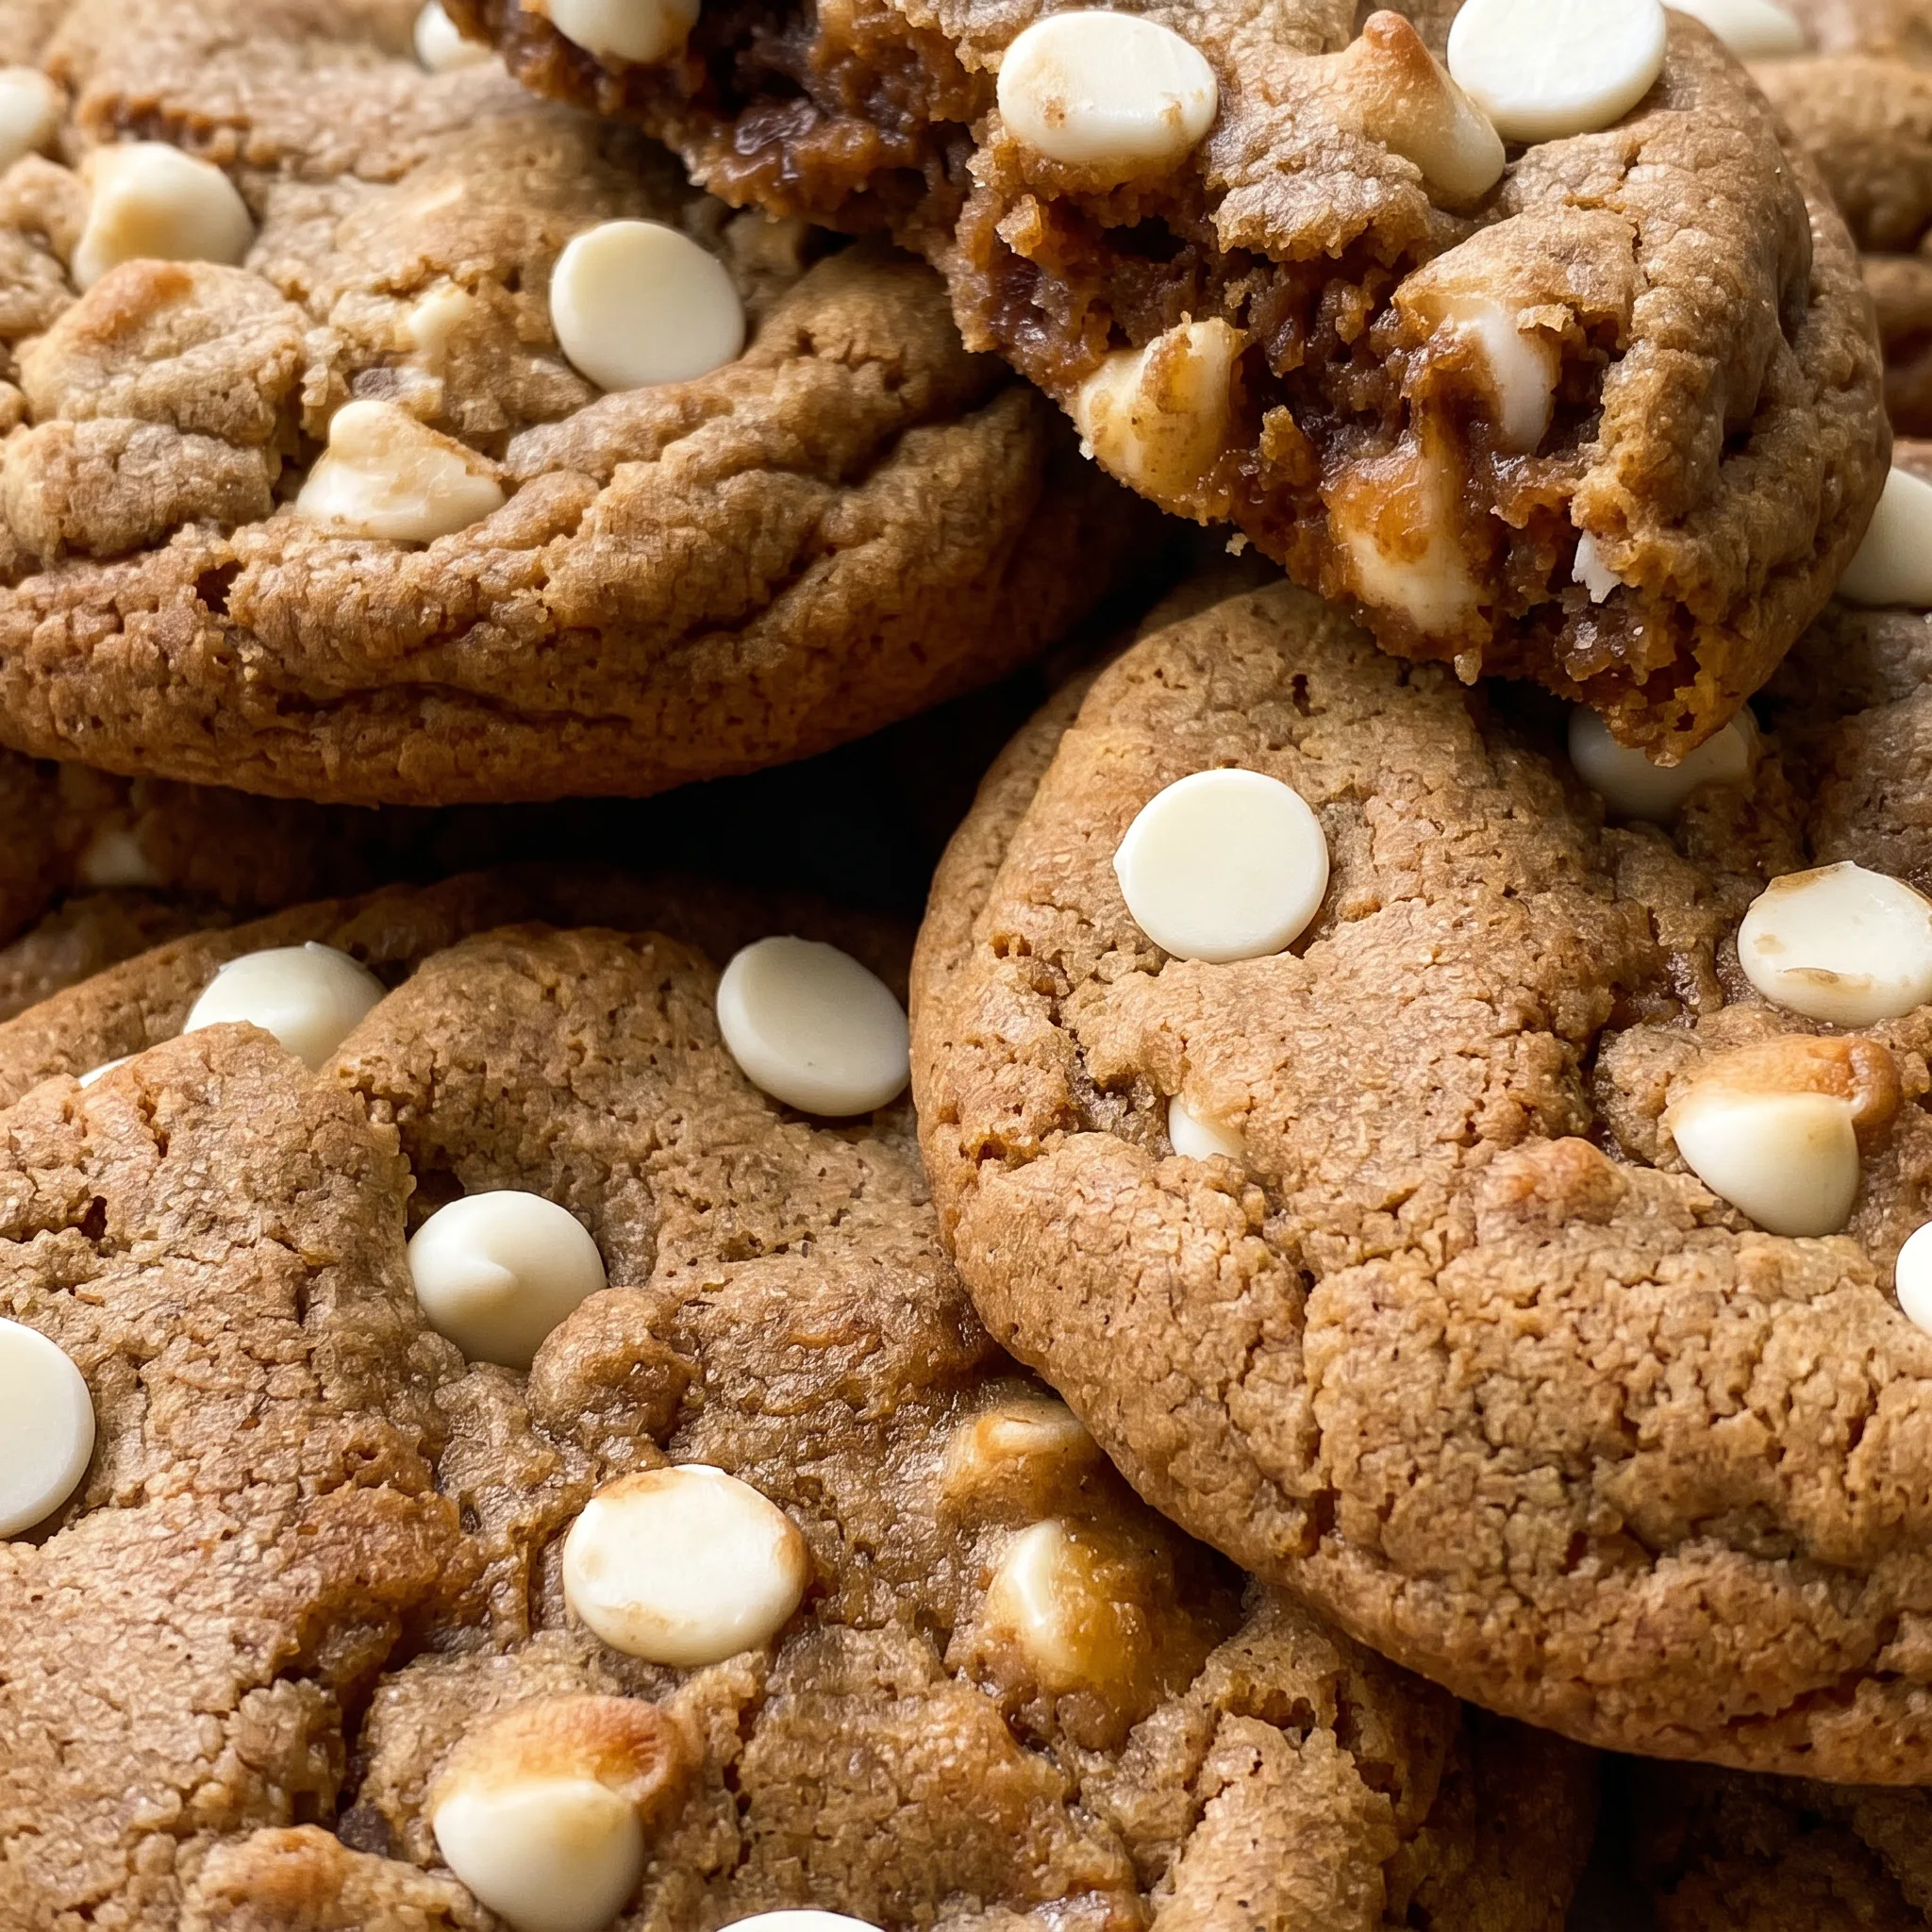
Against the dark, spiced dough, the pale chips stand out, a speckled contrast that makes each cookie look inviting. Texturally, they’re smooth where the cookie is chewy, a small burst of creaminess in every bite.
That interplay is what keeps you reaching for another.
Cold Butter and the Creaming Method
Starting with cold butter is key. Warm butter creams into a slick, oily mass, but cold butter holds its structure as you beat it, trapping air in tiny pockets. That air expands in the oven, giving the cookie a lighter, more tender crumb.
You’ll see the mixture turn pale and fluffy, a sign you’ve got the right texture. And because the butter is cold, it takes longer to melt during baking, which helps the cookie hold its shape instead of spreading thin. The visual cue is simple: no visible lumps of butter remain.
That’s your signal the butter and sugars have come together, and you can move on. This step sets the foundation for everything else.
Choosing the Right Molasses and White Chocolate
molasses: Buy regular molasses, not blackstrap; blackstrap is bitter and will overpower the cookie.
white chocolate chips: Use good-quality chips that melt smoothly; cheap ones can seize or taste waxy.
ground ginger: Fresh ground ginger has more punch; if yours is old, use the stronger amount.
brown sugar: Dark brown sugar adds more molasses flavor and moisture than light; either works, but dark is richer.
Freezing the dough solidifies the butter, so when the cookies hit the oven, they hold their shape longer and bake evenly from the outside in, creating a crisp exterior with a soft, chewy center. Without chilling, the butter melts too quickly, causing the dough to flatten before the eggs and flour can set the structure.
Reading the Cracks and the Set
When the dough tells you it’s ready to scoop
After mixing, the dough should hold together when pressed but feel cold and slightly stiff. If it’s sticky and soft, the butter warmed too much; that’s a sign it will spread in the oven.
A quick chill in the fridge for 15 minutes can firm it up before scooping. The dough shouldn’t look oily or greasy, which would mean the butter separated.
The hand-feel of the scooped balls
Each ball should be dense and hold its shape on the plate. If a ball slumps or flattens, the dough is too warm.
That means it won’t hold up during baking. Re-chill the dough for 10 more minutes. The balls should feel solid and cold to the touch before they go into the freezer.
That firmness is what keeps them from spreading into thin disks.
Judging the bake by the tops
At 14 minutes, the edges should look set and lightly browned, while the centers still look soft and slightly underdone. Cracks on top are okay; they mean the outside set before the inside finished rising.
If the tops look wet or shiny, give them another minute or two. If they’re uniformly dark, they’ve overbaked.
The cookies will continue to set as they cool on the sheet.
The moment of doneness and the cool-down
A cookie is done when the edges are firm but the center still gives slightly when pressed with a fingertip. It will look puffed and pale in the middle.
Leaving them on the hot sheet for at least 10 minutes lets the residual heat finish the center without drying it out. Moving them too soon will make them fall apart. You’ll see the tops settle and smooth out as they cool.
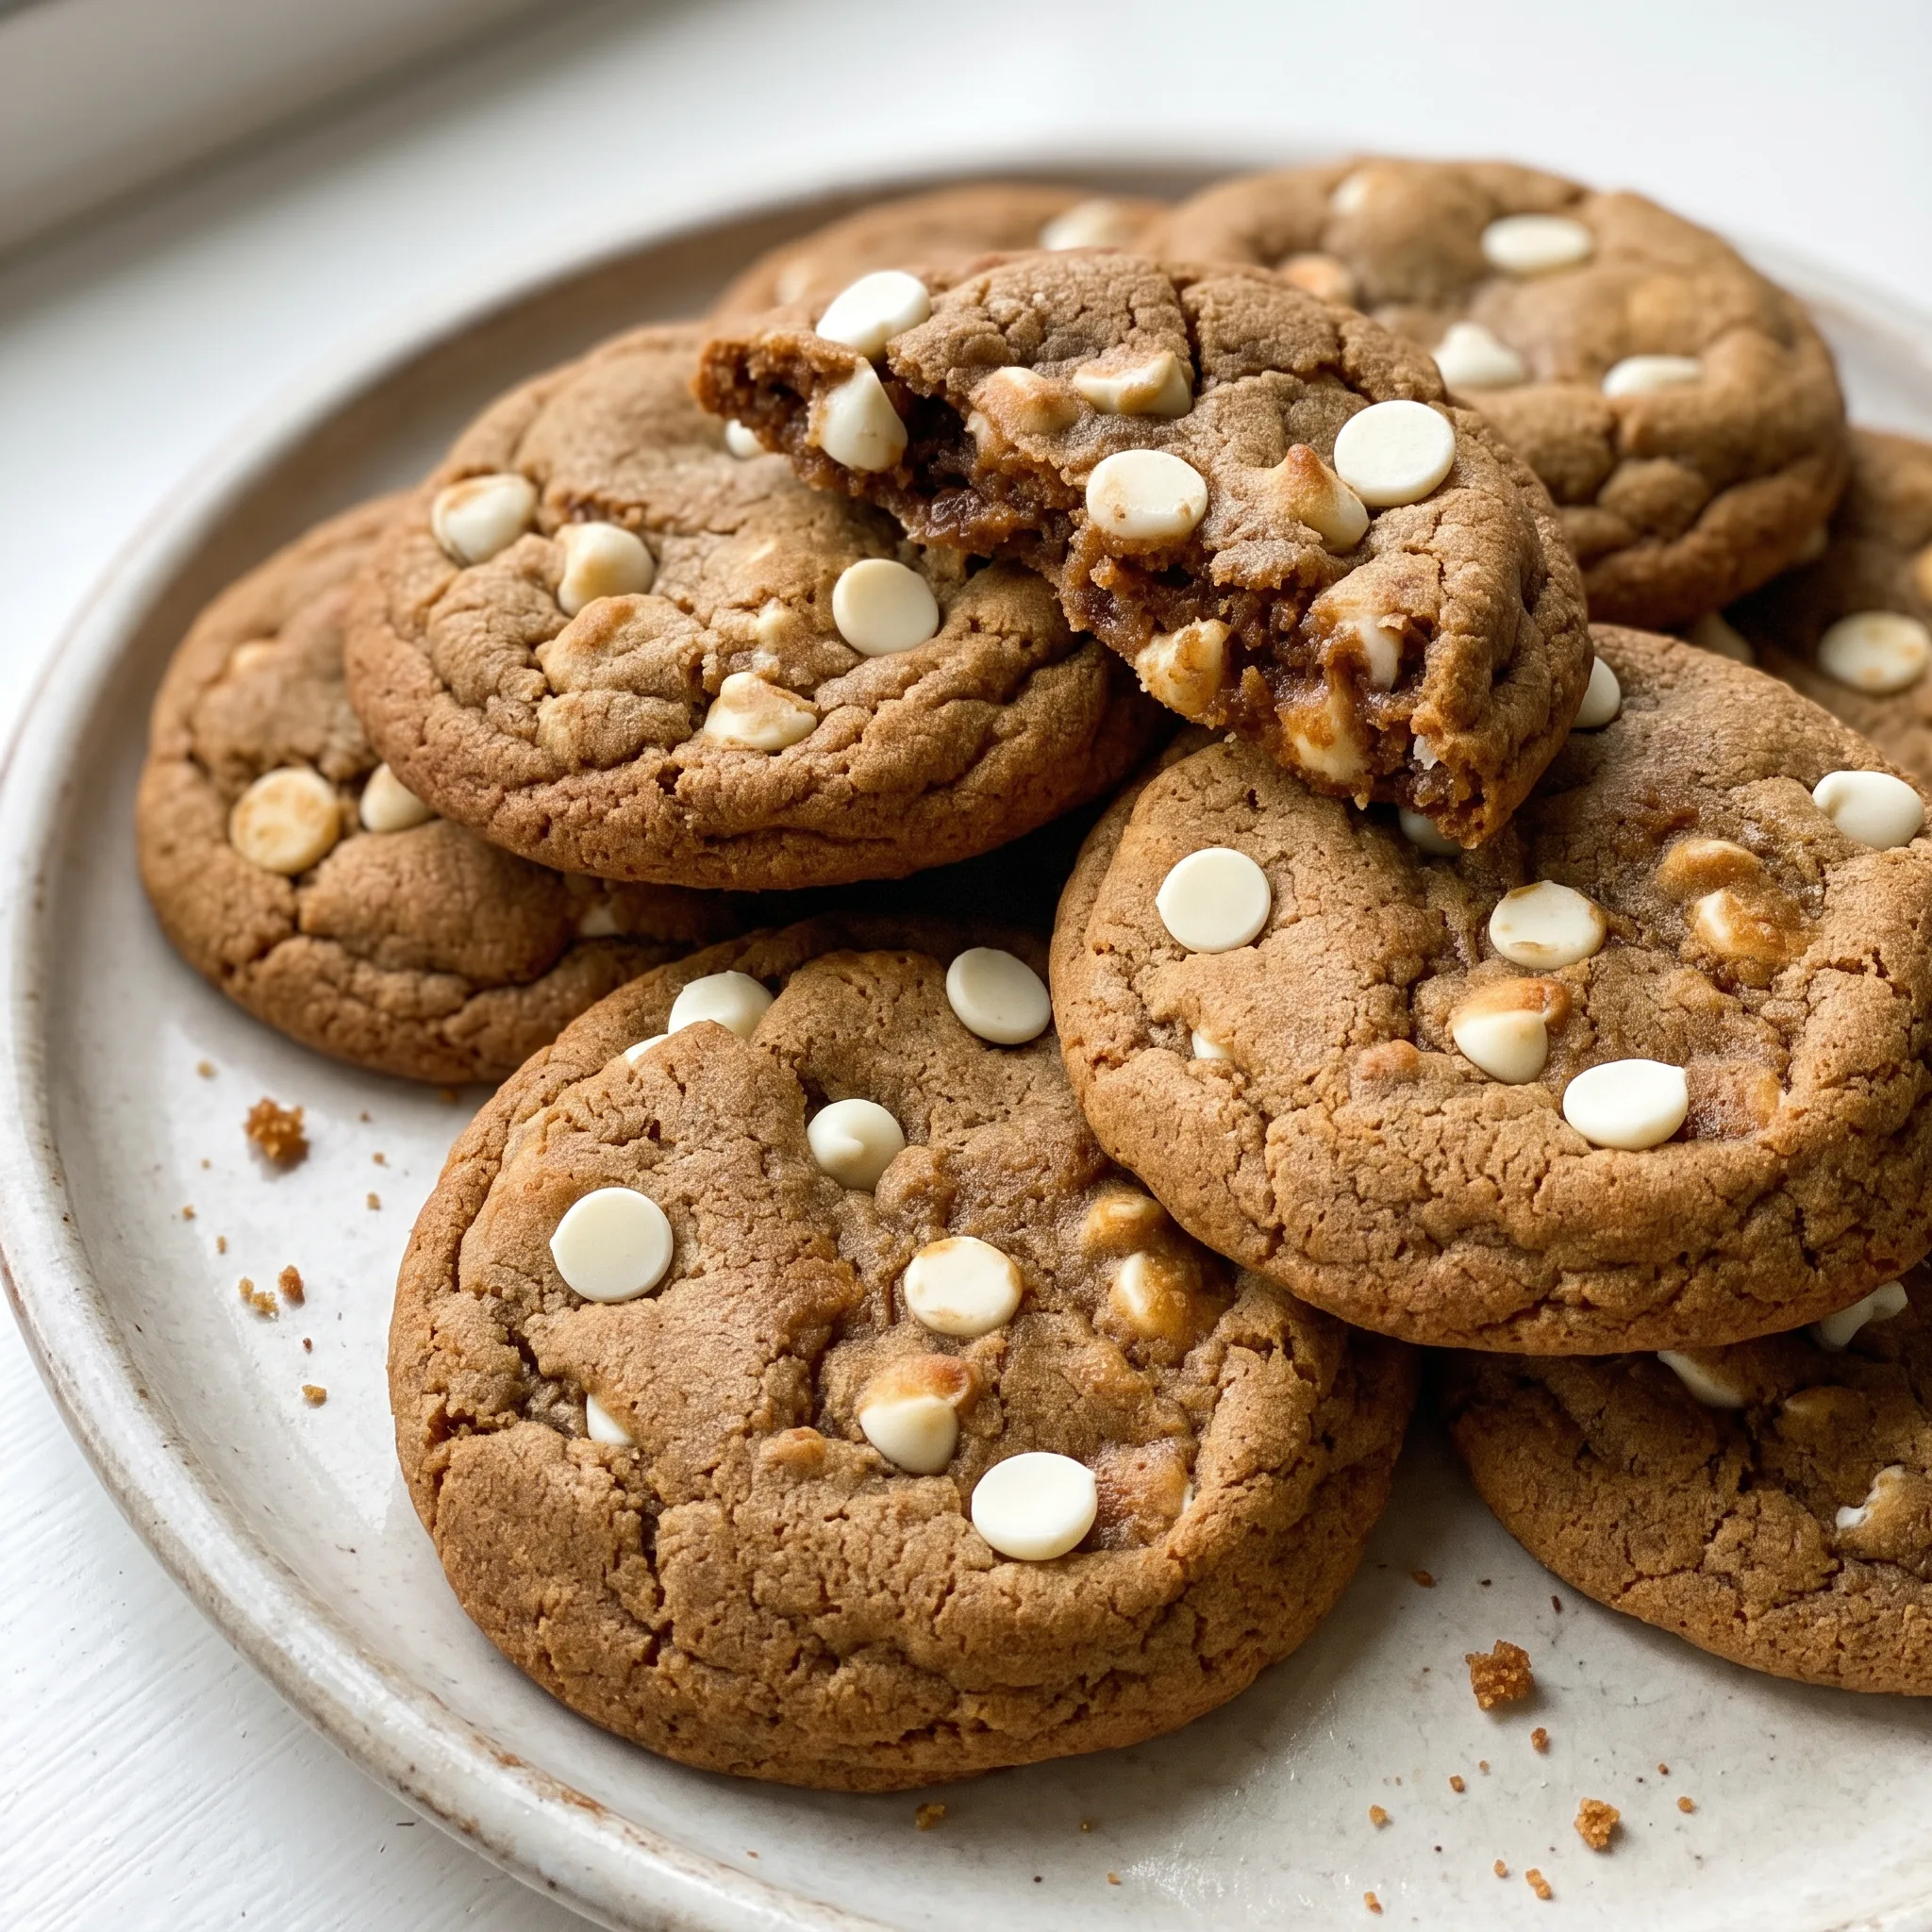
Gingerbread White Chocolate Cookies
Ingredients
Method
- Whisk the flour, ginger, cinnamon, nutmeg, cloves, baking powder, baking soda, and salt in a medium bowl. Put aside.
- In another large bowl, cream the butter, brown sugar, and granulated sugar until no butter lumps remain.
- Mix the egg, molasses, and vanilla into the butter mixture.
- Add the dry mixture to the butter mixture. First stir a few times by hand, then beat on low speed until combined.
- Stop the mixer and fold in the white chocolate chips.
- Scoop dough into balls, each using about 1/4 to 1/3 cup of dough (I use a large cookie scoop). Each ball weighs roughly 3½ ounces (100 grams).
- Arrange the dough balls on a plate and cover. Freeze for at least 30 minutes, or store in a freezer bag for up to 2 months.
- When ready to bake, preheat oven to 375°F (190°C) and line baking sheets with parchment or silicone mats. Place the chilled dough balls on the sheets, leaving about 3.5-3 inches (5-7 cm) between them. Do not allow them to warm up.
- Bake one sheet at a time on the middle rack. Bake for 14-17 minutes, until the tops appear set and cracks may start to form.
- Let cookies cool on the baking sheets for at least 10 minutes before moving to a wire rack. For perfectly round cookies, while still hot on the sheet, place a large mug over each cookie and gently swirl to shape into a circle.
Swapping the Chips, Keeping the Spice
White chocolate chips: Dark or semi-sweet chocolate chunks. Dark chocolate brings bitterness that fights the gingerbread instead of cooling it.
You lose the creamy counterpoint, and the cookie reads spicier and less balanced. If you want a change, use a mellow milk chocolate or a white chocolate with cocoa butter, not compound coating.
Swap the same amount by weight, so about 180 grams. The texture stays similar, but the flavor shifts entirely.
Molasses: Do not swap blackstrap for regular molasses. Blackstrap is more bitter and less sweet, and it will overwhelm the spices.
The cookie turns harsh, with a burnt edge to the flavor. If you only have blackstrap, cut the amount to 2 teaspoons and add an extra tablespoon of brown sugar, but know it won’t taste the same. The regular molasses keeps the spice blend balanced and the cookie tender.
All-purpose flour: Gluten-free 1-to-1 flour blend. Use a blend that includes xanthan gum, like King Arthur’s or Bob’s Red Mill.
Measure by weight, 219 grams. The dough will be slightly more fragile, and the cookies may spread a touch more, so keep the dough well chilled. They’ll still hold together, and the texture will be close to the original, maybe a bit more tender.
The freeze step matters even more with gluten-free flours to keep them from flattening.
Unsalted butter: Vegan butter sticks (like Miyoko’s or Earth Balance). Vegan butter has a higher water content, so the dough may spread more.
Keep it cold, and consider adding 1 tablespoon of cornstarch to the flour to help absorb the extra moisture. The flavor will be less rich, but the spices carry the cookie.
Start with the same 112 grams, and don’t skip the freezer time.
Tips
- When scooping the dough, use a trigger-release cookie scoop and level it off with a spatula. This gives you uniform balls that bake evenly, so you won’t have some cookies overdone while others are still raw in the center. If you don’t have a scoop, use a kitchen scale to portion each ball at 100 grams.
Storage and Serving
Baked cookies stay chewy for up to 3 days in an airtight container at room temperature. The white chocolate chips soften as they sit, so if you prefer a firmer bite, re-crisp the cookies in a 300°F oven for 5 minutes. Let them cool on the sheet before storing; residual steam will make them soggy if you seal them warm.
For longer storage, freeze the baked cookies in a single layer, then transfer to a freezer bag for up to 2 months. Thaw at room temperature for 30 minutes, then refresh in the oven as above.
The dough balls freeze for up to 2 months, so you can bake just a few at a time. For best texture, serve cookies within a few hours of baking, while the edges are crisp and the centers are soft. If you shape them with a mug, do it right after baking, then let them set completely before storing.
Leftover cookies lose that contrast but stay tasty for a few days.
Frequently Asked Questions
Can I bake these cookies without freezing the dough first?
You can, but they’ll spread into thin, flat disks. The 30-minute freeze firms the butter, so the edges set before the middle spreads.
Without it, the dough warms quickly on the sheet, and you lose the chewy center. If you’re in a rush, at least chill the scooped balls for 15 minutes in the fridge, though the full freeze works better.
How do I keep the cookies from spreading too much?
Make sure the dough balls are still cold when they go into the oven. If they’ve warmed up, the butter melts too fast, and you get puddles. Also, check that your baking soda is fresh; if it’s old, the cookies won’t rise properly and will spread more.
And don’t flatten the balls, they should stay mounded.
Can I make the dough ahead and bake later?
Yes, the dough balls freeze for up to 2 months. Scoop them, freeze on a plate until solid, then transfer to a freezer bag. Bake straight from the freezer, adding a minute or two to the baking time if they’re rock hard.
For best texture, serve within a few hours of baking.
