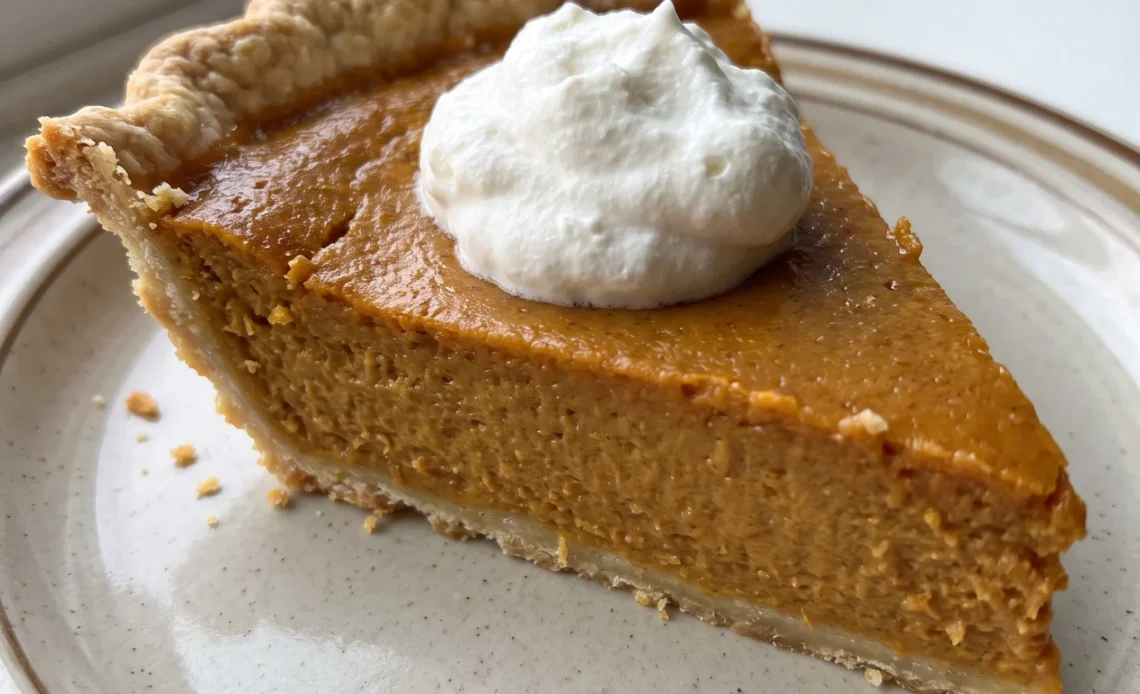
Canned pumpkin pie mix isn’t a shortcut, and it doesn’t behave like pumpkin pie. It’s a presweetened, prespiced filling, and once it’s in the bowl you’ve given up every adjustment. Start from plain pumpkin and you keep the decisions: how much sugar, how much clove, whether the custard tastes bright or flat before it ever goes near the shell.
That’s the difference between a pie that slices clean and one that slumps. The real difficulty isn’t the mixing.
It’s knowing when the center has set enough without going grainy, and that call comes from watching the surface, not the clock. Pure pumpkin also carries less water, so the custard firms instead of weeping into the crust. Work with it and you get a filling that’s cleanly spiced and holds a sharp edge on the knife.
Baking a custard pie at a single moderate temperature lets the crust warm slowly while the liquid filling sits on it, so the pastry absorbs moisture and turns soggy before the custard sets. Starting at a high temperature flashes heat into the crust and the outer edge of the custard, setting both quickly and creating a barrier; dropping to a lower temperature then lets the interior cook gently enough that the egg proteins coagulate into a smooth gel rather than squeezing out water and curdling. This recipe uses that two-stage approach because it protects both textures at once, which a single constant temperature cannot do.
Why Pure Pumpkin Beats Pie Mix
Canned pumpkin pie mix looks like a shortcut, but it’s a different product. You get sugar and spices already blended in, which means you can’t taste the filling as you go and adjust.
With pure pumpkin, the only sweetness comes from the sugar you measure, so the custard lands where you want it. That control matters because pumpkin itself is mild and slightly earthy. It needs salt and spice to wake up, and you’re the one deciding how much.
Pure pumpkin also has less water than a pre-mixed filling, which helps the custard set firm instead of weeping into the crust. When you stir it into the eggs, it should look thick and matte, not loose or shiny.
If the mixture feels soupy before it ever hits the shell, you’re already in trouble. All that extra moisture has nowhere to go once the pie is sealed.
So the can you choose is the first real decision, and it shapes everything after.
Evaporated Milk Makes the Custard
Evaporated milk isn’t just milk with water removed. It’s been cooked down and canned, so it’s richer and thicker than what’s in your fridge.
That concentration is what gives pumpkin pie its body. Regular milk would leave you with a filling that never quite firms up, and the slices would slump on the plate. Evaporated milk brings more protein and fat to the party, and those are what set into a soft, sliceable custard.
Pour it in slowly while you whisk, and you’ll see the mixture turn glossy and uniform. Stop when it’s smooth; overbeating just adds air you don’t need. The texture you’re after is like thin pancake batter, pourable but with a little weight to it.
That weight translates to a filling that holds its shape once cooled. Skip this ingredient and you’re making a different dessert entirely, one that won’t slice cleanly.
So use the can, and use the full amount.
Two Oven Temperatures, One Stable Pie
Pumpkin pie bakes in two stages, and each one does a different job. The first blast of heat hits the crust and the outer edge of the filling.
It sets the pastry before the custard has a chance to soak in, which is how you avoid a soggy bottom. That initial high heat also gives the filling a head start on setting.
Then the temperature drops. Now the custard cooks gently all the way to the center without boiling. Boiling is what causes curdling, those little grainy bits that ruin the smooth texture.
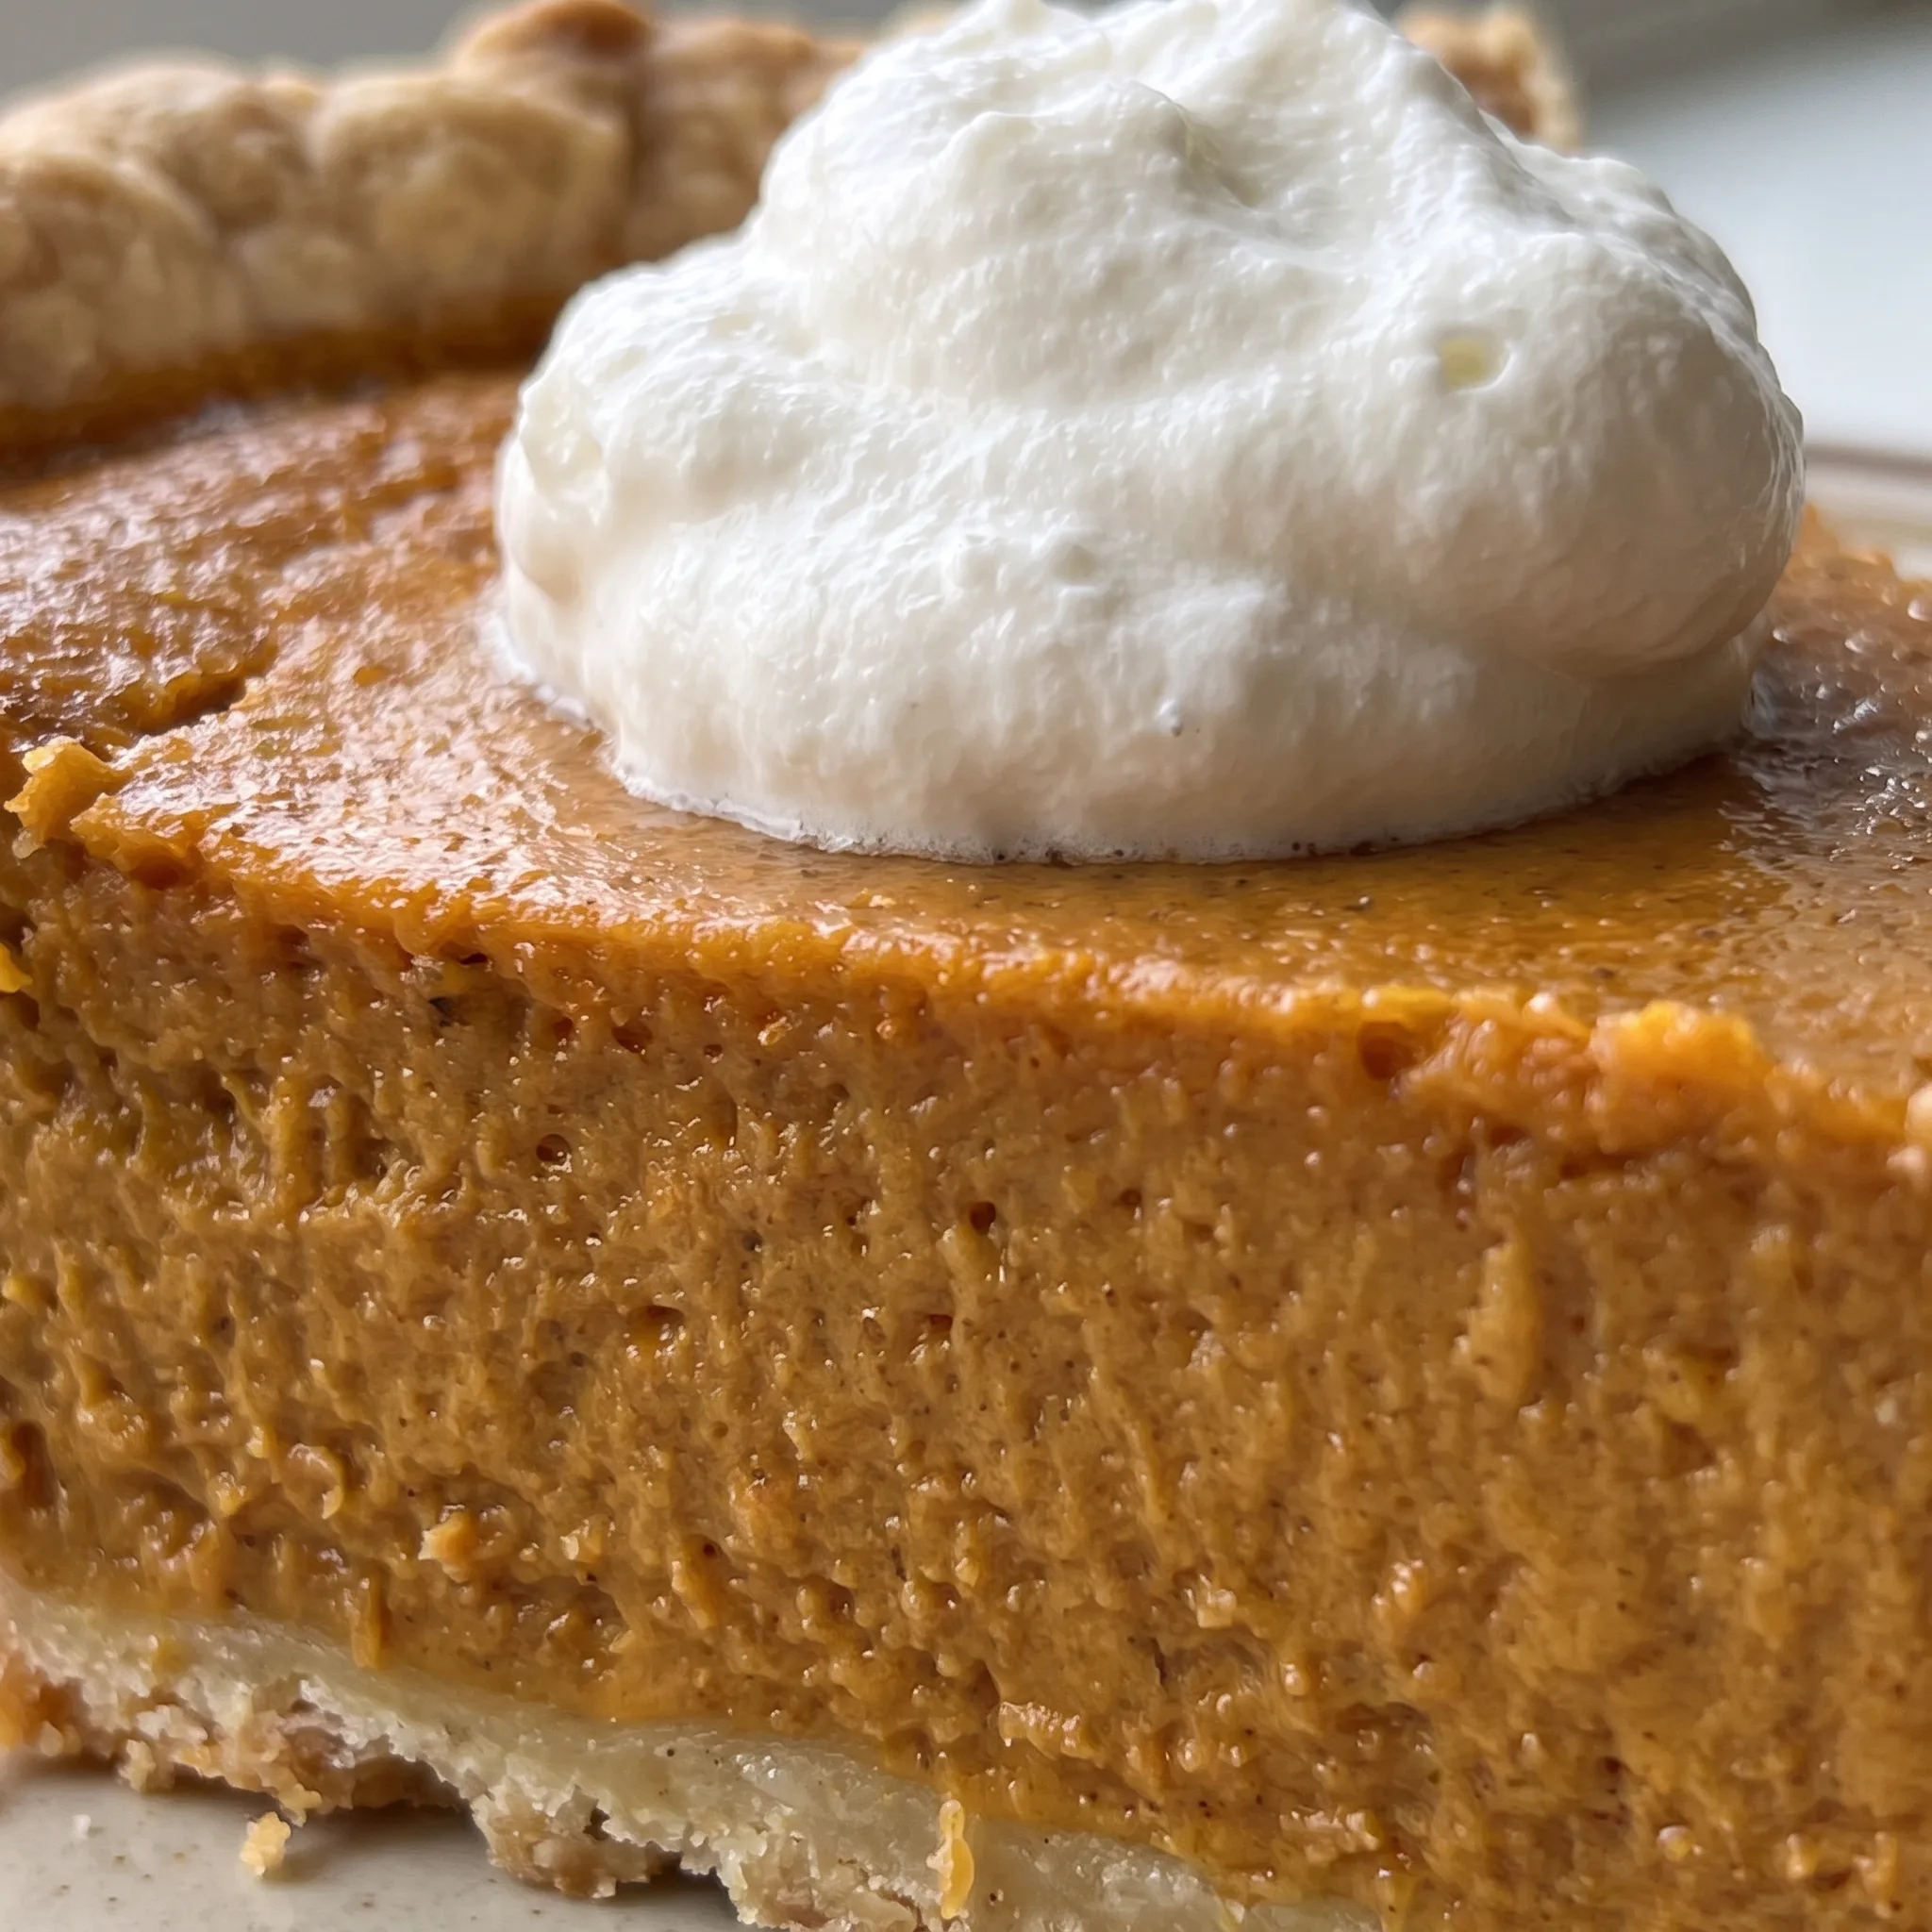
At the lower heat, the filling slowly firms from the edges inward. You’ll know it’s close when the center still jiggles just a bit, like set gelatin, while the outer ring looks matte and dry.
That jiggle is your cue to pull it. Carryover heat finishes the job.
So the two-step bake isn’t fussy, it’s just insurance for a clean slice.
The Rest Is Not Optional
Right out of the oven, the pie is still cooking. The filling looks soft, maybe even a little liquid in the middle, but that’s exactly where it should be.
As it sits on the counter, the residual heat continues to set the custard, and the center tightens up without any additional browning. Give it the full two hours. Rushing this step means you’ll cut into a pie that oozes instead of slices.
The spices also need time to settle. Freshly baked, the cloves and ginger can taste sharp and separate.
After resting, they soften and blend into the pumpkin, so each bite tastes whole rather than spiky. The texture becomes uniform, creamy but firm enough to hold a clean edge on the knife. If you refrigerate too soon, the sudden cold can make the custard weep.
So leave it be. The pie will tell you when it’s ready: the center barely moves when you nudge the pan, and the surface looks dry.
Then you can chill it or serve it.
What to Grab at the Store (and What to Watch)
Libby’s 100% Pure Pumpkin: Buy the plain pumpkin, not the pie mix, so you control the sugar and spices.
Carnation Evaporated Milk: This concentrated milk sets the custard; regular milk won’t give the same firm slice.
Ground cloves and ginger: Fresh spices make a difference; if yours are older than a year, the pie will taste flat.
Large eggs: You need two whole eggs for structure; they bind the filling so it slices cleanly.
Unbaked 9-inch deep-dish pie shell: Check the volume: it should hold 4 cups, or the filling will overflow.
Reading the Custard: When to Pull the Pie
The 15-Minute Mark: Crust Set, Filling Still Liquid
At 425°F, the crust firms before the custard can soak in. You won’t see much color yet on the filling, but the edge of the pastry should look dry and hold its shape. If the crust is already dark, your oven runs hot; drop to 350°F early.
If the filling is bubbling at the edges, it’s boiling, and that’s the start of grainy curds. Pull it down in temperature immediately.
The Jiggle Test: Center vs. Edge
After the temperature drop, watch the surface. The outer ring will turn matte and slightly puffed, while the center still wobbles like set gelatin when you nudge the rack.
That wobble is your cue. A knife inserted in the middle should come out clean, but if it comes out with streaks of liquid custard, give it a few more minutes.
Overbaking past the jiggle means the filling will crack and separate as it cools. Check every 5 minutes near the end.
The Rest: Why Two Hours on the Counter
The pie finishes cooking off the heat. The center, still soft when it leaves the oven, tightens as residual heat sets the custard.
If you cut in early, the filling will ooze and the slices won’t hold. The surface should look dry and barely move when you tilt the pan. Two hours is the minimum.
Chilling too soon traps moisture and can make the custard weep. Let it sit until the pan feels room temperature.
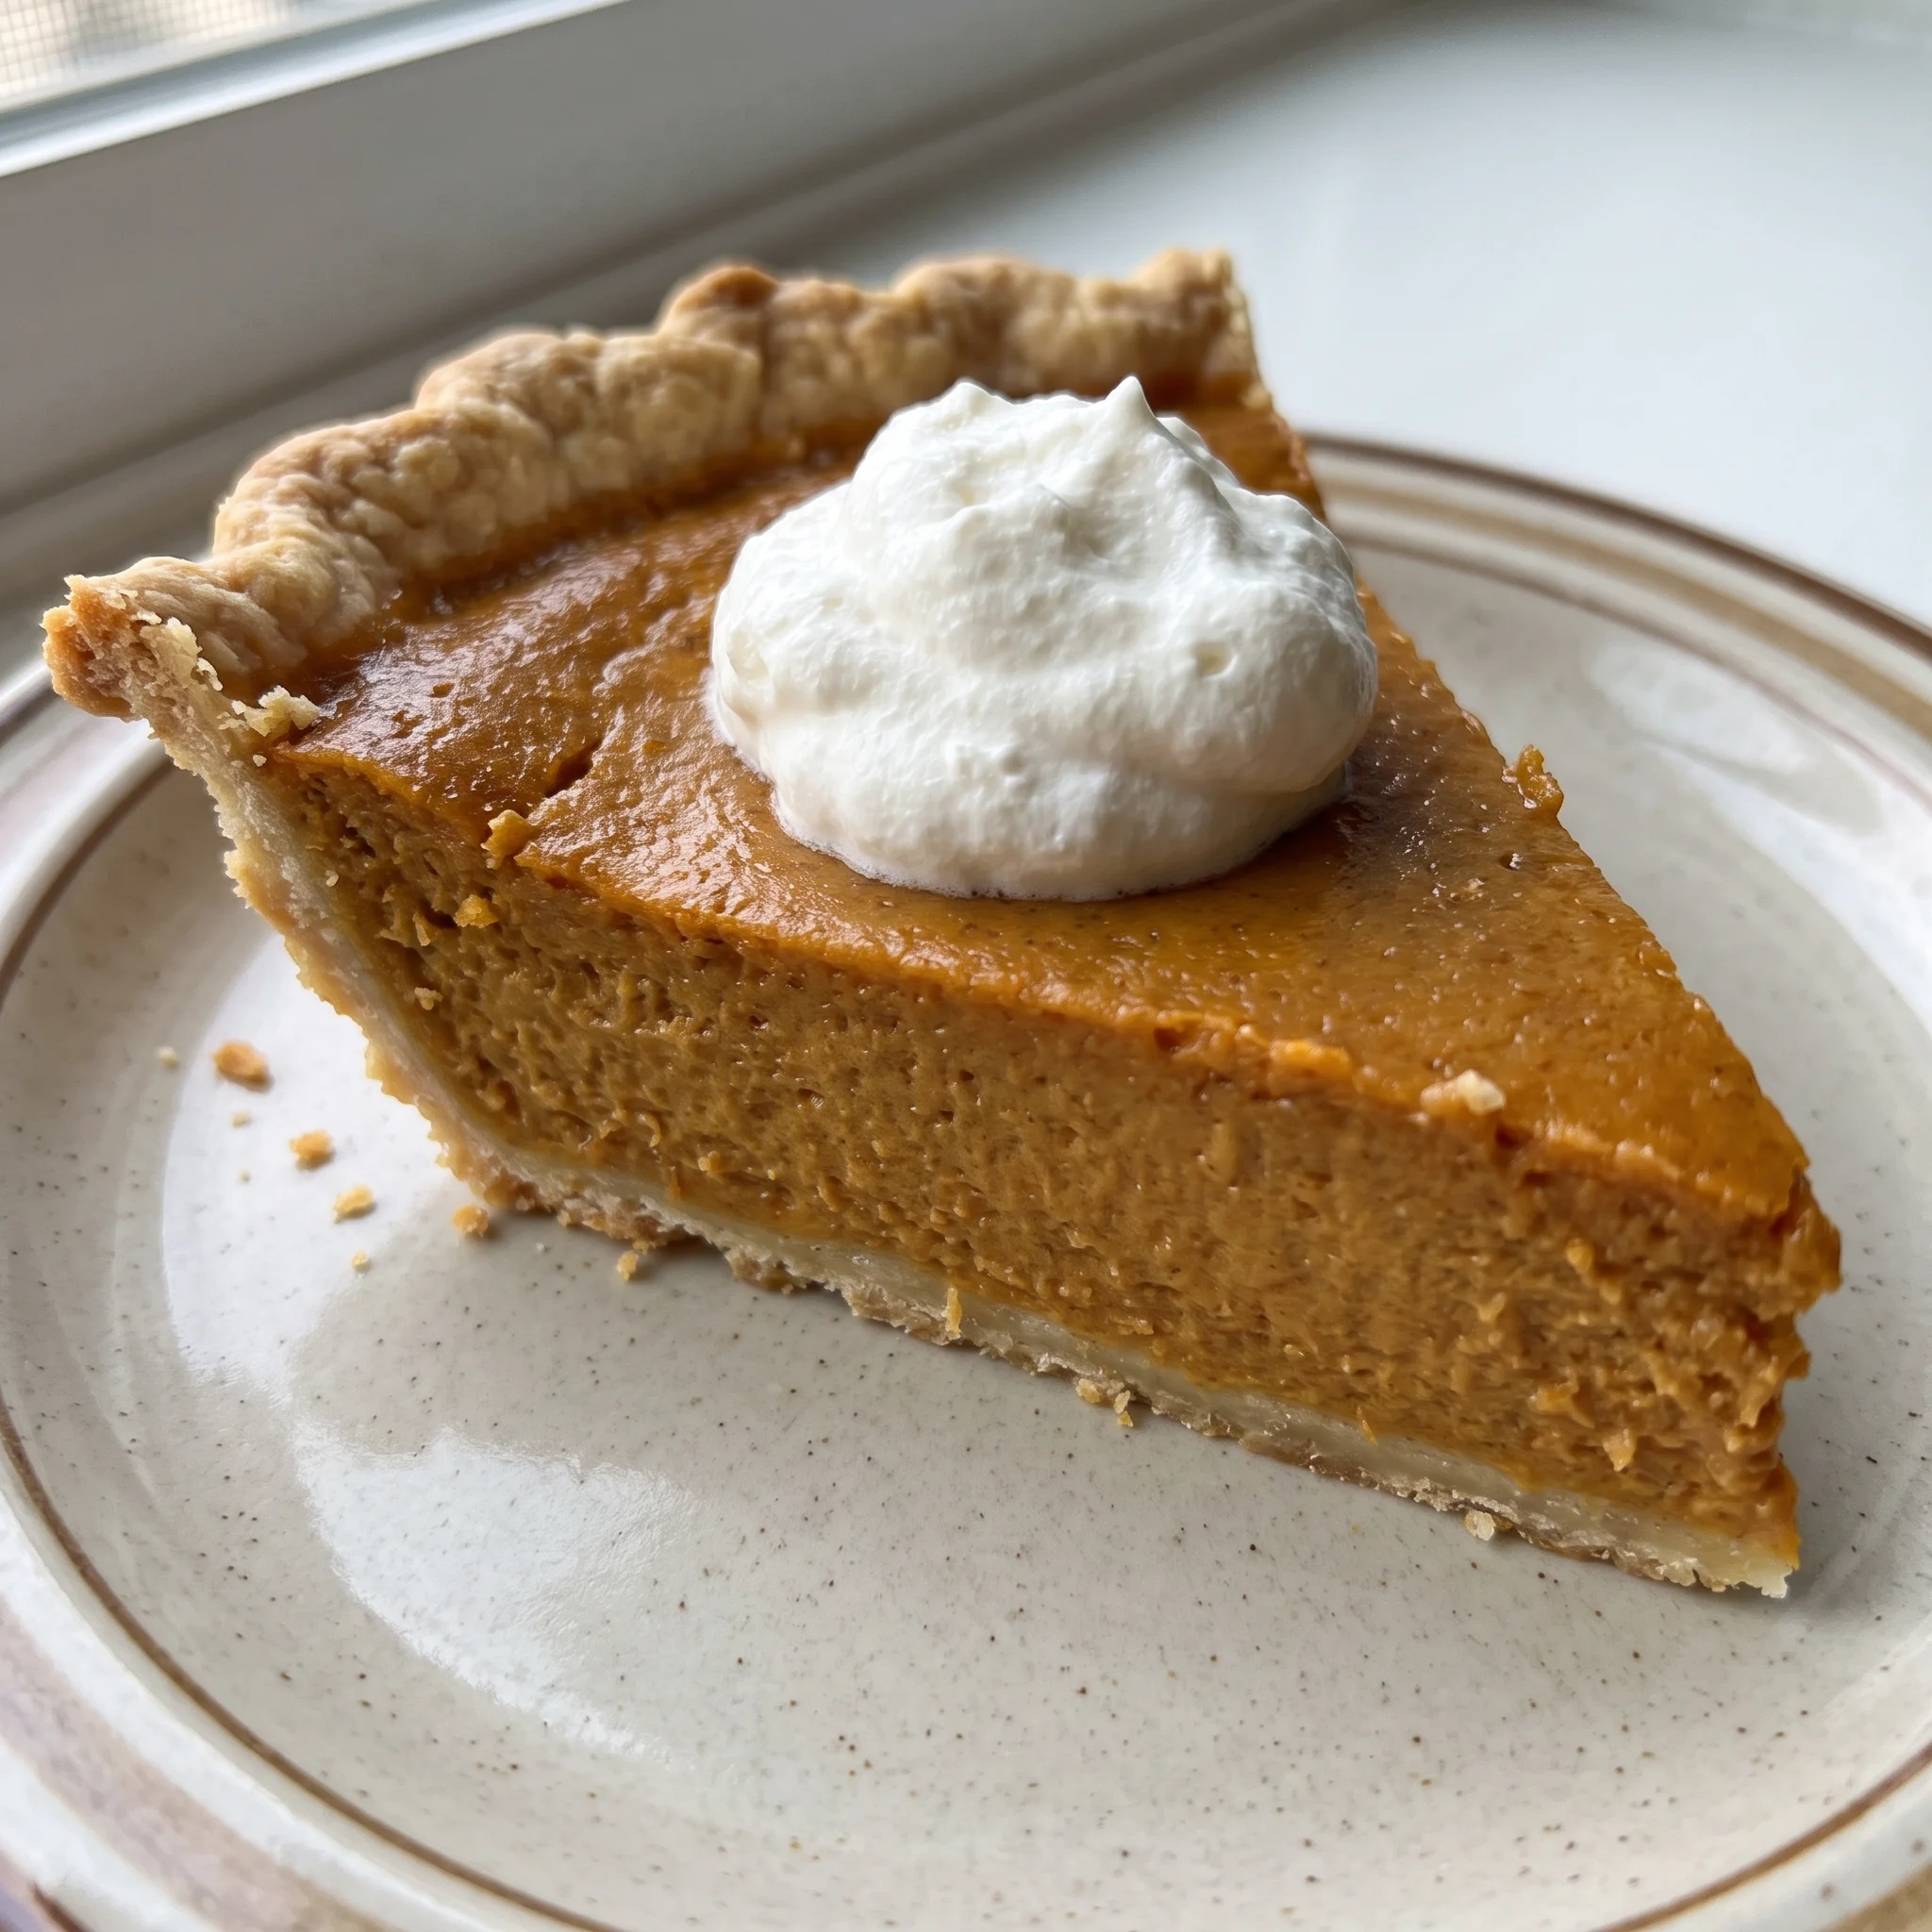
Classic Pumpkin Pie with Evaporated Milk
Ingredients
Method
- Heat the oven to 425°F (220°C).
- In a large bowl, whisk the eggs, then incorporate the pumpkin, spices, salt, and sugar. Slowly blend in the evaporated milk. Transfer the filling into the pie shell.
- Place in the preheated oven and bake for 15 minutes, then lower the heat to 350°F (175°C). Continue baking for another 40–50 minutes, until a knife inserted in the middle comes out clean. Let cool on a wire rack for 2 hours, then refrigerate or serve. Keep covered in the refrigerator for storage.
Swaps That Work: Sugar, Spices, and Milk
Granulated sugar: Replace with an equal amount of packed light brown sugar. Brown sugar brings molasses, so the filling tastes deeper and a little less clean. The custard also darkens, making it harder to read the jiggle.
If you go this route, drop the oven to 350°F after 12 minutes instead of 15 to keep the crust from overbrowning.
Ground cinnamon, ginger, and cloves: Use 2 teaspoons of pumpkin pie spice in place of all three. Pumpkin pie spice is a blend, usually heavy on cinnamon with some ginger, nutmeg, and cloves.
You lose the ability to push the ginger or pull back the cloves. The pie will taste more generic, less bright. Start with 2 teaspoons, taste the filling before it goes into the shell, and add more if you want a stronger spice note.
Canned evaporated milk: For dairy-free, use full-fat canned coconut milk. Start with the same 12 ounces the recipe calls for. Coconut milk has less protein than evaporated milk, so the custard sets softer and may weep a little.
It also adds a faint coconut flavor that competes with the spices. Chill the pie fully before slicing, and expect a slightly looser center.
If you want a firmer set, add an extra egg yolk.
Storing, Chilling, and Serving Pumpkin Pie
Chill the fully cooled pie uncovered until the surface feels firm, then cover it. A tight wrap on a warm custard traps steam, and that condensation beads on top and slicks the surface. Once cold, the filling is at its best: set, clean-edged, and firm enough to cut.
That window runs about two days in the refrigerator, covered. By day three the custard releases water, and slices start weeping onto the plate.
The flavor stays fine; the texture is what slips. You can press a sheet of plastic against the cut face to slow that moisture loss.
Serve cold or let a slice sit ten minutes, no longer, so the custard softens just at the edges. Whipped cream goes on at the moment of serving, never before, or it deflates into the filling.
Skip the freezer for the assembled pie. The custard separates and the crust goes soggy on thaw. If you want to bank a pie ahead, freeze the unbaked shell and filling separately.
Tips
- Use an instant-read thermometer in the center of the filling: pull the pie at 175°F, since the custard sets between 175°F and 185°F and the carryover heat during the 2-hour rest finishes the job. Below 175°F the center stays loose and the slices slump; above 185°F the eggs overcook and the filling turns grainy and cracks.
Frequently Asked Questions
How do I know when the pumpkin pie is done baking?
A knife inserted in the middle should come out clean. If it still has streaks of liquid custard, give it a few more minutes. The center will wobble like set gelatin when you nudge the rack, while the outer ring looks matte and slightly puffed.
That wobble is your cue to pull it; the filling finishes setting as it rests.
Can I make pumpkin pie ahead of time?
Yes, but bake it no more than two days before you plan to serve it. The filling is at its best when it’s set, clean-edged, and firm enough to cut, and that window runs about two days in the refrigerator, covered.
By day three the custard releases water and slices start weeping onto the plate. If you want to bank a pie further ahead, freeze the unbaked shell and filling separately.
Why did my pumpkin pie crack on top?
Overbaking is the most likely cause. Once the center passes the jiggle stage and sets too firm, the custard pulls away and cracks as it cools.
Next time, check every 5 minutes near the end and pull it while the center still wobbles like set gelatin. A second check: if your oven runs hot, the filling can boil at the edges, which also leads to cracks and a grainy texture, so watch for bubbling around the rim and drop the temperature early if you see it.
