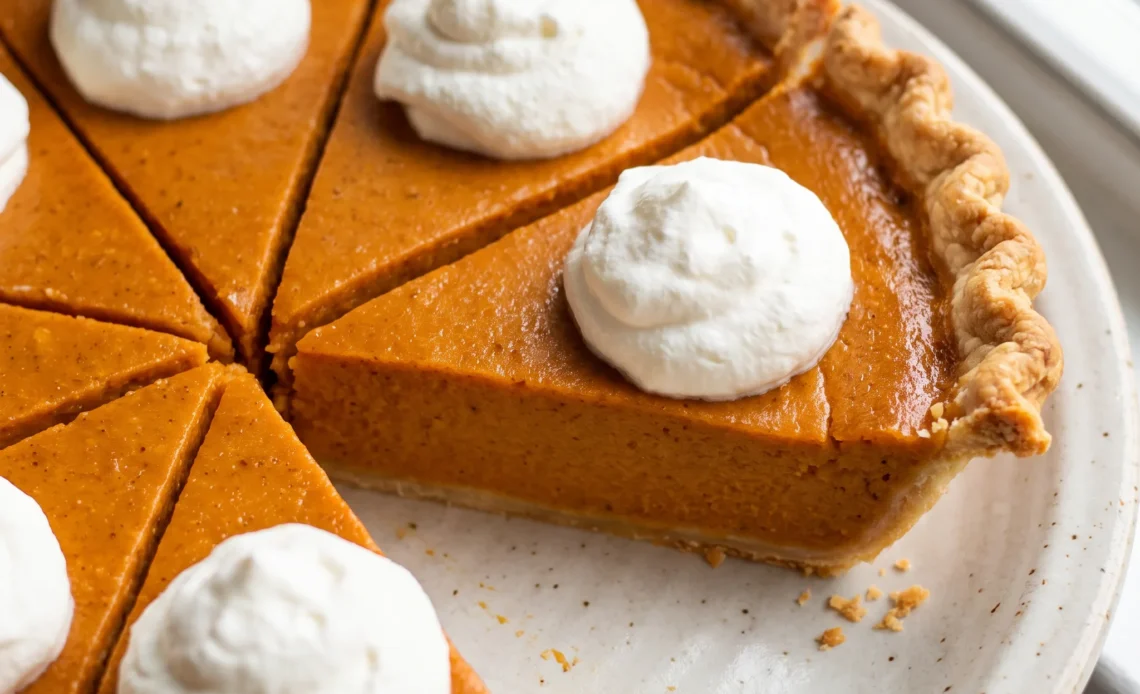
Canned pumpkin can sit on your shelf for a year, but the first whiff of cinnamon and nutmeg drifting from the oven still manages to feel like a homecoming. That aroma, warm and slightly sweet, is half the reason we bake this pie at all. The other half is the satisfaction of pulling a smooth, burnished custard from the heat without a single crack, a feat that hinges on reading the wobble and trusting the gentle finish.
Homemade pumpkin pie rewards a light hand and a patient eye, and the margin for error is forgiving if you know what to look for. This classic dessert, from the chilled crust to the final cool-down, is as much about observing as it is about mixing.
Once you’ve mastered the rhythm, the aroma alone will tell you when it’s right.
The Chilled Crust Advantage
After you’ve shaped the crust, that half-hour in the fridge does more than keep it in place. Cold butter is what makes pastry flaky; when it melts in the oven, it leaves air pockets that turn into tender layers.
If the dough warms up before baking, the butter softens and gets absorbed into the flour, so you end up with a tough, compact shell. Chilling firms the fat back up, so it stays solid until the heat hits, then steams and separates the dough.
You’ll see the difference in the finished pie: a crust that holds its shape and flakes when you cut it, rather than one that slumps or crumbles.
Starting Hot, Finishing Gentle
The oven’s first blast does two jobs at once. It sets the crust, so the sides don’t slide down, and it starts the filling cooking fast, which gives the pie a good head start. Then dropping the temperature keeps things calm.
Too much heat for too long makes the proteins in the eggs tighten up and squeeze out liquid, leaving a curdled, cracked surface. The gentler heat lets the custard firm up gradually, so it stays smooth and glossy. You’ll notice the filling puffs slightly at the edges, but the surface stays intact, no splits or weeping.
The Wobble Test
That slight jiggle in the center isn’t a sign of undercooking; it’s your cue to pull the pie. The edges cook faster because they’re thinner and closer to the pan, so by the time the middle wobbles, the rest is already set. If you wait for the whole thing to be firm, the edges will be overdone, and you’ll taste it in the dry, rubbery rim.
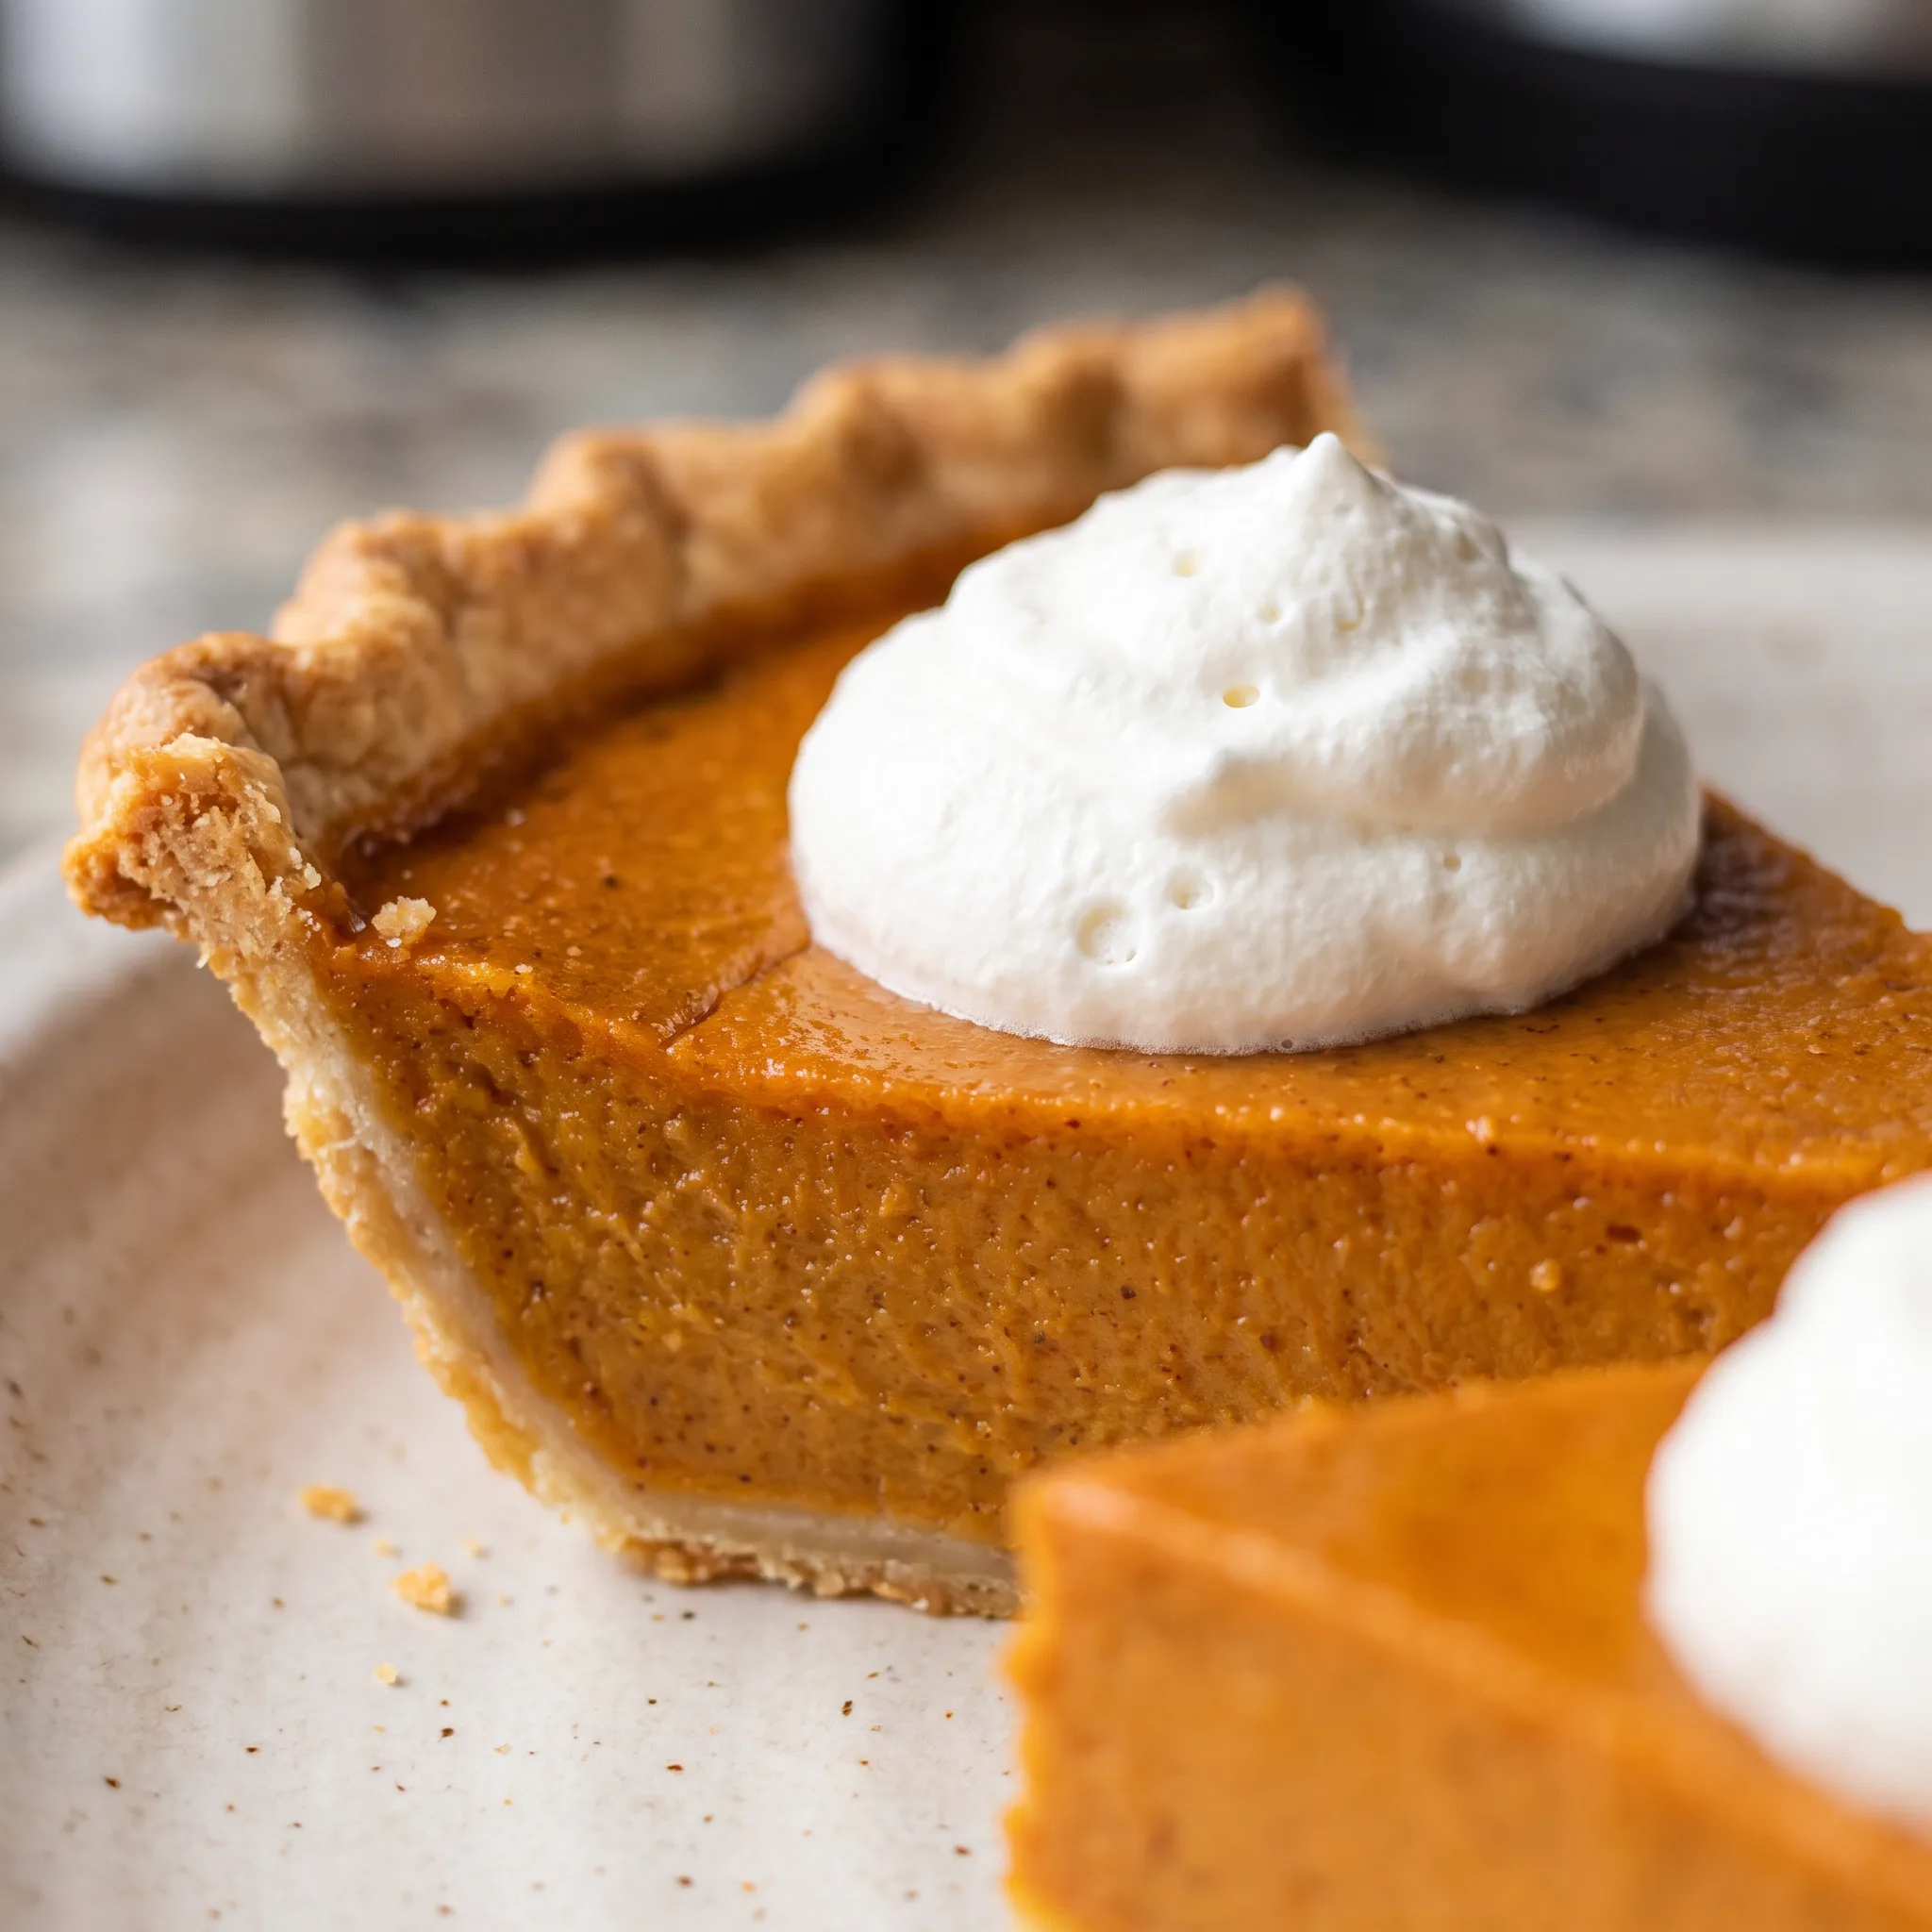
The residual heat finishes the center as the pie rests, so it sets to a creamy, smooth texture without turning tough. A gentle shake tells you it’s done, and the reward is a slice that holds together but melts on your tongue.
Cooling for Clean Slices
Patience here pays off in the cutting. If you refrigerate a warm pie, condensation forms on the surface, and that moisture soaks into the crust, making it soggy. Letting it sit on a wire rack for two hours lets the heat escape evenly, so the filling settles and the crust stays crisp.
Once it’s fully cool, the fridge sets the filling completely, which is what gives you neat, clean wedges instead of a soft, messy scoop. The flavor also sharpens as it chills, so the spice and sweetness come through more clearly.
That first slice, with its smooth top and sturdy crust, tells you the wait was worth it.
The Ingredients That Do the Heavy Lifting
Pumpkin puree: Use pure pumpkin, not pie mix. If using homemade, make sure it’s thick, not watery.
Evaporated milk: It’s concentrated for a reason. Don’t swap in fresh milk; it’ll make the custard loose.
Brown sugar: Packed, not loose. Use the 150 grams for sweetness and a hint of molasses.
Pumpkin pie spice: Store-bought is fine. If blending your own, keep the cinnamon forward.
When the crust is not chilled long enough, the butter softens too quickly in the oven, allowing the dough to slump before the proteins set. Chilling firms the fat, so it melts slowly, giving the crust time to hold its shape. If the crust slides, it is too late to fix, so chilling is the only prevention.
Judging the Pie as It Comes Together
Reading the Filling’s Consistency
When you whisk the filling, watch for a smooth, uniform texture. If you see streaks of egg or lumps of sugar, keep whisking.
A well-mixed filling pours evenly and bakes with a silky texture. Lumps can cause uneven setting or a curdled appearance in the finished pie.
Timing the First Oven Blast
The initial 15 minutes at 425°F are critical for setting the crust. If you open the oven early, the temperature drops and the crust may not fully set, leading to a soggy bottom.
Resist the urge to peek. After the time is up, reducing to 350°F continues the bake without scorching the edges.
Detecting the Done-ness Jiggle
After 45 to 50 minutes at 350°F, give the pie a gentle shake. The center should jiggle slightly, like set gelatin, while the edges are firm.
If it ripples like liquid, it needs more time. If you wait until it’s completely still, the filling will overcook and crack as it cools. That jiggle means the residual heat will finish the job.
Recognizing Over-Browning on the Crust
After 15 to 20 minutes of baking, check the crust’s color. If it’s already deep golden or browning at the edges, cover it with foil or a shield. Over-browning makes the crust taste burnt and hard.
A light golden edge is fine, but protect it before it darkens further, especially for the remaining bake time.
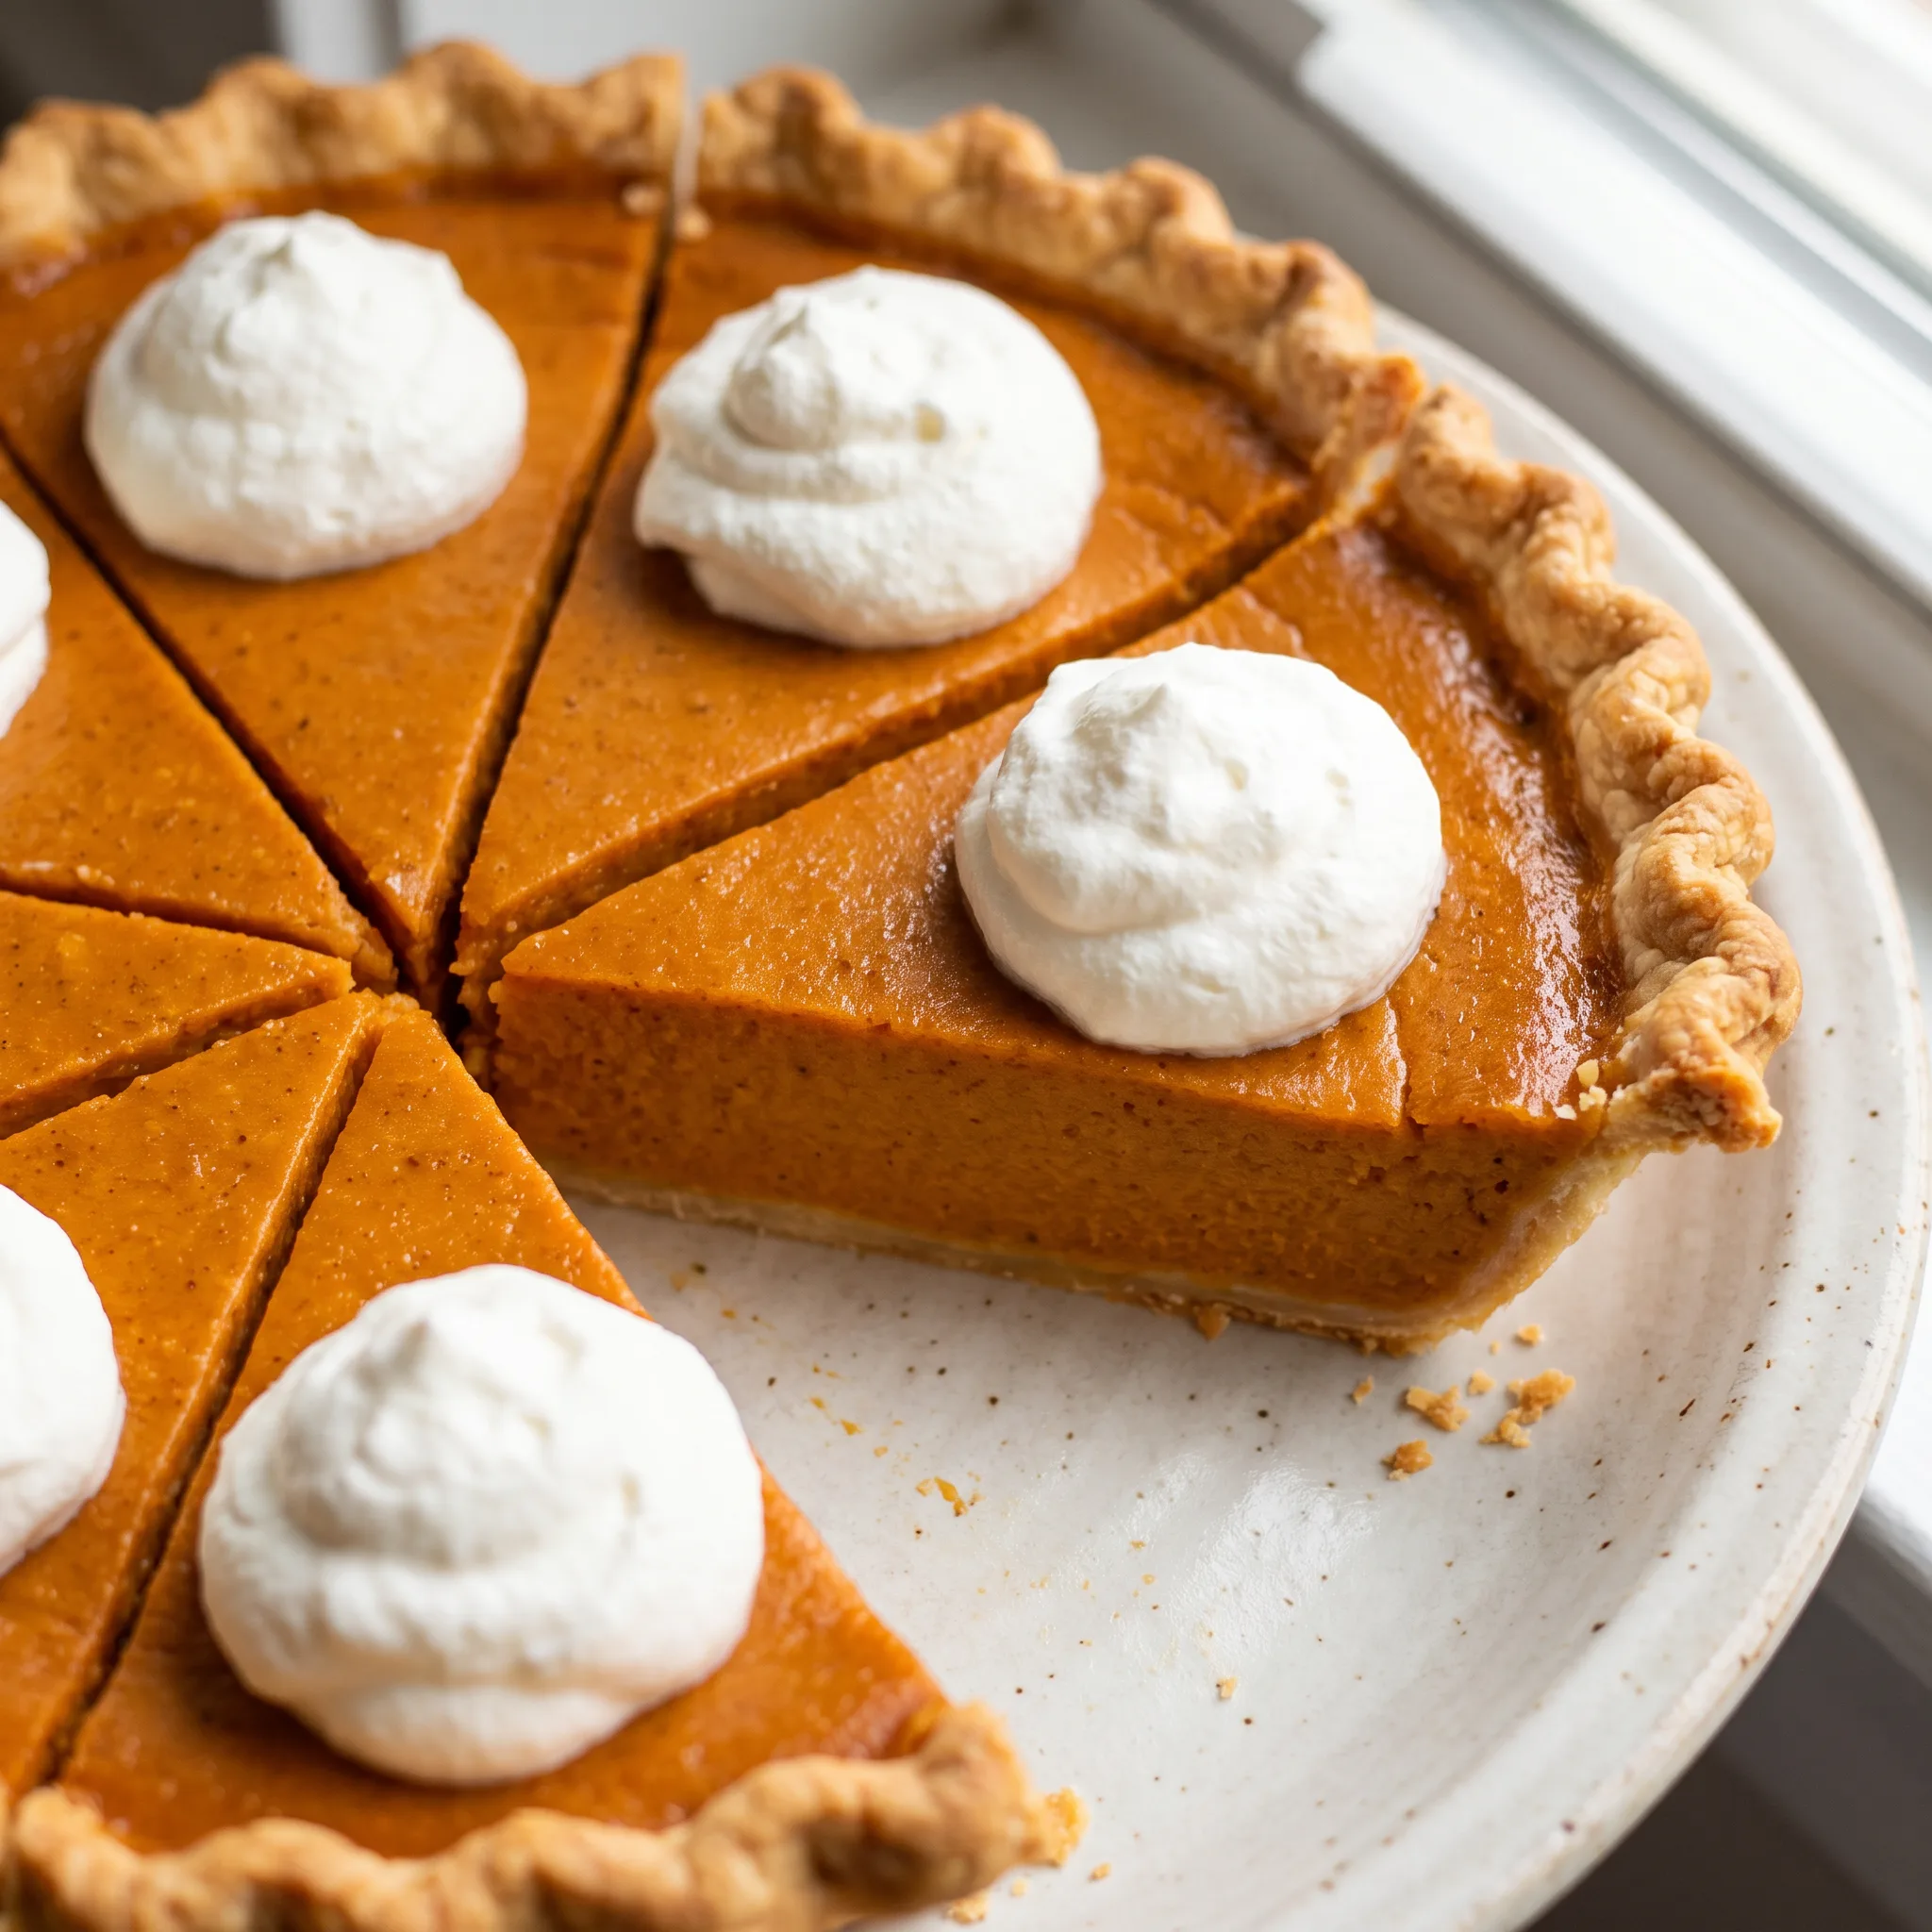
Homemade Pumpkin Pie with Spiced Custard Filling
Ingredients
Method
- Take the pie dough out of the fridge and leave it at room temperature until it’s pliable, roughly 15-20 minutes. Dust a work surface with flour and place the dough on it, then lightly flour the top. With a floured rolling pin, flatten the dough from the center outwards, turning it a quarter turn every 10 minutes, until it extends 1-2 inches beyond the edge of your pie pan. Remember to re-flour the pin and the surface under the dough periodically to avoid sticking.
- Wrap the dough around the rolling pin, then transfer it into the pie plate. Press it in, trim any excess, and crimp the rim. Refrigerate the crust for 30 minutes.
- To make the filling: Preheat your oven to 425°F (220°C). In a medium bowl, combine the eggs, evaporated milk, brown sugar, pumpkin puree, and pumpkin pie spice. Whisk thoroughly until the mixture is smooth and uniform.
- Bake the pie: Pour the filling into the chilled crust and spread it evenly. Bake at 425°F (220°C) for 15 minutes, then lower the temperature to 350°F (175°C) and continue baking for 45-50 minutes, or until the center is set but still has a slight wobble. To prevent over-browning, shield the crust with a pie shield or aluminum foil after 15-20 minutes of baking.
- Cool the pie: Take it out of the oven and let it cool completely on a wire rack for 2 hours. Once cooled, refrigerate it until chilled. Serve with whipped cream and enjoy.
Storing and Serving Leftover Pie
Once the pie has fully chilled, slice and serve within a few hours for the best texture: the crust stays crisp and the filling is creamy. For leftovers, cover the pie loosely with foil or plastic wrap and refrigerate. It keeps for up to three days, but the crust will soften progressively as it absorbs moisture from the filling.
To revive a slice, place it on a baking sheet in a 350°F oven for 5 to 7 minutes; this re-crisps the crust without overheating the filling. The filling itself holds its smooth texture for the first two days; after that, it may weep slightly on the surface, but it’s still safe to eat. Freezing the whole baked pie isn’t ideal, as the custard’s texture breaks down and turns watery when thawed.
Instead, freeze the baked crust separately, then fill and bake fresh when you’re ready. Always add whipped cream just before serving, not ahead, so it doesn’t deflate or turn watery.
Tips
- Weigh the brown sugar instead of packing it into a measuring cup. The recipe calls for 150 grams, and a scale ensures you hit that number exactly. Packed cups can vary by 10-20 grams depending on moisture and how firmly you press, which shifts the sweetness and the caramelization in the crust. A heavier hand makes the pie cloying and the top sticky; a lighter one leaves it less sweet and the texture drier. Weighing takes the guesswork out and keeps the custard balanced.
Swapping Without Breaking the Custard
Evaporated milk: Heavy cream or half-and-half. Evaporated milk has less fat and more concentrated milk solids than fresh milk, which gives the custard a firm, sliceable set. If you swap in heavy cream, the pie gets richer and creamier, but the filling will be softer and cut less cleanly.
Half-and-half is closer in fat, but it still has more water than evaporated milk, so the custard may turn out looser and take longer to set. Start with the same amount the recipe calls for, then test it: if the wobble is too jiggly after the bake time, let it cool fully; the fridge will help it firm up.
Pumpkin puree: Homemade pumpkin puree. Canned pumpkin is consistent and thick, so it gives you the same texture every time. Homemade puree can range from watery to dense depending on the squash and how long you drained it.
If it’s too wet, the filling will be loose and may weep as it cools. If you use homemade, cook it down until it’s as thick as canned, and if it still looks thin, consider reducing the evaporated milk slightly, but that’s a guess, you’ll need to adjust based on what you see. The flavor will be fresher, but the texture can be a gamble.
Pumpkin pie spice: Store-bought or homemade blend. The spice blend is where you can play.
If you want a stronger cinnamon note or a touch more ginger, make your own mix with cinnamon, nutmeg, ginger, and allspice. Start with the amount in the recipe, then taste the filling before pouring; raw filling is safe to taste, and you can add a pinch more spice if it’s not forward enough. Store-bought blends are balanced, so swapping one for another won’t change much, but homemade lets you dial in the heat.
Frequently Asked Questions
Can I make this pumpkin pie ahead of time?
Yes, you can make it a day ahead. After it cools completely on the rack for two hours, refrigerate it. The filling sets firmly overnight, which actually makes slicing cleaner.
But don’t assemble or bake it more than a day before serving; the crust starts to soften as it sits, and the top may weep slightly after two days. Add whipped cream just before serving, not earlier.
How do I know when my pumpkin pie is done without cracking?
You’re looking for a gentle wobble in the center, not a full set. At 45 to 50 minutes at 350°F, shake the pie gently; the center should jiggle like set gelatin while the edges are firm.
If it ripples like liquid, give it more time. That wobble means the residual heat will finish cooking the center without tightening the proteins too fast, which is what causes cracks.
Why does my pumpkin pie sometimes turn out runny?
Most likely, it didn’t bake long enough. The center should still wobble when you pull it, but if it’s overly liquid, it needed more time in the oven. Also, check your pumpkin puree: if you used homemade and it was watery, that adds extra moisture.
For canned, make sure it’s pure pumpkin, not pie mix. And don’t swap in fresh milk for the evaporated milk; that loosens the custard.
What’s the difference between homemade pumpkin puree and canned pumpkin for this pie?
Canned pumpkin is consistent and thick, so it gives you the same texture every time. Homemade puree can range from watery to dense depending on the squash and how long you drained it.
If yours is too wet, the filling will be loose and may weep as it cools. If you use homemade, cook it down until it’s as thick as canned; the flavor will be fresher, but the texture can be a gamble.
