
Getting the jam to stay put is the whole trick with raspberry thumbprint cookies. A soft butter dough, pressed with your thumb, filled after baking so the jam keeps its bright red color instead of cooking down. Most of the trouble lands in two spots: dough that’s too slack to hold a well, and a well too shallow to hold the filling.
Both show up as the same flat, jam-stained cookie, and both trace back to how the dough feels before it ever sees the oven. The glaze goes on last, and only once the cookies are completely cool.
What separates a tray of these that looks bakery-made from one that looks rushed comes down to reading the dough and the wells as you go, not the recipe itself.
Why Must Thumbprint Cookie Dough Be Chilled?
Butter makes up nearly as much of this dough as flour does, and that ratio is what gives the cookies their tender crumb. At room temperature, though, that much butter leaves the dough slack and greasy, more like a soft paste than something you can shape.
Put it in the refrigerator and the butter firms up, so the dough turns sturdy enough to roll into balls that actually hold a round shape. Skip that rest and the balls slump the moment they hit a warm baking sheet, spreading into flat discs with a shallow dent that fills in as they bake.
You end up with cookies that look more like wafers than thumbprints. The chill also gives the flour time to absorb moisture, so the baked cookie has a finer, less crumbly texture.
When you pull the dough out, it should feel cool and slightly stiff, not tacky.
How Deep Should the Thumbprint Be?
That indentation isn’t just decoration. It forms a little wall of dough that holds the jam in place while the cookie bakes. Press too lightly and the well is too shallow, so the jam has nowhere to go once it heats and thins.
It bubbles over the edge, runs down the sides, and burns onto the parchment in dark, sticky patches. Press too far and you risk cracking the base, which lets jam leak out the bottom.
The goal is a well wide enough to hold a spoonful of jam and deep enough that the jam sits below the rim of the cookie, but not so deep that the dough underneath becomes paper-thin. You want an even thickness all around, too. If one side of the wall is thicker than the other, that side bakes slower and the cookie ends up lopsided, with the jam pooling to one side.
Why Use Seedless Raspberry Jam?
Seeds would be a textural interruption. The cookie itself is soft and buttery, the glaze is smooth, and a mouthful of raspberry seeds would break that up in a way that feels more like a flaw than a feature.
Seedless jam also behaves better in the oven. It melts evenly and, as it cools, sets into a glossy gel that stays put in the well. You can spoon it without it running.
And because the jam goes in after baking, it keeps its bright, tart flavor instead of cooking down into something darker and more concentrated. A jam with seeds would still taste fine, but the texture would be coarser and the look less clean. What you’re after is a jewel-like dot of clear red that contrasts with the pale cookie and white drizzle.
When you bite in, the jam should be soft but not runny, with a clean raspberry tang.
What Does the Glaze Add to Thumbprint Cookies?
The glaze is a thin ribbon of sweetness that cuts the tartness of the jam and the richness of the butter dough. It’s mixed thick on purpose so it drizzles in lines rather than soaking into the cookie. If it were thin, it would disappear into the crumb and leave no visual trace.
This way, it sits on the surface, adding a glossy white pattern that makes the cookies look finished. The flavor is simple: powdered sugar, a little vanilla, and just enough water to make it flow. It’s not meant to dominate.
You taste it as a quick hit of sugar that melts away, then the jam and cookie come through. Timing matters.
If you drizzle while the cookies are still warm, the glaze melts and slides off, leaving a sticky sheen instead of distinct lines. Wait until they’re completely cool, and the glaze stays where you put it, setting to a soft, matte finish.
Why Roll Cookie Dough in Sugar Before Baking?
That coat of granulated sugar does more than add sweetness. It gives the cookie a thin, slightly crisp shell that crackles when you bite through to the soft interior.
Without it, the surface would be tender but a bit pale and one-note. The sugar also helps the cookies release cleanly from parchment or a silicone mat. As they bake, the sugar melts and caramelizes just enough to create a barrier that keeps the dough from sticking.
And during shaping, it keeps the dough from clinging to your hands, so you can roll smooth balls quickly. The sugar doesn’t dissolve completely in the oven; some of it stays visible as a sparkly, textured crust. That texture contrasts nicely with the smooth jam and glaze.
You’ll see the cookies brown lightly around the edges, with the sugar glinting on top. It’s a small step that makes a noticeable difference in both look and feel.
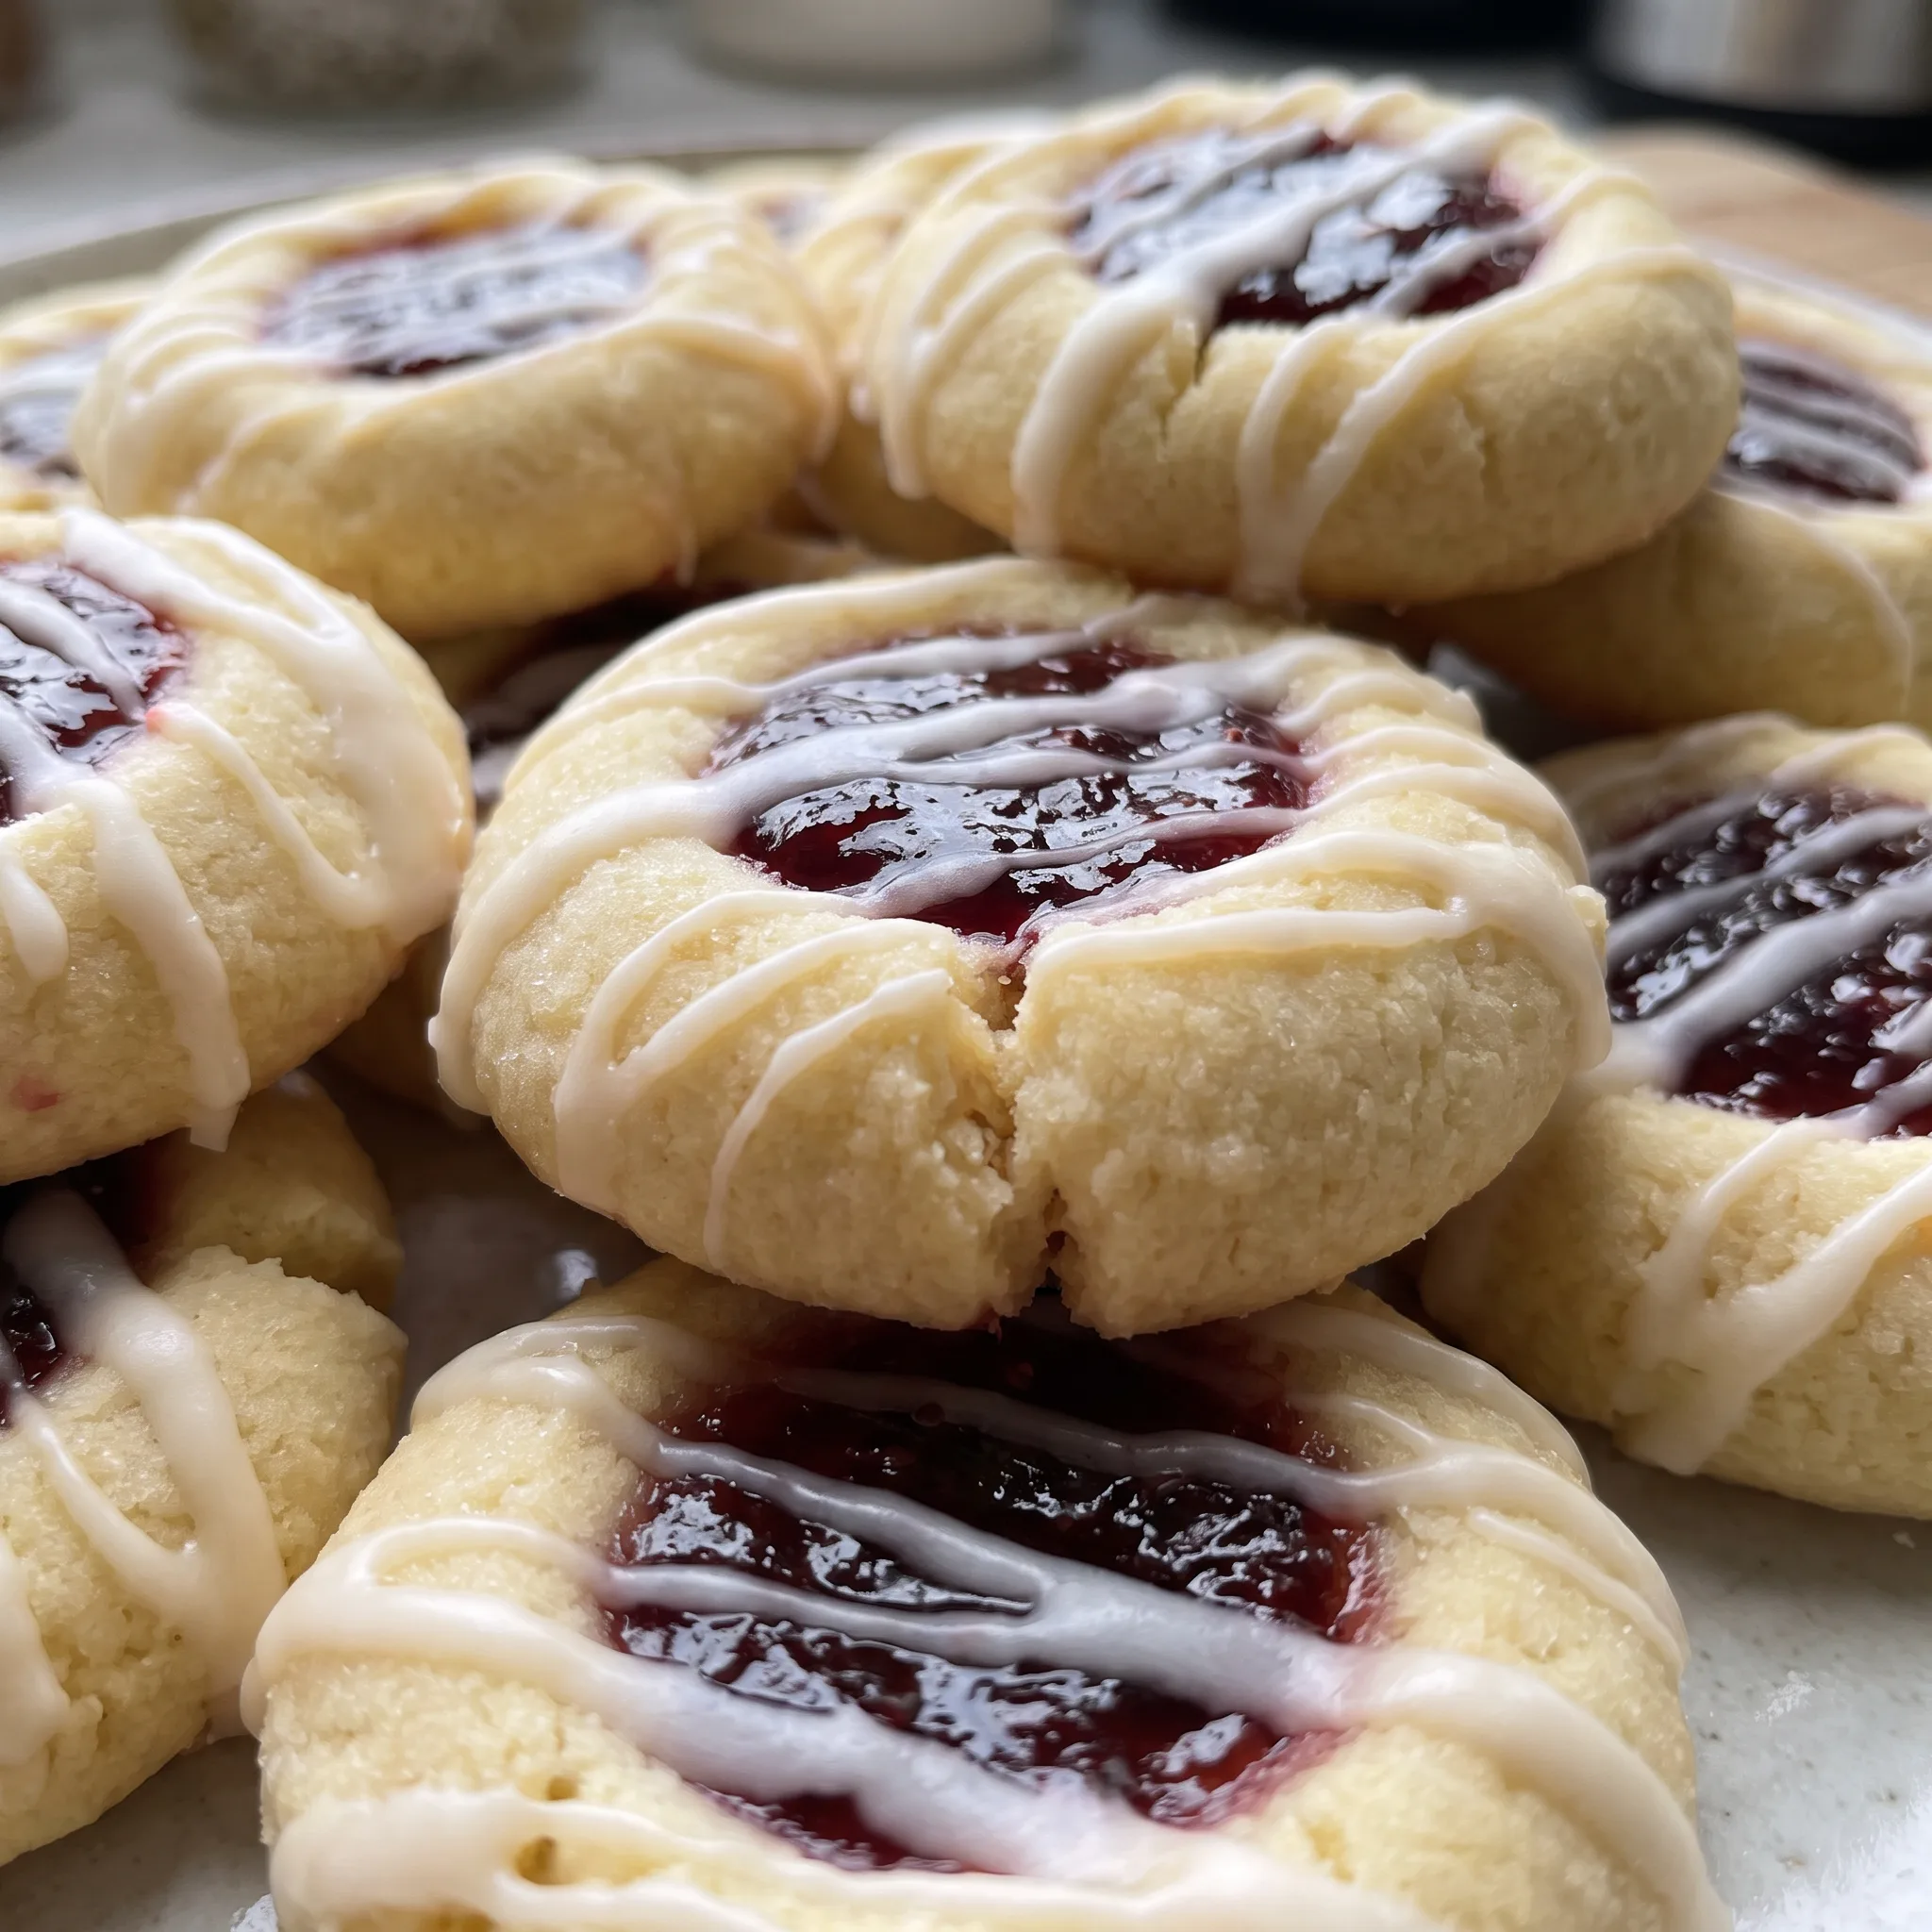
Ingredient Notes for Raspberry Thumbprint Cookies
butter: Softened means it dents under your thumb but still holds its shape, not greasy or melted.
seedless raspberry jam: Seedless keeps the filling smooth and sets into a glossy dot without seedy interruptions.
confectioners’ sugar: Sift it if lumpy, or the glaze will streak instead of drizzling in clean lines.
all-purpose flour: Scoop and level, or weigh 240g; too much flour makes the dough crumbly and hard to shape.
When the indentation is too shallow or the dough wall around it is uneven, the jam has no reservoir to expand into. As the cookie bakes, the jam heats, bubbles, and flows over the low side, burning on the baking sheet and leaving a dry, darkened crater. A deep, evenly walled well gives the jam a contained space to set into a glossy gel without escaping.
How to Judge Thumbprint Cookies as You Make Them
When the dough is firm enough to shape
After the hour in the refrigerator, the dough should feel cool and slightly stiff, not tacky. Squeeze a small piece: it should hold a ball without cracking at the edges, and your palm shouldn’t come away greasy. If it’s still soft or sticky, give it another 10 to 15 minutes.
Shape it too soon and the balls flatten before they hit the oven, leaving shallow wells that fill in as they bake.
How to press a well that holds jam without leaking
Press until the indentation is wide enough to hold a spoonful and deep enough that the jam will sit below the rim, but not so deep that the dough underneath feels paper-thin. Run your thumb around the inside to even out the wall. A lopsided wall bakes unevenly: one side browns faster, the cookie tilts, and the jam pools to one side.
Reading the color at the end of baking
Pull them when the edges are lightly browned, 13 to 16 minutes in. The centers will still look pale and slightly soft; that’s carryover cooking as they sit on the hot sheet. Wait for the whole cookie to brown and the base will be dry and hard.
If the edges darken before the time is up, your oven runs hot. Move the rack up and check a minute early next batch.
Judging the jam’s set before it goes in the well
Melted jam should be fluid enough to spoon but thick enough to mound slightly. If it’s watery, it will soak into the cookie and leave a stain instead of a jewel-like dot. If it’s too thick, it won’t spread to fill the well.
Let it cool for a minute after melting; hot jam straight from the microwave can bleed into the surrounding dough.
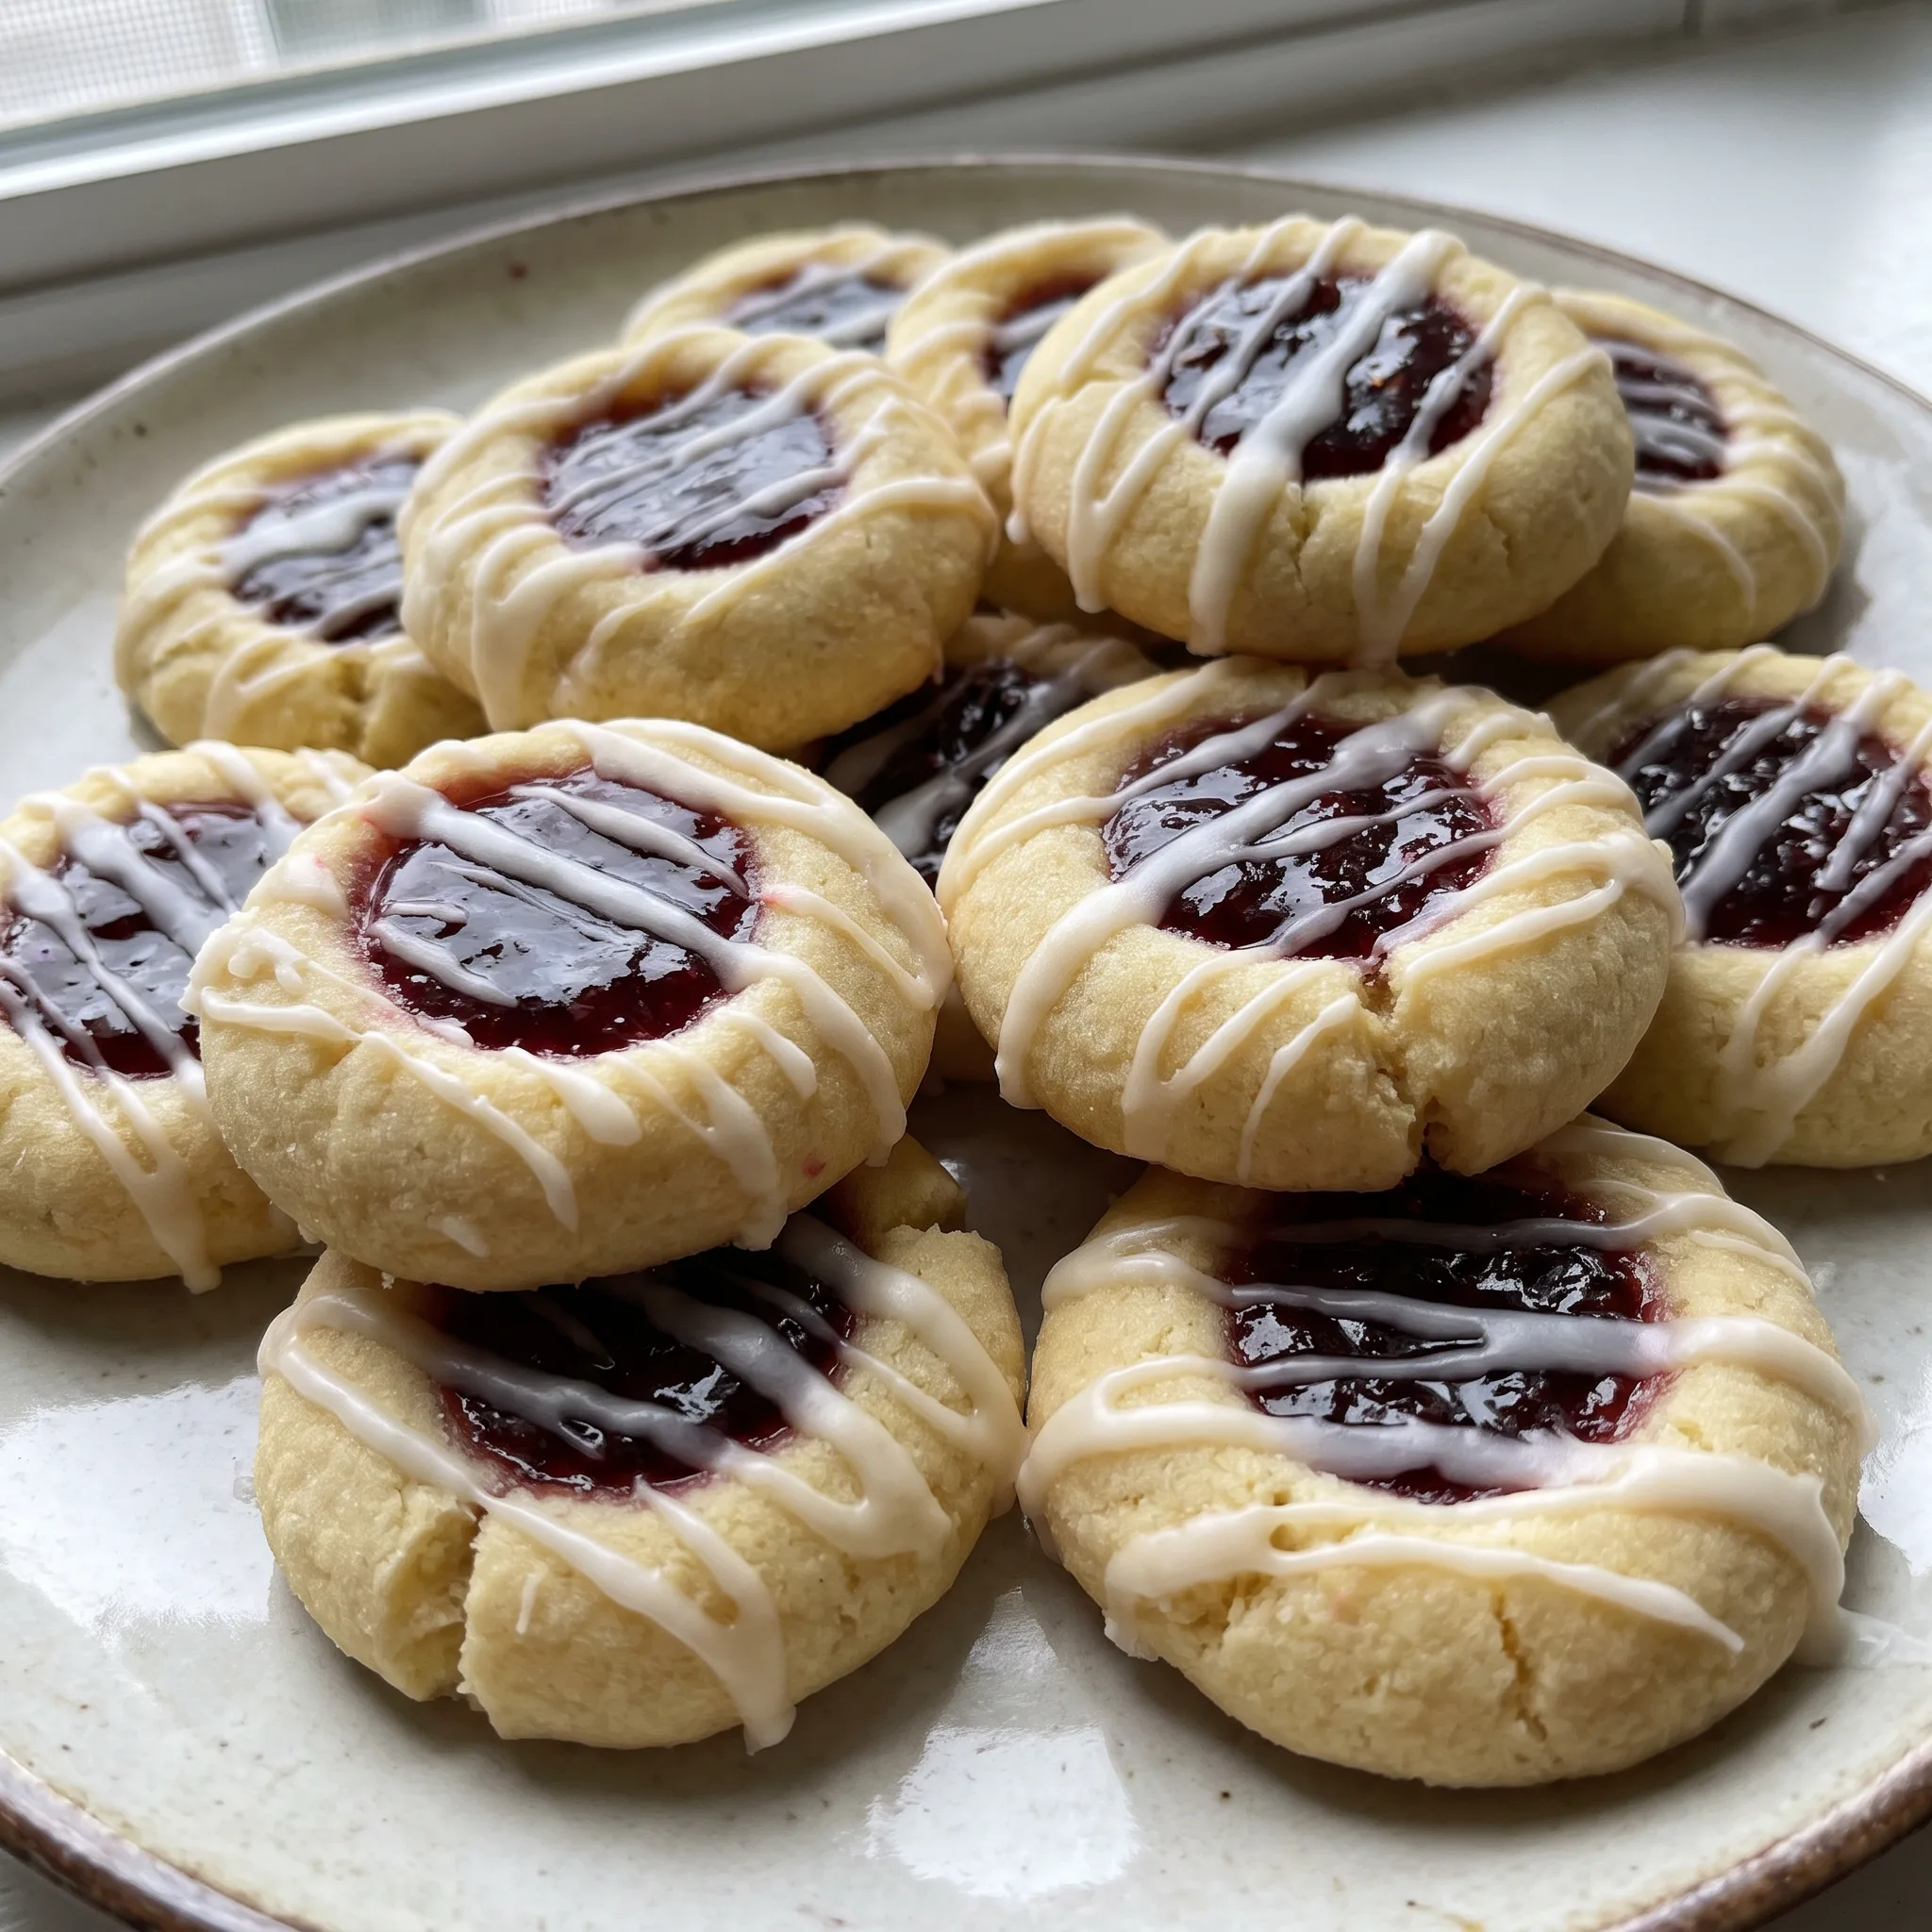
Raspberry Thumbprint Cookies with Vanilla Glaze
Ingredients
Method
- In a medium bowl, combine flour, baking powder, and salt by whisking.
- In a large bowl, beat butter, 1/2 cup granulated sugar, and 1 teaspoon vanilla extract until fluffy, about 2 to 3 minutes on medium speed. Add egg and beat until fully incorporated. Add flour mixture in increments, beating until just mixed. Refrigerate dough for exactly 1 hour.
- Heat oven to 350°F (175°C). Prepare baking sheets by lining with parchment paper or silicone mats, or by greasing. Put the remaining 1/4 cup granulated sugar in a small dish. Shape dough into 1-inch balls, coat each in sugar, and place 2 inches apart on the baking sheets.
- Create a depression in the center of each ball using your thumb, a rounded 1/2 teaspoon measuring spoon, or the handle end of a wooden spoon. Bake for 13 to 16 minutes, until edges are lightly browned. Move to wire racks.
- In a small microwave-safe bowl, melt raspberry jam. Fill each cookie’s indentation with jam.
- Let cookies cool completely. For glaze, stir together confectioners’ sugar, 1/2 teaspoon vanilla extract, and water until smooth; mixture should be thick. Drizzle over cookies.
- Keep in an airtight container in a cool spot, layered with parchment paper between.
Storage and Serving: Why These Cookies Peak in the First Two Days
The sugar coating is the clock here. That granulated crust starts crisp and crackly the day they’re baked, then draws moisture from the jam and the soft crumb beneath it. By day two it’s softer, and by day three it’s mostly gone, leaving a plain tender surface.
So eat them within 48 hours for the texture the recipe is built around. They stay entirely fine for about a week in an airtight container in a cool spot, layered with parchment between each row.
The parchment isn’t optional: it stops the glaze from transferring to the cookie above and keeps the jam wells from sealing to whatever sits on top. The jam itself holds up well, staying glossy and set, though it slowly bleeds a little into the surrounding dough. The glaze dries to a soft matte finish and stays put.
Skip the freezer. The jam and glaze both suffer when thawed, going watery and dull. Bake, glaze, and eat fresh.
Tips
- If the chilled dough still feels tacky, work in flour a teaspoon at a time until it just stops clinging to your palm; extra flour at this stage is what keeps the balls round and the pressed wells from sagging closed, since tacky dough grabs your thumb and tears at the rim instead of denting cleanly.
What You Can Swap in These Thumbprints, and What Falls Apart
butter: Margarine or a butter spread can stand in for the 1 cup of softened butter, but use the kind that lists at least 80 percent fat on the label. Start with the same 227g the recipe calls for and watch the first tray.
The dough will feel softer coming out of the chill and the balls spread wider in the oven, so the wells come out shallower. Expect paler cookies with less of that toasted edge, and a flatter, less tender crumb. Margarine with a high water content is worse: the cookies puff, then collapse, and the centers stay gummy.
seedless raspberry jam: Any other seedless fruit jam works in the same 2/3 cup measure: apricot, blackberry, cherry, strawberry. A seedless preserve with a firm set behaves closest to the raspberry. Apricot reads milder and more honeyed, blackberry darker and tarter.
Flavor shifts, but the glossy dot sets the same way because the swap keeps the same smooth texture. Chunky or seeded jam is a different story. The seeds and fruit pieces sit above the surface of the well, and the filling looks coarse next to the pale cookie and white drizzle.
Leave those for toast.
confectioners’ sugar glaze liquid: Replace the 1 1/2 teaspoons water with milk, or with lemon juice, starting at the same measure. Add liquid a few drops at a time after that. Milk gives a slightly creamier, softer-set glaze that dries to a duller finish.
Lemon juice thins the glaze faster than water does and brings a tart edge that plays against the raspberry, though you’ll likely need a touch less than the recipe’s water to keep it thick enough to drizzle in lines. Either way, stir until the glaze mounds on the spoon rather than runs off it.
all-purpose flour: A cup-for-cup gluten-free blend can replace the 240g all-purpose flour, but only a blend built for baking, not a single flour like almond or coconut. Use the same 240g and expect a softer dough. Gluten-free blends absorb liquid differently, so the dough may need a few extra minutes in the refrigerator before it firms enough to roll.
The baked cookies come out a bit more fragile and sandy in texture, and the wells hold their shape less reliably. Chill longer if the balls slump as you press them.
Frequently Asked Questions
Can I make the dough ahead of time and bake later?
Yes, though you’ll need to plan around the butter. The dough firms up in the refrigerator, so if you make it a day ahead, let it sit at room temperature just until it’s soft enough to scoop, or the balls will crack when you roll them.
After shaping, you can park the unbaked, sugar-coated balls on a sheet in the refrigerator for an hour or two, then press and bake straight from cold. If you go longer than overnight, the dough starts to dry at the edges and the baked cookies come out a bit crumbly. The jam and glaze are last-minute jobs either way.
Why did my thumbprint cookies spread flat in the oven?
The usual culprit is dough that went into the oven too warm, either because it sat out too long before baking or because the butter was too soft when you creamed it. Those balls slump the second they hit the hot sheet, and the wells fill in as they bake. Slide the sheet in with the dough still cool to the touch and the shape holds.
A secondary check: if your baking sheet is dark or thin, it runs hot underneath and the bottoms set before the tops, which also encourages spread. Give the dough a short rest in the refrigerator if it feels greasy or slack while you’re rolling.
How do I keep the jam from bubbling over or burning?
Fill the well only about three-quarters full. Jam expands as it heats, and a brimming well has nowhere to go but over the rim and onto the parchment, where it darkens into sticky patches.
Stop when the jam sits just below the cookie’s edge. Melt the jam until it’s fluid enough to spoon but still mounds slightly; watery jam soaks in and leaves a stain, and jam straight from the microwave can be hot enough to bleed into the surrounding dough. Let it cool for a minute before you fill the cookies.
If you see a well that’s cracked or thin on one side, use less jam there.
What’s the difference between these and classic thumbprint cookies?
Classic thumbprints are often a shortbread-style dough, sometimes with nuts, and the jam goes in before baking so it cooks down and darkens. Here the dough is a soft butter cookie with baking powder, and the jam is spooned in after the cookies come out of the oven, so it keeps its bright red color and tart edge. The glaze is the other departure.
A powdered sugar and vanilla drizzle over the cooled cookie adds a second layer of sweetness that cuts the jam, and it’s mixed thick so it sits on the surface in clean lines. The result is a paler cookie with a glossy dot and a white ribbon, not the deep amber look of a baked-in jam thumbprint.
How should I store these cookies so the glaze stays nice?
An airtight container in a cool spot, with parchment between each layer, is what keeps the glaze intact. Without that paper, the glaze transfers to the cookie above and the jam wells seal to whatever sits on top, so you lose the clean drizzle and end up with a sticky mess. The glaze itself dries to a soft matte finish and stays put as long as the cookies aren’t stacked directly.
Eat them within two days for the crisp sugar coating the recipe is built around; they hold for about a week, but the crust softens day by day. Skip the refrigerator and the freezer, since both leave the jam and glaze watery and dull.
