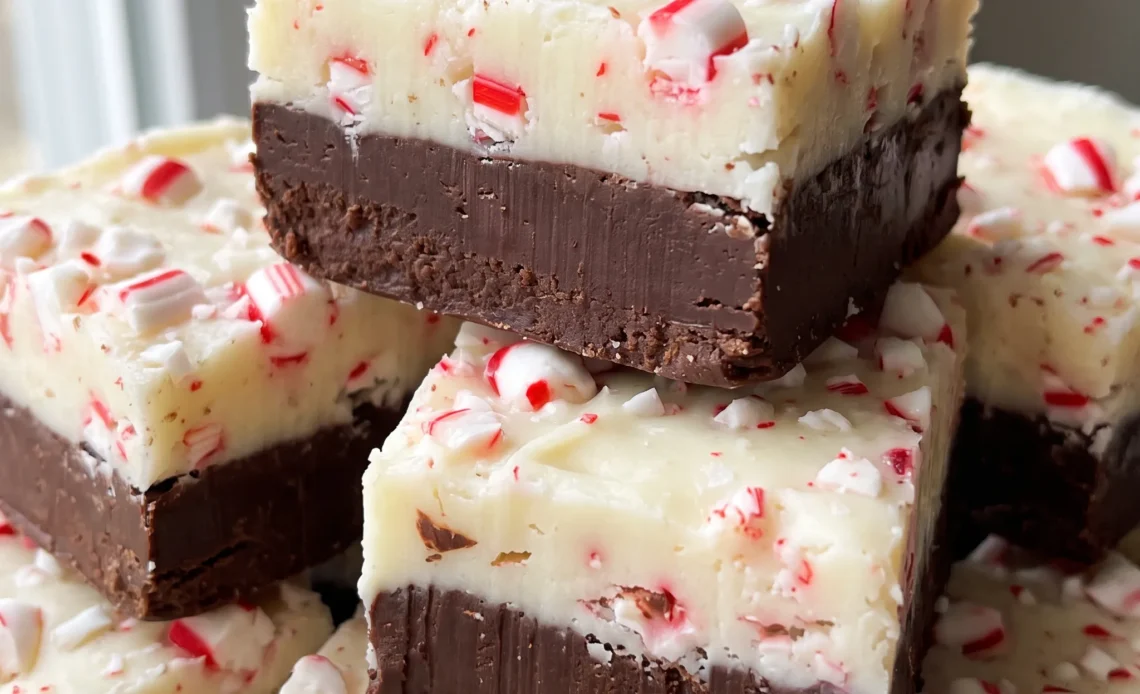
Cool shatter of candy cane against a yielding, almost truffle-soft middle, and the snap of dark chocolate underneath it. That contrast is what makes a two-layer peppermint bark fudge worth the fuss, and the fuss is real: the dark and white mixtures firm up on their own schedule once they hit the pan, and the window for spreading them cleanly is short.
Get one layer in late and the other pools into the low spots, which shows in every slice. What you’re after is a bakery counter look without bakery counter work, built from a single can of condensed milk and two kinds of chips instead of cream, thermometers, or any baking at all.
The reward for the timing trouble is a batch that cuts into clean dark-and-white squares, tender enough to bite, firm enough to stack in a tin for giving away.
Why split the condensed milk between two pans?
Two distinct layers look sharp, but they also need to hold together. If all the condensed milk went into one pan, you’d have to divide the melted chocolate later, and the layers would marble or turn muddy as you spread. By splitting the milk first, each pan gets its own measured amount, about half a cup plus a tablespoon, so the dark and white mixtures set with the same firmness.
The ratio of one can of milk to two cups of chips gives enough sugar and fat to firm up without adding cream or extra sugar. That means each layer slices cleanly and stays tender, not brittle.
When you spread the dark layer, it should hold its shape without running. The same goes for the white layer on top. If the milk were unevenly divided, one layer would set softer and the pieces would slump when cut.
So measure carefully, and both layers will firm up the same way.
Why vanilla in the dark and peppermint in the white?
Peppermint extract is potent, and a little goes a long way. If you added it to the dark chocolate, it would dominate the deeper cocoa notes and the whole batch would taste like mint. Vanilla in the dark layer rounds out the chocolate without competing.
The white chocolate gets the peppermint, so the mint stays where you expect it: in the creamy top layer and in the candy cane pieces. Those crushed candies do more than flavor; they add a crunch that contrasts with the smooth fudge. The optional peppermint extract boosts that candy cane flavor without adding more sugar, since the candy pieces already bring sweetness.
When you bite into a piece, you get a clear chocolate base, then a cool minty finish. That separation keeps each layer tasting like itself. If the mint were in both layers, the whole thing would taste one-note.
So keep the flavorings in their lanes.
What does an 8×8-inch pan do for this fudge?
An 8×8-inch pan gives you just the right thickness for two layers. Each layer ends up about a quarter-inch thick, so a piece is substantial but not overwhelming.
In a larger pan, the layers would be too thin and the fudge would set hard and brittle. In a smaller pan, the layers would be so thick that they’d be hard to bite through. The foil lining, lightly buttered, lets you lift the whole block out once it’s set.
That means you can place it on a cutting board and slice straight down with a warm knife, getting clean edges without wrestling it from the pan. And you need to line the pan before you start melting, because once the chocolate is melted and mixed with the condensed milk, it starts to firm up quickly. If the pan isn’t ready, you’ll be scrambling to line it while the mixture stiffens in the saucepan.
So get the pan set up first; it takes just a minute.
Room temperature vs. refrigerator for setting fudge
Letting the fudge set at room temperature gives it the best texture. The chocolate and condensed milk firm up gradually, so the fudge stays smooth and tender.
If you chill it, the chocolate sets too quickly, and you might see a dull gray film called bloom on the surface. That bloom doesn’t ruin the taste, but it makes the fudge look less appealing. Also, when cold fudge comes back to room temperature, it can sweat and become sticky.
The high sugar and fat content in the condensed milk means the fudge will firm up nicely on its own, no baking needed. It just takes a few hours.
You’ll know it’s ready when the top is firm to the touch and the fudge pulls away from the foil cleanly. If you slice too early, the layers will smear and you’ll lose that clean look.
So give it the time; the wait is worth it.
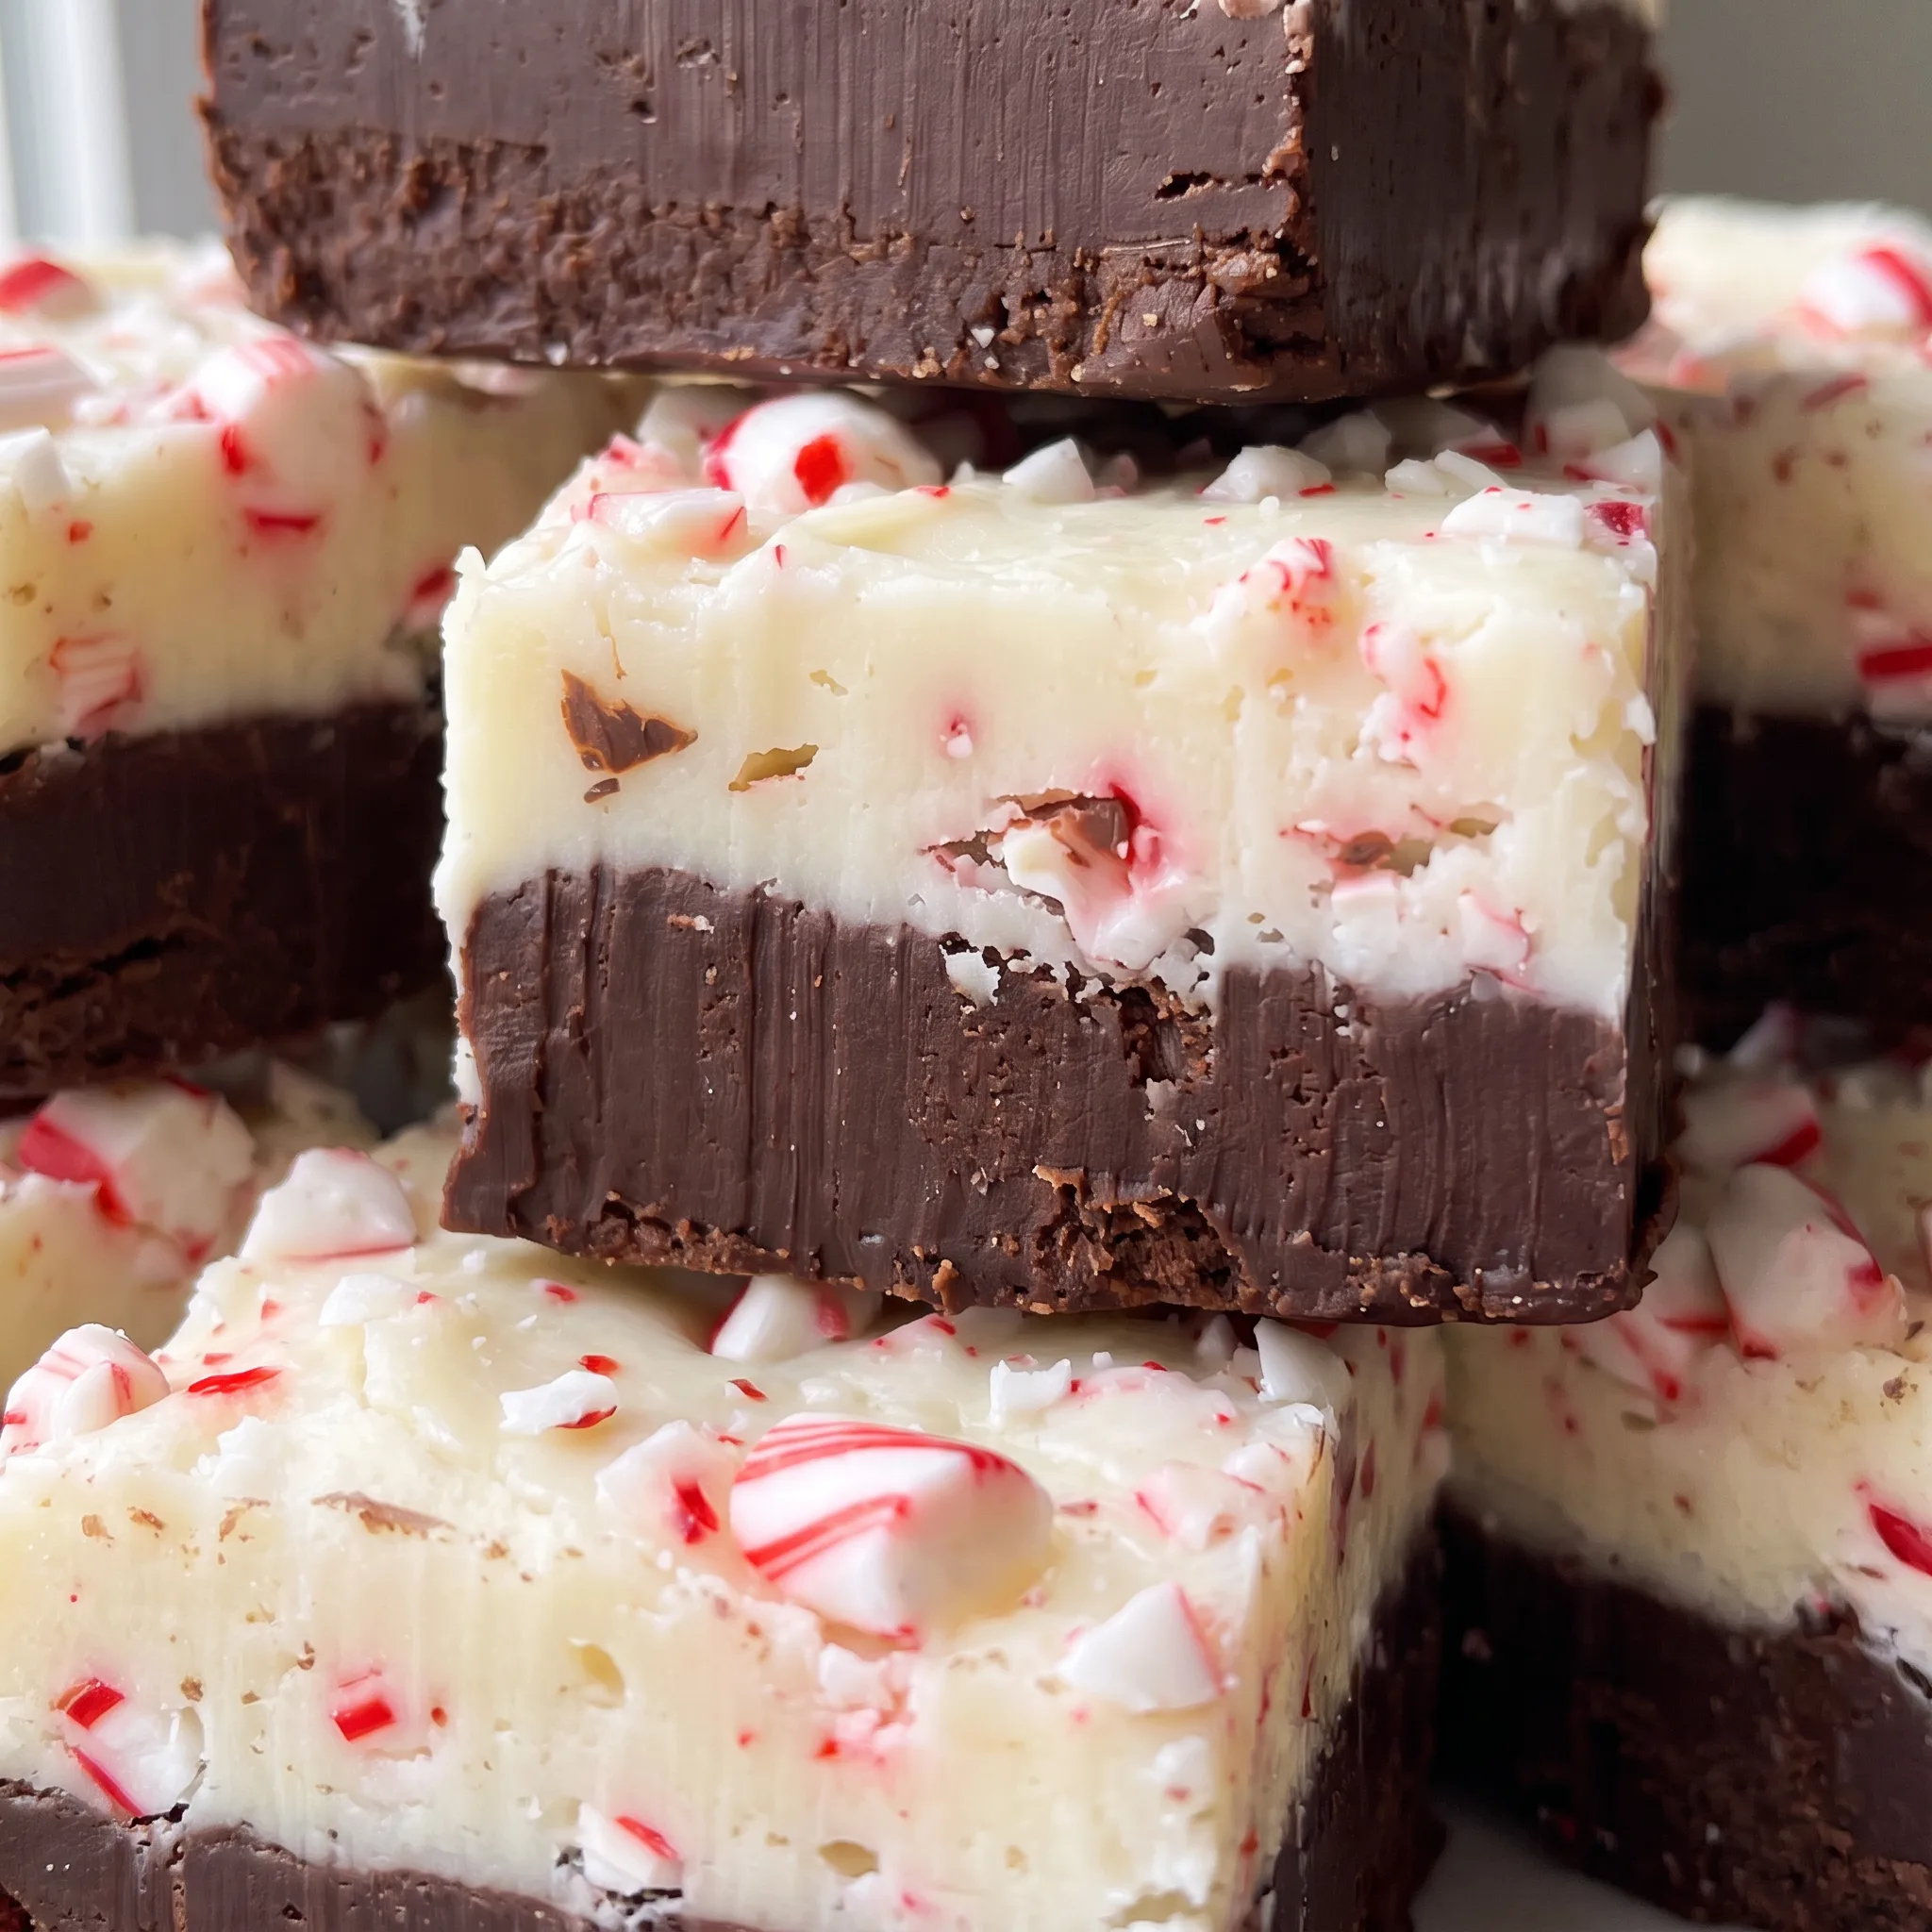
What to Watch in the Chocolate, Candy, and Extracts
Dark chocolate chips: Use chips, not chopped bars; chips hold their shape during melting and keep the dark layer from turning greasy.
Premium white chocolate chips: Buy real white chocolate with cocoa butter, since cheaper versions with palm oil set soft and taste waxy.
Sweetened condensed milk: One 14 oz can is enough for both layers, so don’t grab a larger can or the fudge will end up too soft.
Peppermint extract (optional): If you use it, add just the ¼ teaspoon called for; a little goes a long way and too much tastes medicinal.
Crushed candy canes: Crush them finely but leave some larger bits for crunch, and divide so ¼ cup goes into the white layer and the rest on top.
Judging Peppermint Bark Fudge: What to Watch For
When to stop stirring the melting chocolate
As the chocolate melts with the condensed milk over medium heat, it can go from glossy and fluid to grainy or seized in seconds. Stop stirring the moment the last chip disappears and the mixture is smooth.
If you keep going, the chocolate can turn dull and thick. If it does seize, you can sometimes bring it back by stirring in a teaspoon of hot water, but the texture may still be slightly off.
The key is to watch for that just-melted moment.
Spreading the dark layer before it sets
The dark chocolate mixture starts to firm up as soon as it hits the cool pan. You need to spread it to the edges quickly and evenly.
If it stiffens before you finish, the layer will be uneven and the white layer will pool in the low spots. Work fast with an offset spatula.
If it sets too much, you can’t really fix it, so have the pan ready and don’t dawdle.
Adding the white layer without disturbing the dark
When you dollop the white chocolate mixture over the dark, it’s still warm and fluid. If you pour it all in one spot, it can push through the dark layer and create a swirl.
Spread it gently with a spatula, starting from the center and working outward. The goal is a clean line between layers. If you see dark streaks, you’ve mixed them; you can’t undo it, but it’ll still taste fine, just less neat.
Judging the set: firm vs. sticky
After a few hours, press the top lightly. It should feel firm and not tacky. If it’s still sticky, it needs more time.
Room temperature is best because the fudge firms gradually and stays tender. In the fridge, it sets faster but can bloom (a gray film) and sweat when brought back to room temperature. If you chill it, let it come back to room temperature before slicing to avoid condensation.
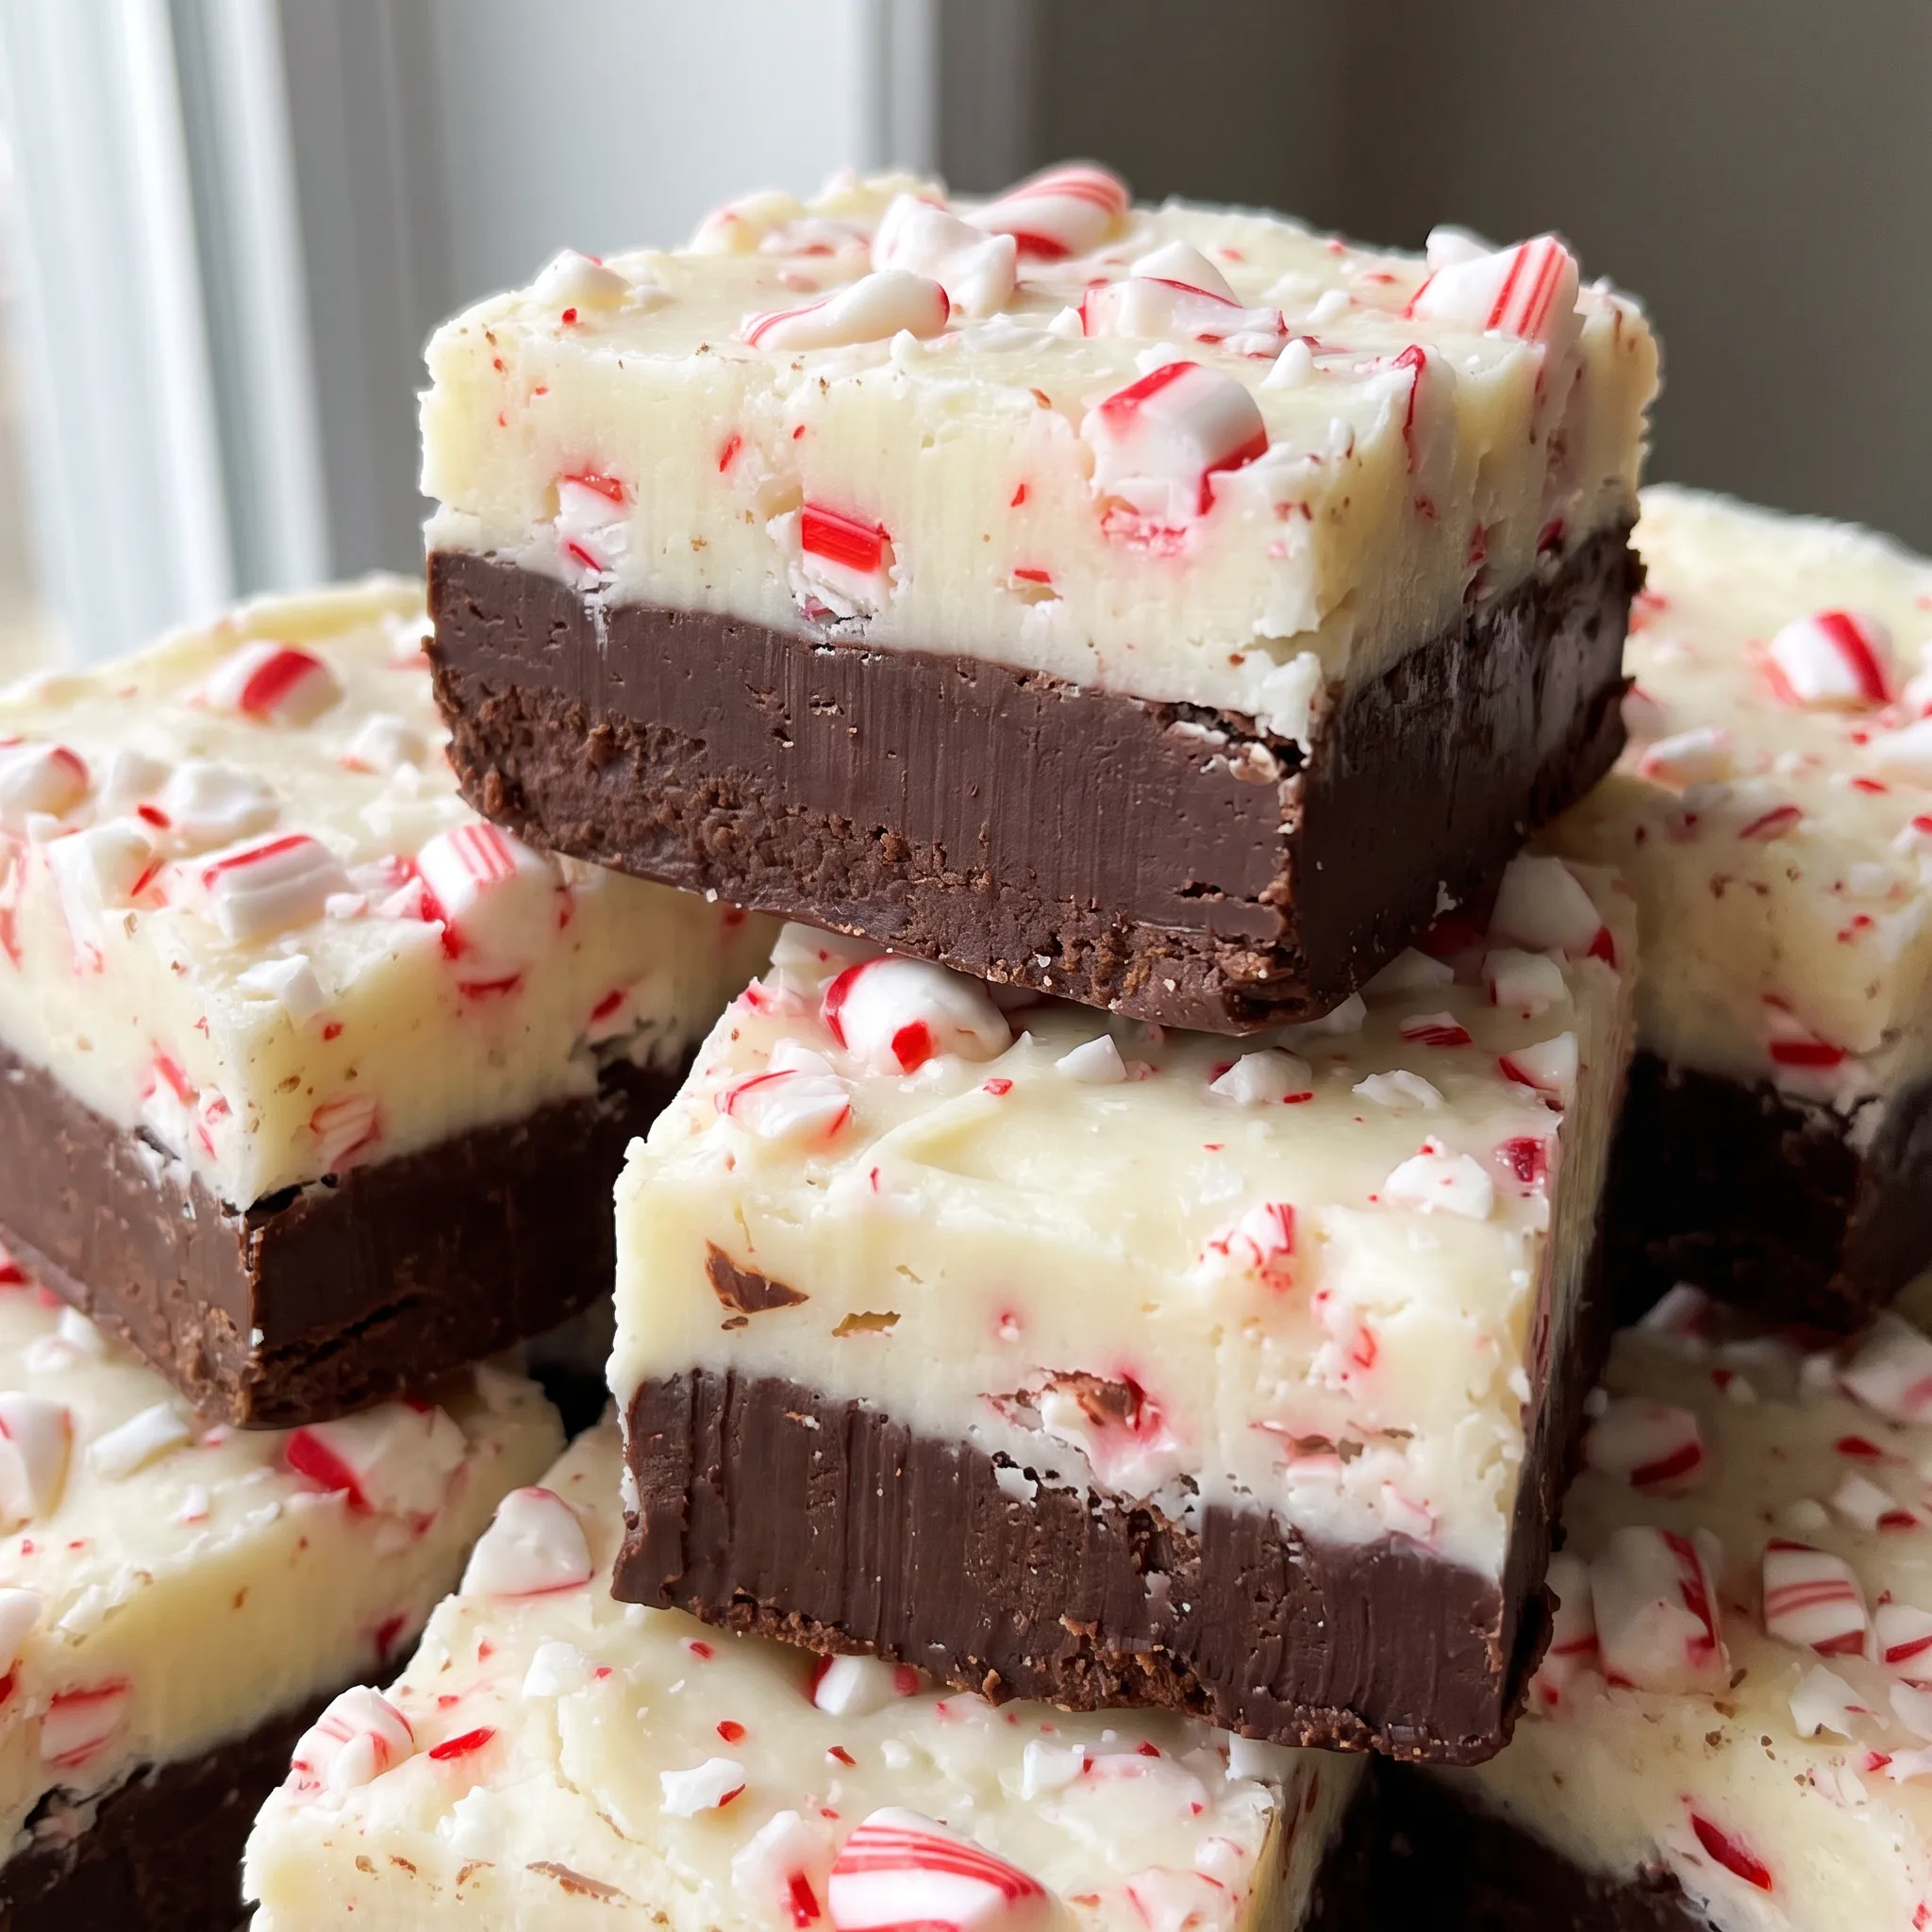
Peppermint Bark Fudge with Dark and White Chocolate
Ingredients
Method
- Use aluminum foil to line an 8×8-inch square pan, then lightly butter the foil’s sides and bottom; set aside.
- Evenly split the sweetened condensed milk between two separate small or medium saucepans (just over ½ cup in each pan).
- Place the dark chocolate chips in one pan and the white chocolate chips in the other.
- Over medium heat, melt the chocolate chips, stirring continuously until fully melted.
- After the dark chocolate mixture has melted, take it off the heat and mix in the vanilla extract. Spread it evenly into the prepared pan immediately.
- After the white chocolate has melted, take it off the heat and mix in the peppermint extract, if using. Mix in ¼ cup (50 g) of the crushed peppermint pieces and immediately spread the mixture evenly over the chocolate layer.
- Right away, scatter the remaining crushed peppermint pieces on top.
- Let the fudge harden completely before slicing and serving, about 4–6 hours at room temperature or about 1–2 hours in the refrigerator.
Substitutions for Peppermint Bark Fudge: What Swaps Work and What to Avoid
Dark chocolate chips: Use an equal amount of dark chocolate baking bar, chopped, or another type of chip like semi-sweet or bittersweet. If using a bar, chop it into small, even pieces so it melts at the same rate as chips. Baking bars melt smoothly and often have a richer flavor, but they can make the dark layer slightly softer because they lack the stabilizers in chips.
The layer will still set, but it may be a bit more tender. Semi-sweet chips will give a sweeter dark layer, while bittersweet will be more intense. Avoid milk chocolate here; it’s too sweet and soft for the base.
Premium white chocolate chips: Use an equal amount of good-quality white chocolate baking bar, chopped, or white chocolate chips that list cocoa butter as an ingredient. Do not use white baking chips that contain palm oil or other vegetable fats.
Real white chocolate with cocoa butter melts and sets with a creamy texture and clean snap. If you use a bar, chop it finely so it melts evenly. Chips with palm oil will set soft and waxy, and the white layer may not firm up properly, ruining the contrast with the dark layer.
Sweetened condensed milk: There is no good substitute for sweetened condensed milk in this recipe. Evaporated milk, coconut milk, or homemade alternatives will not give the same firm set. The sugar and fat in condensed milk are what make the fudge firm up without cooking.
If you swap it, the fudge will likely stay soft or never set. For a dairy-free version, you’d need a different recipe altogether.
Peppermint extract (optional): You can leave it out entirely, or replace it with an equal amount of another mint extract, such as spearmint or wintergreen. Start with ¼ teaspoon and adjust to taste after testing. Leaving it out means the mint flavor comes only from the crushed candy canes, which is milder but still pleasant.
Spearmint will give a softer, sweeter mint note, while wintergreen is more medicinal. Add a little at a time; a full ¼ teaspoon of wintergreen can overpower the white chocolate.
Storing and Serving Peppermint Bark Fudge
Eat this fudge within the first two days for the best texture. At room temperature in an airtight container, it holds about a week and stays tender, but the candy cane topping pulls in moisture and softens after day two, so add the final scatter of crushed peppermint right before serving if you want that crunch back.
The refrigerator firms the layers and extends keeping to about two weeks, though cold fudge tastes harder and duller; let pieces sit out fifteen minutes before eating. Freeze only the fudge without the topping, wrapped tight, for up to two months, since candy canes weep and stain the white layer. Thaw overnight in the fridge, then bring to room temperature.
Slice cold fudge straight from the fridge for the cleanest edges, then let the pieces warm slightly. Serve in a single layer; stacked pieces press the topping flat.
Tips
- Crush the candy canes on the day you sprinkle them, and sift out the powder through a fine strainer before you scatter the pieces. Candy canes are hygroscopic, so a bag crushed last week has already drawn in moisture from the air and softened; the powder that comes off during crushing will dissolve into the surface of the warm white chocolate and leave a sticky sheen instead of a dry, crunchy top, and it also dulls the red-and-white contrast.
- Aim for pieces about the size of a lentil, with no shards larger than a pea. In this recipe 1/3 cup of crushed candy canes is split so 1/4 cup goes into the white layer and the remainder goes on top; if the pieces are too coarse, they sink through the warm white chocolate and pull away from the surface as it sets, so the topping flakes off when you cut the fudge into 32 pieces. Fine, even pieces sit on the surface and stay put.
The most common mistake is treating the melted mixture as if it can wait while the second pan melts or while the first layer cools. Because the mixture is high in fat and sugar and contains no added liquid, it has a very narrow window between fully fluid and too stiff to spread; once it starts to set, it cannot be re-fluidized without risking graininess or scorching. This is tempting because it seems safer to let the dark layer firm up before adding the white, but that pause is exactly what causes a thick, uneven base and a white layer that pulls the dark one up as it is spread.

Frequently Asked Questions
Why did my peppermint bark fudge turn out too soft?
Check the condensed milk first: a 14 oz can is the whole measure here, and a larger can tips the ratio of milk to chips so neither layer ever firms. The white chocolate is the next suspect.
Chips made with palm oil instead of cocoa butter set waxy and slack, so read the label before you buy. If both of those are right, the fudge simply hasn’t finished.
Press the top; it should feel firm and dry, not tacky, before you cut. A sticky surface means more time at room temperature.
Can I make peppermint bark fudge ahead of time for a party?
Yes, and it holds well in an airtight container at room temperature for about a week. The candy cane topping is what changes first: it pulls in moisture and loses its crunch after a couple of days, so scatter the final handful right before you serve if you want that snap back. For a longer run, the refrigerator keeps it about two weeks, though the pieces eat firmer and duller cold, so let them sit out fifteen minutes.
If you go the freezer route, freeze the fudge alone without the topping, since the candy weeps and stains the white layer.
How do I get clean slices without the chocolate layers cracking?
Slice cold fudge straight from the refrigerator. Chilling firms both layers to the same firmness, so a straight-down cut with a warm knife passes through the dark and white without dragging or splitting them apart.
Cut the block on a board after lifting it out by the foil. If you slice at room temperature, the layers are tender enough that the knife tends to smear the white into the dark. Serve the pieces in a single layer, since stacking presses the topping flat.
What’s the difference between peppermint bark fudge and traditional peppermint bark?
Traditional bark is just tempered chocolate spread thin with crushed candy pressed on top, which gives you a hard snap and a piece that shatters when bitten. This version folds sweetened condensed milk into both the dark and white chocolate, so each layer stays tender and chewy rather than brittle. You also get two distinct layers, dark below and white above, where bark is usually one slab of chocolate.
The crushed candy does the same job in both: it brings the crunch that the fudge itself doesn’t have.
How long does peppermint bark fudge need to set before I can cut it?
Plan on about 4 to 6 hours at room temperature, or 1 to 2 hours in the refrigerator if you’re pressed for time. Room temperature is the better route because the fudge firms gradually and stays smooth and tender.
Press the top lightly to judge it: firm and not tacky means it’s ready. If you cut too early, the layers smear and you lose the clean line between dark and white.
Total time from start to slicing runs about 375 minutes, most of it waiting.
