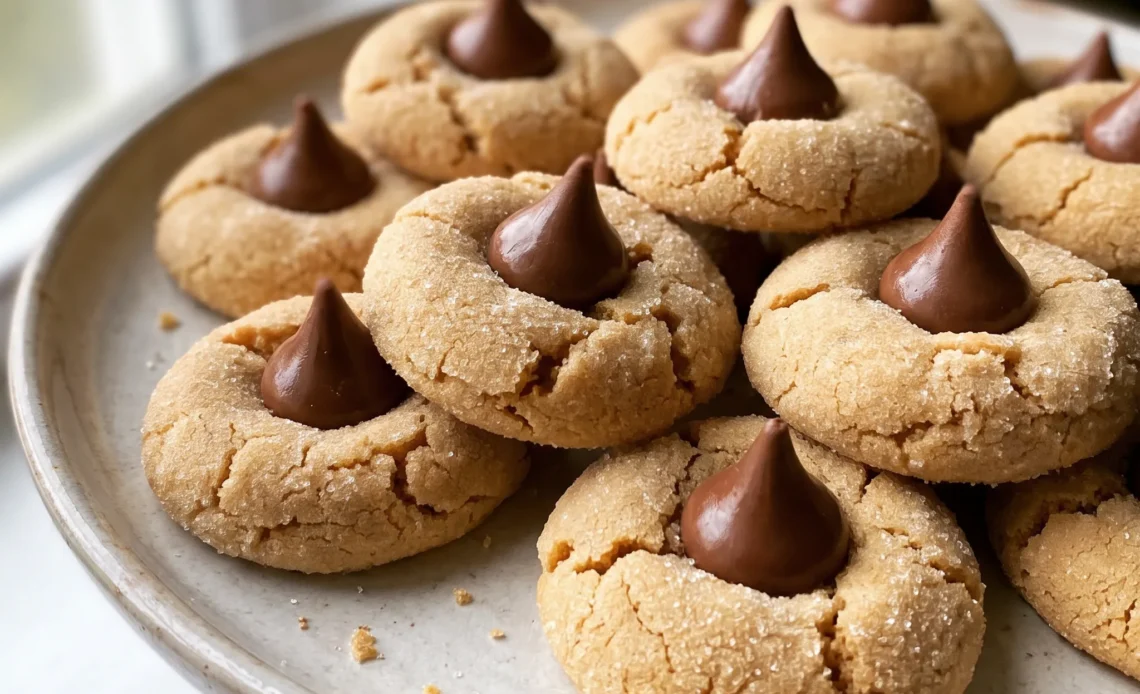
The kiss goes on while the cookie is still hot, and that timing is the whole trick. Get it right and the chocolate base softens just enough to fuse to the crackled top, so the two eat as one thing. Get it wrong in either direction and you know immediately: chocolate that slumps into a puddle, or a Kiss perched on a cooled cookie, ready to drop at the first bite.
Peanut butter blossoms also punish a dough that went into the oven too soft, because a flat cookie has nothing to hold onto. The margin is real, and it’s mostly about what happens in the last few minutes, not the mixing.
Everything here is geared toward that one press.
The Chill Firms Dough for a Reason
After mixing, the dough is slack and tacky. Butter, peanut butter, and egg leave it too soft to hold a shape, and the flour hasn’t fully absorbed the liquid yet.
Giving it a rest in the fridge for 30 minutes solidifies the fat and lets the flour hydrate, turning the mass into something you can roll without it sticking to your palms. That firmness pays off twice: the sugar coating clings instead of sliding off, and the cookies keep a taller, rounder profile in the oven rather than spreading into thin discs.
A flat cookie can’t cradle a Hershey Kiss. The chilled dough also browns more evenly, with less risk of greasy edges pooling on the sheet.
You’ll know it’s ready when the surface looks matte and a scoop holds its shape. If you skip this rest, expect a softer dough that bakes up wide and thin, with the sugar coating scattered on the pan. The difference in the finished cookie is obvious: one stands tall with a crackled top, the other lies flat and slick.
Press the Kiss While the Cookie Is Warm
The moment a cookie leaves the oven, its surface is still hot enough to soften chocolate on contact. That’s your window. Press a Hershey Kiss, pointed side up, into the center of each cookie.
The base of the chocolate melts just enough to fuse with the cookie, becoming edible glue. Wait until the cookie cools and the chocolate stays solid, so the Kiss just perches on top, ready to pop off at the first bite or when you stack them.
The heat also helps the cookie settle around the chocolate, cradling it without cracking. If the cookie is still doughy, pressing can split the edges or let the Kiss sink too deep.
Once placed, leave the cookies undisturbed on the sheet. They finish setting as they cool, and the Kiss stays put.
You’ll feel a slight resistance when pressing, then the chocolate seats itself. By the time the cookie is firm, the Kiss is locked in.
Sugar Coating Is More Than a Dusting
Rolling dough balls in granulated sugar gives each cookie a thin, crystalline jacket. In the oven, that sugar caramelizes lightly, creating a delicate crust that shatters when you bite through it.
The crust also cracks as the cookie rises, leaving the signature crackled, sparkly surface. Without it, the cookies would be uniformly soft, with a paler, less interesting look.
The sugar layer also keeps the dough from sticking to your hands during shaping, and later, it helps release the cookies from the baking sheet. A generous coat ensures full coverage, but too much can leave loose sugar on the pan that burns. You want an even, single layer that feels like fine sand.
When the cookies come out, the coating should look glossy in spots and matte in others, a sign it’s set. That subtle crunch against the chewy middle is what makes a peanut butter blossom feel complete.
Pull Them Early for Chew
Peanut butter and brown sugar both hold onto moisture, which keeps these cookies soft and pliable. That trait is also why they can go from tender to tough in a minute. You want to take them out when the centers still look a little underdone, maybe glossy or slightly puffed, because they continue to set on the hot sheet.
The edges should be just barely golden. If you wait until they look fully baked, the residual heat will dry them out, and you’ll end up with a crumbly texture that misses the point. Brown sugar pulls moisture from the air, so even days later, a properly baked cookie stays chewy.
Overbaked ones turn sandy and dull. Trust the look: a slight sheen in the middle, no wet dough, and a gentle give when you touch the edge. That’s your signal to pull the sheet.
They’ll firm up as they cool, ready for the chocolate.

The Ingredients That Make or Break a Blossom
Unsalted butter: Room temperature butter creams into the sugars without leaving hard flecks that never blend in.
Smooth peanut butter: Skip natural or crunchy styles; the former turns the dough oily and the latter tears it during rolling.
Brown sugar: Its moisture keeps the cookies chewy for days, but fresh, soft brown sugar is what actually delivers that.
Hershey Kisses: One 12-ounce package holds about 36 kisses, exactly what you need for these cookies.
Judging the Dough, the Bake, and the Press
When the Butter and Sugar Stop Feeling Gritty
Beat the butter, brown sugar, and granulated sugar for the full 4 minutes. The goal is a texture change you can feel and see: the mixture should turn pale, lose its sandy grain, and fluff up. If you stop early, the sugar stays gritty and the cookies bake up dense and flat.
Keep scraping the bowl so no pockets of butter remain.
The Moment the Dough Turns from Shaggy to Cohesive
After adding the flour, baking soda, and salt, stir just until the dry streaks disappear. The dough should look soft and slightly tacky but hold together when you squeeze a handful.
Overmixing develops gluten, which makes the cookies tough and rubbery instead of tender. If you’ve accidentally mixed too long, chill the dough for 30 minutes to relax it before shaping.
Reading the Bake: When the Centers Still Look Underdone
At 8 to 10 minutes in a 375°F oven, the edges should be set and barely golden, but the centers will look puffed and slightly glossy. That gloss is your signal to pull the sheet.
The cookies continue to set on the hot pan, so waiting for a dry, matte center means overbaking, which turns them crumbly. If you’re unsure, err on the side of pulling them early.
The Press: How Much Resistance Tells You It’s Right
As soon as the cookies come out, press a Hershey Kiss into each one. You want to feel a gentle give as the chocolate sinks in, but not so much that the cookie cracks around the edges.
If the cookie is too hot and doughy, the Kiss may sink too deep; if it’s cooled, the chocolate won’t fuse. Let them cool completely on the sheet before moving.
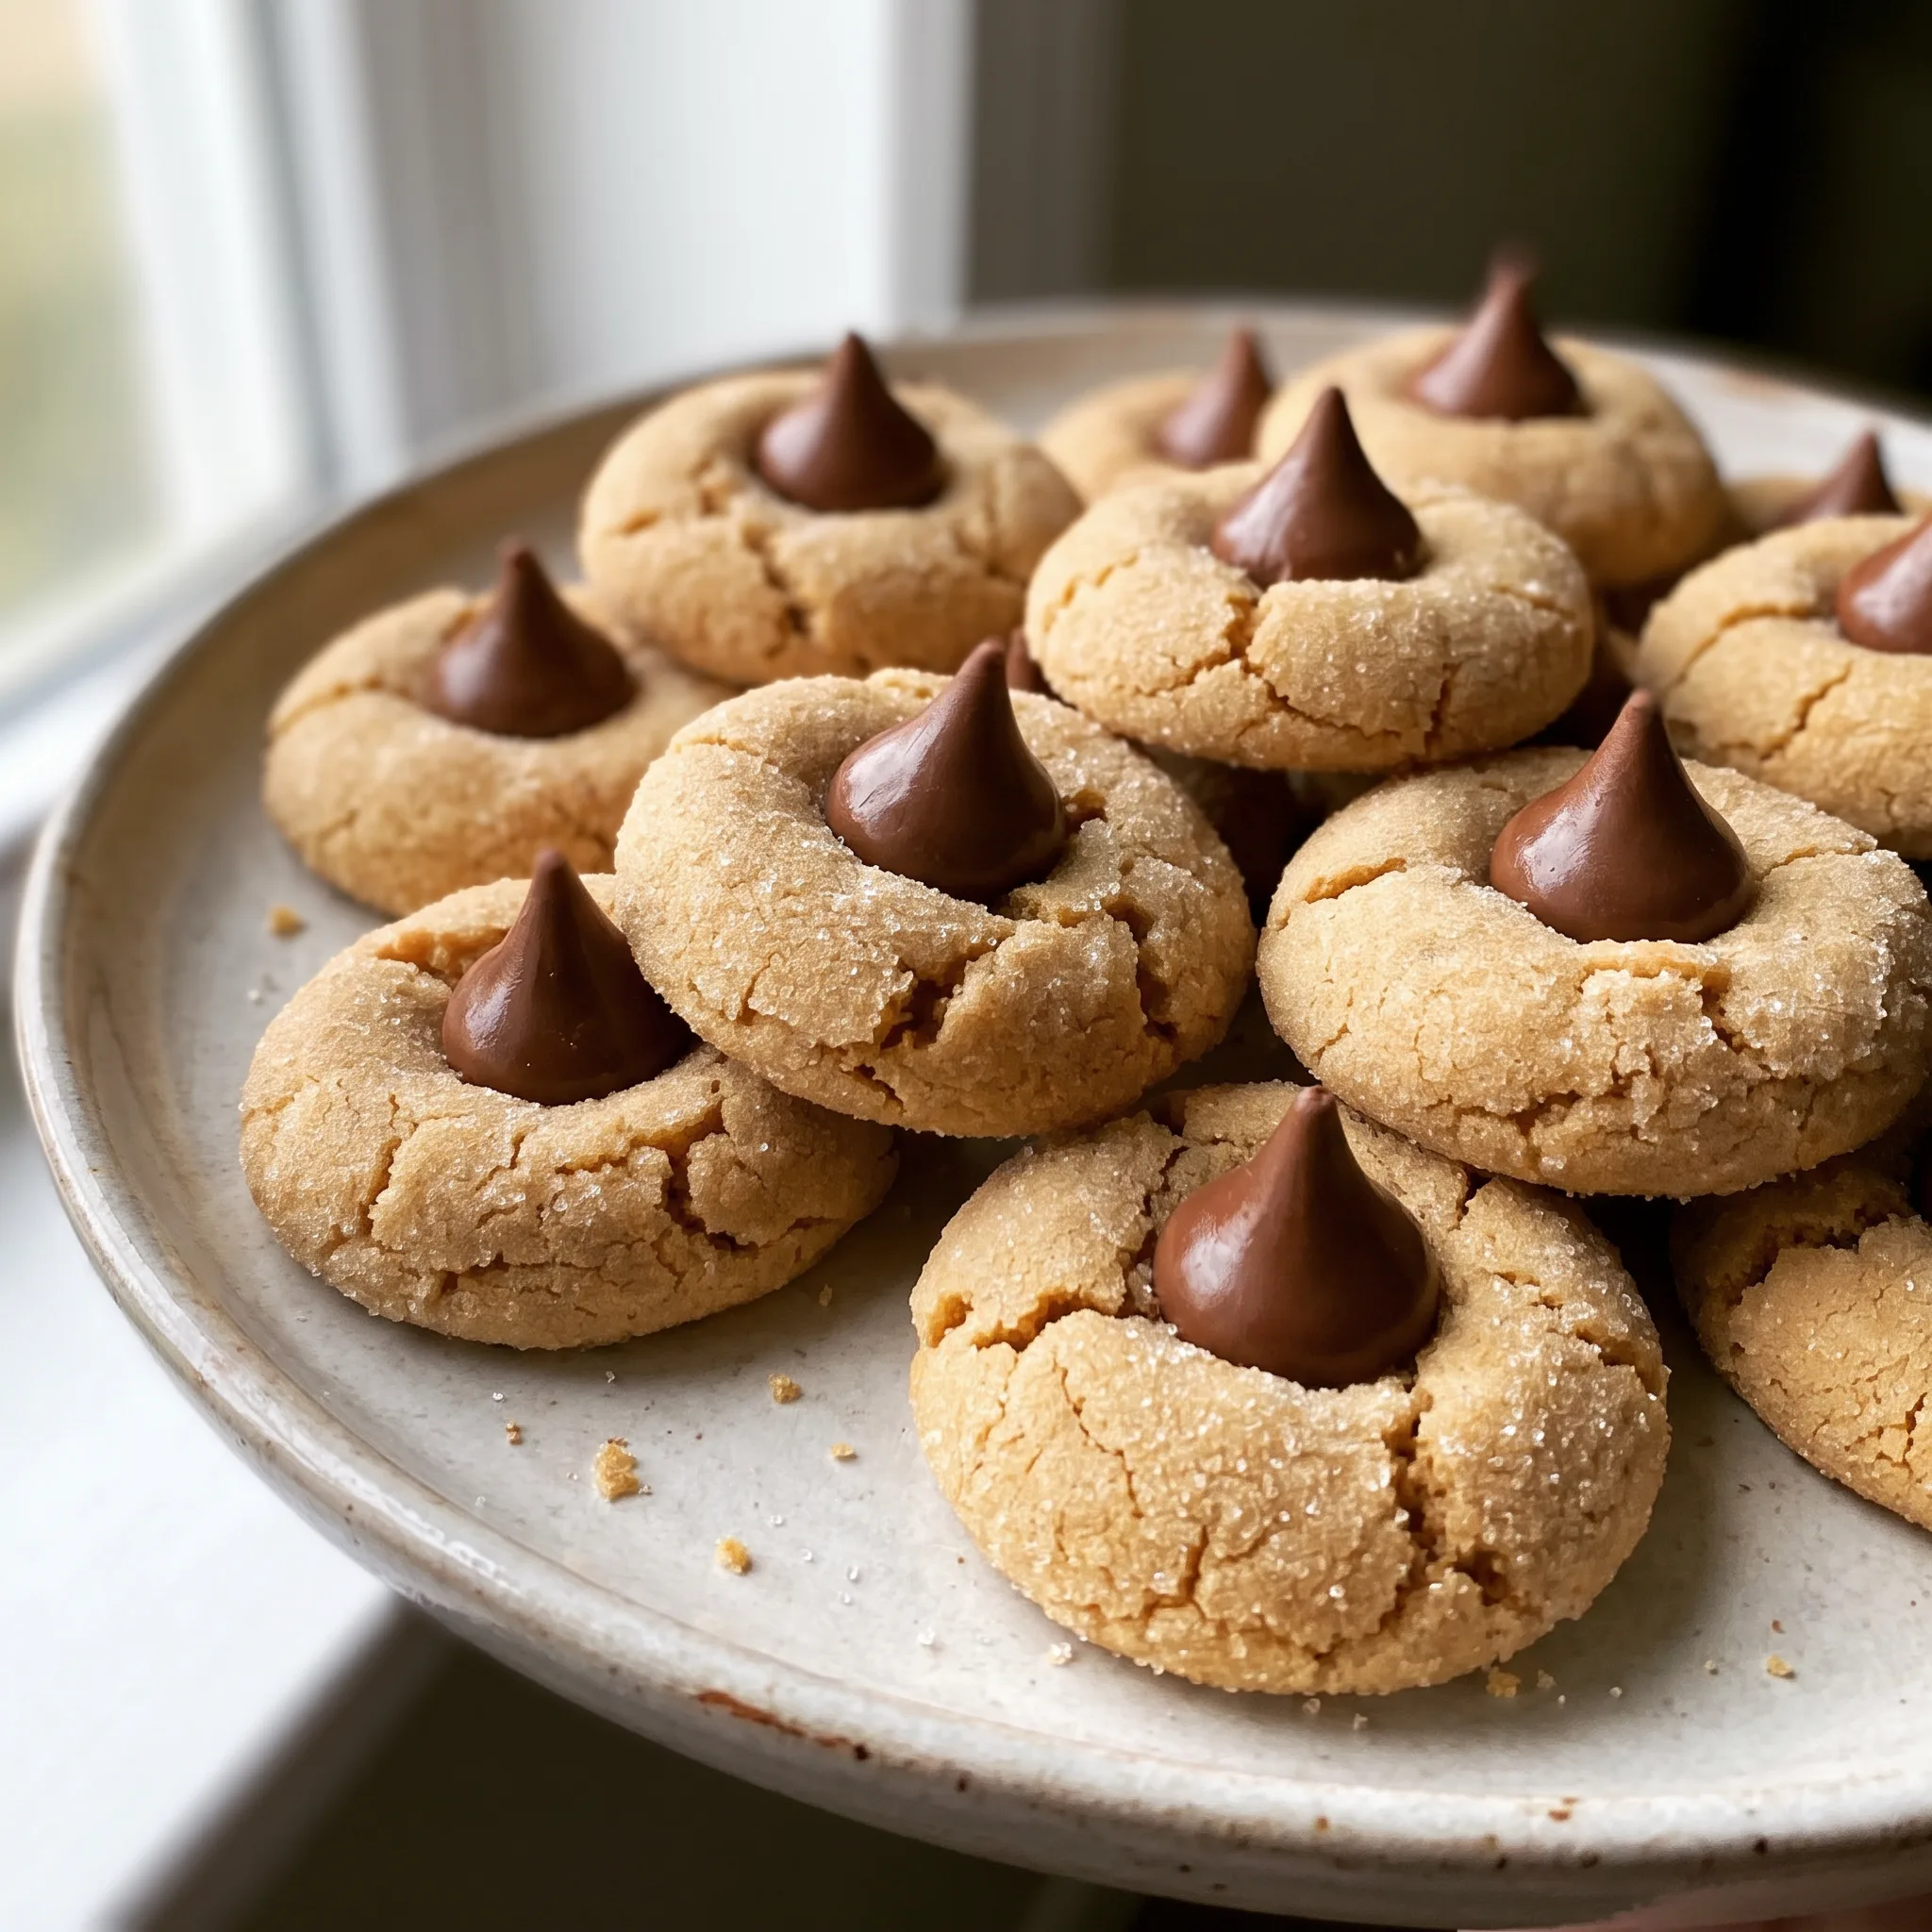
Peanut Butter Blossoms with Hershey Kisses
Ingredients
Method
- Using a large mixing bowl, beat the butter and sugars for 4 minutes until pale and airy, achieving a smooth consistency free of grittiness.
- Incorporate the peanut butter, egg, milk, and vanilla; continue beating for 2 minutes longer, frequently scraping down the bowl.
- Fold in the flour, baking soda, and salt; stir until barely incorporated. If you have time, refrigerate for 30 minutes.
- Heat oven to 375°F (190°C). Shape dough into 1-inch balls, coat in sugar, and bake for 8–10 minutes, until set but still tender and chewy.
- As the cookies bake, remove wrappers from the Hershey Kisses. Immediately after baking, press one into each warm cookie. Let cool completely before transferring off the cookie sheet.
How to Store and Serve Peanut Butter Blossoms
These cookies are at their best within 2 hours of baking, when the base is still slightly warm and the Kiss has a soft, giving center. After that, the texture changes: the cookie firms up and the chocolate solidifies.
For the best chew, eat them the same day. Leftovers keep in an airtight container at room temperature for up to 3 days.
Stack them in a single layer, or separate layers with parchment paper to prevent the Kisses from pressing into the cookies below. Refrigeration dulls the soft chew and can cause the chocolate to bloom, so avoid it unless your kitchen is very warm. For longer storage, freeze baked cookies in a single layer on a sheet, then transfer to a freezer bag.
They hold for up to 2 months. Thaw at room temperature for 15 minutes.
To revive a stale cookie, warm it in a 300°F oven for 3 to 5 minutes. The Kiss will soften again. Never add the Kiss after storing; it goes on immediately after baking, as the method states.
Tips
- Stir the peanut butter in the jar before you measure, and scoop from the bottom up. Natural separation means the top of the jar is thin oil and the bottom is stiff paste. If you measure 1/2 cup (128 g) off the top, you’re adding extra fat and the dough will spread thin in the oven; measure off the bottom and the dough turns dry and crumbly. A well-stirred jar gives you an even 1/2 cup that creams into the butter cleanly.
- If the jar has been open long enough that the peanut butter looks matte and pulls away from the sides in a solid block, it has dried out. That paste won’t blend smoothly with the room-temperature butter, so you’ll see streaks of peanut butter in the creamed mixture and the finished cookies bake up uneven, with dry patches. Buy a fresh jar or scrape the top layer off and use the softer peanut butter underneath.
What You Can Change Without Ruining the Blossom
Unsalted butter: Margarine or a butter spread (the kind in a tub). These carry more water and less fat than butter, so the dough turns slack and spreads wider in the oven.
Cookies bake up flatter and greasier at the edges. Flavor leans artificial and salty. If you must, use a stick margarine labeled for baking; skip the soft tub stuff entirely.
Start with the same 1/2 cup (113 g) the recipe calls for, then chill the dough longer if it feels too soft to roll.
Smooth peanut butter: Natural peanut butter (the kind you stir). The oil that pools on top is the problem.
It doesn’t blend evenly, leaving the dough greasy and slack. Rolled balls slump, cookies spread thin, and the center turns dense rather than chewy. If you only have natural, pour off the standing oil, stir the rest thoroughly, and use the same 1/2 cup (128 g).
You may need an extra tablespoon of flour to bring the dough back to a scoopable consistency. Crunchy peanut butter works, but the bits tear the dough as you roll, so expect rougher balls.
All-purpose flour: A gluten-free all-purpose blend (the kind with xanthan gum). These blends absorb liquid differently, so the dough often feels wetter and stickier.
It also spreads more in the oven and the finished cookie can taste slightly gritty or beany. Start with the same 1 3/4 cups (210 g), but hold back two tablespoons, add only if the dough won’t hold together after a quick mix. Chill the full 30 minutes, no shortcuts, or the cookies will flatten into puddles.
The crackled top may not develop as clearly.
Hershey Kisses: Chocolate chunks, mini peanut butter cups, or another small chocolate piece. Nothing else holds that pointed shape or presses in quite the same. A chocolate chunk will melt into a soft smear on the warm cookie and spread as it cools, losing the iconic look.
Mini peanut butter cups are wider and heavier, so they may topple or sink. If you use chunks, press them in while the cookie is warm, same as a Kiss, but expect a flatter, more rustic top. The base will still fuse to the cookie.
A 12-ounce bag of chunks gives you more than enough for 36 cookies.
A Hershey Kiss pressed into a fully cooled cookie never bonds; its flat base stays solid and simply rests on the surface, so it pops off at the first bite or when the cookie is handled. Pressing it while the cookie is still warm but fully baked lets the residual heat soften only the bottom of the chocolate, creating a fused seal without collapsing the pointed tip. The window is narrow: too early and the soft cookie cracks or swallows the Kiss, too late and there is no adhesion at all.

Frequently Asked Questions
Can I make the dough ahead of time and bake later?
Yes, and the dough actually handles a long rest better than a quick one. Wrap it tight and it keeps in the fridge for a couple of days; the flour finishes hydrating and the balls roll clean with a matte surface instead of smearing on your palms. Let the wrapped dough sit out just until it gives under a thumb before shaping, since cold dough cracks at the edges when you press it.
Baked cookies also freeze well, so if you’d rather have them done, bake, press the Kisses, cool completely, then freeze in a single layer before bagging. Thaw at room temperature for 15 minutes.
Why did my Hershey Kisses melt or fall off?
The cookie was too hot when the chocolate went in, or it sat on a doughy center that kept pushing back. A Kiss should sink in with a gentle give and stop, its base softening just enough to grip; if the whole tip slumps or the chocolate slumps sideways, the cookie was still carrying too much oven heat. The other cause is a Kiss pressed onto a cooled cookie, where the chocolate never fuses and just balances on top, ready to drop at the first bite.
Check that your cookies came out with set, barely golden edges and glossy centers before you press, and leave them on the sheet to finish setting.
How do these differ from classic peanut butter cookies?
A classic peanut butter cookie is rolled in sugar, flattened with a fork, and baked until crisp at the edges, often chewy all the way through. These get no fork marks; the dough goes into the oven as a sugared ball, and the crackled top comes from the coating splitting as the cookie rises. The real difference is the finish: while the cookie is still warm, a Hershey Kiss goes into the center, so you get soft chocolate against a chewy peanut butter base.
That pressed chocolate also means the cookie needs to be sturdy enough to hold it, which is why the chilled dough and the taller profile matter here.
