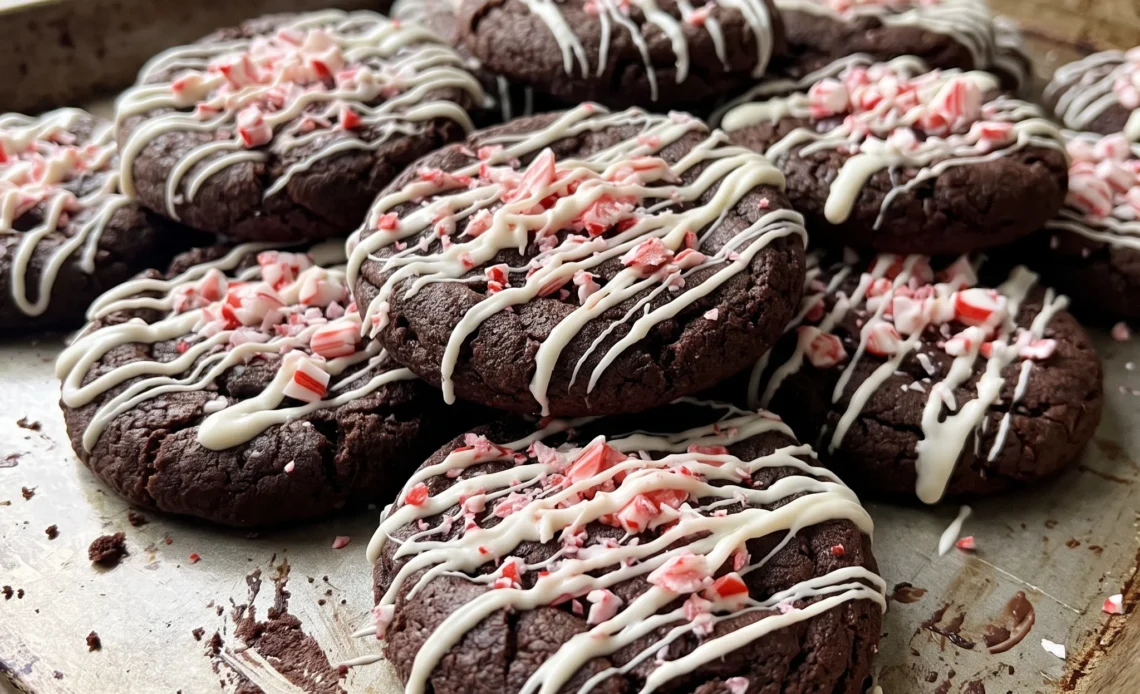
These chocolate peppermint cookies look like a holiday cookie platter staple, but the real trick is the half-hour chill that keeps their centers thick and chewy. Almond butter sneaks in as the binder, doing what gluten can’t, so the dough holds together without turning crumbly. Peppermint comes twice, too: once baked into the tops from crushed candy canes and again as a sharp extract that cuts through the cocoa.
The white chocolate drizzle adds sweetness without hiding that minty bite. Swirling warm cookies into rounds feels fussy until you see how quickly it changes rough edges into near-bakery circles. If you’ve fought with gluten-free dough that spreads into flat disks, this one behaves.
It’s a festive spin on a classic, built for bakers who already know their way around an oven and just want a cookie that works.
The 30-Minute Chill
That half hour in the fridge isn’t just a pause. It firms the butter and lets the gluten-free flour soak up the wet ingredients.
Those flours don’t have the stretch that wheat gives you, so without a chill, the dough spreads into thin, flat disks. The fats need to solidify so the cookies keep their shape and bake up chewy, not crispy. You’ll see the dough change as it rests: it tightens, becomes less sticky, easier to scoop.
Skipping the chill means a cookie that slumps and spreads, losing that nice thick middle. What you want is a cookie that holds its round and gives a little when you bite. That texture starts with the patience to wait those 30 minutes.
Almond Butter Does the Work
With no gluten to hold things together, almond butter steps in as the binder. It brings moisture and fat, which the dough needs to come together without crumbling. The flavor is subtle, a nutty background that plays well with the chocolate and peppermint.
You won’t taste it directly, but you’ll notice the cookies have a tenderness, a slight chew that feels substantial. It also helps with browning, giving the edges a nice golden color while the centers stay soft.
The result is a cookie that’s sturdy enough to hold its shape but still pleasant to bite into. That’s the balance you’re after.
Swirling for Circles
Straight from the oven, these cookies are soft and pliable, which is exactly when you can nudge them into better shape. Take a round cutter a bit larger than the cookie and swirl it around each one.
The cookie isn’t being cut; it’s being molded, the edge smoothing into a clean circle. This works because the cookie is still warm and hasn’t set. If you wait, they firm up and crack when you try to move them.
Doing it right after baking gives you cookies that look intentional, not rustic. The swirl takes seconds, and the payoff is a uniform batch that looks like it came from a bakery.
You’ll see the edges become neat, and the cookies sit up straight.
Crushed Candy Canes, Twice
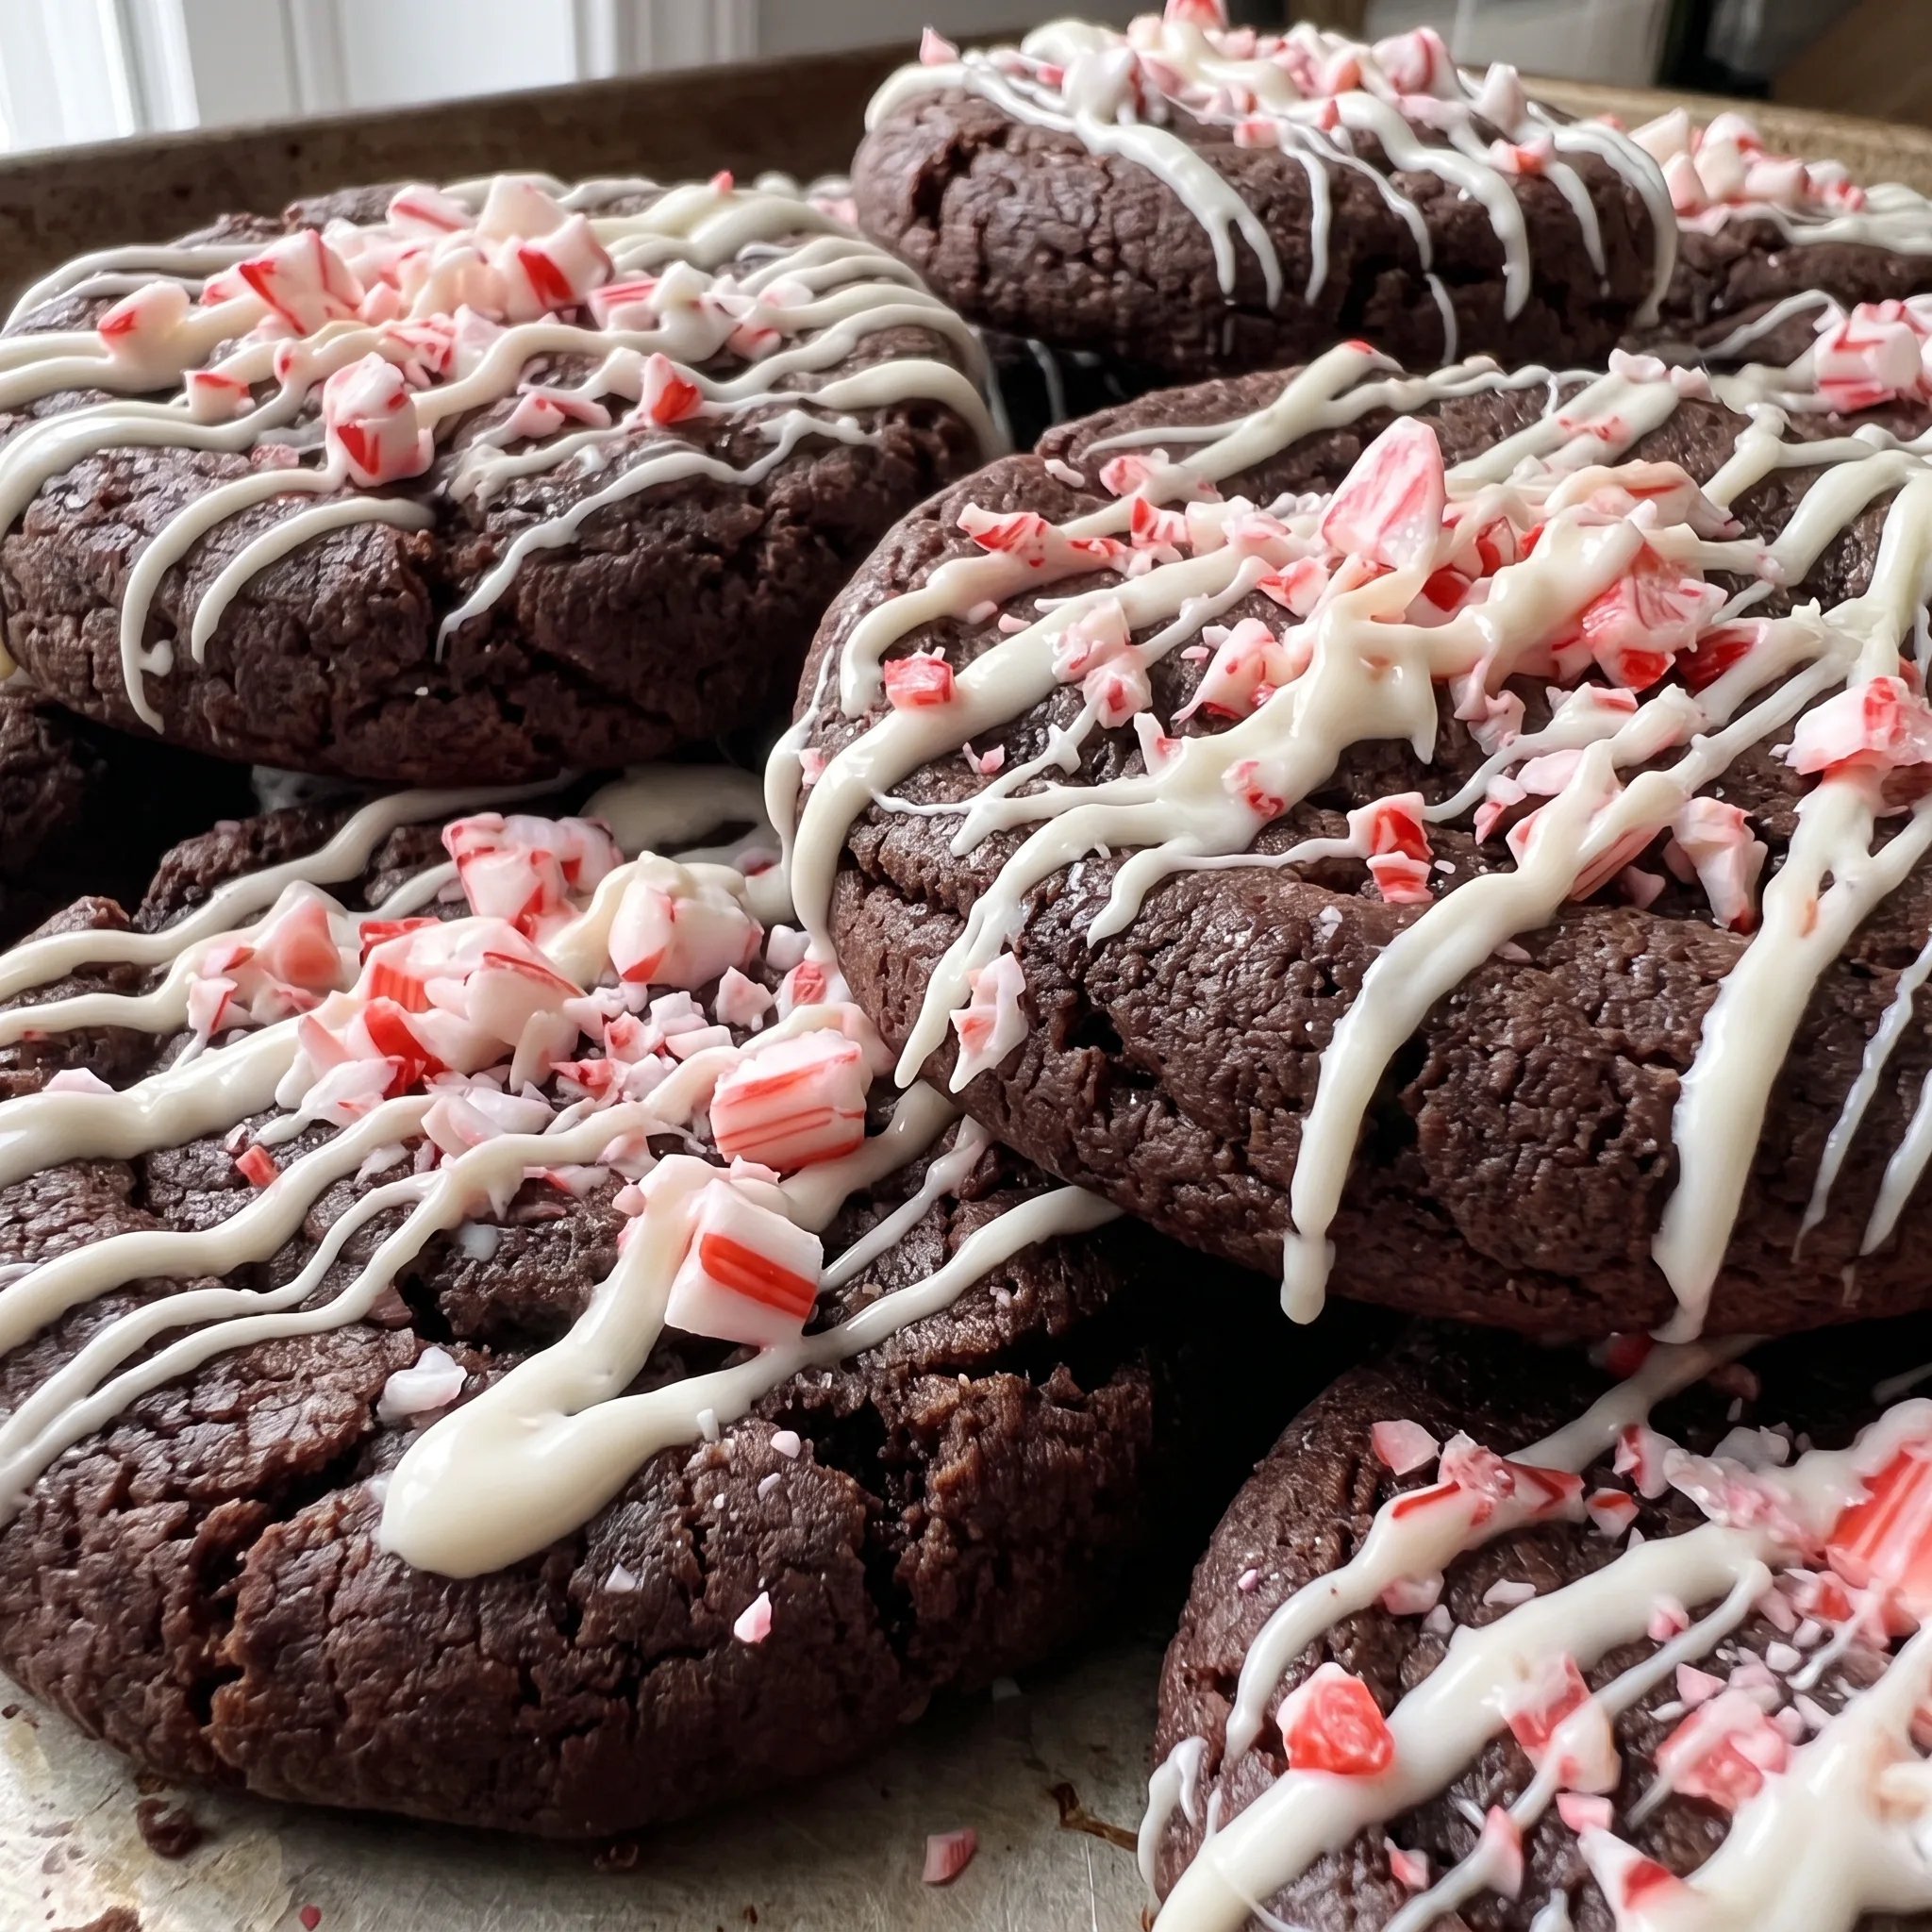
Candy cane pieces go on in two passes, and each pass does something different. The first dusting before baking bakes into the top, so the peppermint flavor infuses the cookie itself, and the tiny bits melt just enough to leave a subtle crunch in the surface. The second topping after the white chocolate drizzle stays intact, giving you that bright red-and-white pop and a stronger peppermint hit.
If you only added them at the end, you’d get the look but not the baked-in flavor. If you only added them before, you’d lose the visual and the crunch. Layering the two gives you a cookie that tastes minty from the first bite to the last, with a texture that shifts from crisp to chewy.
The Ingredients That Matter
Gluten free all purpose baking flour: Spoon and level it. Scooping packs the flour, and you’ll end up with dry, crumbly dough.
Cocoa powder: Also spoon and level. It’s light and clumps easily, so a packed cup throws off the dry balance.
Peppermint extract: Use the 3/4 teaspoon from the card, not a full one, unless you want a stronger mint bite.
Crushed candy canes: Crush them fine enough to stick, but leave some small pieces so they don’t disappear into the dough.
The dough must be thoroughly chilled to firm the butter and allow the gluten-free flours to hydrate. If the dough is not cold enough when it hits the hot oven, the butter melts quickly, causing the cookies to spread into flat, crispy discs instead of thick, chewy rounds. The 30-minute chill is the critical window; cutting it short leads to over-spreading, and you cannot correct it once the cookies are in the oven.
Reading the Dough and the Oven
The Dough’s Feel Before the Chill
Before it rests, the dough should hold together when pinched, not crumble or feel dry. If it’s too sticky to shape, a few extra minutes in the fridge tightens it. If it’s crumbly, a teaspoon of water can bring it together, but add sparingly.
The chill firms the fat, so a slightly soft dough is fine, but a dough that’s slack or oily means the butter was over-creamed or too warm. That leads to spreading later.
Judging When the Cookies Are Done
The card says 10 to 13 minutes, but the real cue is the edge. The centers will look soft and slightly puffed, the edges set and just starting to crack. A toothpick won’t come out clean, that’s the point.
Pull them at 11 minutes if the edges look dry and the tops have lost their shine. Overbaking dries them out; underbaking leaves them too fragile to swirl. Trust the look over the timer.
The Right Moment to Swirl
That swirl works only while the cookie is warm and pliable, so right after baking, not after a cool-down. If the cookie resists or cracks, it’s too firm, pop the pan back in the oven for a minute to soften.
If it squishes too easily, it may be underbaked, but a gentle swirl still helps. The goal is a clean edge without breaking the surface. Work quickly, and don’t press down.
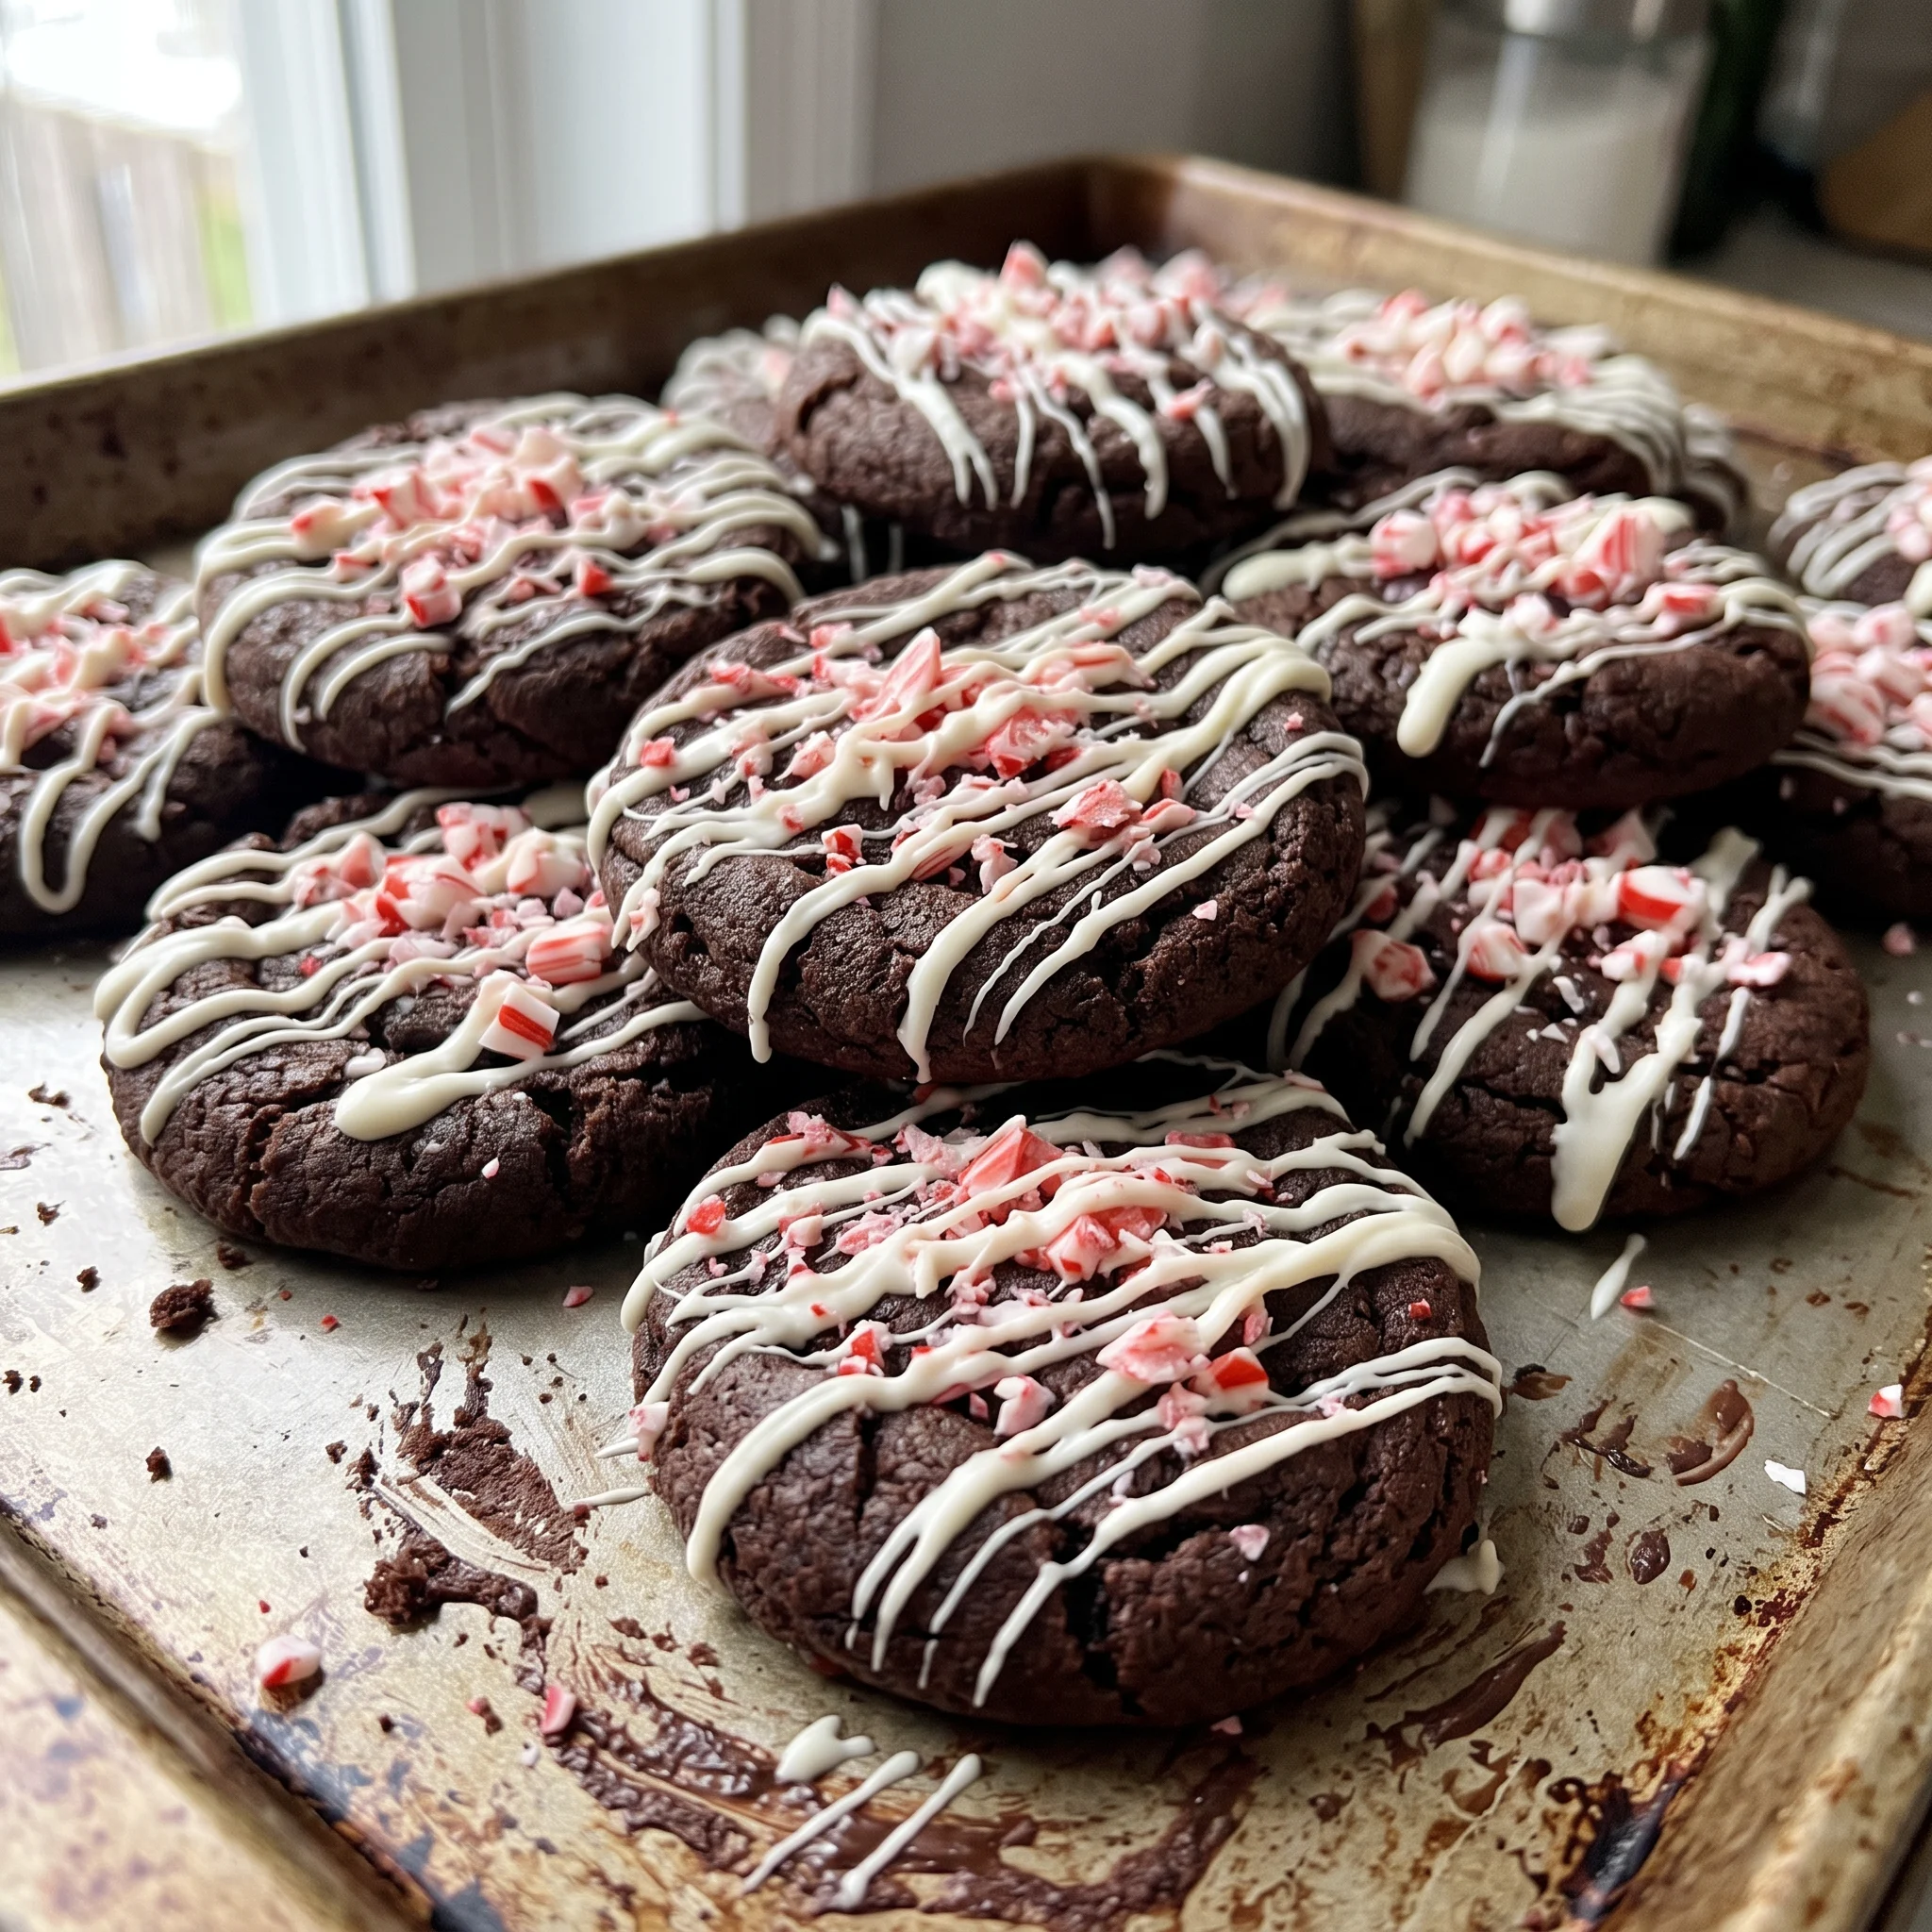
Gluten Free Chocolate Peppermint Cookies
Ingredients
Method
- In a large bowl, cream together the butter and both sugars until thoroughly mixed.
- Blend in the remaining wet ingredients: egg, vanilla, peppermint extract, and almond butter.
- Incorporate the dry mixture: flour, cocoa powder, baking powder, baking soda, and salt. Be sure to spoon and level the flour and cocoa rather than scooping directly from the bag. Mix until fully combined.
- Chill the dough in the refrigerator for 30 minutes.
- Heat the oven to 350°F (175°C).
- Using a medium cookie scoop (about 2 tablespoons) or a spoon, form the dough into balls. Gently dust the tops with crushed candy canes (a light coating is sufficient; you’ll add more later).
- Arrange on a parchment-lined baking sheet and bake for 10-13 minutes. In my oven, 11 minutes works best, but ovens vary. The cookies will firm up as they cool, so allow them to rest before consuming or applying the melted white chocolate.
- Immediately after removing from the oven, use a round cookie cutter slightly larger than each cookie to swirl it around the cookie, creating uniform circles. This is not cutting but shaping while they are still soft, so work promptly.
- Microwave the white chocolate in 30-second increments, stirring in between. Drizzle over the cookies and top with the remaining crushed candy canes. Serve and enjoy!
Storage and Serving
These cookies are best within two days of baking, when the edges stay crisp and the centers are chewy. The white chocolate drizzle sets within an hour, so if you’re serving them soon, let it firm up before stacking. For leftovers, store in an airtight container at room temperature for up to 5 days.
They’ll soften slightly over time, which is fine, but the candy cane topping will lose its crunch. If you prefer that snap, keep them in the fridge instead.
Cold storage firms the chocolate and slows the softening, so the cookies keep their texture for about a week. Just let them sit at room temperature for 10 minutes before serving to take the chill off.
Freezing works too. Place them in a single layer in a freezer-safe bag or container for up to 3 months. Thaw at room temperature, still sealed, to avoid condensation.
The white chocolate holds up fine, but the candy cane pieces may dull. If you’re planning ahead, skip the final candy cane topping until after thawing, then add it fresh.
Tips
- If your dough is too sticky to shape after chilling, lightly dampen your hands with water before rolling the balls. This prevents the dough from sticking to your palms and lets you form uniform balls without adding extra flour, which could dry out the cookie.
Swap Smart, Keep the Chew
Gluten free all purpose baking flour: Any 1:1 gluten-free flour blend works, but check the label. Blends with xanthan gum give a chewier, more structured cookie. If yours has it, you’re fine.
If not, the dough will be a bit more tender and may spread slightly more. The flour blend is the backbone.
A blend without xanthan gum will produce a softer, more crumbly cookie that spreads a touch more in the oven. With it, you get a firmer, more classic cookie shape. Either way, the chill step is important to keep them from flattening.
Butter: Use a dairy-free butter stick, not a spread. Look for one with at least 80% fat, like a vegan baking stick. Melt it and cool it to room temperature before creaming.
Dairy-free butters vary in water content. A spread with more water will make the dough slack and the cookies spread thin. A solid stick mimics regular butter’s behavior, giving you a sturdy dough and a chewy, not greasy, result.
Almond butter: Replace with sunflower seed butter or tahini for a nut-free version. Start with the same amount (1/4 cup) and add a teaspoon of neutral oil if the dough feels dry. Sunflower seed butter and tahini have a stronger, more savory flavor that can compete with the peppermint.
Sunflower seed butter may also turn green from a reaction with baking soda, but that’s harmless. The texture stays similar, though tahini makes the cookie a bit more crumbly, so don’t skip the chill.
White chocolate: Choose a dairy-free white chocolate that lists cocoa butter as the first ingredient. Brands like King David or Pascha melt smoothly. Avoid chips with palm oil, which seize and stay lumpy.
Dairy-free white chocolate chips often lack the fat to melt into a smooth drizzle. If they seize, they become grainy and won’t coat the cookie nicely.
A good-quality bar melts into a fluid glaze that sets with a clean snap.

Frequently Asked Questions
Can I make the dough ahead of time and chill it longer than 30 minutes?
Yes, you can chill it longer. Up to 24 hours is fine.
The dough will firm up more, so let it sit at room temperature for 5 to 10 minutes before scooping if it’s too hard. Longer chilling also deepens the flavor, as the peppermint and chocolate have time to mingle. Just keep it covered so it doesn’t dry out.
Why do my gluten-free cookies spread too much?
Most likely the dough was too warm when it went in the oven. If you skipped or shortened the 30-minute chill, the butter is soft and the cookies flatten before they set. Another culprit: your gluten-free flour blend lacks xanthan gum, which gives structure.
Check the label; if it’s missing, add 1/4 teaspoon per cup of flour to help them hold their shape.
How do I know when the cookies are done baking?
The edges should look set and dry, while the centers still appear soft and slightly puffed. If you poke one, it should spring back lightly.
Pull them at 11 minutes if the edges have lost their shine and the tops look matte. Remember, they’ll firm up as they cool, so it’s better to underbake slightly than overbake.
Can I freeze these cookies?
Yes, freeze them in a single layer in a freezer-safe bag or container for up to 3 months. Thaw at room temperature, still sealed, to avoid condensation. The white chocolate holds up fine, but the candy cane pieces may dull.
If you’re planning ahead, skip the final candy cane topping until after thawing, then add it fresh.
What’s the difference between using peppermint extract and candy canes for flavor?
Peppermint extract gives a clean, sharp mint that infuses the whole dough. Candy canes add texture and a milder, sweeter mint that comes from the sugar and coloring.
The extract is the backbone; the candy canes are the crunch and the visual. Using both, as the recipe does, gives you a cookie that tastes minty in every bite, with bursts of crunch from the candy pieces.
