
Roasting is the quiet hero behind this butternut squash soup, and it’s the first thing to get right. Skip that step and you’re left with a flat, watery puree that misses the deep, nutty sweetness only a hot oven can draw out. The method here is simple, but the margin for error is real: under-roast and the soup lacks character, over-roast and bitterness creeps in.
That caramelized edge, though, changes the squash into something almost buttery, a foundation that makes the creamy, spiced result feel far more complex than the ingredient list suggests. It’s a humble soup that rewards attention in the oven.
Roasting Deepens the Flavor
Some soups boil everything in one pot, but this one takes a detour. The squash goes into a 400°F oven for 30 minutes, emerging with caramelized edges and a concentrated sweetness. That browning does what simmering can’t: it brings out a nutty, almost buttery note that forms the soup’s backbone.
You’ll taste the difference in the first spoonful. The color deepens too, turning a richer orange. Roasting also dries the surface slightly, which keeps the final texture from feeling watery.
It’s a short extra step that pays off in complexity.
A Creamy Base Without Dairy
Full-fat coconut milk does the heavy lifting here, stirred in at the very end so it stays silky. The vegetable stock provides the volume, and a splash of soy sauce sneaks in an savory depth that rounds out the sweetness. When you add the coconut milk, you’ll see the soup shift to a paler, creamier tone.
That final stir is what gives the soup its rich mouthfeel, no cream required. The balance feels rich but not heavy, with the coconut flavor staying subtle behind the squash.
Spices That Complement, Not Compete
Thyme and basil go on the squash before roasting, so those herbs infuse each piece as it caramelizes. Meanwhile, cumin and paprika get bloomed with the onion and garlic, releasing their warmth into the oil.
The amounts are modest, half a teaspoon for the cumin, an eighth for the paprika, so they sit underneath the squash’s sweetness, adding a gentle earthiness and a hint of smokiness. You get a layered aroma that never shouts. It’s a quiet blend that makes the soup taste more complete, without any single spice jumping out.
Smooth Texture, Safe Blending
For a silky result, an immersion blender is the straightforward route: you blend right in the pot until the soup looks uniform. If you use a countertop blender, the method warns to cool the soup first and work in batches. That’s not just caution, hot liquid in a sealed blender can blow the lid off and splatter.
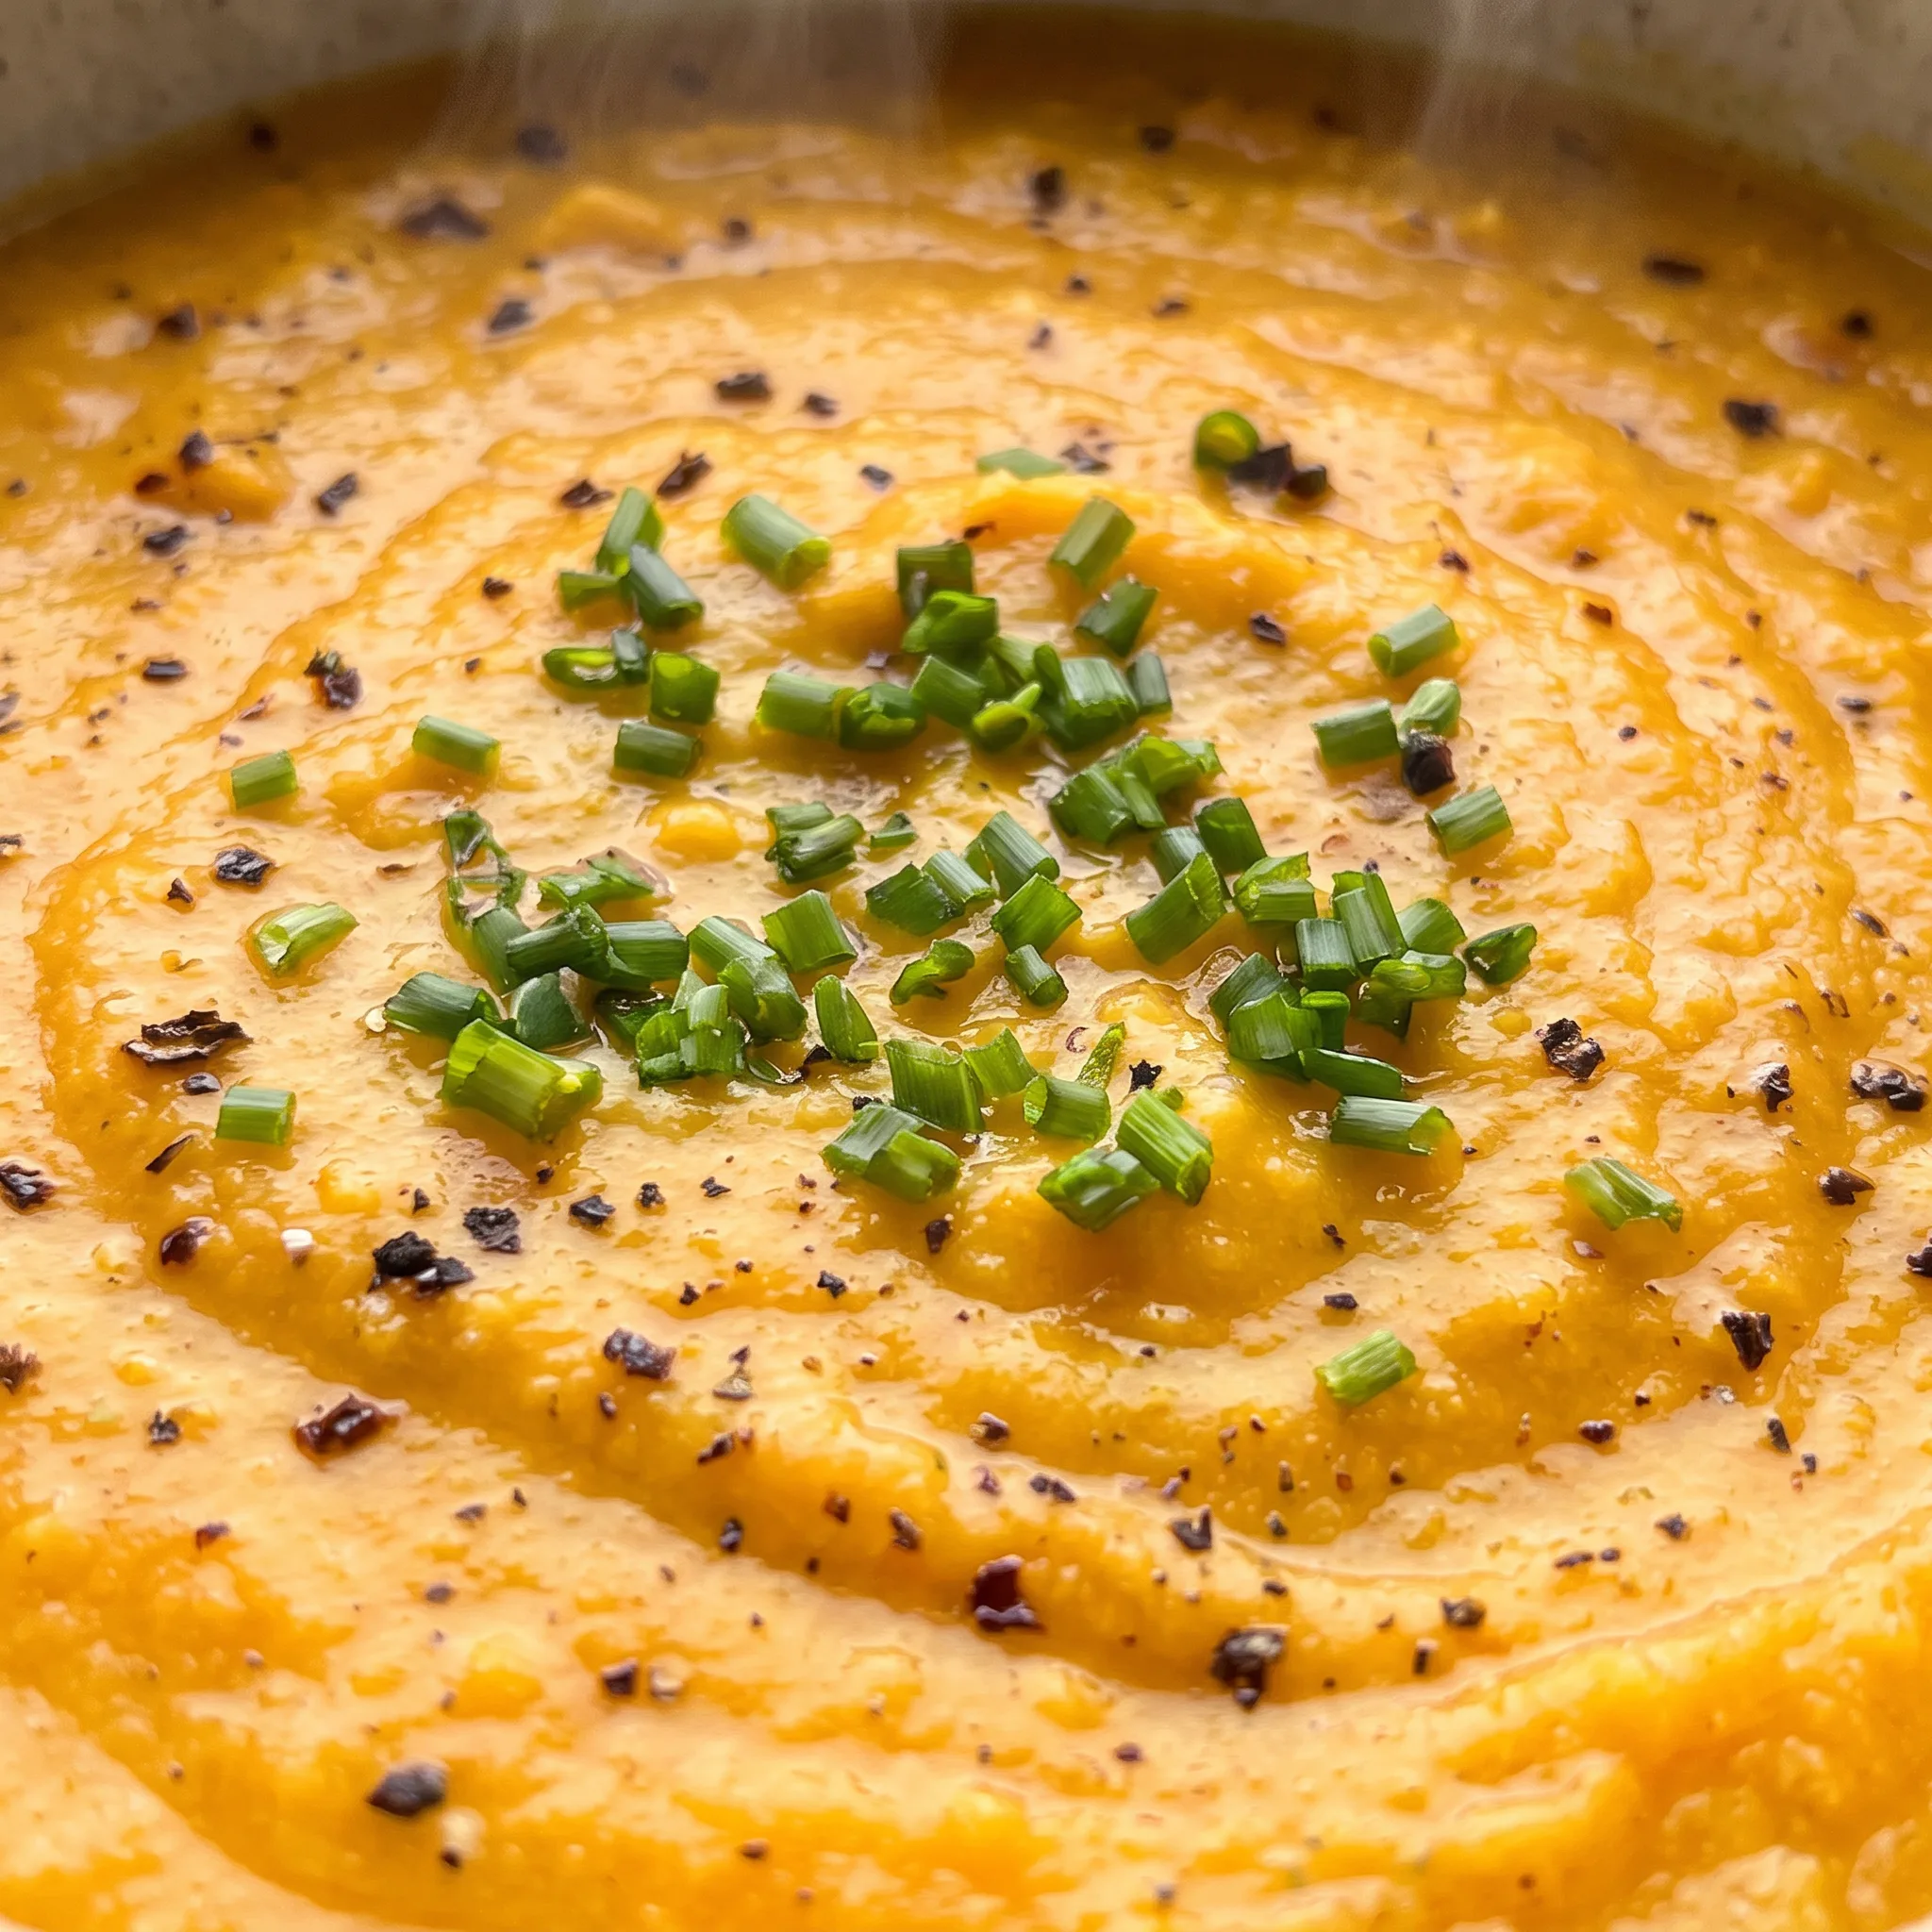
Either way, the goal is a smooth, lump-free puree. You’ll see the texture turn glossy as the squash and stock combine. The right blending method gets you there without mess or danger.
Seasoning to Your Taste
After the coconut milk goes in, the recipe says to taste and adjust with salt and pepper. That’s not a throwaway line. Squash varies in sweetness, and vegetable stock can range from mild to quite salty, so the soup needs a final check.
You might find it needs a pinch more salt to bring the flavors forward, or a few grinds of pepper for a little kick. This is your chance to dial it in. The soup is done when it tastes balanced to you, rich, savory, and just sweet enough.
Choosing the Right Squash and Pantry Staples
Butternut squash: Pick one that feels heavy for its size with a matte, tan skin; avoid any soft spots.
Coconut milk: Use canned full-fat, unsweetened; shake well before measuring so the cream and liquid blend.
Soy sauce: Regular or low-sodium both work; just be mindful of the salt level in your stock.
Dried thyme and basil: Check that they’re not ancient; if they’ve lost their scent, they won’t do much.
Reading the Squash as It Roasts
Finding the right tenderness and caramelization
At the 30-minute mark, the squash should yield easily when pierced with a fork. The edges will show browned spots where sugars have concentrated. If the pieces are still firm, give them a few more minutes, checking every 5.
If they look scorched, they’ve gone too far, but that bitterness is minor against the stock. The goal is tender, sweet flesh, not crunchy or burnt.
When the onions are translucent and soft
You’ll see the onion pieces turn from opaque white to a glassy, slightly golden look, and they’ll feel soft when pressed. This usually takes about 5 to 7 minutes over medium heat. If they start browning, the heat’s too high.
Softness means they’re ready to release their sweetness into the soup. Overcooking them to a heavy brown risks a bitter edge that no stock will mask.
Checking the soup’s consistency during blending
As you puree, watch for a smooth, uniform texture with no visible chunks. The soup will turn glossy as the squash emulsifies with the stock. If it looks too thick after blending, thin it with a splash of stock or water until it flows like heavy cream.
If it’s too thin, simmer it a few extra minutes to reduce, but that changes the yield. Blend until it feels silky on the spoon.
Adjusting the seasoning after the coconut milk
Coconut milk adds richness but also dulls salt, so taste after stirring it in. Squash sweetness varies, and stock saltiness varies.
If the soup tastes flat, a pinch of salt will lift it. If it needs brightness, a few grinds of pepper add a subtle kick. The soup is balanced when the savory and sweet notes sit evenly, with no one element dominating.
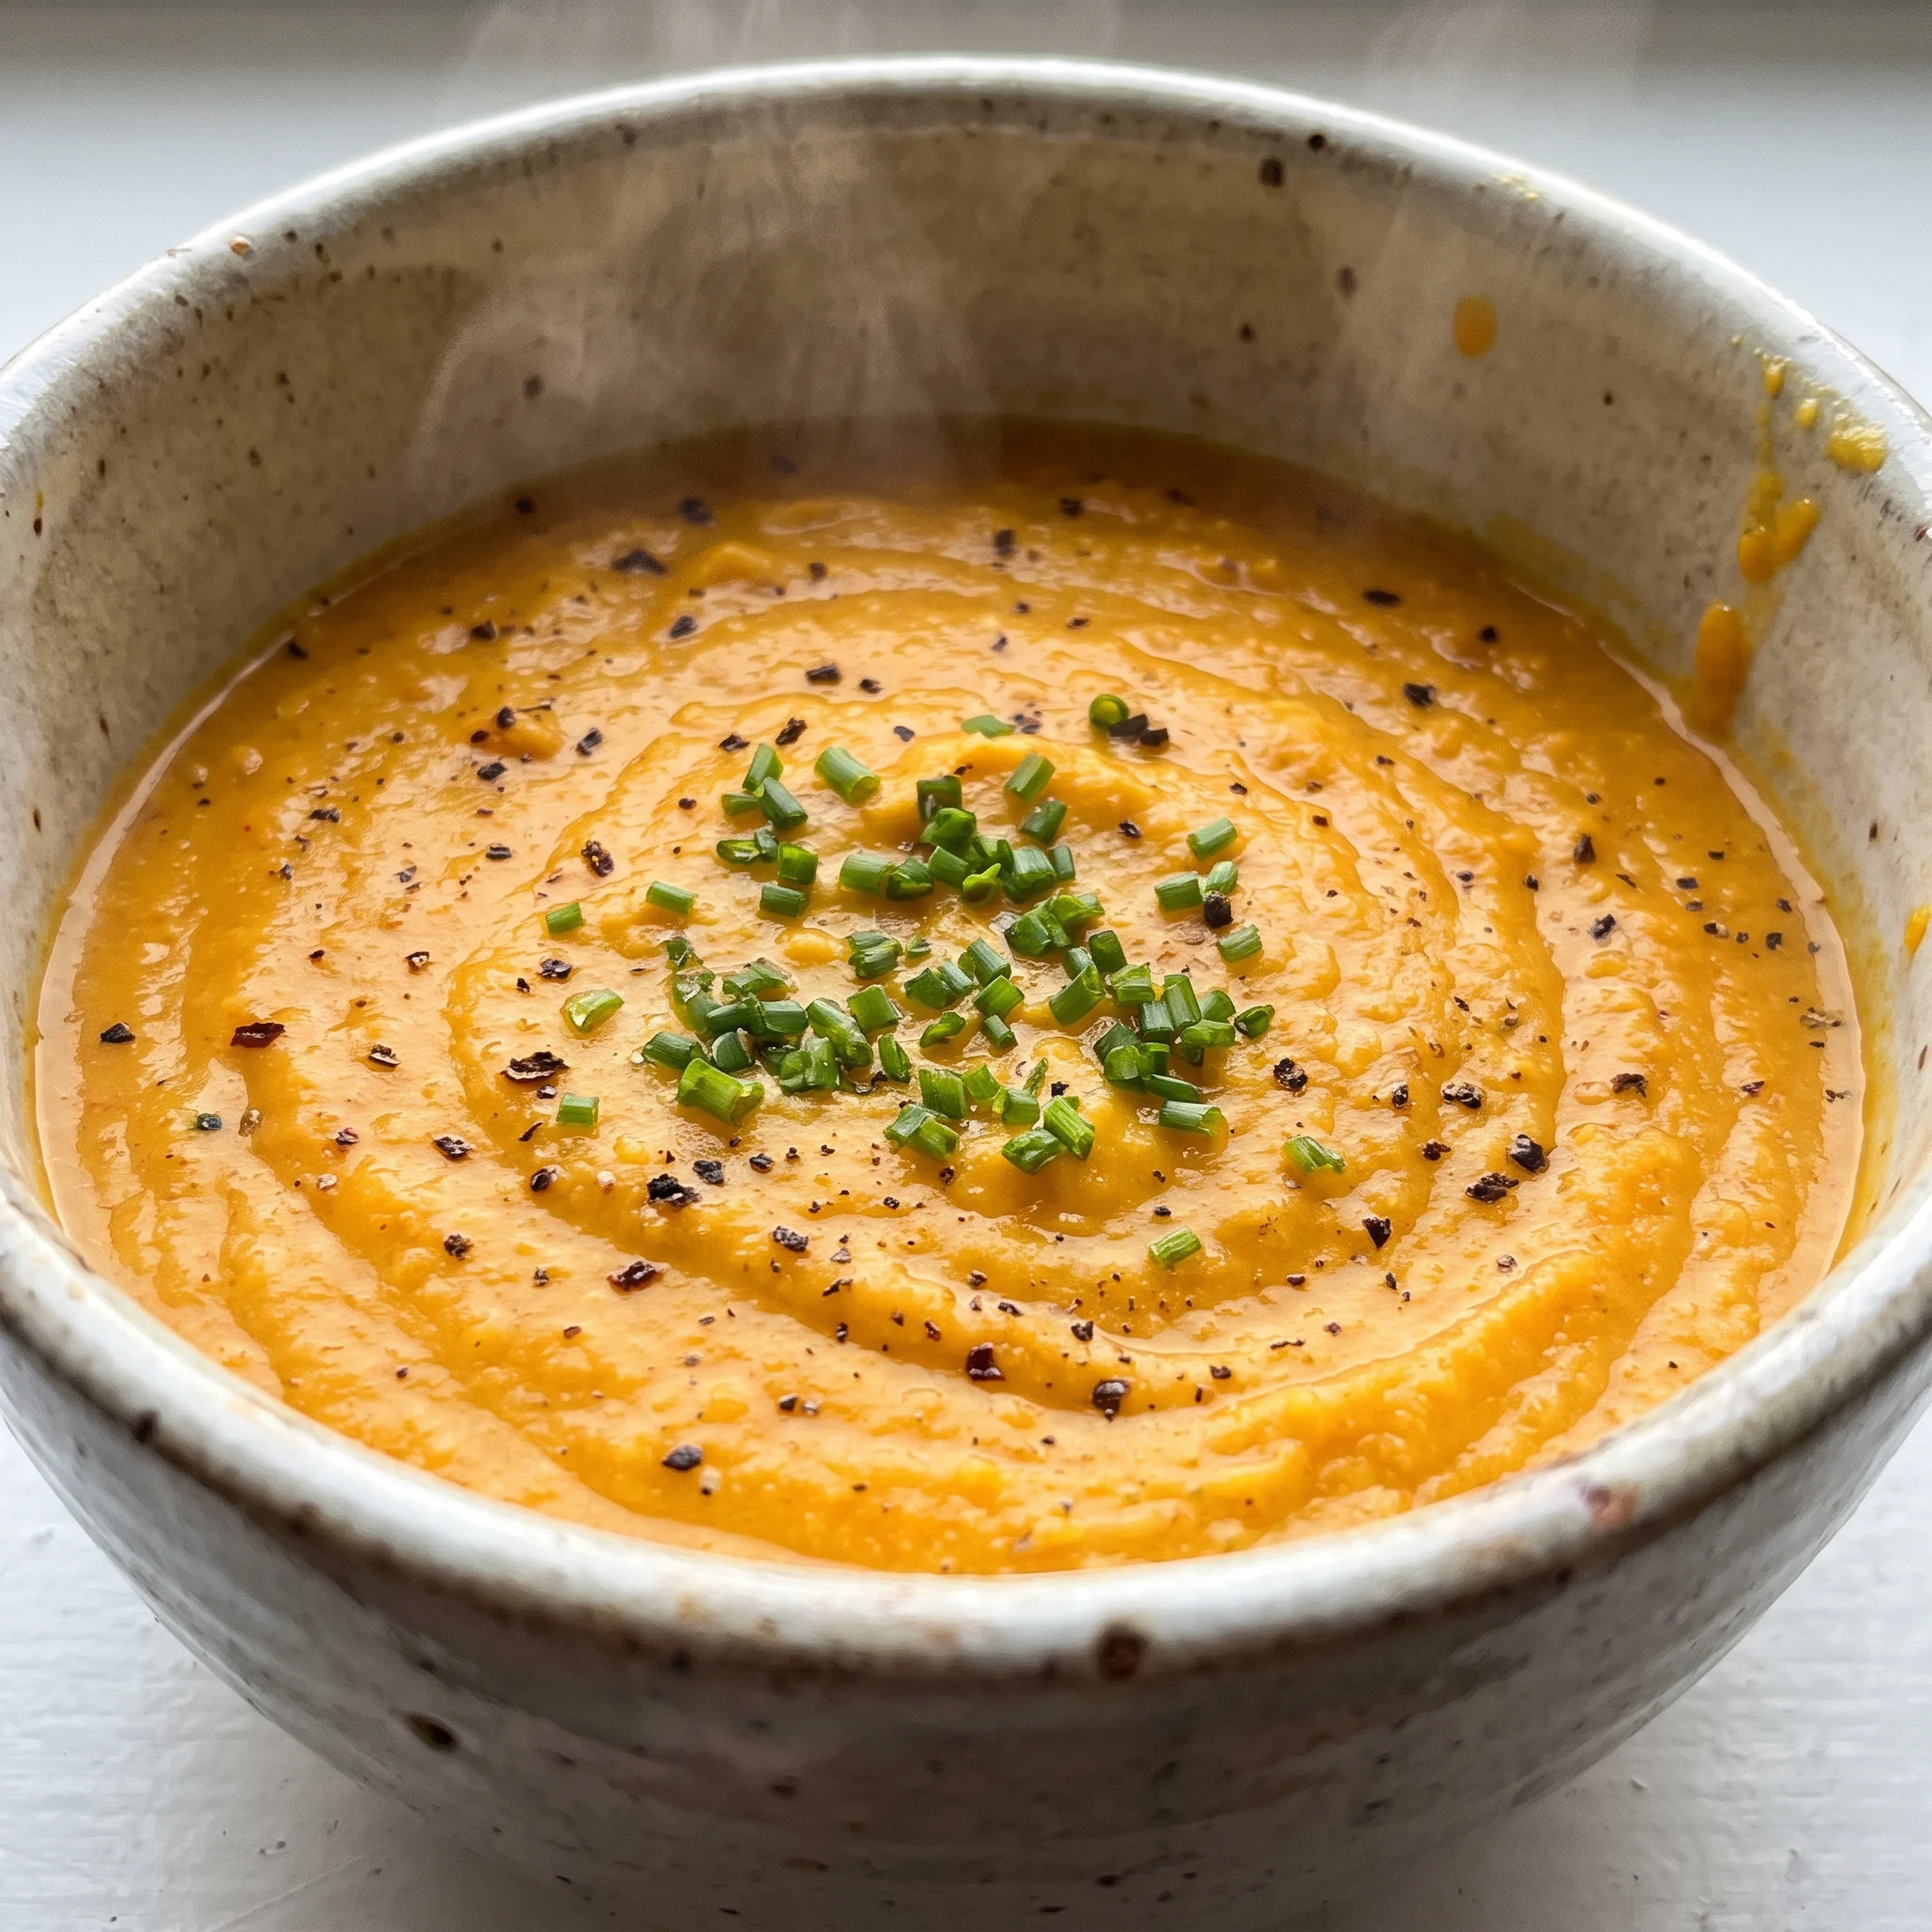
Roasted Butternut Squash Soup with Coconut Milk
Ingredients
Method
- Set the oven to 400°F (205°C) and allow it to preheat.
- In a bowl, toss the chopped butternut squash with the extra virgin olive oil, dried thyme, dried basil, sea salt, and black pepper until every piece is lightly coated.
- Place the seasoned squash evenly onto a baking sheet lined with parchment paper.
- Bake for 30 minutes, until the squash becomes tender and has lightly caramelized edges.
- Meanwhile, warm the olive oil in a large pot over medium heat. Sauté the onion, garlic, cumin, and paprika until the onion turns translucent and soft.
- Add the roasted squash to the pot, mixing it with the onion mixture. Then pour in the vegetable stock and soy sauce.
- Heat the soup until it simmers, then let it cook for roughly 15 minutes so the flavors combine.
- Take the pot off the heat. Blend the soup with an immersion blender until smooth. If using a countertop blender, let the soup cool a bit, then puree in batches and return to the pot.
- Mix in the coconut milk until it is thoroughly blended.
- Adjust the seasoning with sea salt and pepper according to your preference.
- Serve the soup in bowls, optionally garnishing with a sprinkle of black pepper and a sprig of fresh thyme.
What You Can Swap Without Losing the Soup’s Character
Coconut milk: Heavy cream or a lighter canned coconut milk. Full-fat coconut milk gives the soup its silky body and a subtle sweetness that plays against the squash. Swap in heavy cream and you’ll get a similar richness but lose that faint tropical note, which many find fine.
A light coconut milk will thin the texture, so expect a less rich mouthfeel; you can compensate by using a bit less stock or simmering longer before blending. If you go the cream route, start with the same cup and adjust after tasting, cream is less sweet, so you might want a pinch more salt.
Soy sauce: Do not swap; it’s essential for umami. Soy sauce might look like a minor player, but that splash is what keeps the soup from tasting flat. It adds a savory depth that the sweetness of the squash and coconut milk need.
Leave it out and you’ll notice the soup tastes one-dimensional, almost cloying. If you’re gluten-free, use tamari or coconut aminos, both bring the same saltiness and depth. Tamari is a direct swap; coconut aminos are sweeter, so add it to taste rather than the full tablespoon.
This is one ingredient where swapping for something like salt alone won’t work, because salt lacks that fermented complexity.
Butternut squash: Honeynut or kabocha squash, same weight. Butternut is the workhorse here, roasting to a sweet, nutty tenderness.
Honeynut is a smaller cousin with a deeper flavor and less water, so you might need a few extra minutes in the oven to get that same caramelized edge. Kabocha has a drier, starchier flesh that roasts but can make the soup slightly thicker; you may need a splash more stock when blending.
Both will work, but the color might shift from orange to a more golden hue, and the taste will lean sweeter or earthier. 2 pounds and adjust the seasoning at the end.
Storing and Rehearing for the Best Texture
This soup keeps well, but expect the texture to thicken as it sits. The squash absorbs liquid overnight, so it turns denser and creamier, not watery.
In the fridge, it holds for about 4 days. For longer, freeze it in airtight containers, leaving an inch of headroom.
It freezes fine for up to 3 months, though the coconut milk can separate slightly on thawing. That’s normal. To reheat, warm it gently over medium-low, stirring often.
If it’s too thick, add a splash of vegetable stock or water to loosen it. Avoid boiling, which can make the coconut milk curdle. For the best texture, eat this soup within 2 days of making it.
That’s when the roasted flavor is brightest and the creaminess feels silkiest. If you’re serving it right away, taste it and adjust the salt just before ladling.
The optional garnish of black pepper and fresh thyme goes on at the very end, right before serving, so it stays fresh and aromatic. Stored portions lose that brightness, so re-season with a pinch of salt after reheating.
Tips
- Check the squash at 25 minutes if you cut it into smaller than 1-inch cubes; smaller pieces roast faster and can go from caramelized to burnt quickly. Piercing with a fork is the test, but the timing can shift by 5 to 10 minutes depending on cube size.
Roasting the butternut squash at 400°F for 30 minutes drives off surface moisture and triggers the Maillard reaction and caramelization, which produce complex, sweet, and nutty compounds. Without this step, the squash boils in the stock, yielding a thinner, less flavorful soup because the sugars remain locked in the cells and are not concentrated or browned.

Frequently Asked Questions
Can I make this soup ahead of time and reheat it?
Yes, the soup keeps in the fridge for about 4 days. As it sits, the squash absorbs liquid, so it thickens rather than turns watery.
Reheat gently over medium-low, stirring often; add a splash of stock if it’s too thick. Avoid boiling, which can curdle the coconut milk. For the brightest roasted flavor, eat it within 2 days.
Why does my soup turn out watery instead of creamy?
Most likely the squash wasn’t roasted long enough to caramelize and dry out. At 30 minutes, it should be fork-tender with browned edges; if it’s still pale and firm, give it more time. Another cause is adding too much stock or not blending thoroughly, leaving the soup thin.
Blend until glossy and thick, then adjust with a splash of stock only if needed.
Is it necessary to roast the squash first, or can I skip it?
You can skip it, but you’ll lose the caramelized, nutty depth that makes this soup rich. Roasting at 400°F for 30 minutes concentrates the squash’s sweetness and dries the surface, which keeps the texture creamy rather than watery.
Without roasting, the soup will taste flatter and more one-dimensional. The extra step is worth it for the color and flavor.
How can I make this soup spicier?
Add a pinch of cayenne or red pepper flakes when you bloom the cumin and paprika with the onion. You can also stir in a minced fresh chili, like serrano, along with the garlic.
Start with a small amount and taste after blending, since heat builds. A few grinds of black pepper at the end add a mild kick without overwhelming the squash.
Can I freeze this soup for later?
Yes, freeze in airtight containers with an inch of headroom for up to 3 months. The coconut milk may separate slightly on thawing, which is normal.
Reheat gently over medium-low, stirring often, and add a splash of stock if needed. Avoid boiling to keep the texture smooth.
Re-season with a pinch of salt after reheating, as freezing can dull flavors.
