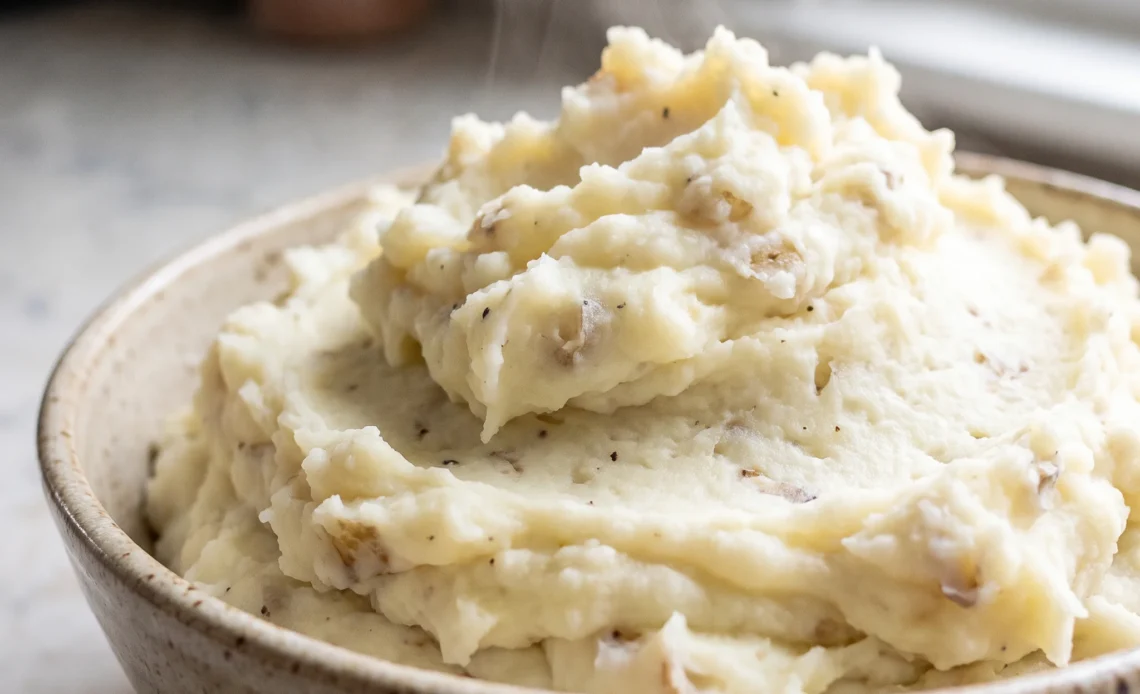
Pull a single mound of mash from the bag, and it goes straight into a hot oven still frozen solid, no thawing, no planning ahead. That’s the payoff of a batch made once and frozen in portions: a real side dish on a Tuesday, not a compromise.
What surprises cooks is how much the freezing rewards a drier, richer mash than they’d normally make for the table. Loose, wet potatoes never come back right, and you can’t tell by tasting them fresh.
You feel the difference in the baked flesh first, when it’s light in your hand, dry and fluffy inside. This freezer mashed potatoes method leans on that, plus enough butter to carry the texture through the cold. Reheated, it lands soft and full, though the window before it starts to tighten is short.
Serve it the moment it’s hot.
Bake the potatoes whole, not boiled
Baking drives off water. Water is the enemy of frozen mash, since any free liquid becomes ice crystals that push through the potato and leave it gluey once thawed. Whole baked potatoes hold their structure until you mash them, so less free starch escapes and turns gummy.
The dry, fluffy interior also soaks up butter and milk without needing thickeners. 5 to 2 hours.
If you boiled, you’d start with a wetter mash and have to work harder to get it right. When you scoop out the flesh, it should look dry and light, not steaming wet. That texture is your signal that the mash will freeze and reheat well.
Add butter before milk
Butter first, then milk. That order matters.
Fat from the butter coats the starch and protein, which keeps the mash from turning gluey when it’s frozen. If you dump in milk all at once, the potatoes can’t absorb it evenly, and you end up with a soupy or lumpy texture.
Adding milk slowly lets the potatoes drink it in, so the emulsion stays stable. A stable emulsion means the mash won’t weep water when it thaws.
Slice the butter in while the potatoes are still hot, then add the milk in stages, mixing just until it disappears. The mash should look smooth and hold its shape on a spoon. That’s your cue that it will survive the freezer.
Portion into single-serving mounds
Dollop the mash onto a lined baking sheet. Single mounds freeze faster and more evenly than one big block, so they reheat consistently. You can take out only what you need, which avoids thawing and refreezing the whole batch and wrecking the texture.
The foil or parchment keeps them from sticking, and once frozen, they slide right into a bag. That’s why the recipe has a dedicated freeze step and a 60-minute freeze time. When you pull the tray out, the mounds should be firm enough to lift without bending.
If they’re still soft in the middle, give them a few more minutes. Frozen individually, they’re ready for the bag.
Reheat at 350°F from frozen
Starting from frozen and heating at 350°F warms the center before the edges overcook. A foil-lined tray conducts heat gently, so you don’t get hotspots that crust the outside.
If you’re reheating a whole dish instead of individual servings, starting in a cold oven gives the middle a head start, so everything heats through evenly. That’s why the recipe offers two options: single servings or the full dish.
Either way, the goal is a fluffy interior and no dry edges. You’ll know it’s ready when the center is hot and the texture is soft.
Serve right away, because reheated mash loses its appeal as it sits.
The ratio that freezes well
Three pounds of potatoes, one stick of butter, one and a quarter cups of whole milk. That ratio gives enough fat and liquid to keep the mash creamy after freezing. Too little butter or milk and the mash turns dry and crumbly, which doesn’t freeze well.
Too much and it’s wet, prone to ice crystals. Whole milk adds richness and body that low-fat milks lack, so the texture holds up. This balance is why the recipe uses these exact quantities and doesn’t call for thickeners.
When you taste it before freezing, it should be rich and smooth, not stiff. That’s your sign the ratio is right and the mash will reheat.
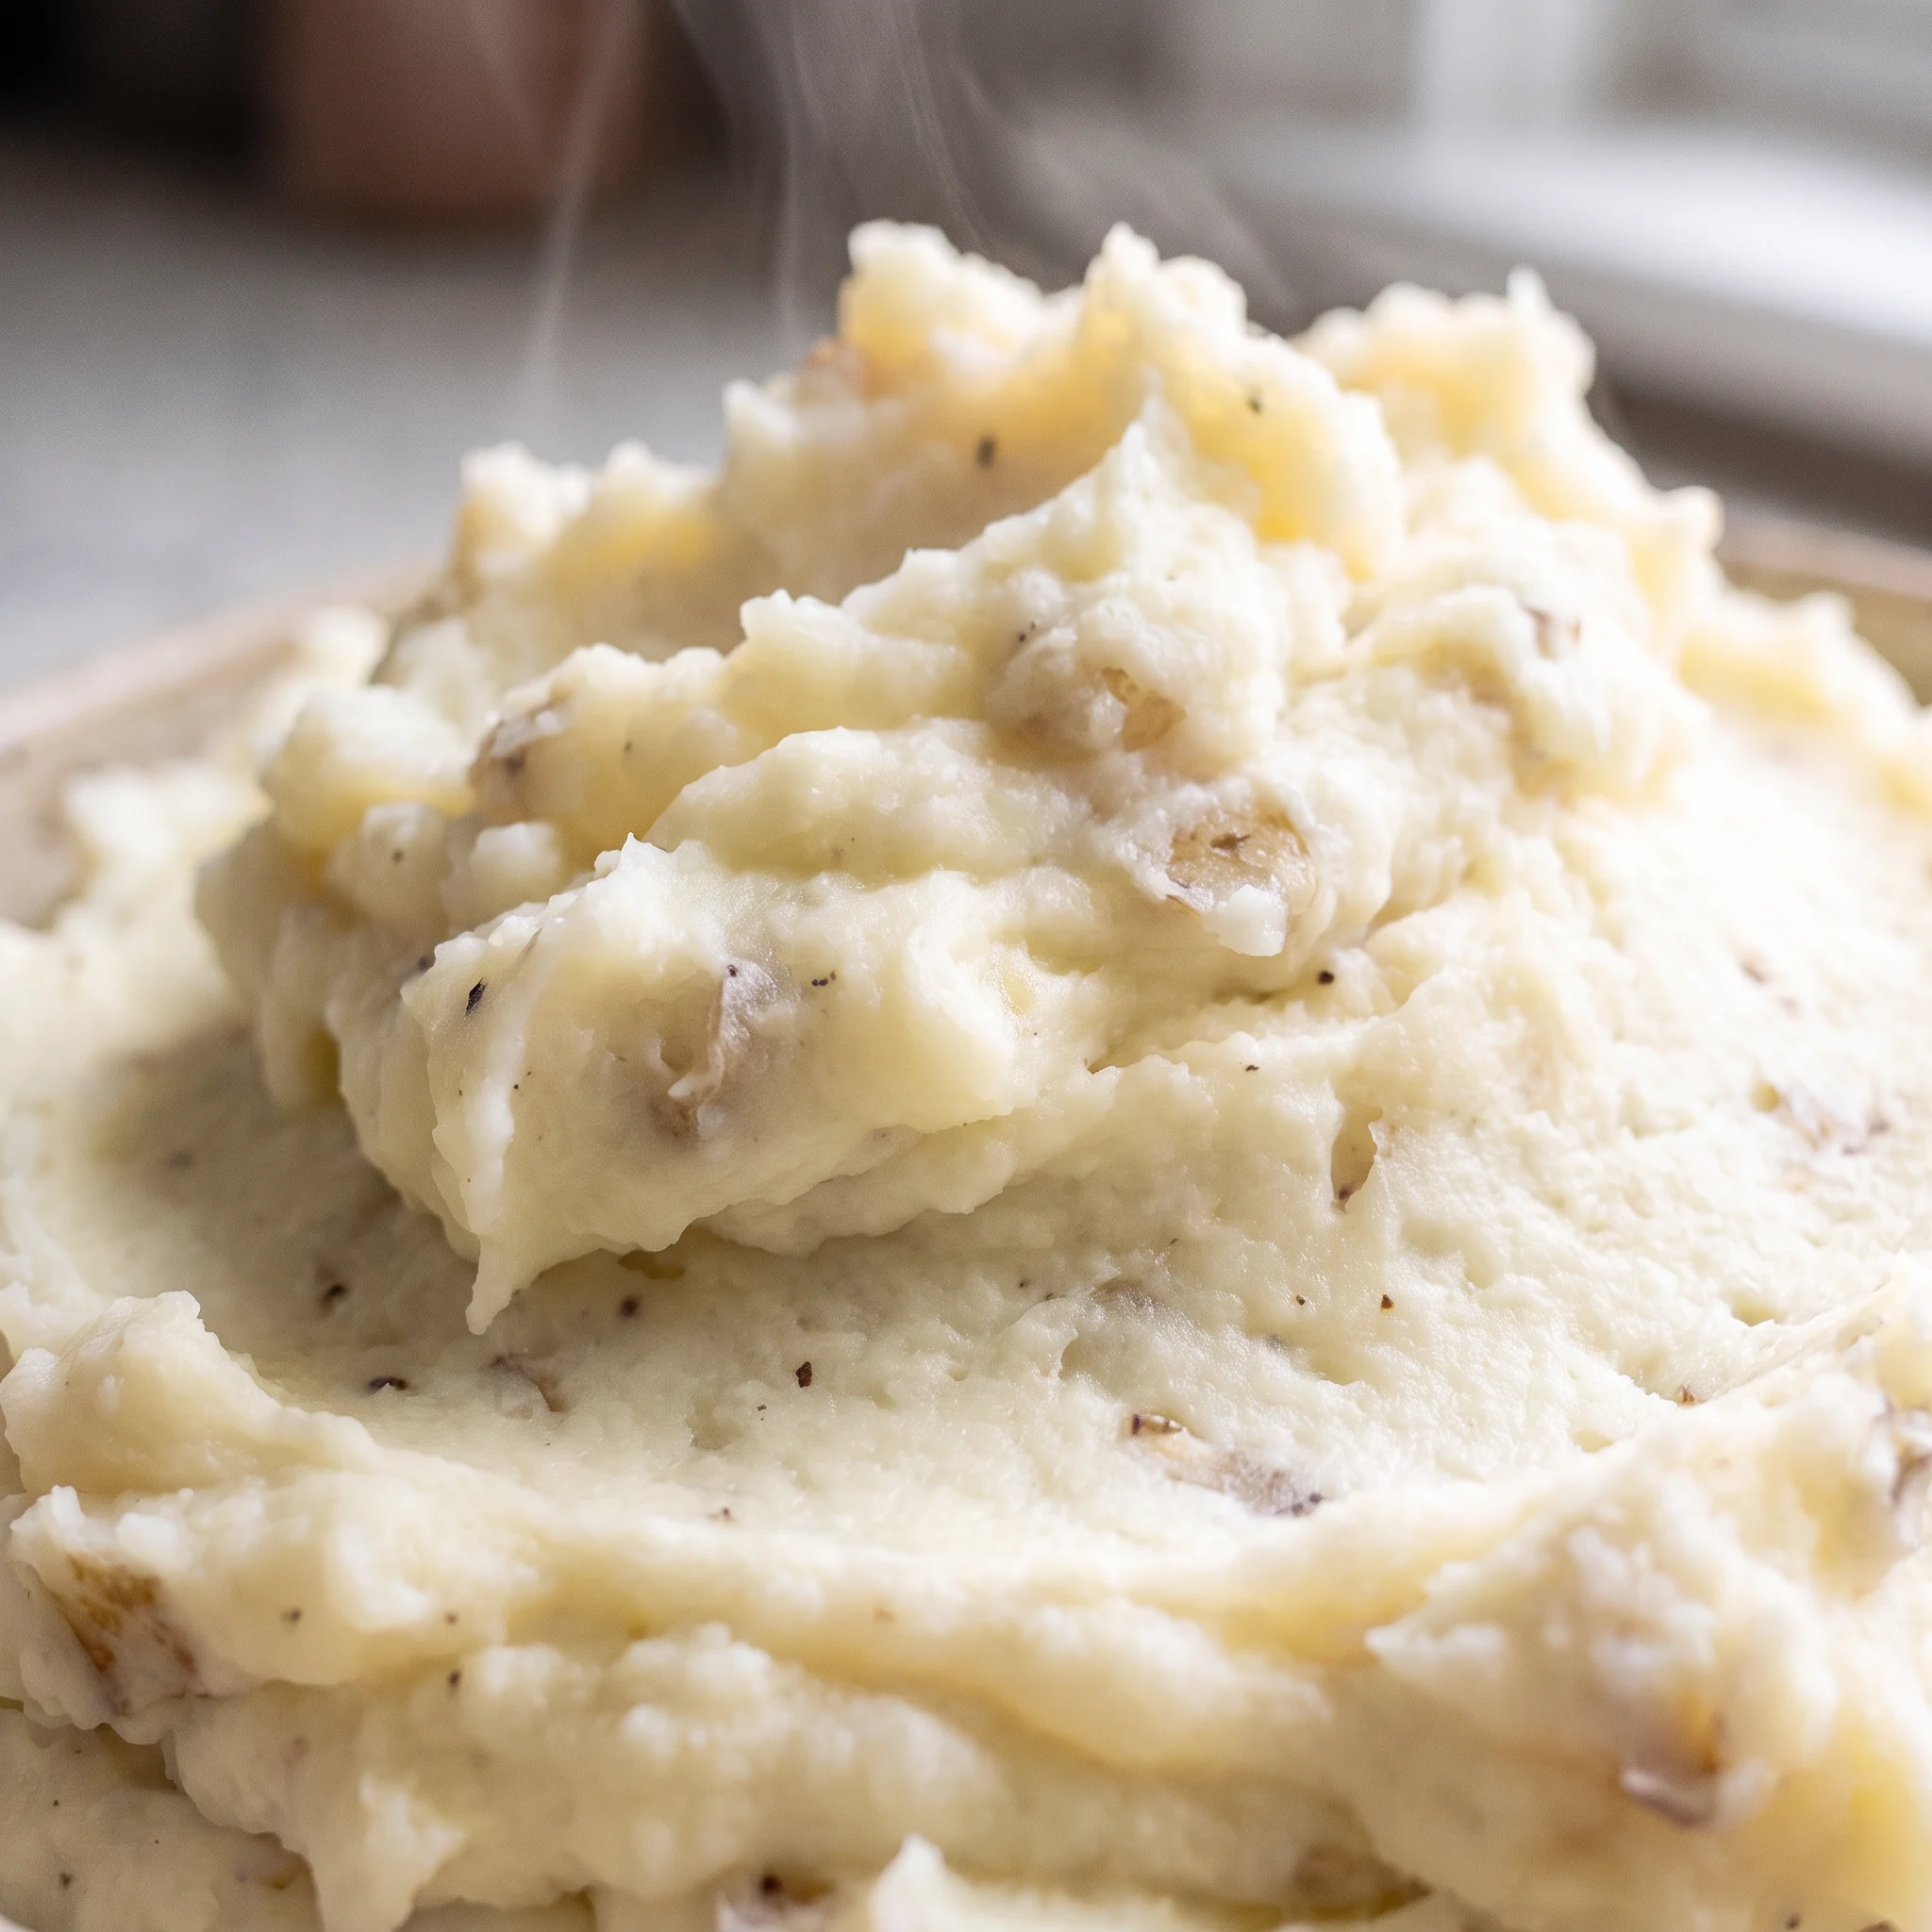
What to Buy for Mash That Survives the Freezer
3 lbs potatoes: Russets or other high-starch baking potatoes give the dry, fluffy flesh this mash needs to freeze without turning gluey.
1 stick butter: Real butter, not margarine or a spread, because its fat coats the starch and protects the mash through freezing and reheating.
1 1/4 cups whole milk: Whole milk has the fat and body that skim lacks, which keeps the mash rich instead of watery after it thaws.
The most common mistake is boiling the potatoes instead of baking them whole. Boiling forces water into the potato cells and bursts them, releasing free starch that gelatinizes into a pasty, gluey texture; when that mash is frozen, the high water content forms ice crystals that further rupture the cells, so the thawed potatoes weep liquid and turn grainy. Baking whole at 375°F for 1.5 to 2 hours drives off moisture and keeps the cell walls intact until mashing, leaving a dry, fluffy interior that absorbs butter and milk without turning gluey.
How to judge the mash before it goes in the freezer
Reading the potato flesh after baking
A baked potato for mashing should feel light for its size when you pick it up, and the skin should give slightly when pressed. Cut one open: the inside needs to look dry and fluffy, not wet or glossy. If it’s wet, the mash will hold extra water that turns to ice crystals and makes the thawed potatoes gluey.
Return any wet potatoes to the oven, uncovered, for another 15 minutes to dry out. This step sets up everything that follows.
Watching the butter disappear before the milk goes in
After you add the sliced butter to the hot potatoes and run the mixer, the butter should melt and vanish into the mash within 30 seconds. If you still see yellow streaks or pools, the potatoes have cooled too much.
Stop and let them warm through, either by covering the bowl for a minute or mixing a little longer. Butter that doesn’t fully incorporate leaves pockets of fat that won’t protect the starch, and the mash can turn greasy or gluey after freezing.
Adding milk until the mash just holds its shape
Pour the milk in a slow stream, mixing on low. Stop when the mash looks smooth and thick, and a spoonful holds a soft mound instead of spreading flat.
If it turns soupy, you’ve gone too far; the extra liquid will freeze into crystals and separate when reheated. You can rescue a loose mash by mixing in a little more baked potato flesh, but it’s easier to add milk gradually and check after each addition. The full 1 1/4 cups is a guide, not a requirement.
Tasting for salt before the mash is frozen
Salt now, not after reheating. Cold dulls flavors, so a mash that tastes seasoned while hot will seem flat once thawed. Season until the salt is present but not sharp, and add a few grinds of pepper.
If you undersalt, you can fix it after reheating, but the texture won’t be as cohesive. Over-salting is harder to correct; if it happens, mix in a plain boiled potato or a splash of unsalted milk to dilute.
Taste a small spoonful and trust your palate.
Checking the frozen mounds for firmness
After an hour in the freezer, the mounds should lift cleanly off the liner without bending or leaving a wet spot. If the centers still feel soft, they need more time; bagging them too early lets them fuse into a block, and you lose the single-serving benefit. Once firm, slide them into a bag and press out air.
Any ice crystals on the surface are fine; they’ll cook off. This check ensures the mash freezes as individual portions that reheat evenly.
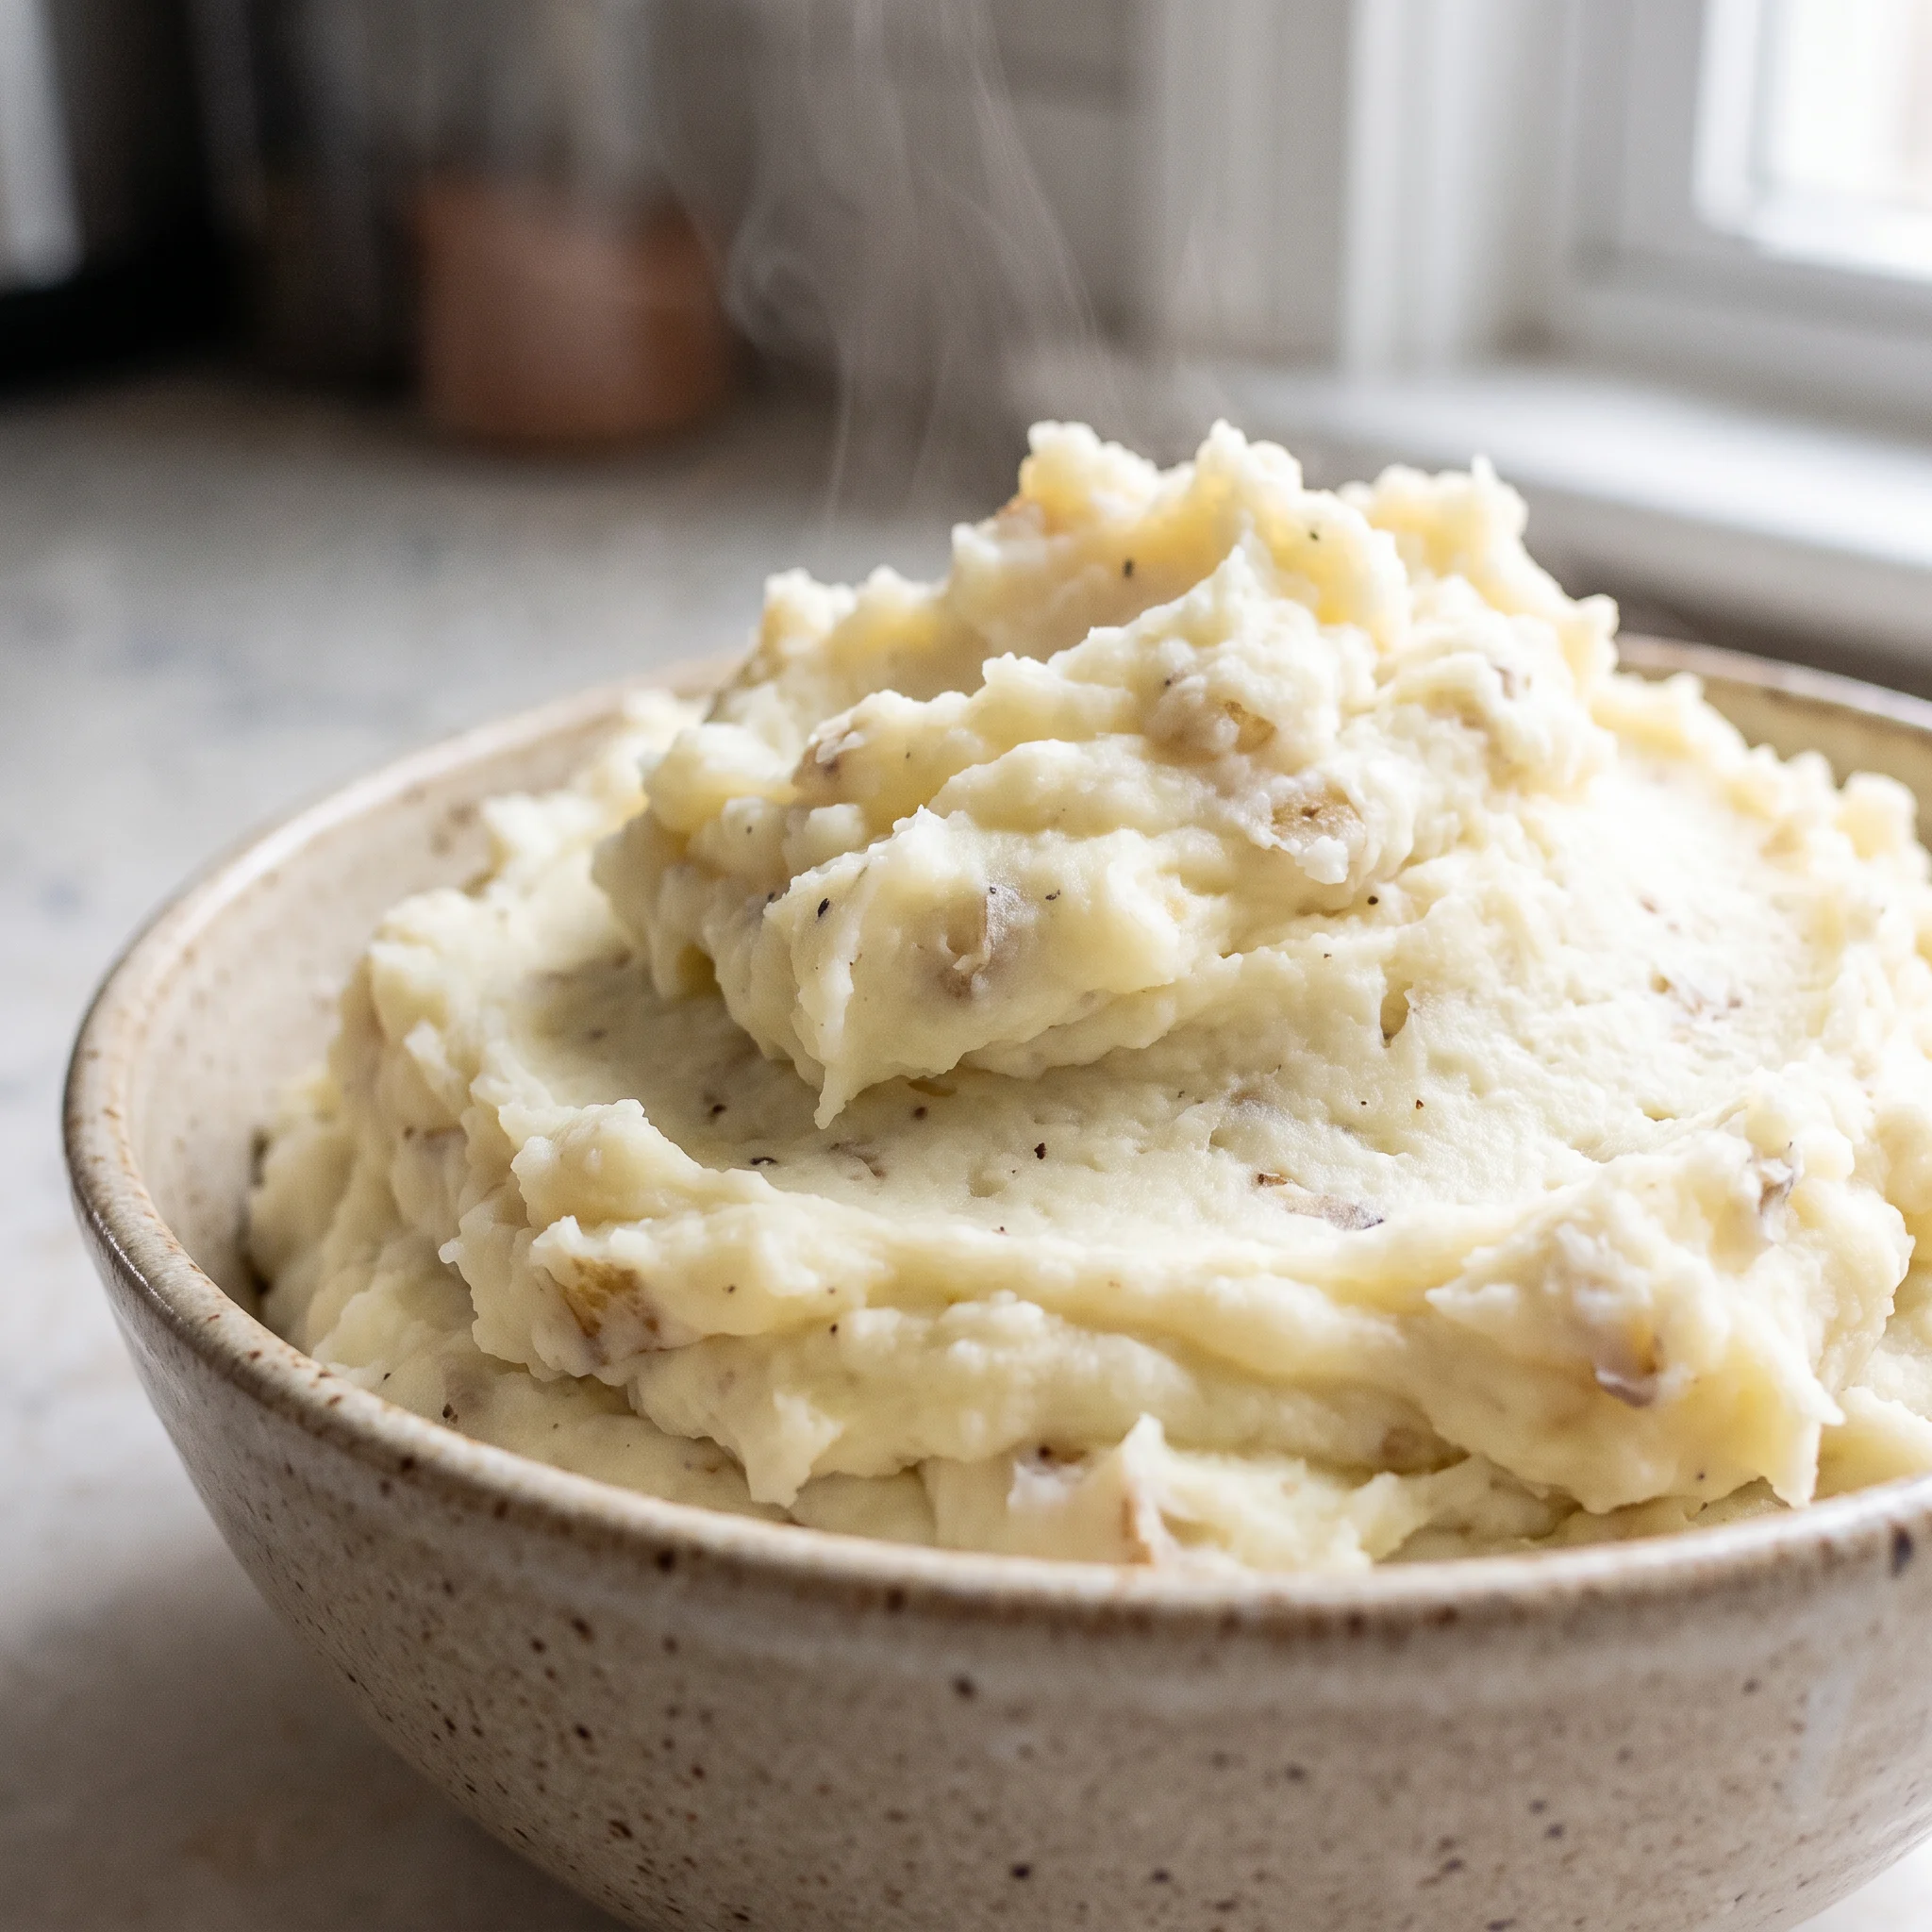
Freezer Mashed Potatoes Made with Baked Russets
Ingredients
Method
- Bake potatoes at 375°F (190°C) for 1.5–2 hours, depending on size.
- While still hot, place potatoes into a mixing bowl.
- Run mixer for 30 seconds to break up potatoes.
- Slice and add butter.
- Slowly add 1 1/4 cups milk.
- Season with salt and pepper to taste.
- Line a baking sheet with foil, parchment, or cling wrap. Dollop potatoes into single-serving mounds.
- Freeze flat for about 1 hour. Remove and place servings into a Ziploc bag.
- Place desired servings onto a foil-lined tray. Heat at 350°F (175°C) for approximately 30 minutes. Serve right away.
- If you froze your mashed potatoes in a serving dish instead of individual servings, place in a cold oven, heat to 350°F (175°C), and bake for 30 minutes. Stir well and check temperature. If needed, heat for another 15–20 minutes.
Storage and Serving: Eat Reheated Mash Within 15 Minutes
Reheated mash has a short window. The moment it comes out of the 350°F oven, the starch is still swollen and holding water. As it cools on the plate, that structure relaxes, water separates, and the texture goes from soft to grainy.
Serve it within about 15 minutes of pulling it from the oven. If you must hold it, keep it covered and warm, not at room temperature.
Leftovers from a reheated batch don’t come back well. A second pass through the oven drives off more water and tightens the starch further. If you have extra, cool it fast, refrigerate in a covered container, and use within 3 days.
Reheat only what you’ll eat in one sitting. Frozen mounds hold in a sealed bag for up to 3 months; portion them out so you never thaw more than you need. Add any finishing butter or chives after the final reheat, never before, or they’ll break and pool.
Tips
- Squeeze a baked potato through a folded towel before it goes in the bowl. A potato ready for this mash gives with light pressure and springs back slowly; one that feels firm in the center needs another 15 minutes at 375°F, and one that squashes flat under almost no pressure has baked past the point where the flesh will fluff, so it will mix into a dense paste that freezes poorly.
Swaps That Keep This Mash Freezer-Safe
Potatoes: Yukon Golds in place of russets. Yukons are waxy and hold more water, so the baked flesh comes out denser and creamier. That sounds fine for eating fresh, but when frozen the extra moisture turns to ice crystals and the thawed mash can go gluey.
If you only have Yukons, bake them longer to dry them out, and cut the milk back by a few tablespoons. Start with the same 3 pounds and adjust after tasting.
Butter: Salted butter for unsalted. Salted butter brings its own salt, usually about 1/4 teaspoon per stick.
Since the recipe has you season to taste at the end, you’ll just need less added salt. Taste the mash after the butter goes in and before you reach for the shaker.
The fat still coats the starch the same way, so freezing behavior doesn’t change.
Whole milk: Low-fat or skim milk. Skim milk is mostly water, and this mash needs the fat and body from whole milk to stay creamy after freezing. Swap in skim and you’ll likely get a thinner mash that weeps water when thawed.
If you must use low-fat, start with the same 1 1/4 cups but add it more slowly, and stop as soon as the mash holds a soft mound. You may not need the full amount.
Whole milk: Oat milk or another plant milk. Oat milk has a similar richness to whole milk, so it can work, but the flavor will read slightly oat-y.
Other plant milks like almond are thinner and can leave the mash watery. Use the same 1 1/4 cups as a starting point, then adjust: add just until the mash looks smooth and thick, since you can always add more but you can’t take it out.
Frequently Asked Questions
Can I freeze mashed potatoes for later?
Yes, and they hold up for up to 3 months in a sealed bag. The trick is freezing them as individual mounds rather than one solid block, so you can pull out just what you need without thawing the whole batch.
Portion them onto a lined sheet, freeze flat, then bag the firm mounds. A mash that was rich and smooth going in comes back close to the same, provided it wasn’t wet or loose to begin with.
How do I reheat frozen mashed potatoes without them getting watery?
Heat them covered or on a foil-lined tray so the moisture that releases stays with the potatoes instead of evaporating and leaving them dry at the edges. If you’re working from a single frozen portion, a foil-lined tray at 350°F does the job; a whole dish goes into a cold oven so the middle catches up with the edges.
Stir once partway through if you’re reheating a dish, and stop when the center is hot. Anything past that and the water starts separating.
Why do my frozen mashed potatoes turn gluey after reheating?
The usual cause is too much free water in the mash before it froze, which turns into ice crystals that rupture the potato and release starch on thawing. That water usually comes from boiled rather than baked potatoes, or from adding milk too fast so the mash never absorbed it evenly. Check your mash before freezing: it should hold a soft mound on a spoon, not spread flat.
If it’s loose, work in a little more dry baked potato flesh before you portion it out. A second cause is skim or low-fat milk, which brings water without the fat that keeps the emulsion stable.
Can I make this freezer mashed potatoes recipe ahead of time?
Yes, that’s the whole design. Bake, mash, portion into single-serving mounds, freeze flat, then bag them, and they keep for up to 3 months.
Reheat only what you’ll eat in one sitting, since a second pass through the oven tightens the texture further. Add any finishing butter or chives after the final reheat, never before. The recipe runs about 205 minutes start to finish, most of it hands-off oven and freezer time.
How are freezer mashed potatoes different from regular mashed potatoes?
A mash built for freezing is drier and richer going in, because any free liquid becomes ice crystals that leave the thawed potatoes gluey. Whole baked potatoes give you dry, fluffy flesh that soaks up the butter and milk without needing thickeners, and the full stick of butter coats the starch so it survives the cold.
Regular mash made from boiled potatoes or with skim milk can taste fine fresh but won’t come back the same way. Reheated, the texture is softer and slightly less fluffy than the day it was made, so serve it within about 15 minutes of coming out of the oven.
