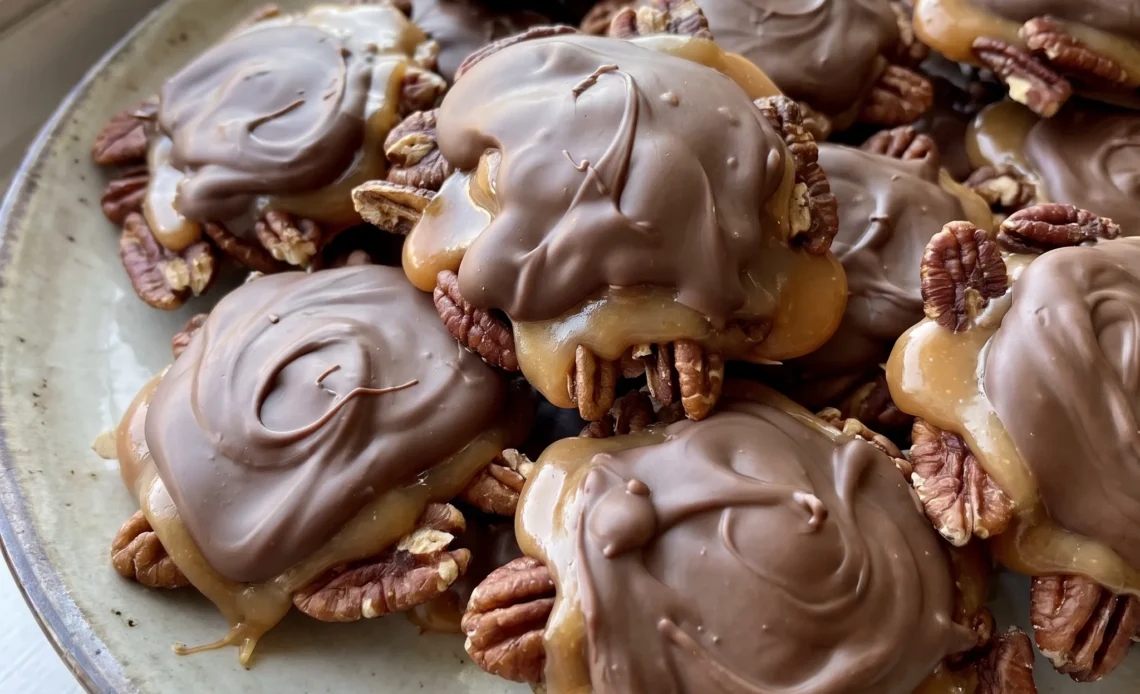
A bite that starts with a clean snap, moves through a stretchy, soft caramel, and ends with a roasted nut crunch. That’s the payoff here, and it comes down to a few precise windows of temperature and timing.
The caramel needs to hit the soft-ball stage, where it bends but doesn’t run; the chocolate needs a quick chill underneath so it caps the candy instead of sinking in. Get those two points right and you’ve got a batch that looks as good as it tastes. But there’s little margin for error: pull the caramel off early and it spreads thin, let it go late and it’s brittle.
This homemade turtle candy recipe walks you through the signs to watch for, so you can nail the texture without a candy thermometer if you trust your eyes. Homemade turtle candy is forgiving in flavor, but unforgiving in texture, until you know what to look for.
Why do pecans get roasted first?
Roasting pecan halves does two visible things. Heat coaxes out their natural oils, which deepens the nutty scent and flavor. You’ll smell it as they warm.
Second, the oven drives off surface moisture, so the nuts stay crisp once they’re buried under sticky caramel. A soggy pecan would soften the whole bite.
That’s why the clusters get arranged after roasting, when the nuts are dry and easy to handle. The caramel needs a stable base to cling to, and a roasted nut gives it that. The result is a turtle with a definite crunch under the chewy layer, not a limp, damp bottom.
That contrast is what makes these worth making.
What does 240°F do to caramel?
Caramel at 240°F reaches the soft-ball stage. That means a drop of it in cold water forms a pliable ball, firm enough to hold shape but still yielding. That’s exactly the texture you want in a turtle: a caramel that bends slightly when you bite, then gives way cleanly.
It won’t be runny or tacky like a sauce, and it won’t turn into a hard, crackly candy either. You can see the difference as it cools. The mixture thickens noticeably while it rests, so the caramel on your spoon leaves a ribbon that mounds rather than flattening.
That brief pause before spooning it over the pecans is your cue that it’s ready to set into a chewy layer.
Why chill the caramel before chocolate?
A fridge stay firms the caramel so it stops moving. Warm caramel is soft and slightly fluid; if you pour chocolate over it right away, the two layers will blur together. Chilling sets the caramel into a solid base, so the chocolate sits on top as a distinct cap.
You get that clean separation when you bite: first the snap of chocolate, then the chew of caramel. It also gives the chocolate a smooth, even surface to flow over. Without that firming step, the chocolate might sink into the caramel or leave you with a streaky, muddled look.
The cooling does more than save time; it shapes the final texture.
What’s the shortening for?
A spoonful of shortening thins melted chocolate, making it easy to drizzle in a steady stream. That’s the tangible effect, a looser consistency that coats the caramel without dragging or pooling.
The chocolate also sets with a shiny, satin finish, not a dull matte. That gloss comes from the fat in the shortening, which helps the chocolate firm up without the streakiness you sometimes see when it cools too slowly. It keeps the chocolate from seizing too, so you don’t get a thick, pasty mess.
The result is a candy that looks polished and snaps cleanly when you bite through the top layer.
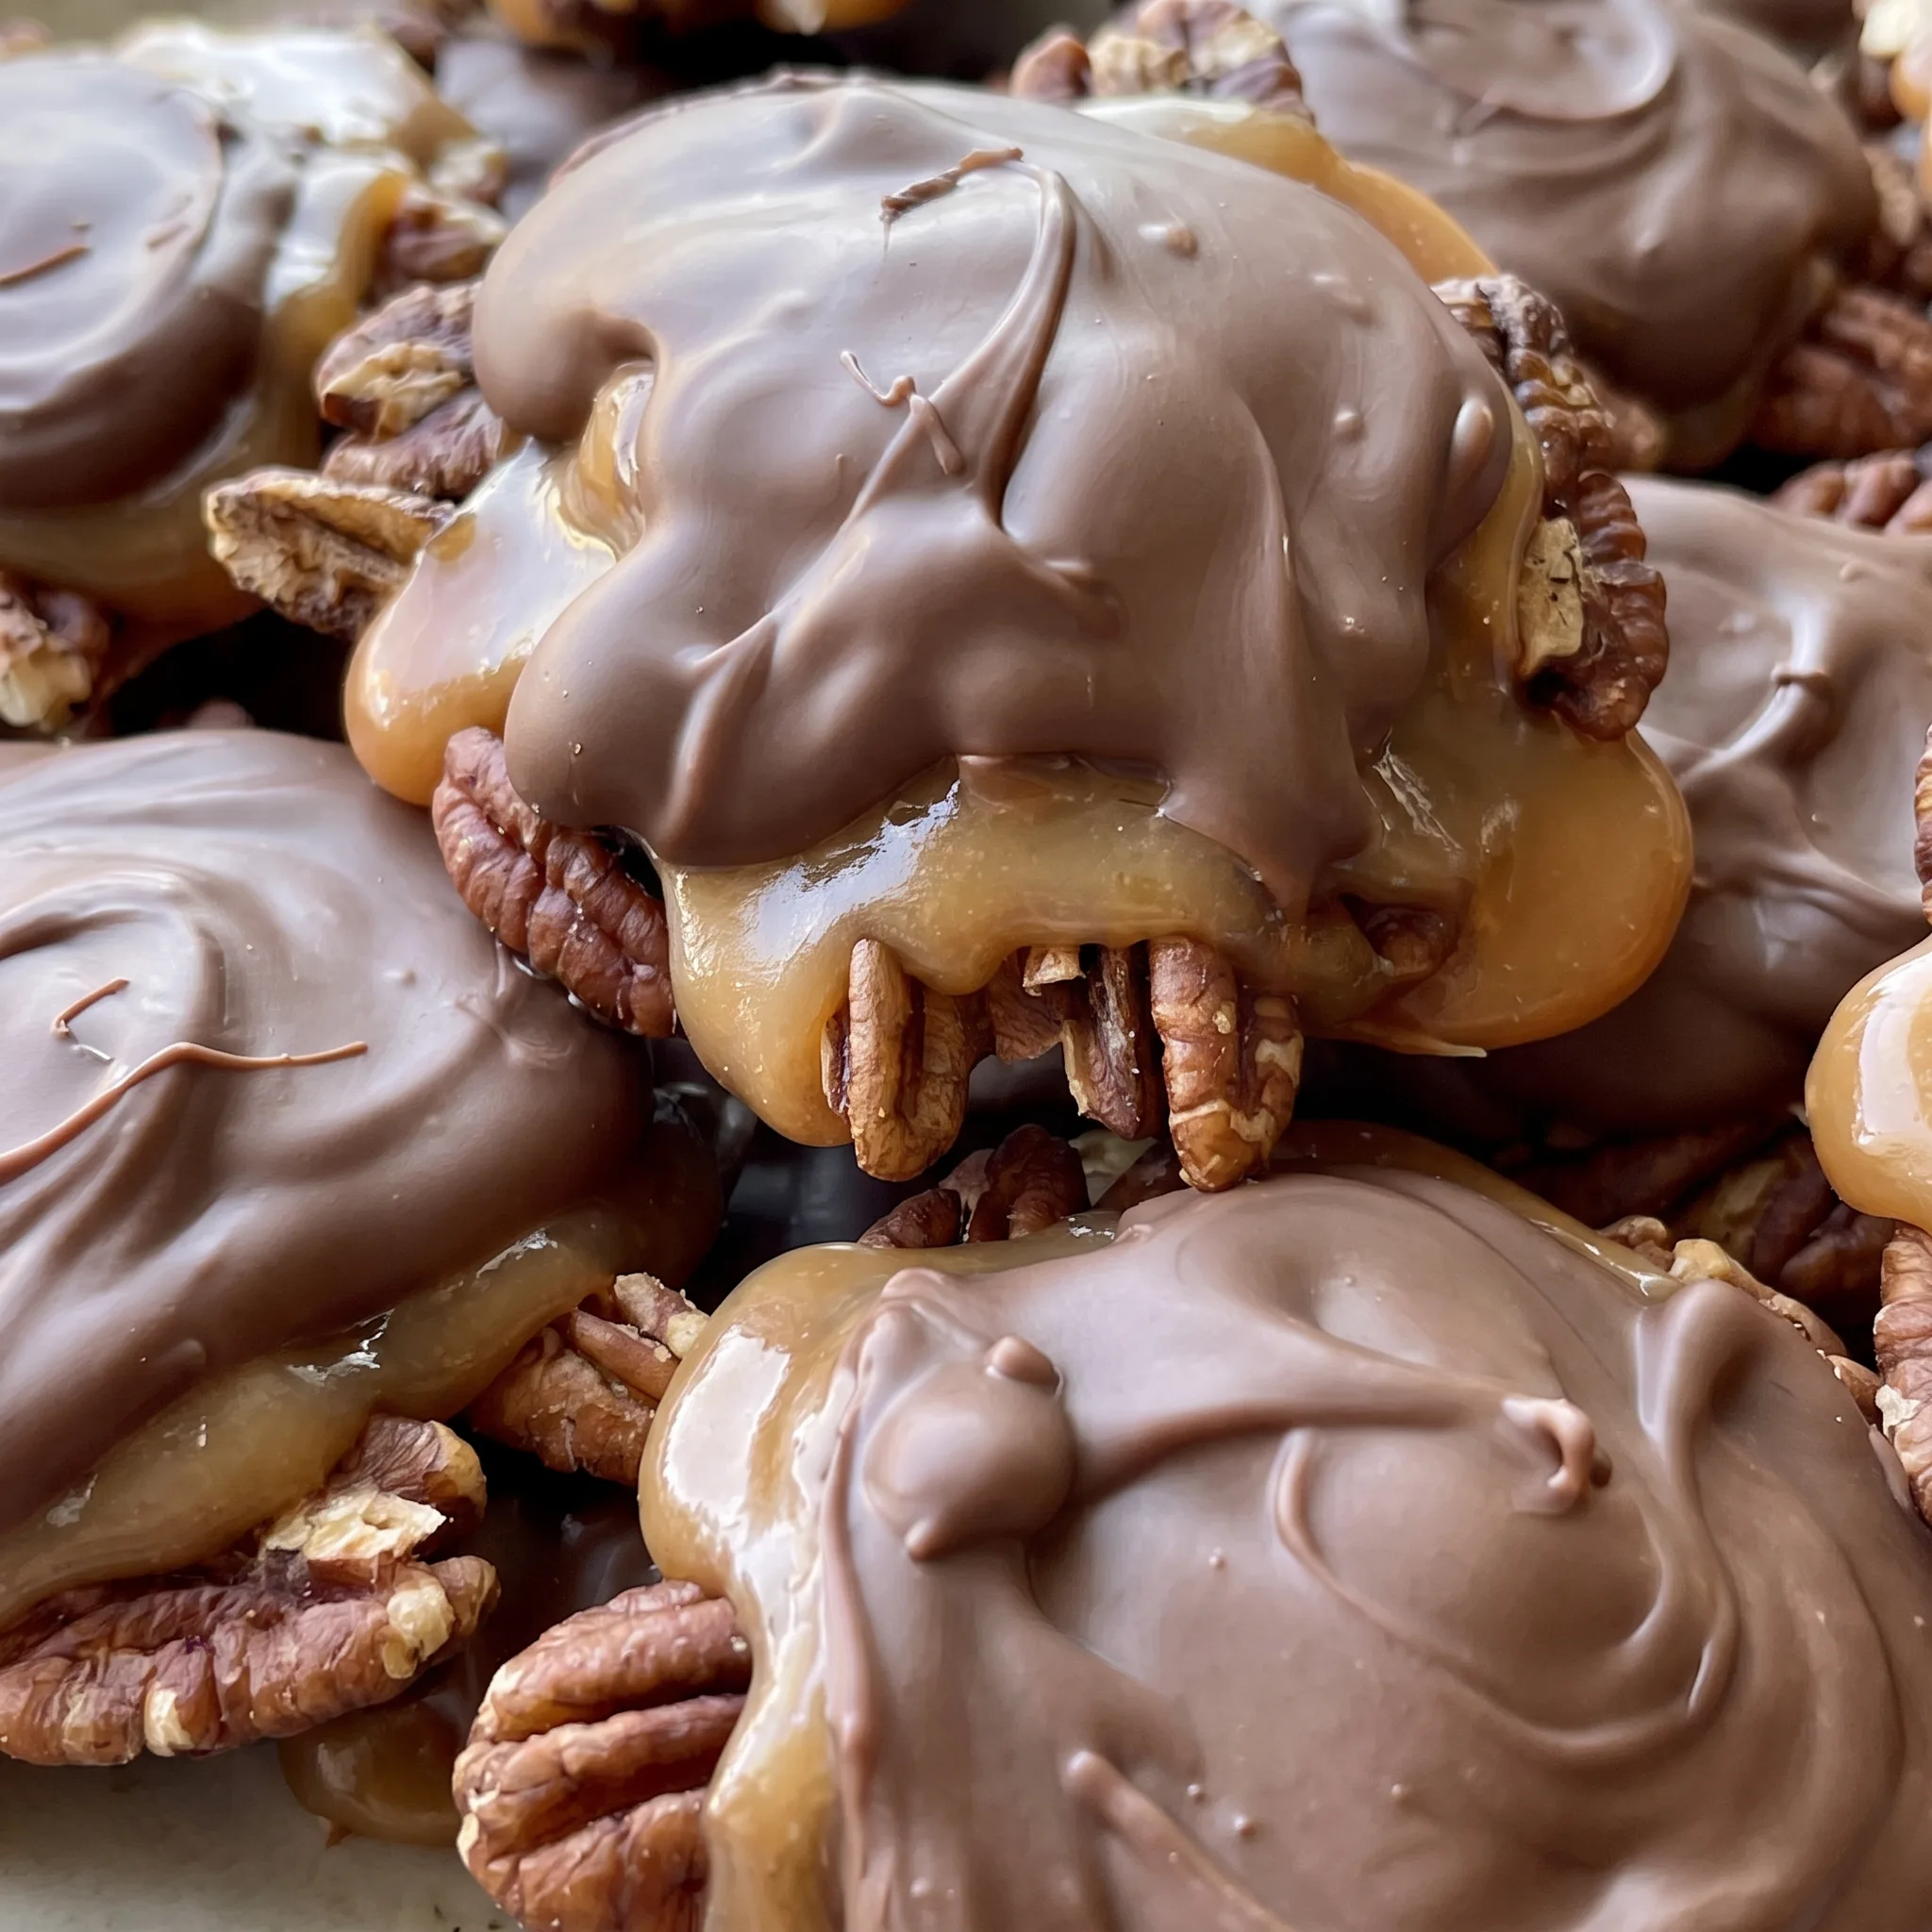
Choosing and prepping the ingredients that matter
Pecan halves: Buy fresh, uniform halves; stale or broken nuts will taste flat and crumble under the caramel.
Sweetened condensed milk: Use full-fat, not low-fat, or the caramel won’t set to that soft, chewy stage.
Light corn syrup: It keeps sugar crystals in check, so your caramel stays smooth instead of turning grainy.
Milk chocolate morsels: Pick a good-quality brand; cheap chips may seize or lack that creamy snap when set.
Vegetable shortening: It thins the chocolate just enough to drizzle neatly; don’t skip it or the coating will be thick and lumpy.
Reading the caramel as it cooks and cools
Judging when the caramel hits 240°F
The thermometer is the guide, but watch the bubbles too. At 240°F, the syrup will have thickened and the bubbles will slow and get larger.
If you pull the spoon out, the caramel that clings should form a thread that holds for a second before dropping. That’s the soft-ball stage.
If you pull too early, the caramel stays runny and will spread flat over the pecans, leaving a thin, sticky layer. If you overshoot, it firms into a hard, brittle candy.
Once it crosses 245°F, there’s no going back.
Reading the 10-minute rest
The rest after boiling is where the caramel settles. You’ll see it change from a glossy, thin syrup to a thicker, more opaque mass that moves sluggishly off the spoon. That’s the sign it will mound on the pecans instead of running off.
If you skip the wait, the caramel will spread too thin and may slide off the clusters entirely. If you wait too long, it stiffens into a taffy-like lump that’s hard to spoon.
The right texture drips reluctantly and holds a soft peak for a moment.
Sensing when the chocolate is fluid enough
Melt the chocolate in bursts and stir until it turns glossy and runs off the spoon in a smooth, thin ribbon. If it still has lumps, keep heating in short bursts; if it turns thick and pasty, you’ve overheated it. Properly melted chocolate coats the back of a spoon evenly and drizzles neatly.
If it’s too thick, it will plop onto the caramel in blobs instead of a clean line. A little extra stirring usually smooths it, if not, a touch more shortening can loosen it, but don’t rely on that.
Checking the chocolate set before serving
The chocolate should look matte and feel firm to a light touch, no fingerprint left behind. If it’s still glossy and tacky, it hasn’t fully set. The fridge does the work, but the time depends on your fridge and the thickness of your drizzle.
A thin layer sets faster than a thick one. If you cut into a turtle too soon, the chocolate will smear and the layers will blend.
A clean snap when you break one tells you it’s ready.
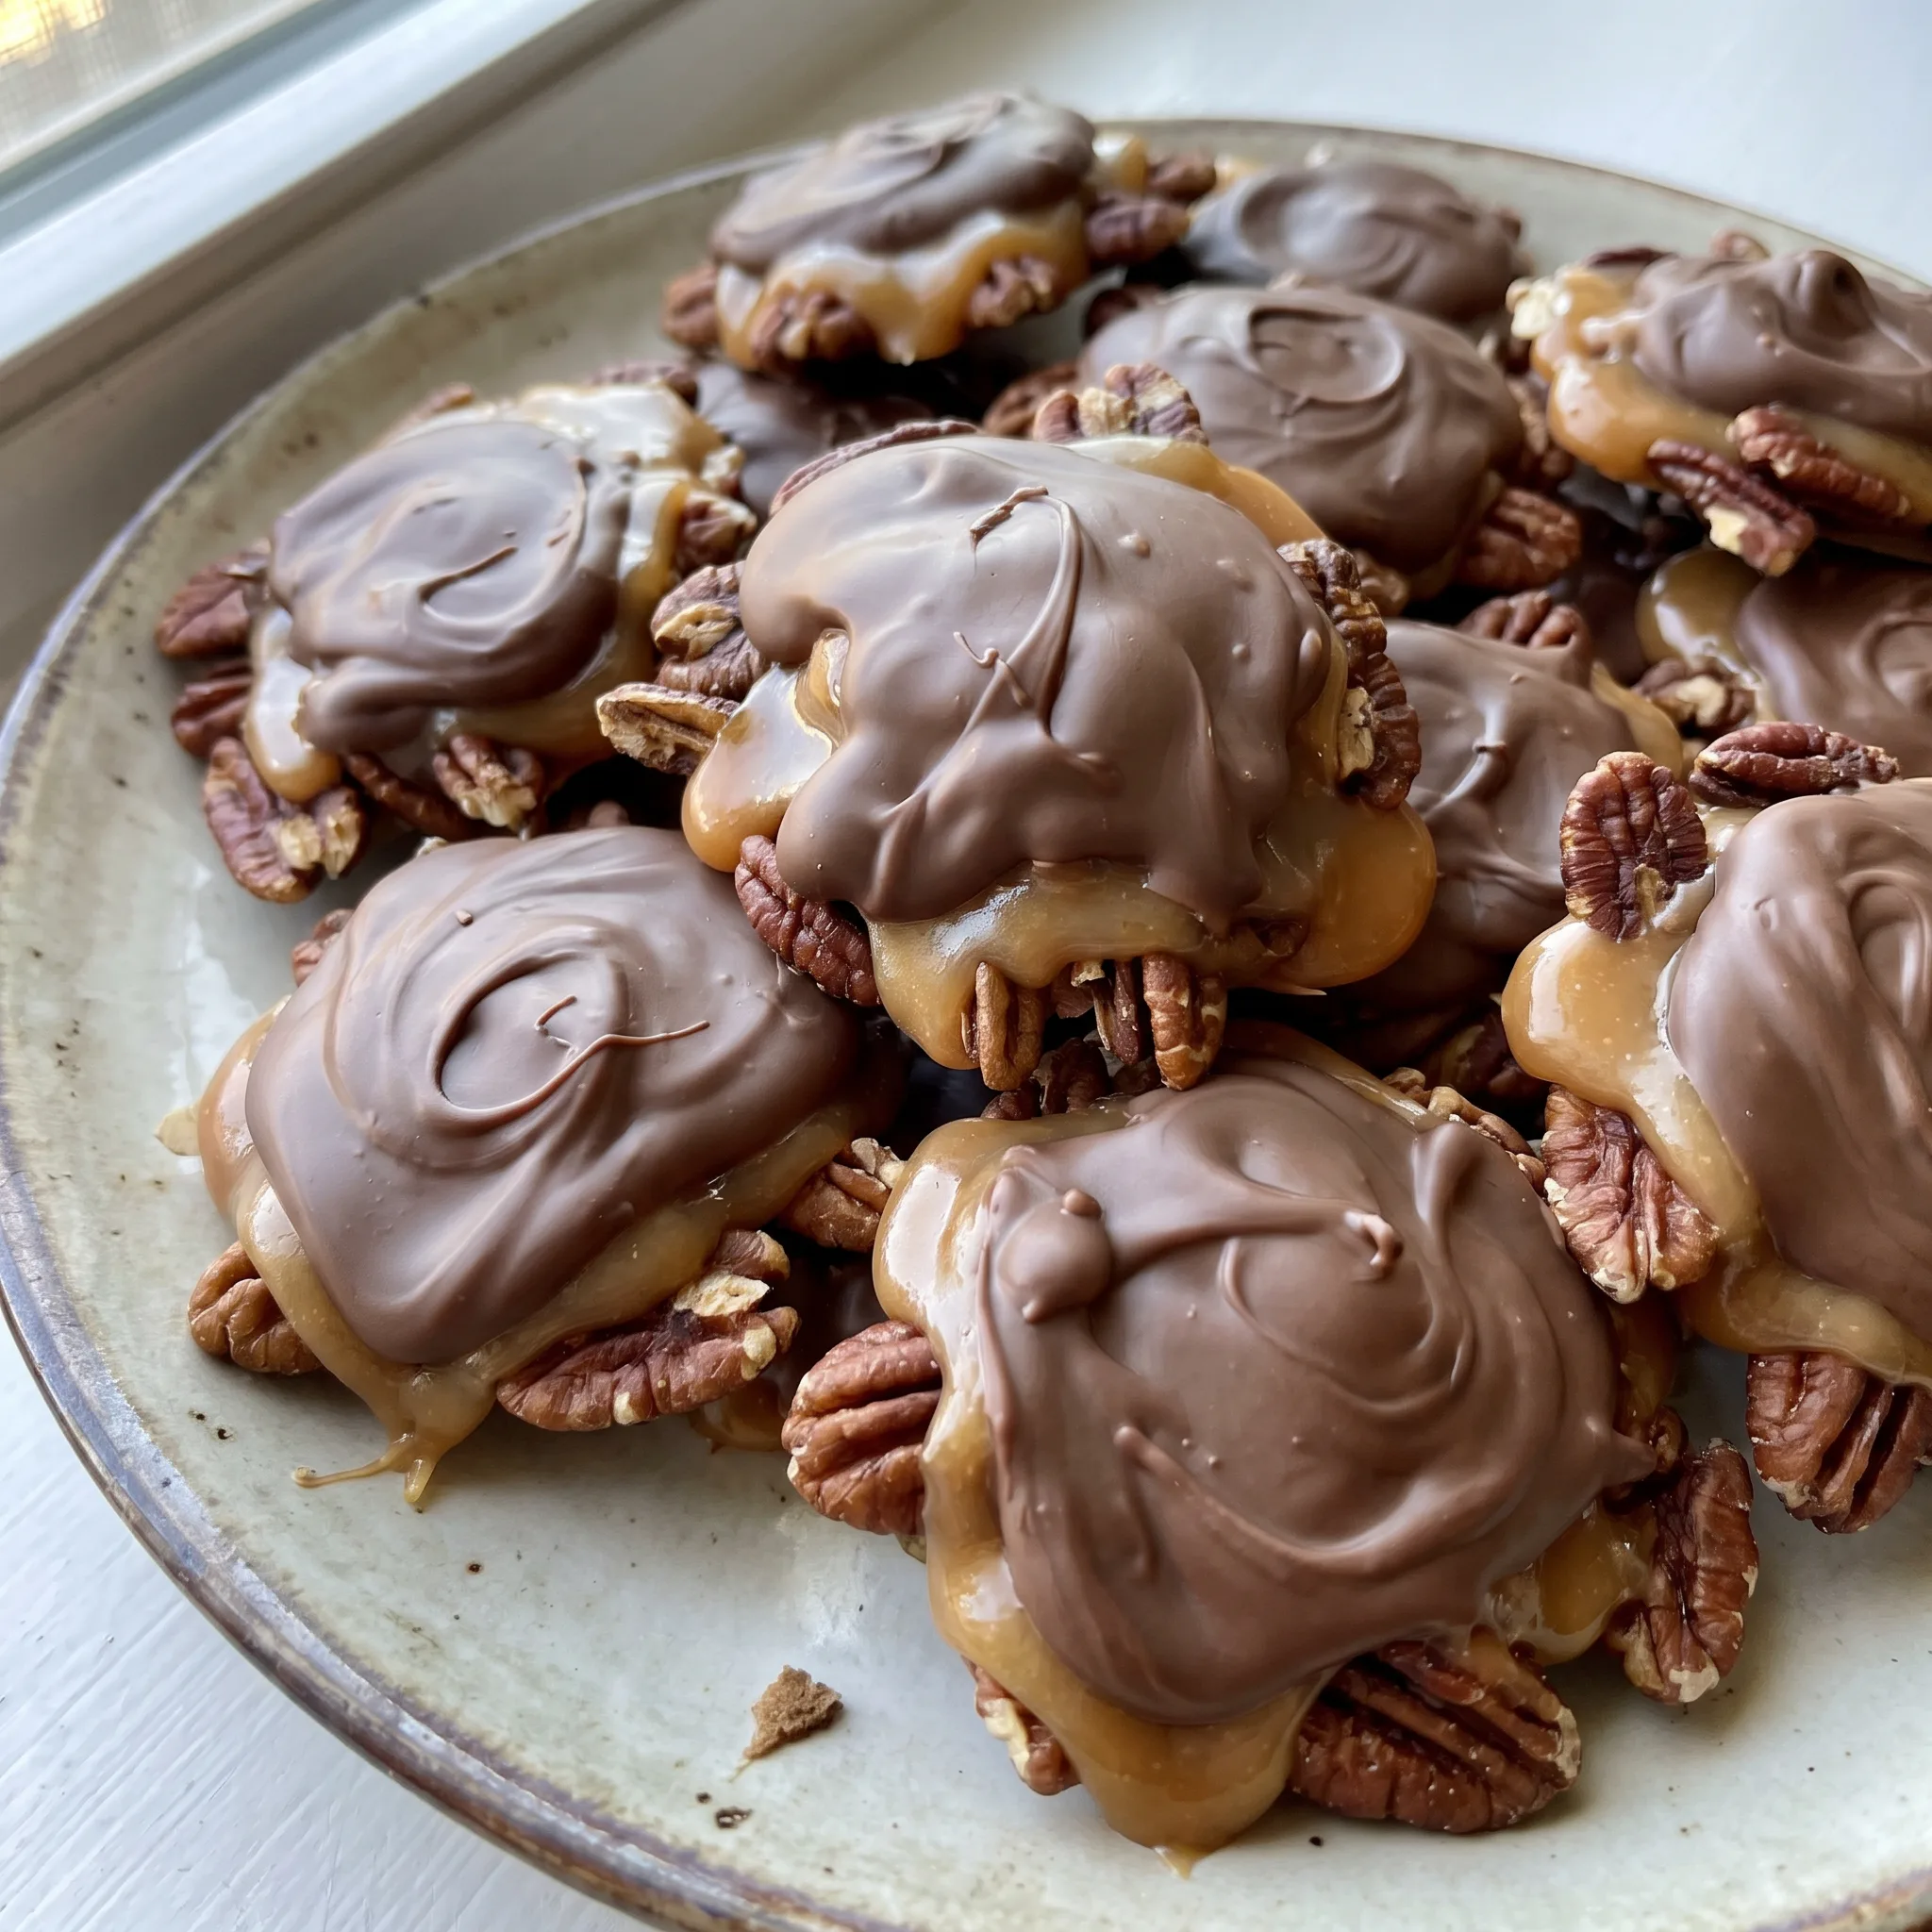
Pecan Caramel Chocolate Turtles
Ingredients
Method
- Set oven to 350°F (175°C). Scatter pecan halves over a big baking tray and roast them for 10 minutes. Take them off the tray and cover the tray with parchment paper.
- Place the roasted pecans on the parchment-covered tray in 34 distinct clusters, each measuring roughly 2 to 2 1/2 inches across.
- In a 5-quart stockpot, put together light brown sugar, corn syrup, and butter. Heat over medium flame until boiling. Mix in salt, vanilla, and sweetened condensed milk. Keep cooking and stirring until a candy thermometer shows 240°F (115°C). Take off heat and allow to sit for 10 minutes so it thickens.
- Drop about 3/4 tablespoon of caramel onto each pecan bunch. Put the tray into the fridge for 15 minutes so the caramel sets.
- In a bowl safe for microwaving, mix milk chocolate chips with vegetable shortening. Microwave in 30-second bursts, stirring each time, until fully melted and silky. Take the caramel-covered pecans out of the fridge and drizzle roughly 1 tablespoon of chocolate over every cluster.
- Place the sweets back into the fridge until the chocolate hardens. Serve once set.
Storing and Serving Turtle Candy
Once the chocolate sets, the turtles are at their best within the first day or two. The caramel is soft and chewy, and the chocolate snaps cleanly. After that, the caramel gradually firms up, especially if you refrigerate them.
For short-term storage, keep them in an airtight container at cool room temperature for up to a week. If your kitchen runs warm or you need them to last longer, fridge them in a sealed container for up to two weeks.
Cold makes the caramel firmer and the chocolate duller, so pull them out 15 to 20 minutes before serving to let the texture relax. You can freeze the turtles for up to three months, but expect the caramel to turn slightly grainier and the chocolate to lose some gloss. Thaw them in the fridge overnight, then bring to room temperature.
If you’re making ahead, assemble the clusters and caramel, chill, then add the chocolate later; the caramel base keeps fine for a few days covered in the fridge. Don’t freeze the finished turtles if you can avoid it, the texture shift isn’t worth it. For serving, arrange them on a plate and let everyone take what they want.
They’re sturdy enough to stack, but a single layer keeps the chocolate pristine.
Swapping the sticky stuff without wrecking the chew
Light corn syrup: Honey or golden syrup. Corn syrup keeps sugar crystals from forming, so the caramel stays smooth.
Honey or golden syrup can replace it measure for measure, but each brings its own flavor. Honey adds a floral note that might compete with the pecans and chocolate.
Golden syrup is closer in taste, malty and mild. Both will still give you that smooth, chewy caramel. Just don’t swap in maple syrup; it’s too thin and the caramel won’t reach the same firmness.
Sweetened condensed milk: Don’t swap it. This is the backbone of the caramel’s soft, chewy set.
Replacing it with anything else, like evaporated milk plus extra sugar, changes the moisture and sugar balance so much you’d end up with a different candy, likely too hard or too soft. If you need dairy-free, try a full-fat coconut sweetened condensed milk; it has similar thickness and sweetness. But note, coconut flavor will come through, and the caramel may set slightly softer.
Start with the same amount the recipe calls for and test the texture after the 10-minute rest.
Butter: Vegan butter or coconut oil (for dairy-free). Butter adds richness and helps the caramel come together. For dairy-free, use a vegan butter that’s at least 80% fat, like a stick style, not a spread.
Coconut oil works too, but it will add a coconut flavor and may make the caramel a bit more tender. The caramel might not brown the same way, but it will still set. Use the same weight as the butter.
If you’re also swapping the condensed milk to a coconut version, the caramel will taste more coconutty overall.
Pecan halves: Walnuts or almonds (but taste changes). Pecans are mild and buttery, which lets the caramel and chocolate shine. Walnuts are more assertive and can turn slightly bitter when roasted.
Almonds are crunchier and drier, so they won’t give the same tender bite. You can swap either, measure for measure, but roast times may differ. Almonds might need a couple extra minutes, walnuts about the same.
The overall texture will still work, but the flavor profile shifts. If you use walnuts, toast them a bit less to keep their bitterness down.
Tips
- If your pecans taste even slightly stale, spread them on a baking sheet and warm them in a 350°F oven for 3 to 4 minutes, just until fragrant, before roasting. This revives their oils and crispness, so they won’t taste flat under the caramel.
The caramel’s texture depends on the temperature to which it is cooked. At 240°F, the sugar concentration is such that the caramel will set to a firm but chewy consistency.
If undercooked, excess moisture remains, making the caramel sticky and soft; if overcooked, too much moisture evaporates, and the caramel becomes hard and brittle. The brief rest after cooking allows the caramel to thicken slightly, which helps it hold its shape when spooned over the pecans.
Frequently Asked Questions
Can I make turtle candy ahead of time?
Yes, but the timing matters. The article’s storage section covers the full picture: for short-term, keep them in an airtight container at cool room temperature for up to a week; for longer, refrigerate up to two weeks, pulling them out 15 to 20 minutes before serving to let the caramel soften. If you’re prepping a few days out, assemble the pecan clusters and caramel, chill that base, then add the chocolate later, the caramel keeps fine covered in the fridge for a few days.
Freezing works for up to three months, but expect the caramel to turn slightly grainier and the chocolate to lose some gloss.
Why did my caramel turn out too hard or too soft?
Most likely you didn’t hit 240°F exactly, or you pulled it off the heat too early or too late. If it’s too soft, it never reached the soft-ball stage, so it stayed runny and spread thin over the pecans.
If it’s too hard, you overshot past 245°F, and it set into a brittle candy. The 10-minute rest also matters, if you skip it, the caramel is too thin to mound; if you wait too long, it stiffens into a taffy-like lump. Watch the bubbles: at 240°F they slow and get larger, and the syrup thickens noticeably.
How do I keep the chocolate from sliding off the caramel?
The key is chilling the caramel before you add the chocolate, which the recipe does for 15 minutes. That firms the caramel so it stops moving, giving the chocolate a stable base to cling to.
When you drizzle, aim for about 1 tablespoon per cluster, and let it set in the fridge until matte and firm, if it’s still glossy, it hasn’t set and may slide. Also, make sure your chocolate is melted properly; if it’s too thick, it will plop and slide off, while a silky, thin consistency coats evenly.
What’s the difference between homemade turtle candy and store-bought?
Homemade turtles let you control the texture and freshness. The caramel here is soft and chewy at the soft-ball stage, not the stiff, chewy-tough stuff in many store-bought versions.
Roasting the pecans yourself brings out their oils, so they stay crisp under the caramel, whereas store-bought nuts can taste stale or flat. The chocolate is also different, you’re using good-quality morsels with a bit of shortening for a shiny snap, not the waxy coating often found on mass-produced candies. And you can eat them within a day or two, when the layers are at their best.
