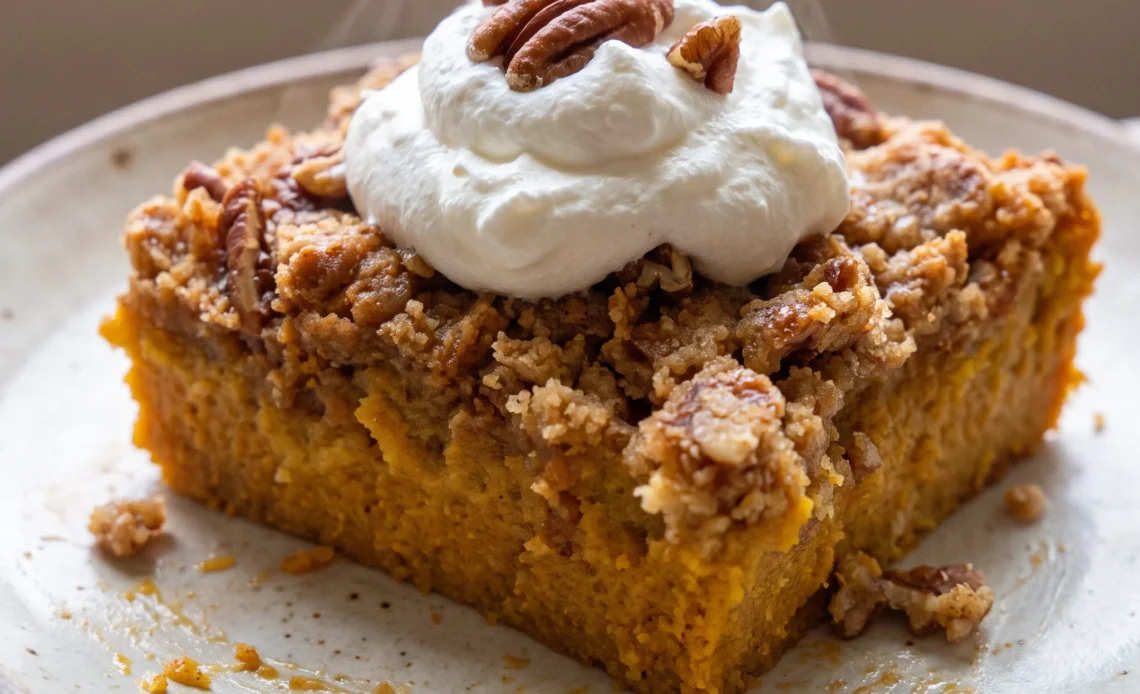
This is not a layer cake, and it’s not a pie. The pumpkin dump cake is its own thing: a spoonable dessert where a buttery, craggy crust gives way to a soft, spiced pumpkin base.
It’s the kind of dessert that feels almost too easy, and that ease can make you doubt it. But the magic is real, and it hinges on how the butter melts into the dry cake mix, turning it into something crisp and golden. The pumpkin layer, meanwhile, sets into a custard that’s soft but not runny.
No mixing, no fuss, just a pan of contrasts. It’s forgiving, too, so even if you’re not precise, you’ll still get something worth eating.
Layers, No Mixing Required
The name says it all: you dump. Pumpkin goes in the pan, cake mix goes on top, and you don’t stir a thing. What you get is a dessert with two distinct textures.
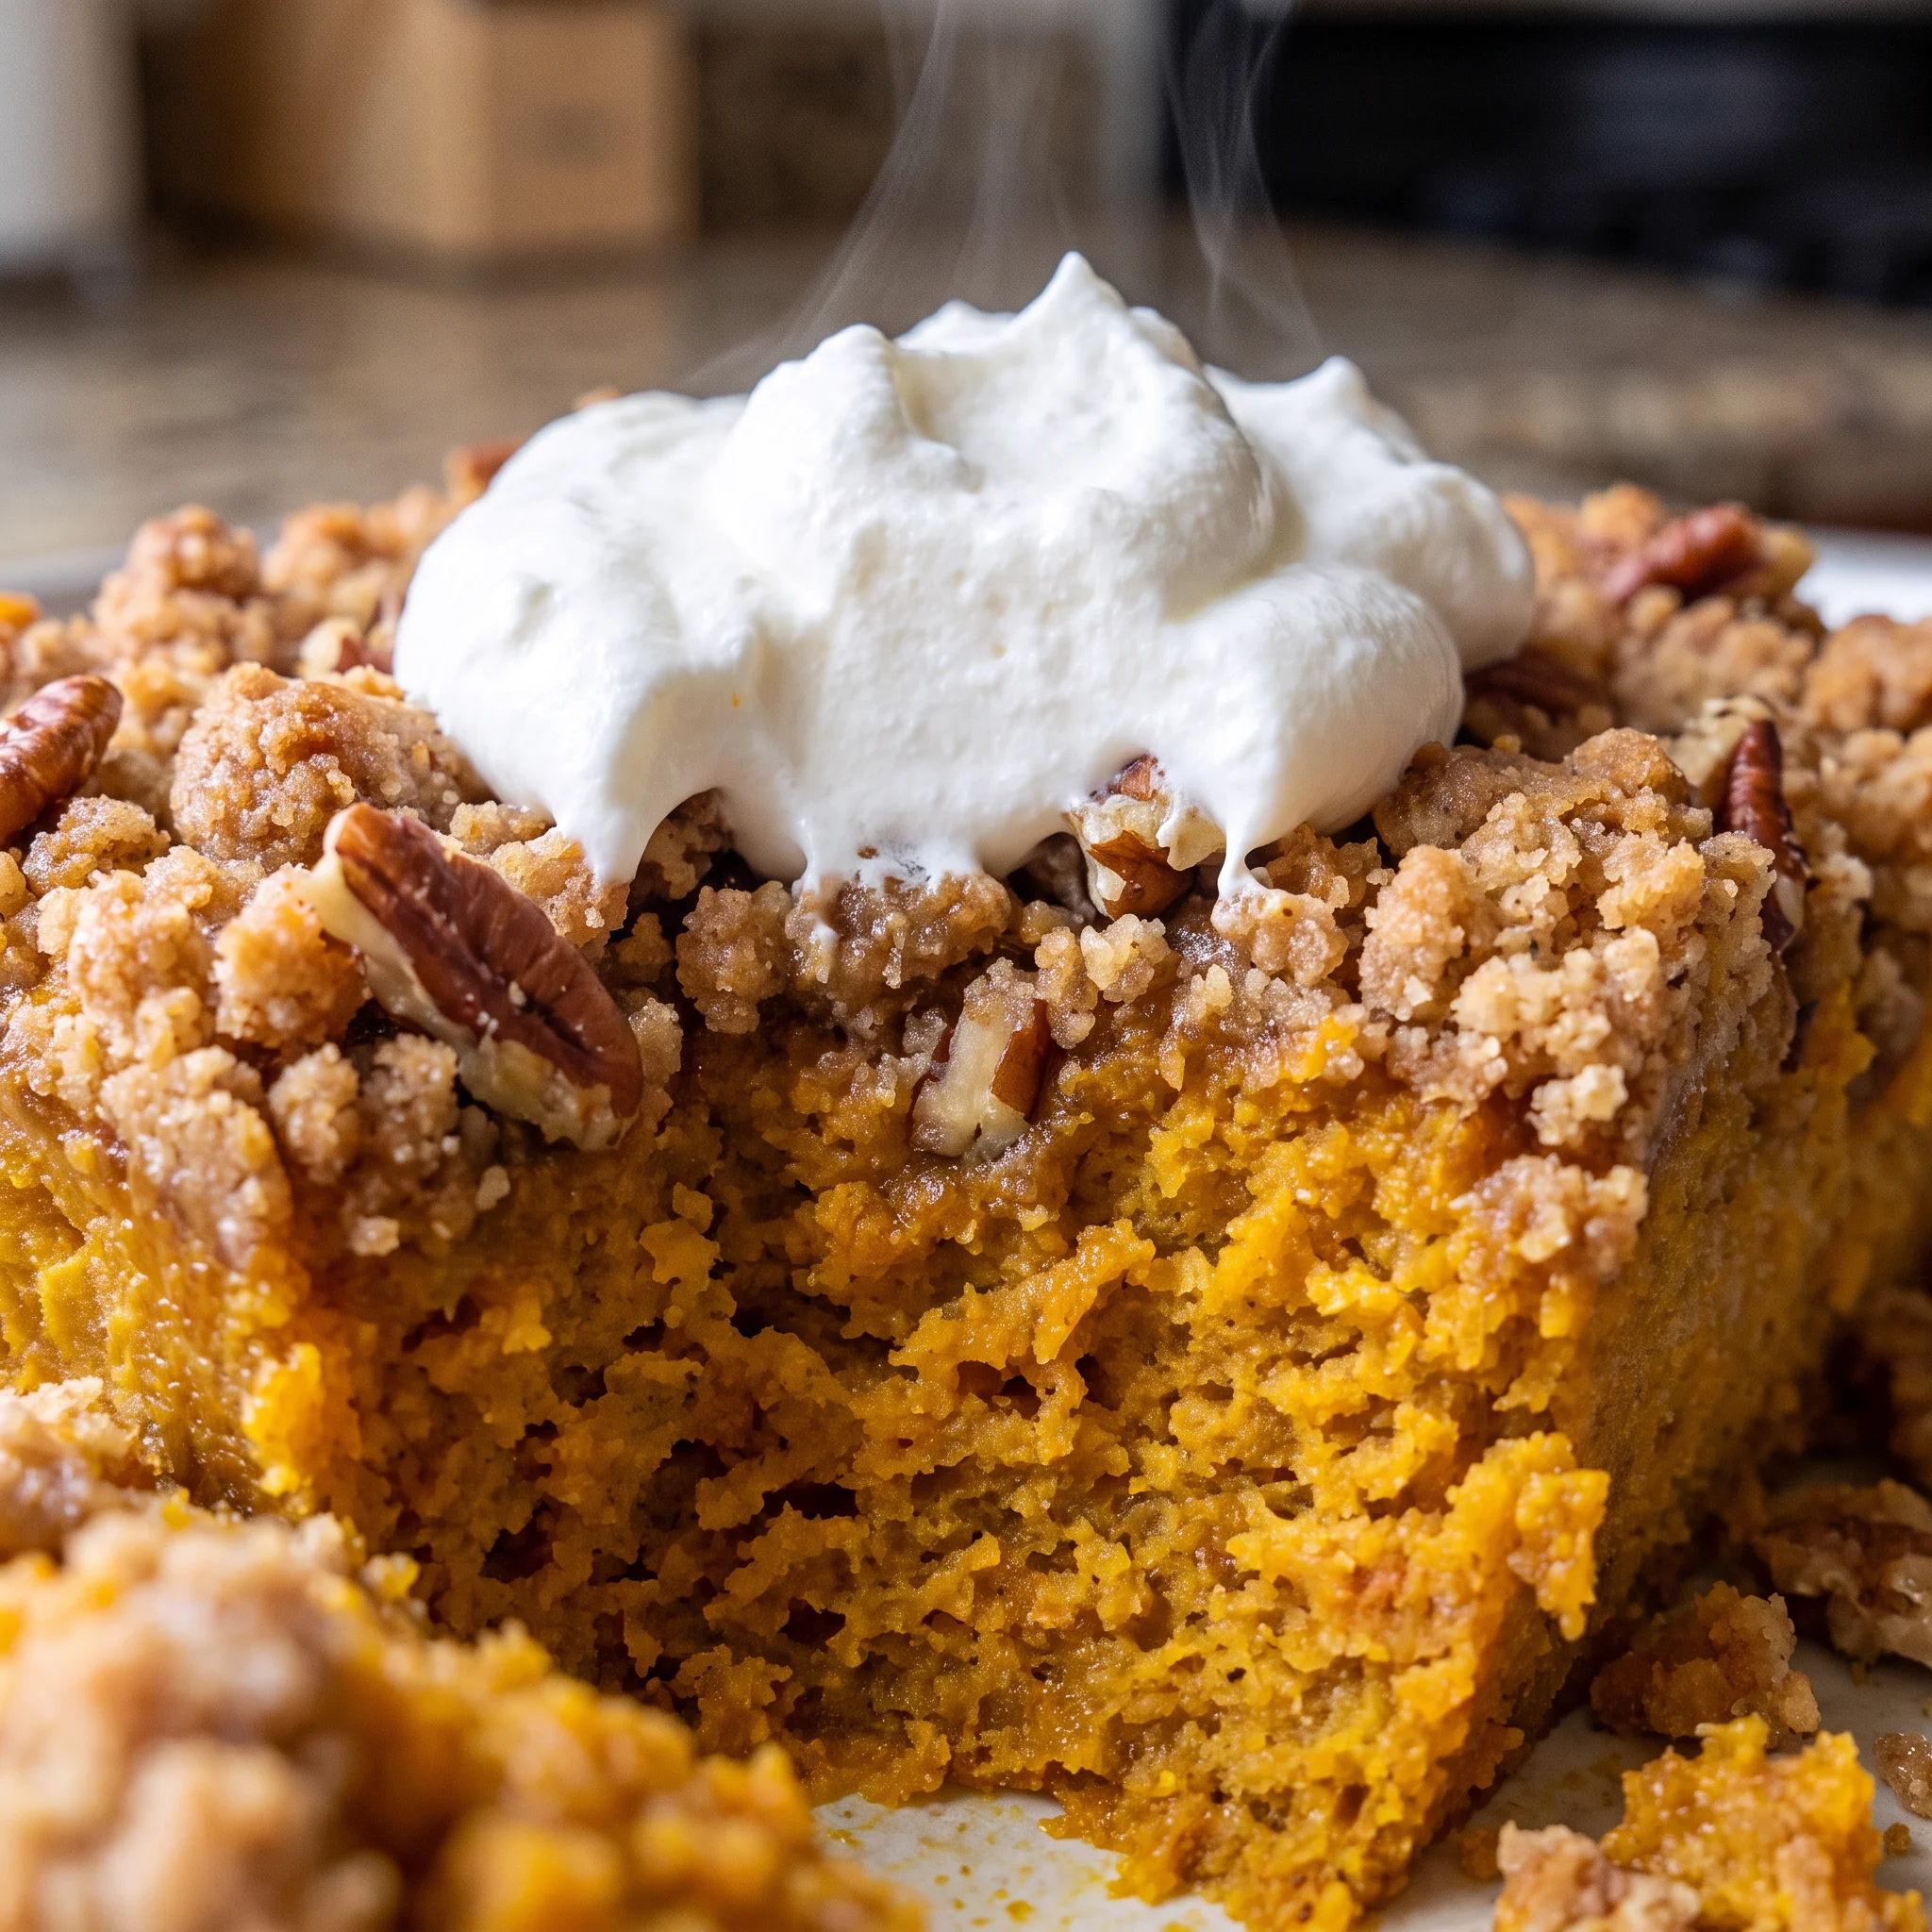
The cake mix absorbs moisture from the pumpkin below and bakes into a tender, crumbly topping, while the pumpkin layer, with its eggs and milk, sets into a soft, custard-like base. It’s rustic and forgiving. No creaming, no sifting, no folding.
Just a spoon and a pan. The contrast is the point: a spoonful cuts through the golden crust and sinks into the smooth, spiced pumpkin beneath. Simple doesn’t mean plain.
Butter Makes the Crust
Butter is sliced thin and arranged over the cake mix so it melts evenly as it bakes. That melted butter works its way into the dry mix, turning it into a crumbly, buttery crust rather than a batter. Without enough butter, the topping stays powdery or, worse, clumps into dense patches.
The two sticks here are what give you that golden, crisp layer that shatters slightly under a fork. You can see the difference when you pull it from the oven: the surface is bronzed and craggy, not pale or sandy.
It’s the butter that does that, and the amount matters.
The Custard Forms as It Bakes
You don’t pre-bake the pumpkin layer. It goes into the oven as a liquid, and the heat does the work. The eggs and evaporated milk in that mixture are what let it set into a soft, custard-like texture.
As it bakes, the proteins firm up, and the whole thing becomes spoonable but not runny. You’ll see it’s done when the edges are set and the center barely jiggles. The pumpkin layer isn’t a batter or a pudding; it’s something in between, and it happens all in the oven.
Pecans Add the Crunch
Pecans bring a nutty crunch that plays against the soft pumpkin and the crisp topping. They’re scattered over the cake mix, right before the butter goes on. That position lets them toast in the oven, turning fragrant and golden as the butter melts around them.
Because they’re spread evenly, every bite gets a few. The crunch is what you notice first, then the butter, then the warm spice. They’re not just decoration; they give the dessert a texture that’s otherwise missing.
Without them, it would be soft on soft, and that’s not the same dessert.
What to Look For in the Pantry
Pure pumpkin puree: Buy canned pure pumpkin, not pumpkin pie filling, which is already sweetened and spiced and will throw off the balance.
Yellow cake mix: Any standard 15.25 ounce box works; avoid mixes with pudding in the mix, as they change the texture.
Pecans: Use raw, unsalted pecans so they toast in the oven without adding extra salt or a burnt flavor.
Butter: Use salted or unsalted; just make sure it’s cold so it slices thinly and melts evenly over the cake mix.
Evaporated milk: This is not condensed milk, which is sweet. Evaporated adds creaminess without extra sugar.
The unbaked pumpkin layer is dense and high in moisture from the evaporated milk and eggs. The dry cake mix and butter on top insulate the center, so heat reaches it slowly; if the pan is crowded or the oven runs cool, the center can remain soft and custard-like while the edges are set. This is not a defect but a sign that the custard needs more time to coagulate fully.
Judging This Dump Cake as It Bakes
Reading the top before you bake
When you scatter the cake mix, you want a dry, even layer. If some spots have thick clumps, the butter won’t saturate them, leaving raw flour after baking.
Break up any lumps with your fingers. The surface should look like a dusting of sand, not a patchwork of peaks and valleys.
That’s your chance to fix it before the oven does.
Butter coverage is the make-or-break
Thin, even slices of butter melt into the mix and create that golden crust. If you leave big gaps, those areas stay pale and powdery. Look for slices that touch or nearly touch each other, they’ll spread as they melt.
Two sticks is the right amount; don’t skimp. If you see a dry corner after the butter softens, add a few small pats before baking.
The middle should jiggle
At the 60-minute mark, the edges will look set and slightly puffed, but the center should have a gentle jiggle, like a custard that’s just firm enough. That jiggle means the pumpkin layer has set without drying out.
If it sloshes like liquid, give it 10 more minutes. If it’s completely still, it may be overbaked, which turns it rubbery.
A toothpick isn’t the best test here
Because this dessert has two textures, a toothpick won’t tell you the truth. It might come out clean from the custard but still have raw cake mix on top.
Instead, press lightly on the surface. It should feel set but tender. The crust should be dry, and the pumpkin beneath should hold its shape when pressed.
That’s the sign to pull it.
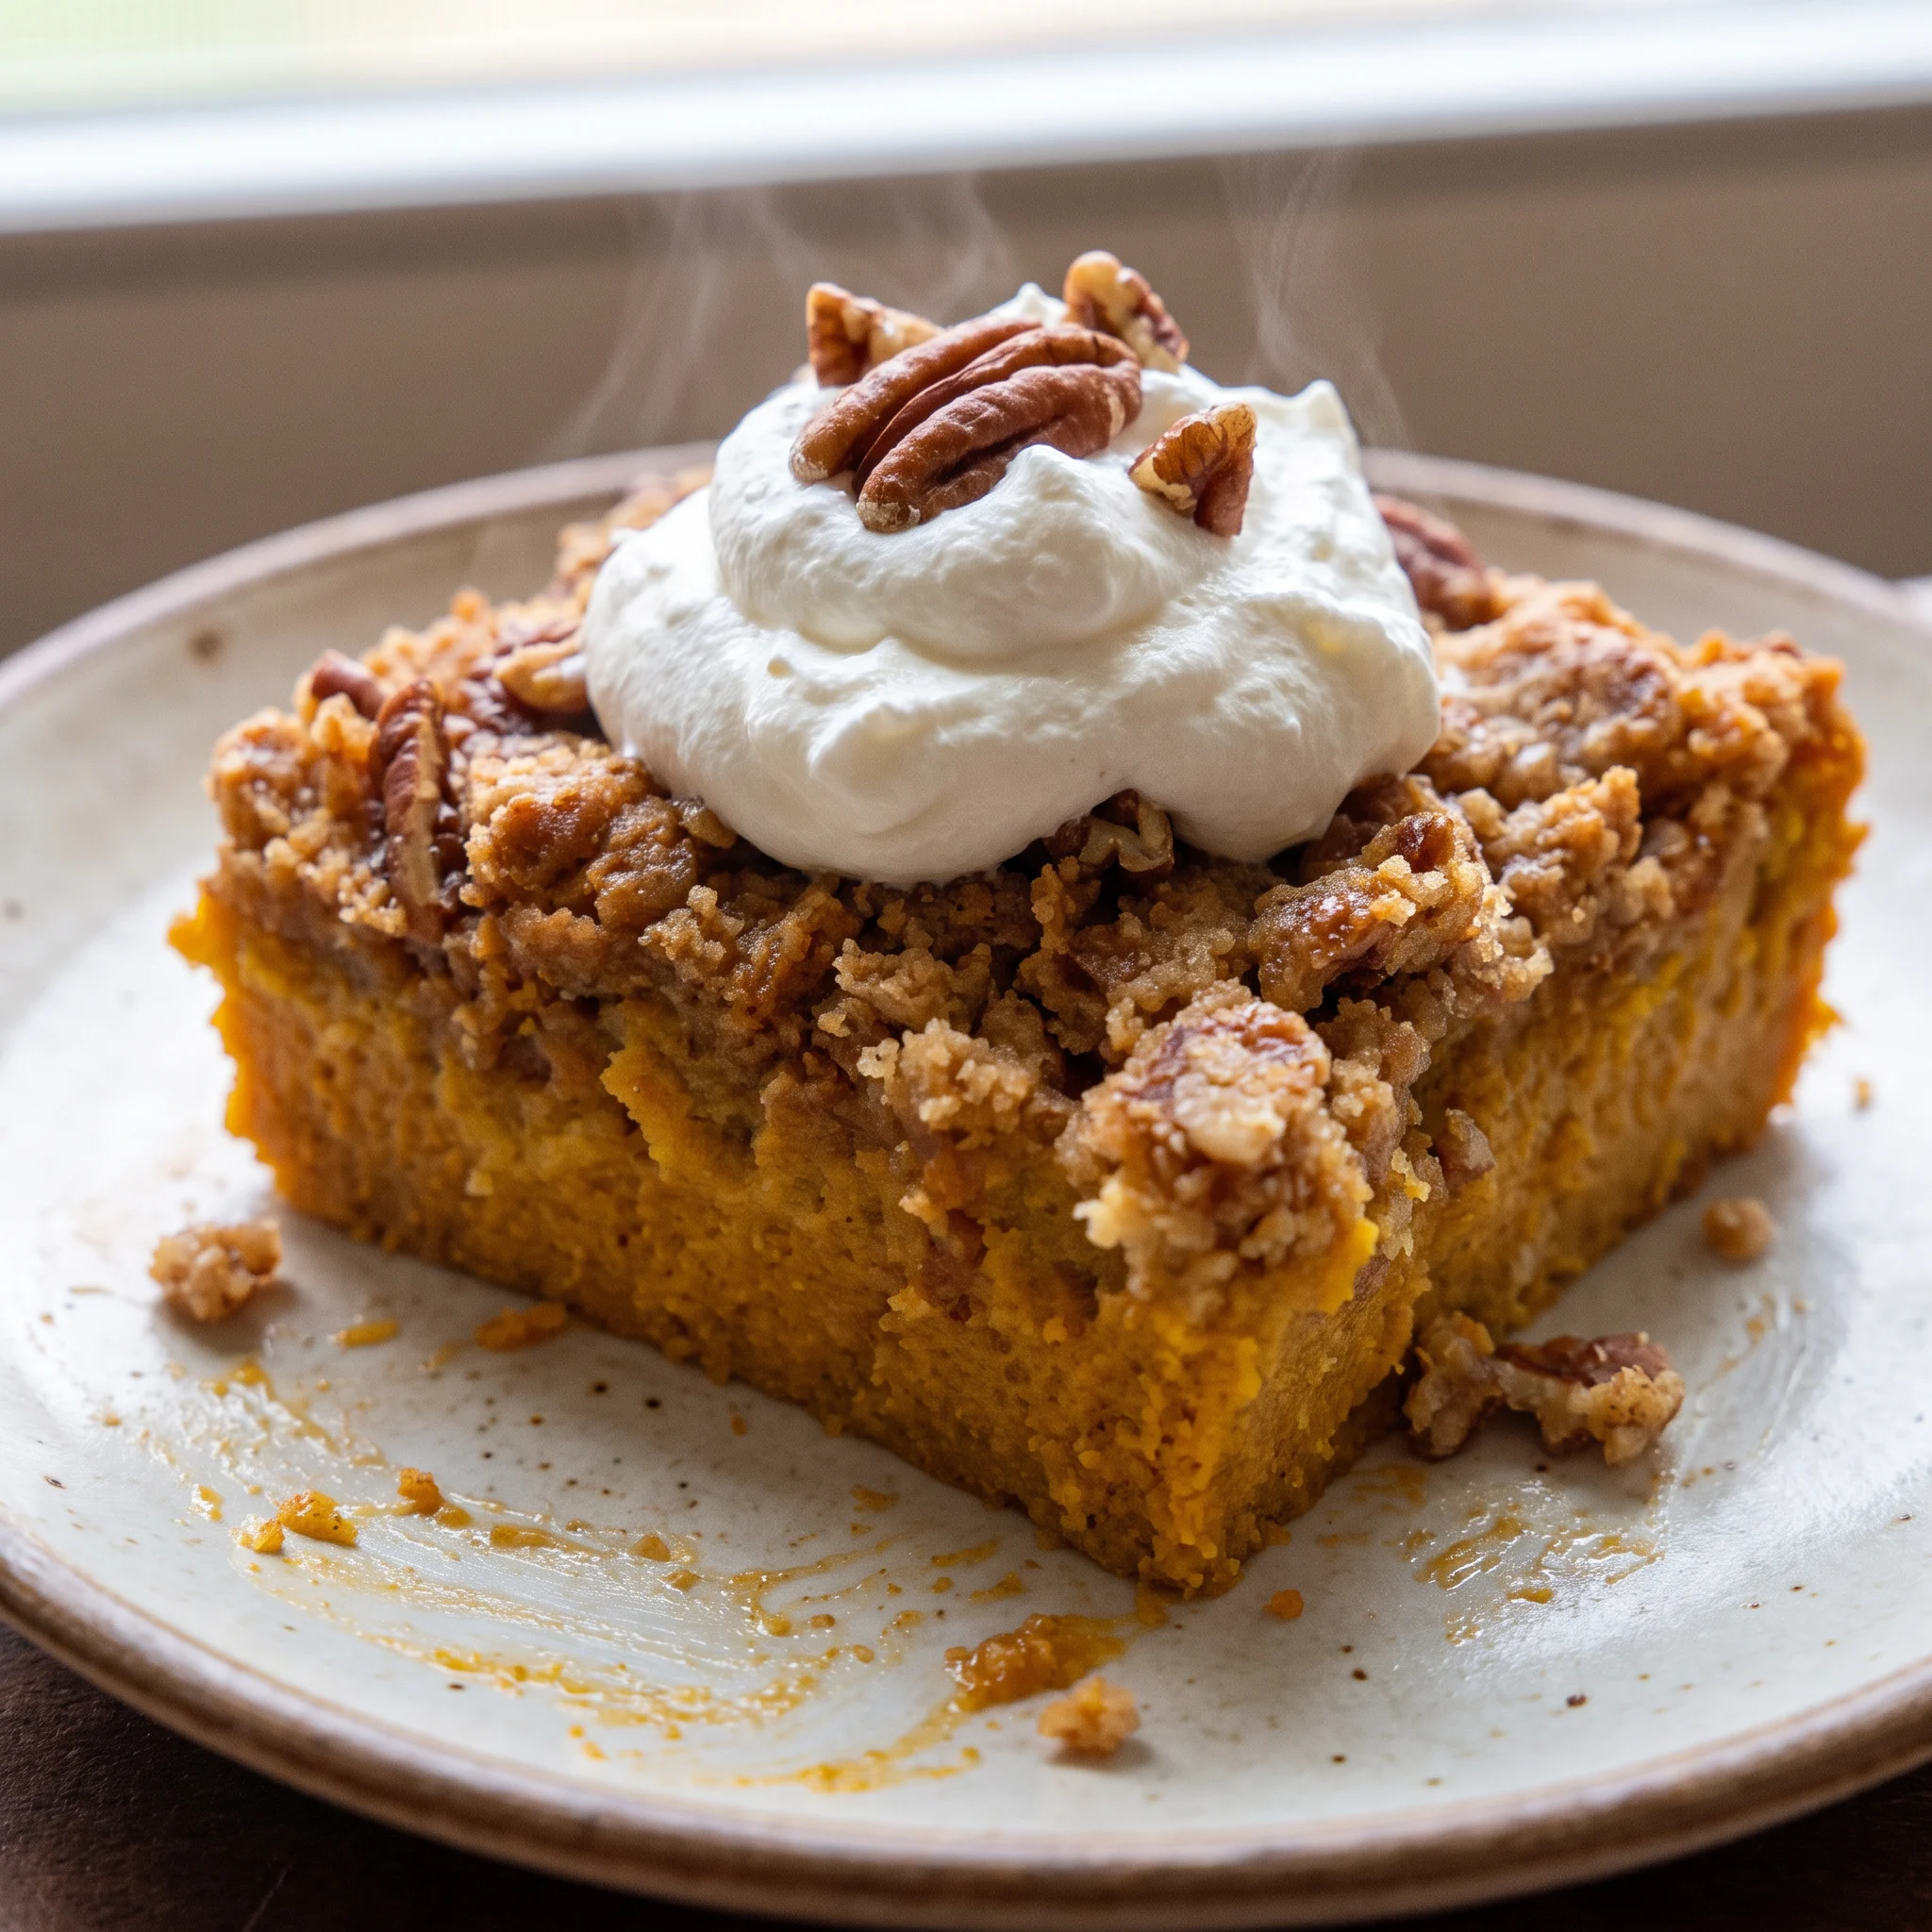
Pumpkin Dump Cake with Pecans
Ingredients
Method
- Heat oven to 350°F (175°C). Coat a 9×13-inch baking pan with grease.
- In a big bowl, whisk together pumpkin puree, sugar, pumpkin spice seasoning, eggs, evaporated milk, and vanilla extract until smooth.
- Transfer the pumpkin blend into the greased pan. Evenly scatter the dry cake mix on top.
- Evenly distribute the chopped pecans over the cake mix layer.
- Cut the butter into thin slices and lay them evenly across the top of the mixture.
- Bake at 350°F (175°C) for 1 hour, until set and golden brown.
- Let cool briefly before serving. Serve warm with optional ice cream or whipped cream.
Storing and Serving Pumpkin Dump Cake
For the best texture, serve this cake warm, within 30 minutes of pulling it from the oven. The contrast between the crisp topping and the soft pumpkin is at its peak then. If you’re not serving it all at once, let the pan cool completely, then cover it with foil or plastic wrap and refrigerate for up to 3 days.
The fridge softens the crunchy top as moisture migrates, so don’t judge it the next day by the same standard. To bring back some of that initial snap, reheat individual portions in a 350°F oven for 10 to 15 minutes.
The microwave works in a pinch, but it will make the topping chewy. You can also freeze the baked cake, wrapped tightly, for up to 2 months. Thaw overnight in the fridge, then reheat as you would leftovers.
The topping won’t be as crisp after freezing, but the pumpkin layer holds its texture well. If you want to serve it cold, know that the custard firms up; that’s fine for a spoonable dessert, just not the intended first-day experience.
Which Ingredients You Can Swap Without Losing the Dump
Pumpkin puree: Butternut squash puree or sweet potato puree (canned or homemade). The texture stays nearly identical, so the custard still sets the same way.
Butternut and sweet potato bring their own sweetness and a slightly earthier or brighter flavor. You’ll notice the spice blend stands out more against squash, while sweet potato makes it taste a touch sweeter. If you use homemade puree, drain off extra liquid so the layer doesn’t turn watery.
Yellow cake mix: Gluten-free yellow cake mix or white cake mix. A gluten-free blend will still form a crumbly topping, but the crumbs may be finer and a bit more tender because gluten-free flours lack the same structure.
White cake mix works the same as yellow, just without the vanilla or butter notes, so the pumpkin and spice come through more. Stay away from mixes with pudding in the mix; they’ll change the topping’s texture, making it more cake-like and less craggy.
Butter: Dairy-free butter substitute (stick form, like vegan butter). The crust needs solid fat that melts into the dry mix. Most dairy-free sticks do this, but they have more water than regular butter, which can make the topping softer and less crisp.
Use a brand with a high fat content for the closest result. You’ll want to slice it thinly, just like butter, and keep an eye on the browning; it might take a few extra minutes to reach that golden color.
Evaporated milk: Full-fat coconut milk (canned, not light) or oat milk plus a bit of cornstarch. Evaporated milk gives the custard its richness without extra sugar. Coconut milk is the closest match in fat, and it’ll set well, though the pumpkin may carry a faint coconut flavor.
For a lower-fat option, use oat milk mixed with a teaspoon of cornstarch per cup to help it thicken. The custard may be slightly less firm, so give it a few extra minutes in the oven if the center jiggles too much.
Tips
- Check the ingredient list on the pumpkin can: it should say ‘pumpkin’ and nothing else. Pumpkin pie filling has added sugar and spices, which will make the base too sweet and throw off the spice balance.
Frequently Asked Questions
Can I make pumpkin dump cake ahead of time?
You can bake it ahead and refrigerate for up to 3 days, but expect the crunchy top to soften as it sits. To restore some snap, reheat individual portions in a 350°F oven for 10 to 15 minutes.
Freezing works too, up to 2 months, though the topping won’t crisp back as well. For the best texture, serve it warm within 30 minutes of baking.
Why is my pumpkin dump cake soggy in the middle?
A jiggle in the center at 60 minutes is normal; it sets as it cools. If it’s truly sloshy, it likely needs more oven time, give it 10 extra minutes and check again. Another culprit: uneven cake mix clumps that butter can’t saturate, leaving raw spots.
That’s why you break up lumps before baking. Overmixing isn’t an issue here since you don’t mix at all.
What is the difference between pumpkin dump cake and pumpkin pie?
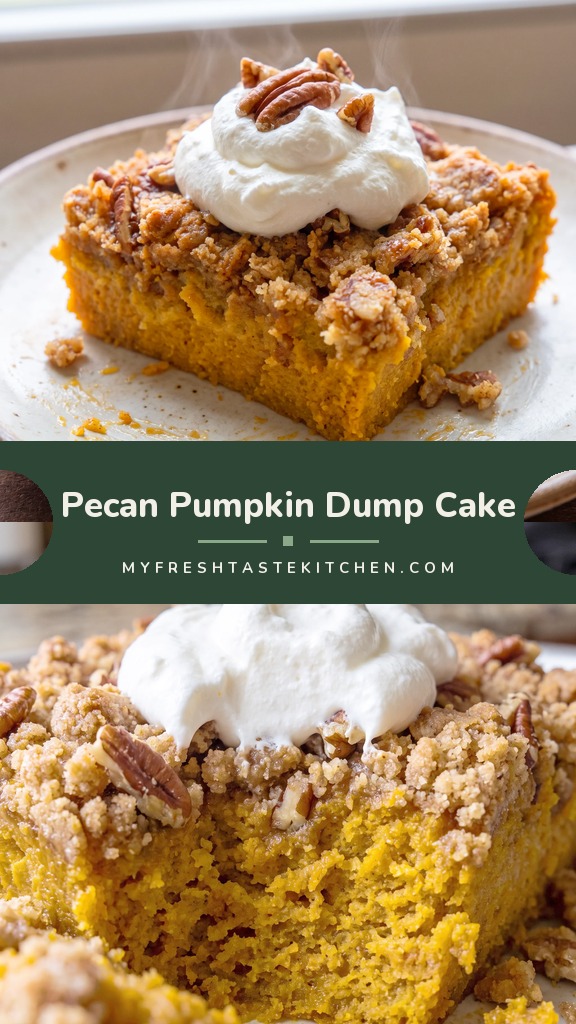
Dump cake skips the crust entirely, cake mix and butter form a crumbly topping instead. The pumpkin layer is softer and more custard-like, not as firm as pie filling.
It’s baked in a 9×13 pan, so it’s more casual and forgiving. You eat it with a spoon, often warm, not sliced like a pie.
