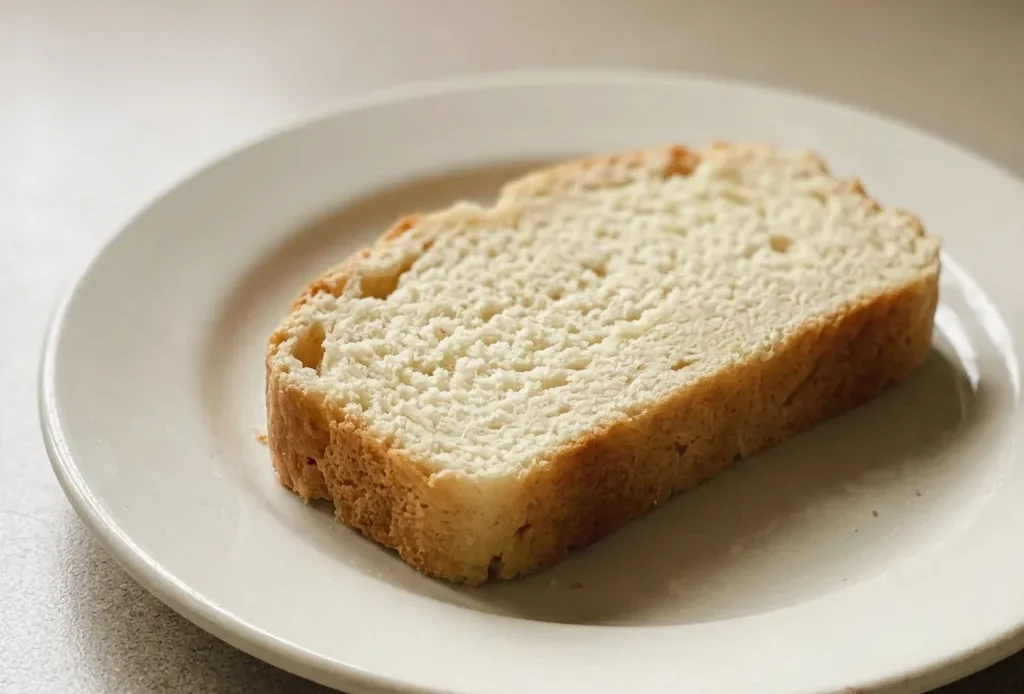
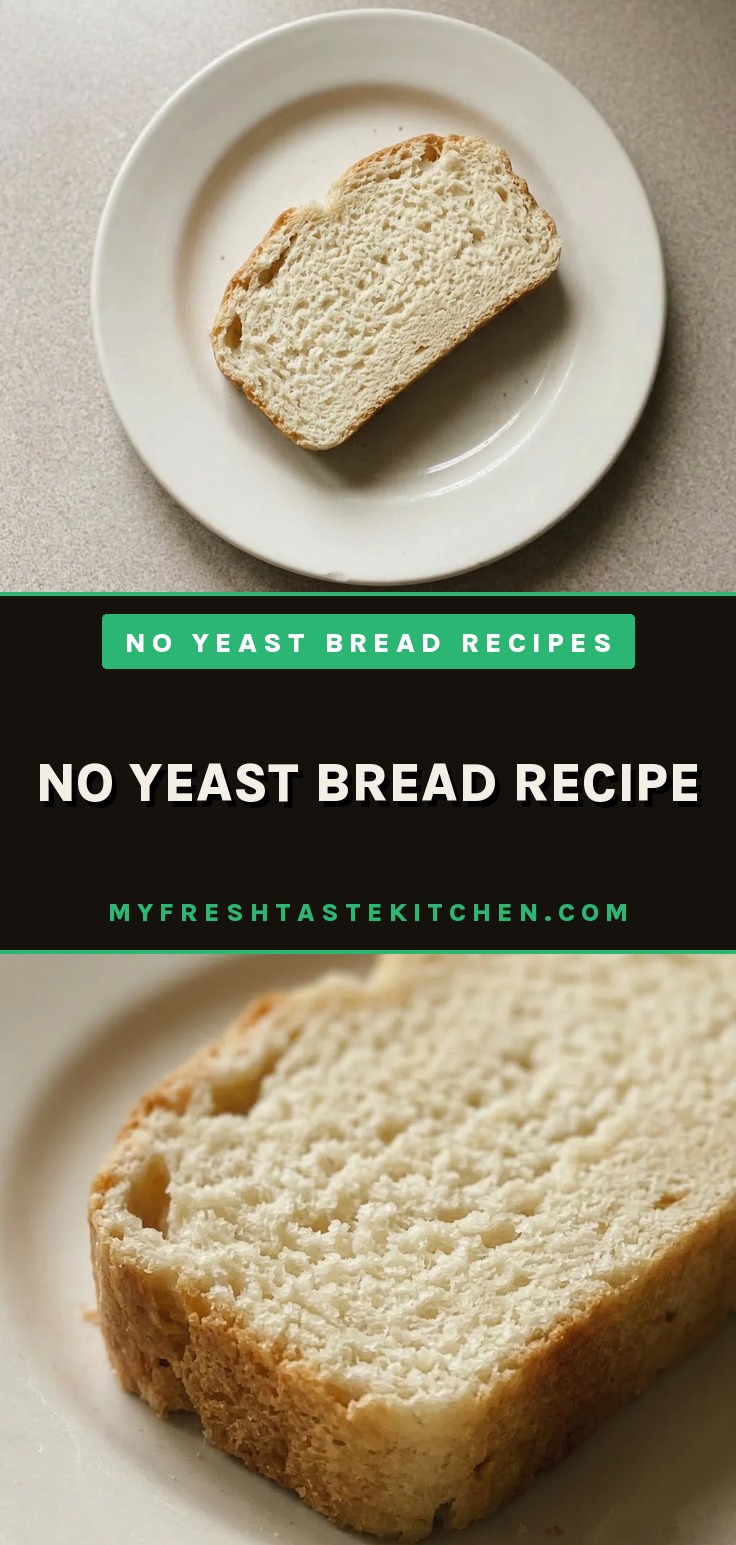
Most quick breads turn out dry or crumbly because the baker treats them like yeast loaves. This one stays moist and tender, thanks to oil and a heavy hand with baking powder. The trade-off is a dense, even crumb that slices cleanly for sandwiches, no proofing required.
It’s a no yeast bread recipes option that delivers when you need bread in under an hour, no waiting for rise, just mix, bake, and cool. But that cooling step is where most people go wrong; slice too soon and you’ll wreck the structure you just built.
I used to dig in right out of the oven because I couldn’t wait, and every time the slices fell apart or turned gummy. You can always spot the impatient baker by the mangled loaf.
Switch to baking powder for a quick rise
This bread uses 8 teaspoons of baking powder for 4 cups of flour instead of yeast. That’s a hefty dose, and it’s why the crumb comes out dense rather than airy.
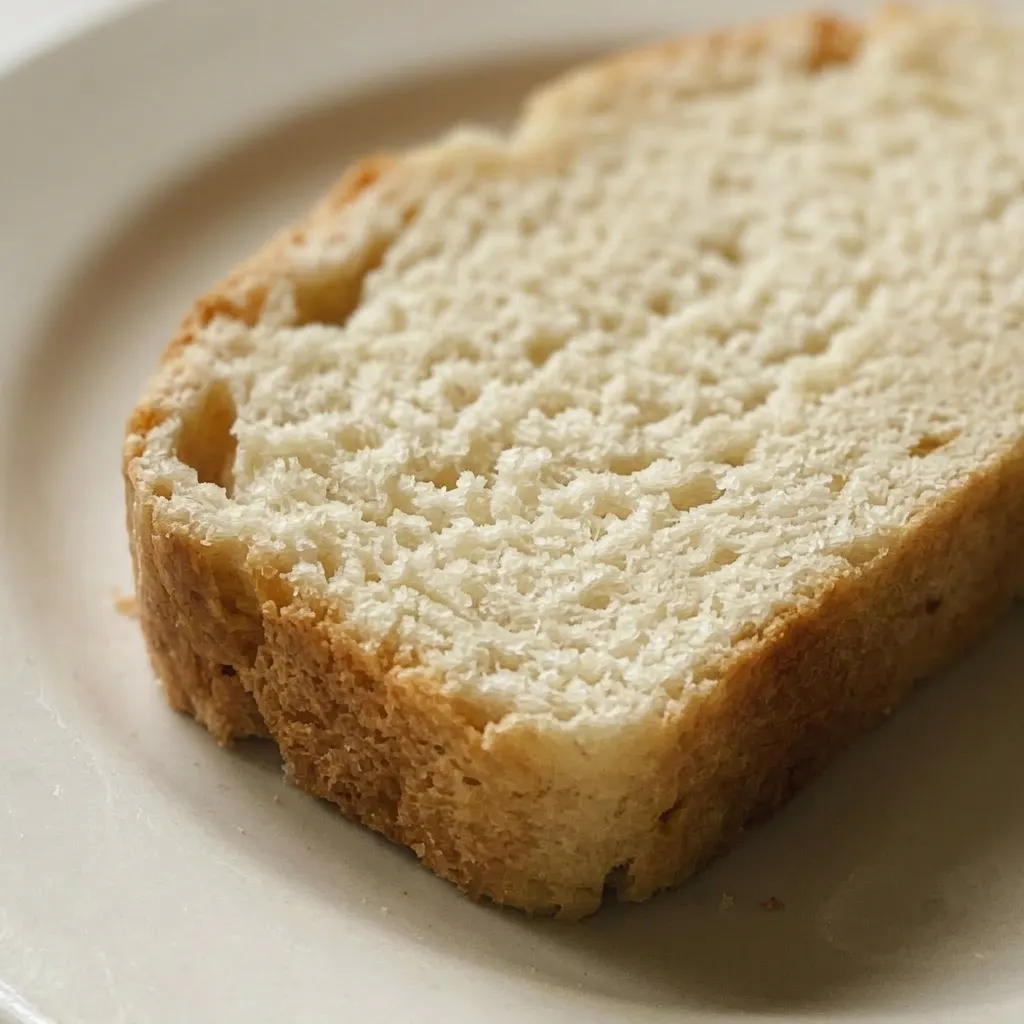
Baking powder reacts with the milk and heat to create gas bubbles, but the reaction starts immediately and finishes in the oven. No proofing time means you skip the waiting, but you also lose the open, irregular holes yeast gives. The result is a sandwich-ready loaf with a tight, even crumb that holds together well.
Get a moist, tender crumb without eggs
Oil and milk do the work here that eggs would in a standard loaf. Oil coats the flour proteins, limiting gluten formation, so the crumb stays tender.
Milk adds liquid for hydration and also activates the baking powder’s acid-base reaction. No eggs means the texture depends entirely on the fat-liquid balance. You’ll feel the difference: the bread is soft and moist, not bouncy or cakey.
It’s a pragmatic choice for quick breads that don’t need structure from proteins.
Why you drop the oven temp and tent with foil
The initial blast at 430°F sets the crust quickly and gets the baking powder going hard. But if you left it at that heat, the crust would darken too fast while the interior lagged behind.
Foil reflects heat, slowing browning so the center catches up. Dropping to 390°F keeps the bake even without scorching the exterior. You’ll see the difference when you lift the foil: a golden-brown crust, not blackened, and the bread springs back when pressed.
Let the bread cool fully before slicing
Fresh from the oven, the crumb is still setting. Slice into it warm and the structure collapses, you’ll get gummy shreds instead of clean cuts.
On a wire rack, air circulates underneath, preventing a soggy bottom. The full 45-minute cool-down firms up the crumb so the knife passes through smoothly. Watch the loaf release steam as it rests; that steam is moisture that would otherwise make the texture pasty.
A patient wait gives you those neat, intact slices for sandwiches or toast.
Prep: 5 min · Cook: 50 min · Total: 55 min · Servings: 18 · Calories: 150 kcal
What to know about these ingredients
Baking powder: Check the expiration date: old baking powder won’t give enough lift, and the loaf will be dense.
Oil: Use any neutral oil like canola or vegetable; olive oil’s flavor will come through if you want it.
Milk: Whole milk gives the moistest crumb, but 2% works too; skim makes the bread drier.
Flour: Standard all-purpose flour is fine; bread flour makes a tougher, more chewy loaf.
Get the crumb right from mixing to cooling
Mix the dry ingredients thoroughly
Whisk flour, baking powder, salt, and sugar together until uniform. If you see streaks of white powder, keep whisking; uneven baking powder will cause bitter pockets.
Add wet ingredients and stir just until combined
Pour oil and milk into the well, then stir until no dry flour remains. The batter will be thick but stirrable. Stop as soon as the flour disappears; overmixing develops gluten and toughens the crumb.
Bake at high heat first, then tent and reduce
After 30 minutes, pull the loaf out and cover with foil. The crust should be pale golden; if it’s already dark, reduce the temp sooner next time. Tent loosely so steam escapes, then lower the oven to 390°F.
Check doneness and cool completely
After the final 20 minutes, the loaf should be deep golden and spring back when pressed. Let it rest 5 minutes in the pan, then lift out onto a rack. Wait at least 45 minutes; slicing warm will shred the tender crumb.
No Yeast Bread Recipe
Ingredients
- 3 tsp white sugar
- 1/4 cup oil
- 4 cups plain/all-purpose flour 500 g
- 2 1/4 cups milk
- 8 tsp baking powder
- 1 1/2 tsp cooking/kosher salt
Instructions
Preheat oven:
Heat the oven to 430°F (220°C), or 390°F (200°C) if using a fan-assisted oven.Prepare loaf pan:
Butter a 9×5-inch (22×13 cm) loaf pan and line with parchment paper, allowing extra to hang over the sides for easy removal.Mix dry ingredients:
In a bowl, whisk together the flour, baking powder, salt, and sugar until evenly distributed.Create well, add wet:
Create a depression in the center of the dry mix, then add the oil and milk.Stir until combined:
Stir until the flour is completely absorbed; the mixture will be thick yet stirrable.Pour batter into pan:
Pour the batter into the prepared pan, smoothing the top with a spatula and scraping the bowl clean.Bake 30 min, cover:
Bake for 30 minutes, then take the loaf out and cover it with aluminum foil.Reduce temp, bake more:
Reduce the oven temperature to 390°F (200°C), or 360°F (180°C) for fan ovens, and bake for another 20 minutes.Rest in pan:
Remove the pan from the oven and let it rest in the pan for 5 minutes.Lift out to rack:
Using the parchment overhang, lift the bread out and transfer it to a wire rack.Cool completely:
Let the bread cool fully, at least 45 minutes, before slicing.
Storage and Serving
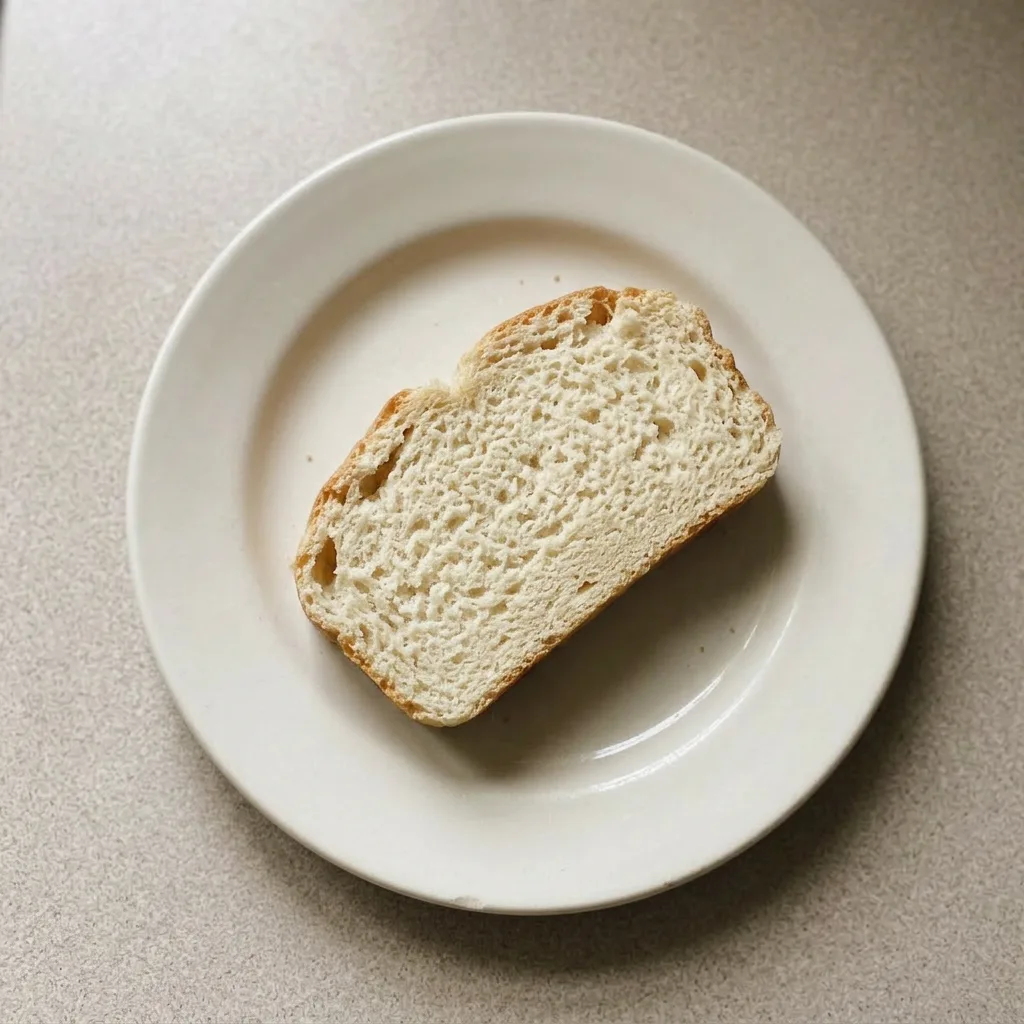
Store cooled bread wrapped in foil at room temperature for up to 3 days. The foil keeps the crust from hardening while the crumb stays moist. After day one, the texture starts to firm up; toast slices to revive the tender crumb.
For longer storage, wrap the loaf tightly in plastic wrap then foil and freeze for up to 3 months. Thaw at room temperature, still wrapped, then refresh in a 350°F oven for 5 to 10 minutes. This bread is best the day it’s made, when the crumb is softest.
Slice only as needed to keep the cut face from drying out. No finishing touch needed; serve plain or toasted with butter.
Swap the milk for tang or dairy-free options
Milk: Buttermilk. Use the same 2 1/4 cups. Buttermilk’s acidity reacts with baking powder for a slightly more tender crumb and a noticeable tang.
You may need to add 1/4 tsp baking soda to neutralize some acid, but it’s optional, without it, the bread bakes fine, just tastes tangier.
Milk: Unsweetened almond or oat milk. Use equal volume. The bread will be less tender and slightly drier because plant milks have less fat and protein than whole milk.
Expect a paler crust and a more crumbly texture. For better results, add 1 tablespoon extra oil to compensate for missing fat.
Oil: Melted butter. Use the same 1/4 cup.
Butter adds richer flavor and a slightly firmer crumb because it contains water and milk solids. The bread browns more and has a buttery aroma. Avoid margarine spreads with high water content, they make the bread gummy.
Baking powder: Do not reduce or substitute. 8 teaspoons is essential for lift.
Cutting it makes a dense, short loaf that barely rises. There’s no workable swap: baking soda needs an acid not present in enough quantity, and yeast contradicts the whole point.
Stick with fresh baking powder.
Tips
- To check if your baking powder is still potent, mix a teaspoon with a few tablespoons of hot water. If it fizzes vigorously, it’s active. If not, replace it or your bread will be dense.
Frequently Asked Questions
Can I make this bread ahead of time and reheat it?
Yes, but it’s best the day it’s made. Store cooled bread wrapped in foil at room temperature up to 3 days.
To reheat, toast slices to revive the tender crumb, or refresh a whole loaf wrapped in foil in a 350°F oven for 5 to 10 minutes. Freeze tightly wrapped for up to 3 months, thaw at room temperature, then reheat as above.
Why did my bread turn out dense and not rise?
Most likely your baking powder is old or expired. Check the date before using; fresh baking powder fizzes when mixed with water.
Another cause: overmixing the batter develops gluten, which makes the crumb tough and limits rise. Stir just until no dry flour remains.
Also, ensure your oven is at the correct temperature, the initial 430°F blast is critical for activating the baking powder.
How is this different from traditional yeast bread?
This bread uses 8 teaspoons of baking powder for lift instead of yeast, so there’s no proofing time, you mix and bake immediately. The crumb is dense and even, not open and airy. It’s a quick bread, more like a tender sandwich loaf, and it stays moist without eggs thanks to oil and milk.
The trade-off is a tighter texture that holds together well for slicing.
Can I double the recipe for a larger loaf?
You can, but you’ll need a larger pan, try a 10×5-inch loaf pan, and adjust baking time. Doubling the batter increases volume, so bake at the same initial temperature but expect longer total time.
Start checking doneness after 50 minutes total (20 minutes after tenting). Use the spring-back test: press the center; if it springs back, it’s done. Cool fully before slicing.
