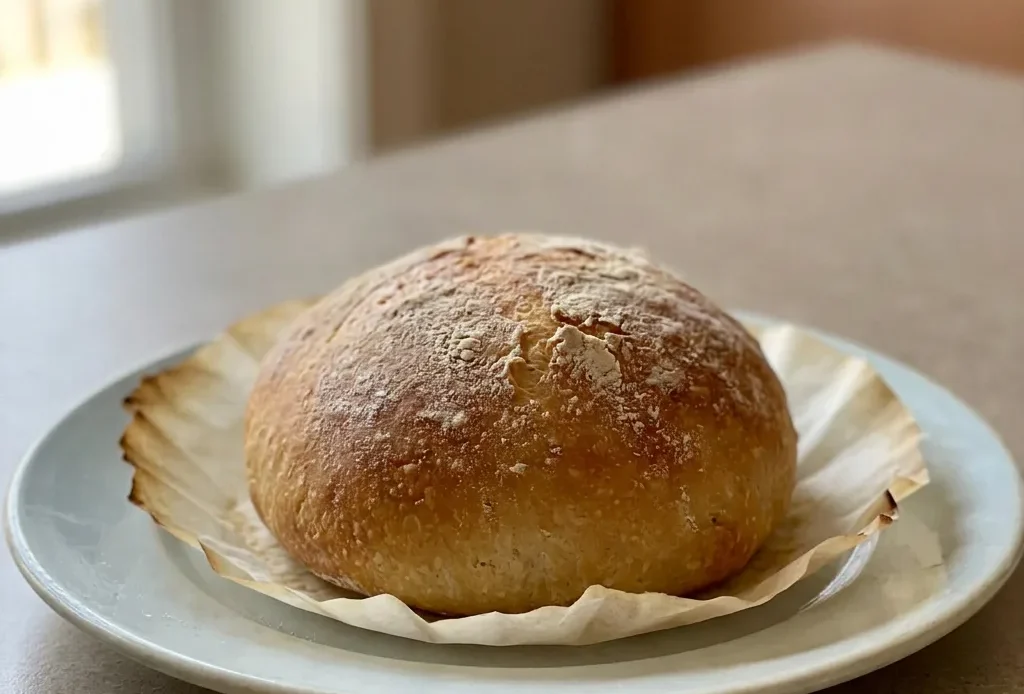
The whole point of a bread bowl is that it holds soup without collapsing, and getting that right starts with the dough’s structure. Too many recipes rush the rise or bake too hot, and you end up with a dense lump or a crust that cracks. These kitchenaid bread bowl recipes lean on the mixer’s dough hook for even kneading, but the real win is letting the dough rise until it actually doubles, not watching the clock.
That patience builds the gluten network that traps steam and gives you a hollow, sturdy bowl you can pick up without it bending.
I once pulled out golden bowls, but when I cut them open, the crumb was tight and gummy. The soup immediately made them soggy, and they fell apart halfway through the meal.
Why use the dough hook for stand mixer bread bowls?
The dough hook does what your hands would, but at a steady, low speed that won’t heat up the dough and start killing yeast before it’s developed structure. Medium-low is fast enough to work the gluten into a smooth, springy ball without overworking it, overworked dough turns sticky and tight, which gives you tough bread bowls that crack instead of staying hollow. You can feel when it’s ready: press a finger gently into the dough, and it should spring back slowly.
That elasticity is what traps the steam during baking, creating the airy interior and sturdy walls that hold soup without collapsing.
Why two rises matter for soup-ready bread bowls
The first rise in an oiled bowl until the dough doubles, not just for a set time, builds the flavor and gives the gluten network a chance to relax and strengthen. Now I make sure the first rise goes until the dough has actually doubled in volume, not just clock-watching, so the gluten structure can support the second rise properly.
Punch it down, shape it, then let it rise again. That second rise sets the final crumb; skip it or rush it, and you get a dense, gummy interior that soaks up soup like a sponge. A properly risen bread bowl cuts open to reveal even holes, not big tunnels, and holds liquid without turning to paste.
Baking at 375°F: how heat builds a crust that holds
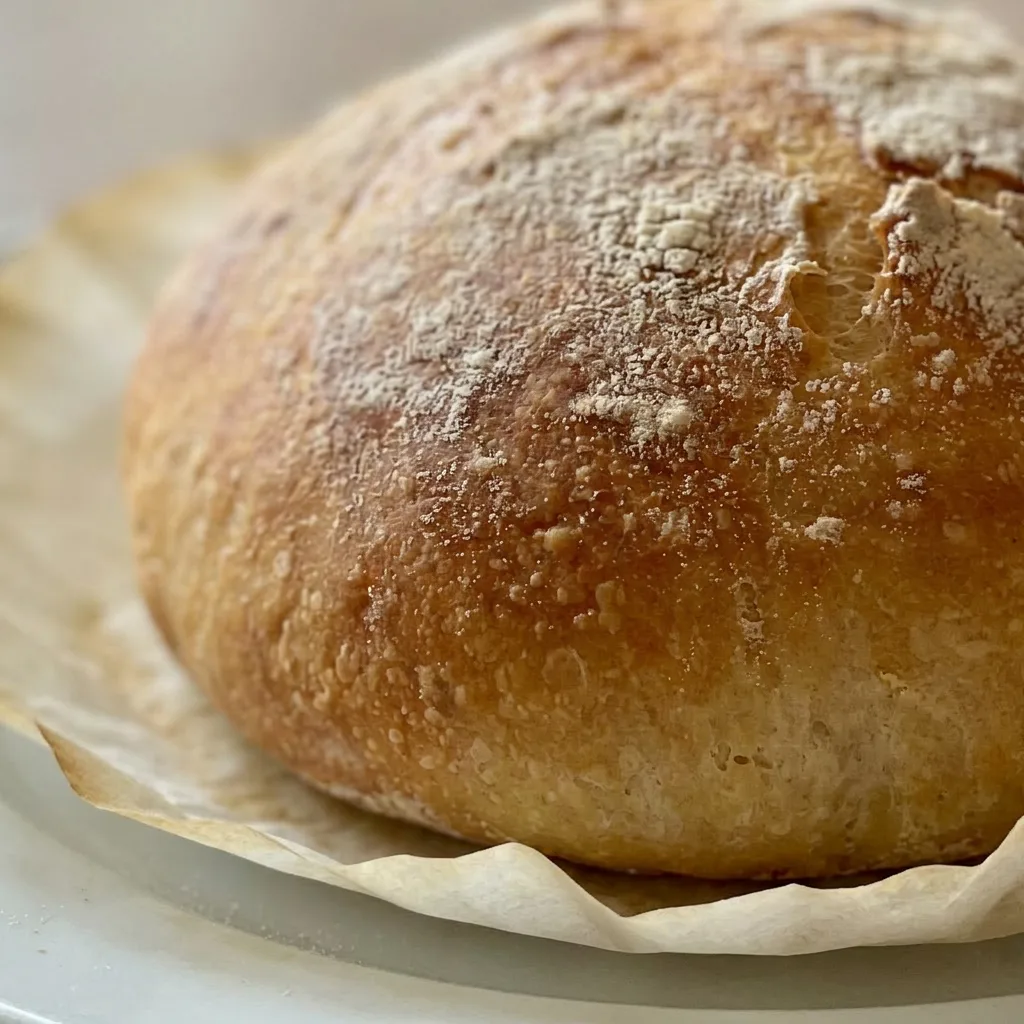
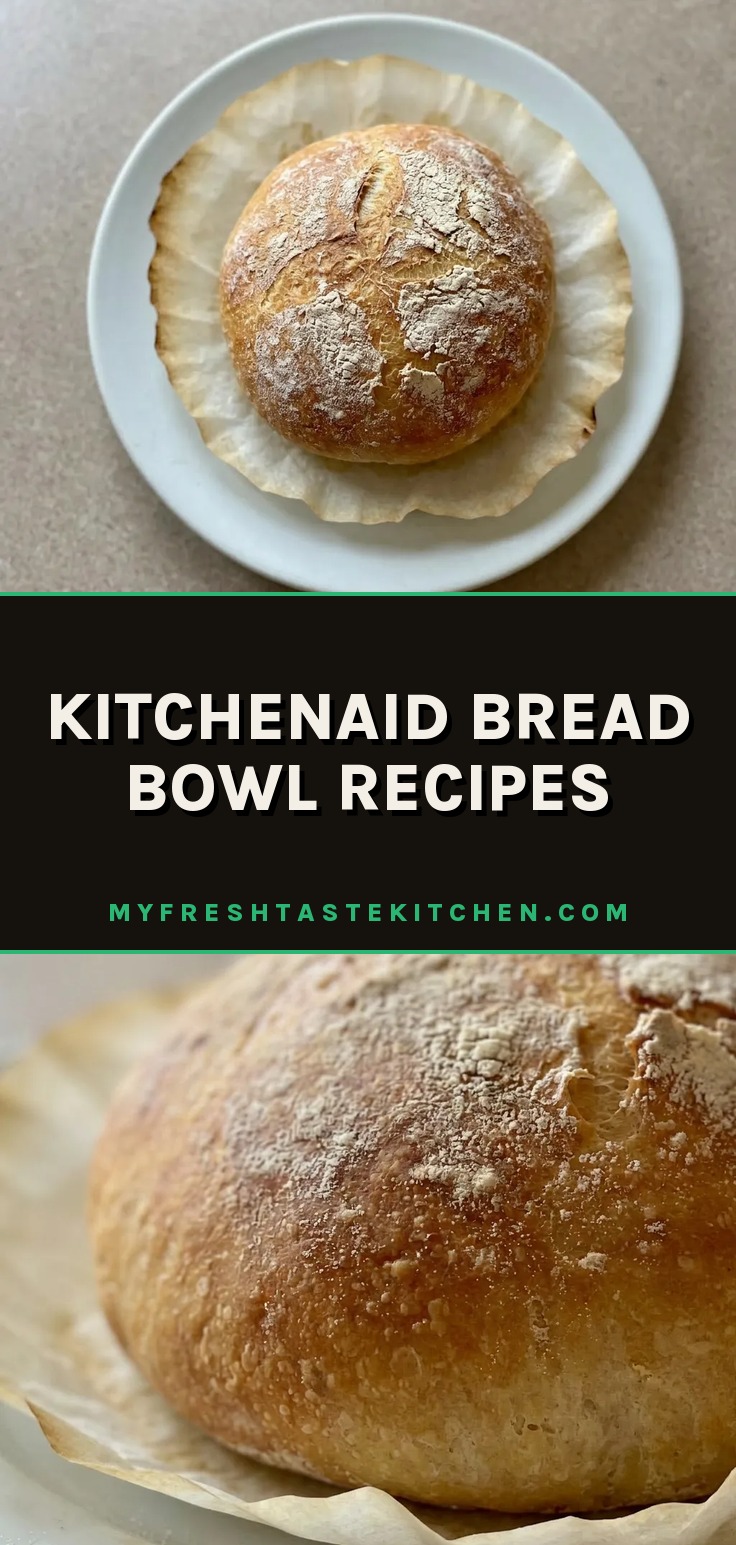
That oven temperature hits a sweet spot. Hot enough to set the crust quickly, giving the bowl structure, but not so hot that the outside burns before the inside bakes through. You’ll see the loaves turn a deep golden brown, and when you tap the bottom, they sound hollow.
That hollow ring means the interior is fully cooked, no raw dough left inside to turn gummy once soup hits it. The golden crust is your handle; it stays firm but not tough, so you can pick the bowl up without it bending or leaking. If it sounds solid, it’s ready to serve.
Prep: 50 min · Cook: 50 min · Total: 1 hr 40 min · Servings: 6 · Calories: 300 kcal
What to look for in bread bowl ingredients
all-purpose flour: Use unbleached all-purpose; it has more protein than bleached, giving the dough better structure for hollow bowls.
active dry yeast: Check the expiration date. Dead yeast won’t foam in the water-sugar mix, and the dough won’t rise.
olive oil: A mild olive oil works fine; extra virgin’s flavor is subtle here, so don’t splurge.
How to shape and bake stand mixer bread bowls that stay hollow
Activate the yeast
Sprinkle yeast over the warm water-sugar mix, then wait. You’ll see a frothy cap in 5 to 10 minutes; if nothing happens, your yeast is dead, start over.
Mix the dough
Add flour-salt mix slowly on low until a shaggy mass forms, no dry patches left. If it looks dusty, dribble in water a teaspoon at a time.
Knead with the dough hook
Knead on medium-low for 5 to 7 minutes. The dough should pull off the bowl sides and feel smooth, not tacky. Press it: it springs back slowly.
If it tears easily, keep going.
First rise
Set the dough in an oiled bowl, cover, and leave in a warm spot. Wait until it doubles, about 1 to 1.5 hours. A finger poke leaves a dent that stays; if it snaps back fast, it needs more time.
Divide and shape
Punch down gently, then cut into 6 equal pieces. Roll each into a tight ball by cupping your hand and dragging it in circles on an unfloured surface until the top is smooth.
Second rise
Place rounds seam-side down on a parchment-lined sheet. Cover loosely and let rise 30 to 45 minutes. They should puff noticeably but not double; over-risen bowls collapse at the base.
Bake until hollow
Bake at 375°F for 15 to 20 minutes. Look for deep golden brown, then tap the bottom, it should sound hollow, not thud. If the crust is pale, keep baking in 2-minute increments.
Kitchenaid Bread Bowl Recipes
Ingredients
- 4 cups all-purpose flour 500 g
- 1 tablespoon sugar
- 1 tablespoon active dry yeast
- 1 1/2 teaspoons salt
- 1 1/2 cups warm water 110°F (45°C)/43°C
- 2 tablespoons olive oil
Instructions
Activate yeast mixture:
In the stand mixer bowl, mix warm water with sugar until dissolved. Dust yeast on top and let rest 5-10 minutes until foamy.Whisk dry ingredients:
Whisk flour and salt together in another bowl.Mix dough with hook:
Fit the dough hook onto the mixer. Slowly incorporate the flour mixture into the yeast mixture on low speed until a shaggy dough comes together.Knead until smooth:
Knead on medium-low for 5-7 minutes until the dough is smooth and springy.Proof until doubled:
Transfer dough to a bowl brushed with oil, cover with a damp towel, and let proof in a warm spot for 1-1.5 hours until doubled.Divide and shape rounds:
Deflate the dough and flip onto a lightly floured surface. Split into 6 equal pieces and form into rounds.Second rise:
Allow the formed dough to rise for 30-45 minutes.Bake bread bowls:
Heat oven to 375°F (190°C). Bake the bread bowls 15-20 minutes until golden and they sound hollow when tapped on the bottom.Cool before serving:
Let cool before cutting and serving.
Storage and Serving
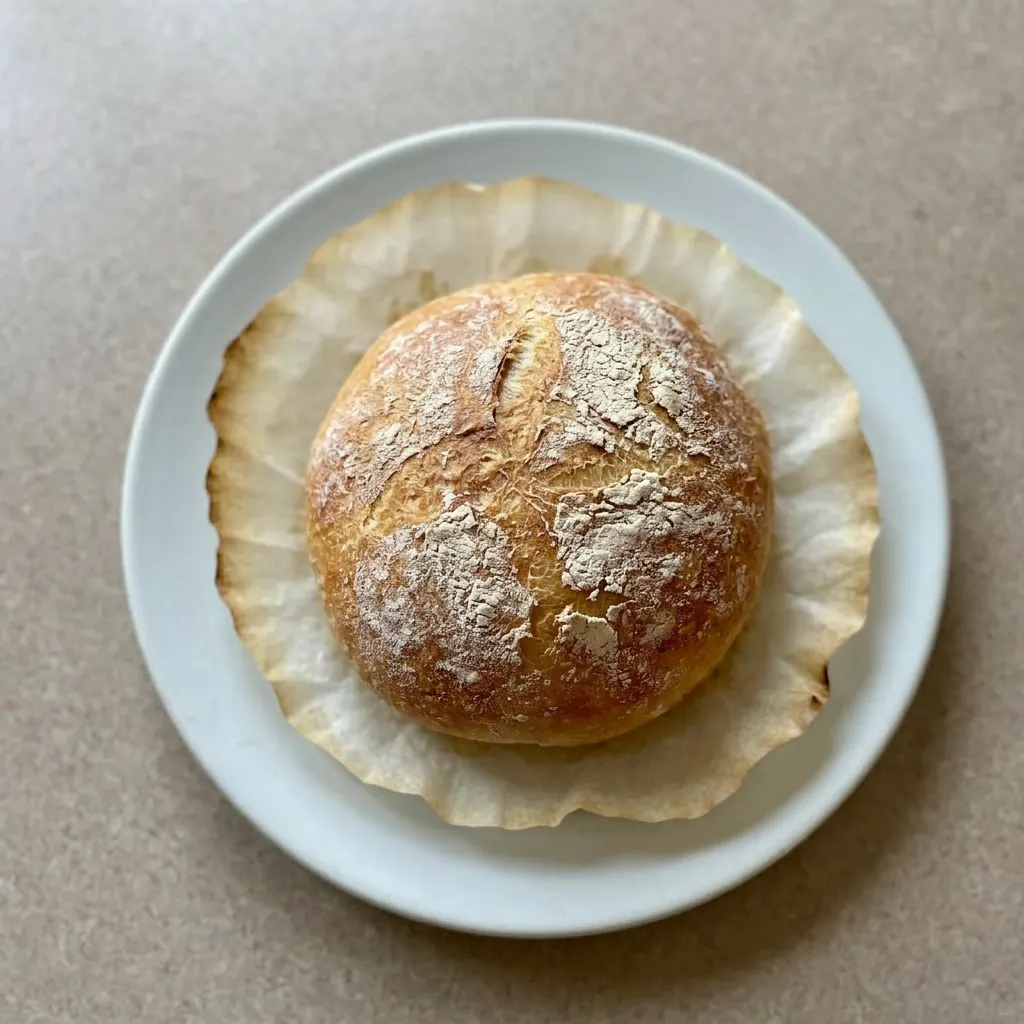
Bread bowls are best eaten within a few hours of baking, while the crust remains crisp and the interior is tender. If you plan to fill them with soup, cut off the top cap and hollow out the soft center just before serving; a pre-cut bowl will soften quickly.
Leftover unfilled bread bowls keep well at room temperature for up to 2 days in a paper bag; do not seal in plastic or the crust will turn rubbery. To restore some crispness, reheat in a 350°F oven for 5 minutes. For longer storage, freeze the baked, cooled bowls in a zip-top bag for up to 3 months.
Thaw at room temperature and reheat directly in a 350°F oven for 10 minutes. Do not fill frozen bowls with soup; the bread will steam and collapse.
Once filled, serve immediately; leftovers of a filled bowl are not recommended because the bread becomes soggy and the texture degrades rapidly.
What you can swap in stand mixer bread bowls (and what not to)
all-purpose flour: bread flour, same weight. Bread flour’s higher protein gives a chewier, denser crumb.
The walls will be sturdier, less likely to sag under soup, but the interior turns slightly less airy. Use the same 500 g; no adjustment needed.
active dry yeast: instant yeast, 2 1/2 teaspoons (same as 1 packet active dry). Instant yeast doesn’t need proofing, skip the 5 to 10 minute foam step and mix it directly with the flour. The rise times stay roughly the same; dough may proof a bit faster.
Do not use more than called for; over-proofed bowls collapse.
olive oil: any neutral oil (canola, vegetable, or melted butter cooled to room temperature). The oil’s only job here is to keep the dough from sticking during rise and add a touch of tenderness.
Any oil works the same; butter adds a faint richness. Use the same 2 tablespoons.
all-purpose flour: gluten-free 1-to-1 flour blend (with xanthan gum). Gluten-free dough won’t develop the same elasticity. It will feel stickier and won’t spring back the same way.
Expect a denser, more cake-like interior that may not hold soup as long before turning soft. Keep same weight; you may need extra water a tablespoon at a time if the dough feels too dry.
Tips
- Use an instant-read thermometer to confirm the water is exactly 110°F; too cool and the yeast won’t activate fully, too hot and it will die, causing a dense dough that never rises properly.
- If you don’t have a thermometer, mix 1 part boiling water with 2 parts cold tap water; that ratio typically lands near 110°F, but test with your wrist: it should feel like warm bathwater, not hot.
Frequently Asked Questions
Can I make the dough the night before and bake the next day?
You can, but the texture will change. After the first rise, punch down the dough, wrap it tightly in plastic, and refrigerate overnight.
The next day, let it come to room temperature for about an hour before shaping and doing the second rise. The cold fermentation develops more flavor, but the dough may be slightly less airy. Do not skip the second rise, or the bowls will be dense.
My bread bowls turned out dense and heavy, what went wrong?
Most likely the dough didn’t rise enough during either the first or second rise. 5 hours) until a finger dent stays.
The second rise needs 30 to 45 minutes until the rounds puff noticeably. If you rushed either, the gluten network didn’t trap enough gas. Another cause: the water was too hot (over 110°F) and killed the yeast, check that the foam appeared within 10 minutes.
How do I keep the bread bowls from getting soggy when filled with soup?
Cut off the top cap and hollow out the soft interior just before serving, not earlier. The crust acts as a barrier; if you cut too early, steam softens it.
Also, bake until deep golden brown and the bottom sounds hollow, that ensures the interior is fully cooked, not gummy. For extra insurance, you can toast the hollowed bowls in a 350°F oven for 5 minutes to dry them out before adding soup.
