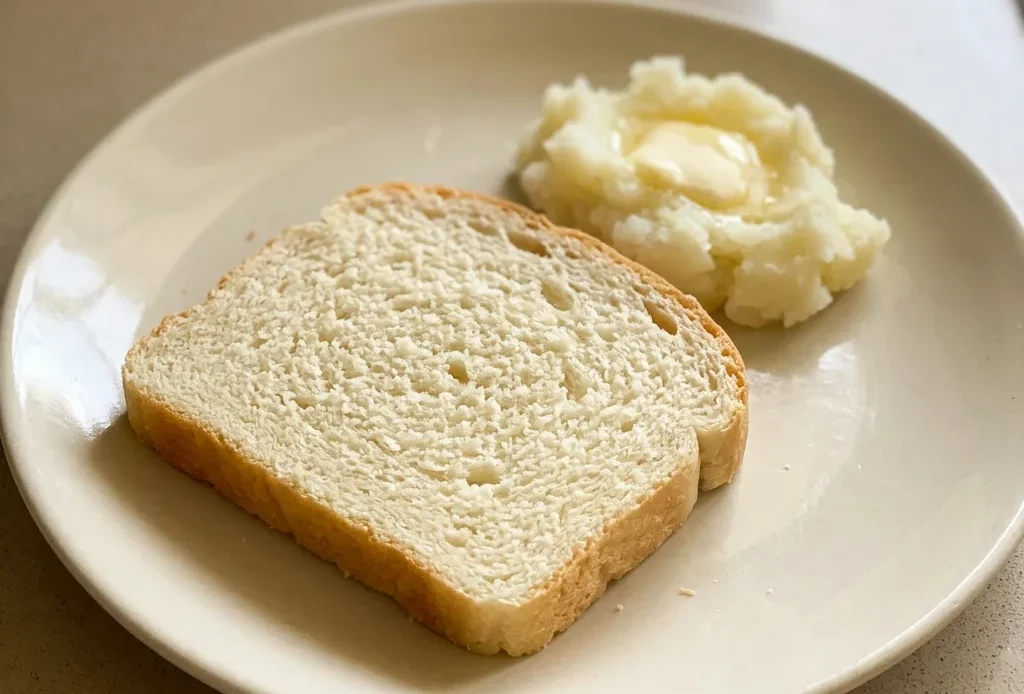
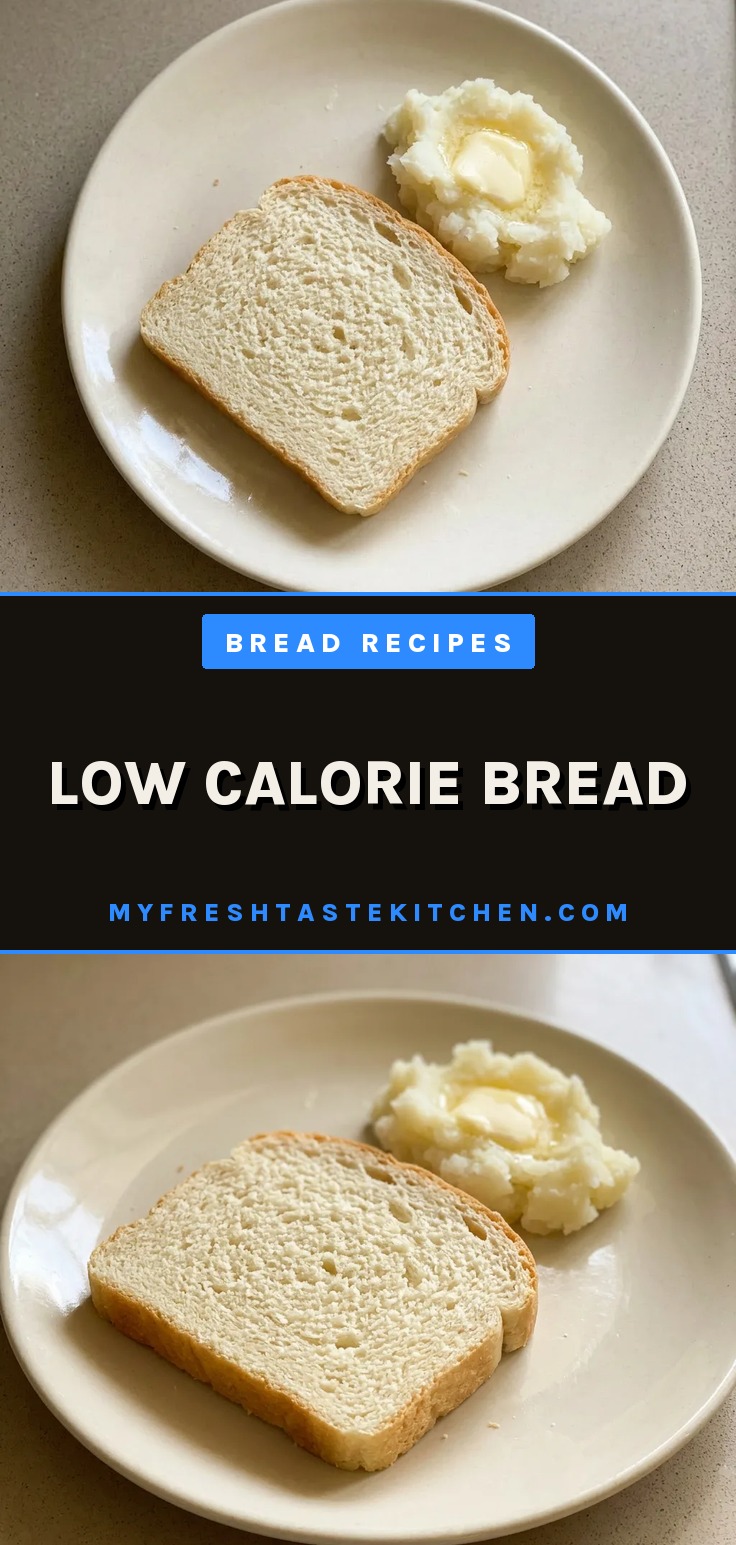
A 70-calorie slice of bread that actually tastes like bread? The trick is trusting the yeast to do the kneading for you. This loaf gets its structure from two full rises, not from working the dough, skip the arm workout and let time build the gluten.
The crust crackles because the oven is hot enough to set it fast, trapping steam inside for a soft crumb. It’s a low calorie bread that doesn’t feel like a compromise, as long as you let the dough double each time. No shortcuts, just patience.
I tried kneading it briefly to ‘help’ the gluten, but it turned into a brick. The next time I just stirred until combined and let the long rise do the work, it was airy and light.
No knead, no problem
This dough gets mixed until just incorporated, no kneading. You stir it together, cover it, and walk away. The two long rises (one hour each) do the work.
As the yeast ferments, it produces gases that stretch and relax the gluten network naturally. You can see the dough double in volume each time.
That’s how you get an airy crumb without working the dough by hand. The texture ends up light, not dense or tough.
It’s a reliable trick for easy bread recipes that skip the arm workout.
Hot oven, quick bake
The oven hits 450°F before the shaped dough goes in. That’s hotter than most bread recipes call for. The blast of heat sets the crust fast, creating a crackly shell that traps steam inside.
The interior stays soft and fluffy because the bake time is short, just 15 to 20 minutes. If the oven were cooler, the bread would dry out before the crust formed. Here, you get a crisp exterior and a tender crumb in under half an hour.
70 calories per slice
This bread is low calorie because of portion control. The recipe yields 22 slices, each only 70 calories.
You cut after the loaf cools completely, that gives clean, even slices without crumbling. A standard slice is thin but satisfying.
You can toast it, sandwich it, or eat it plain. The number is built into the recipe, not something you adjust later.
It’s a straightforward way to keep a bread recipes calorie count in check.
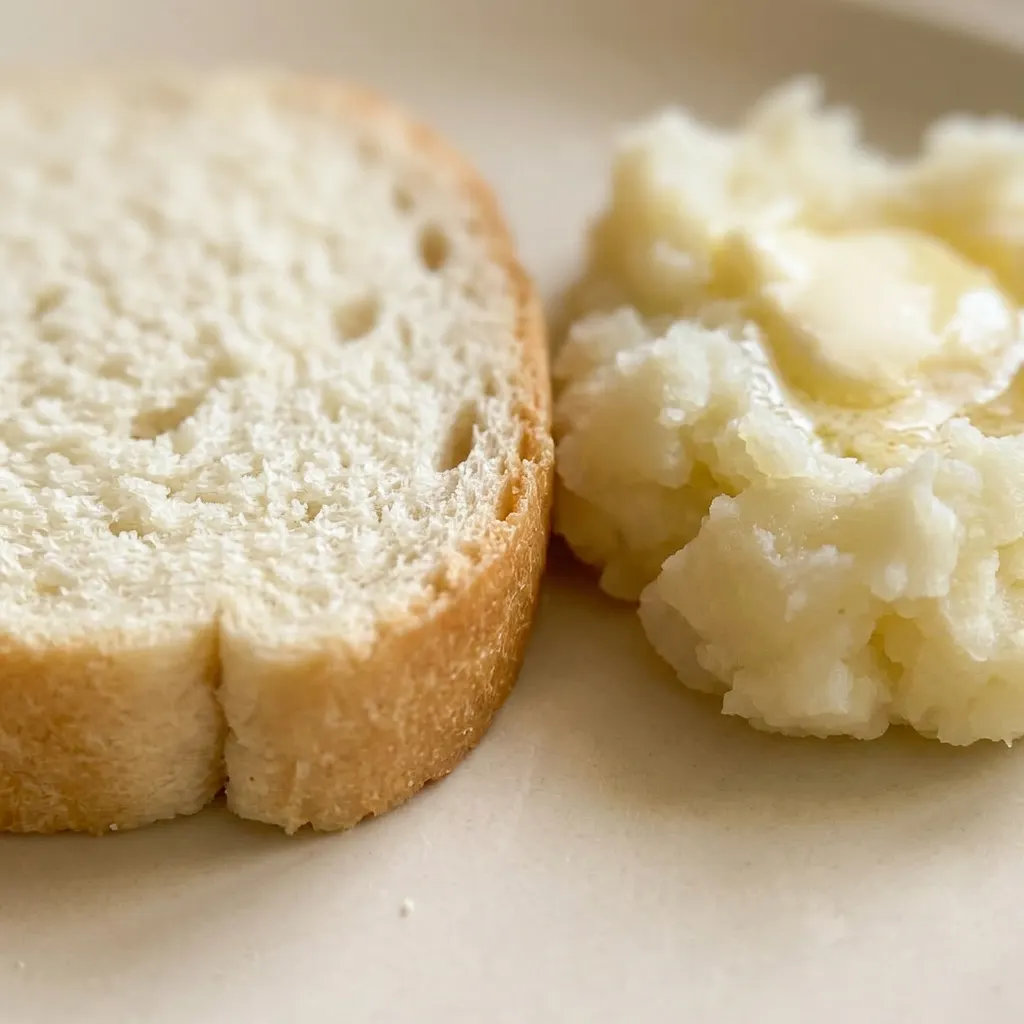
Prep: 5 min · Cook: 15 min · Total: 2 hr 20 min · Servings: 22 · Calories: 70 kcal
What to buy for this bread
Rapid rise yeast: Buy rapid rise yeast, not active dry. It mixes right into the hot water without proofing first.
All purpose flour: Use standard all purpose flour. Bread flour works too but gives a slightly chewier crumb.
How to make it work
Start the yeast
Pour the hot water over the yeast in a large bowl. Let it sit 5 minutes. You should see bubbles or foam on top, if not, the water may have been too hot or too cold, and the yeast might be dead.
Mix the dough
Add flour and salt, stir until no dry spots remain. The dough will look shaggy and wet, not smooth.
That’s fine. Don’t keep stirring; just incorporate. Cover the bowl with plastic wrap and a towel.
First rise
Let it sit for 1 hour. The dough should double in volume.
Look for a domed top and bubbles visible through the bowl. If it hasn’t risen much, the room may be too cool; try a warmer spot.
Shape and second rise
Scrape the dough into the parchment-lined loaf pan. It will be sticky; wet your hands to handle it. Cover again and let rise another hour.
The dough should puff up nearly to the pan’s rim.
Bake hot and fast
Heat the oven to 450°F. Uncover the loaf and bake 15 to 20 minutes.
The top should be deep golden brown, and the loaf should sound hollow when tapped. If it’s pale, give it a few more minutes.
Low Calorie Bread
Ingredients
- 1 1/2 cups hot water
- 2 packets rapid rise yeast (or 1 1/2 tablespoons)
- 3 1/2 cups all purpose flour 437 g
- 1/2 tablespoon salt
Instructions
Line loaf pan:
Prepare a bread loaf pan by lining it with parchment paper; crumple the paper into a ball then flatten it out to fit more easily.Activate yeast:
In a large bowl, mix the hot water and yeast; allow to foam for 5 minutes.Mix dough:
Add the flour and salt to the yeast mixture and stir thoroughly until fully incorporated.First rise:
Wrap the bowl with plastic wrap, then cover with a kitchen towel; let it rise for 1 hour.Transfer to pan:
Once the dough has doubled in volume, move it to the prepared loaf pan. Cover again with plastic wrap and the towel.Second rise:
After another hour of rising (the dough should have doubled once more), heat the oven to 450°F (230°C). Take off the plastic wrap and towel.Bake bread:
Bake for 15-20 minutes, then take out of the oven and allow to cool fully.Slice and serve:
Cut into 22 slices and serve.
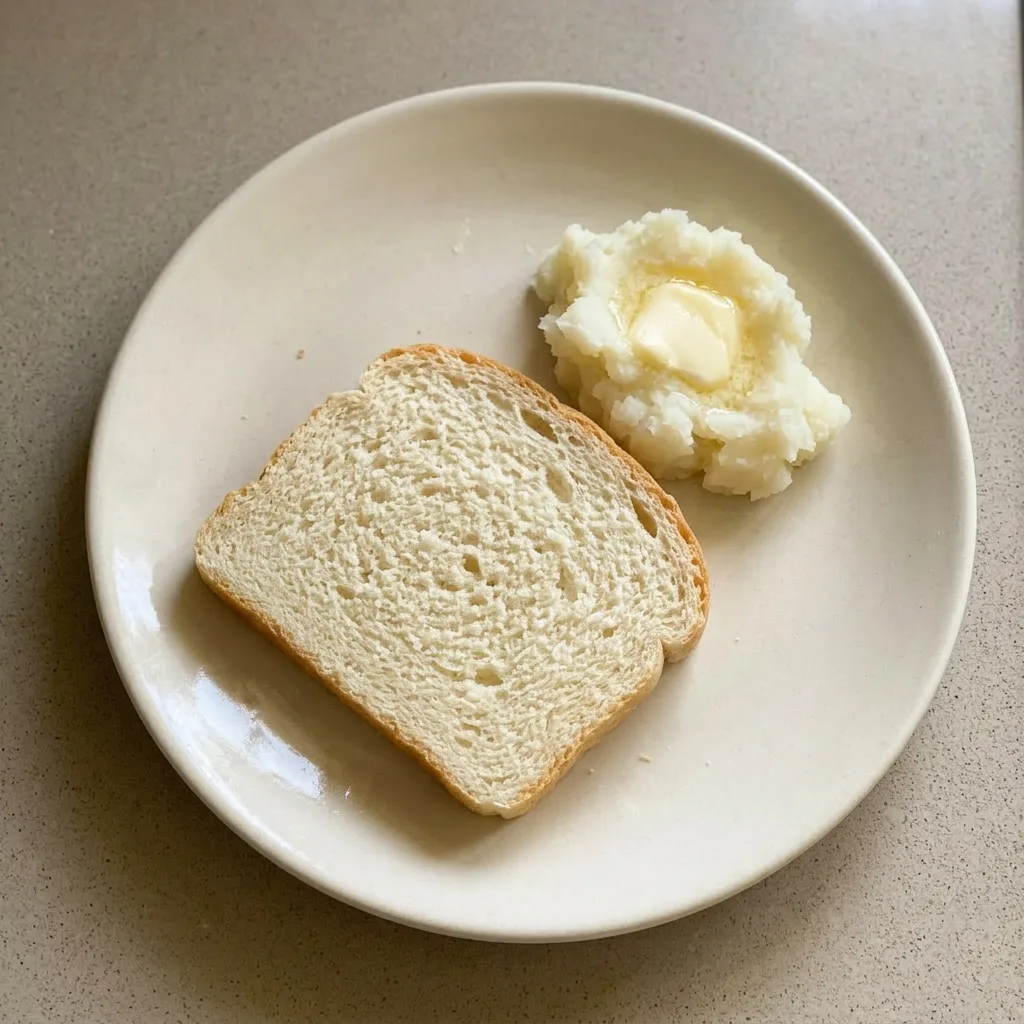
Substituting flour? Watch the crumb
All purpose flour: Bread flour (same amount by weight). Higher protein gives a chewier crumb and maybe a bit more rise. The texture goes from tender to hearty.
Rapid rise yeast: Active dry yeast (1 packet, dissolved in warm water for 5 minutes before mixing). Active dry needs proofing; skip that step and the bread won’t rise. Otherwise it works fine, just add an extra 10 minutes to the first rise.
Salt: Do not skip or reduce. Without salt, yeast ferments too fast and the dough overproofs. You’ll end up with a dense, flat loaf and a bland taste.
Tips
- Use a serrated knife and let the bread cool completely before slicing to avoid tearing the crumb and achieve clean, even slices.
Storage and Serving
Cool the bread completely before storing. Wrap tightly in plastic wrap or place in an airtight container at room temperature for up to 3 days.
The crust will soften slightly over time. For longer storage, slice the bread and freeze in a zip-top bag for up to 3 months.
Toast slices directly from frozen to restore the crisp crust. This bread is best eaten within a few hours of baking, when the crust is crackly and the crumb is tender.
If making ahead, bake and cool fully, then freeze slices; reheat in a toaster. Do not refrigerate, as it accelerates staling.
Frequently Asked Questions
Can I let the dough rise longer than 1 hour?
Yes, but watch it. The dough should double in volume, that’s the cue, not the clock. If you let it go too long, the gluten overstretches and the dough can collapse, giving a denser loaf.
If your kitchen is cool, it may need 10, 15 extra minutes; in a warm spot, stick to the hour.
Why is my bread dense instead of airy?
Most likely the dough didn’t double during either rise. Check that your yeast was foamy after 5 minutes, if not, the water was off or the yeast is dead.
Also, if you skipped the plastic wrap and towel, the dough may have dried out and formed a skin that blocks rise. A dense crumb can also come from overmixing, but this dough is just stirred until combined, so that’s rarely the issue here.
Can I make this bread ahead and freeze it?
Yes, slice the cooled loaf and freeze slices in a zip-top bag for up to 3 months. Toast straight from frozen to restore the crust. The bread is best within a few hours of baking, but freezing locks in that fresh texture.
Do not refrigerate, it stales faster.
