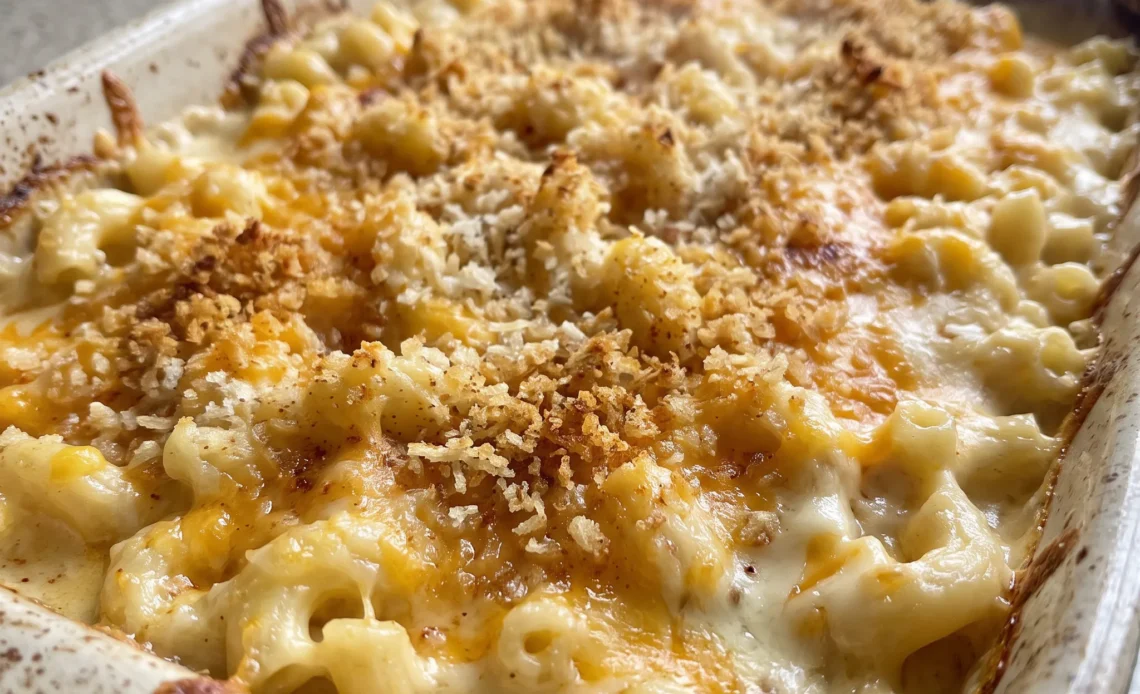
Creamy inside, crisp on top, and it still slices clean after a rest on the counter. That combination is harder to land than it sounds, and most of the trouble hides in plain sight: sauce that looks ready in the pan but weeps grease around the edges of the baking dish, crumbs that go from golden to black while you’re setting the table, elbows that turn floppy before they ever reach the oven. None of those are seasoning problems.
They’re timing problems, and this baked macaroni and cheese gives you a few clear signals to read before anything is past fixing. The rewards are worth the attention: a sharp, spoon-coating sauce that sets just firm enough to portion, a panko lid with actual crunch, and enough of it to feed a table of six without a second pan.
This is the version you make when company’s coming.
Three Cheeses That Know Their Jobs
Cheddar does the heavy lifting here. It brings the tang that makes macaroni and cheese taste like macaroni and cheese, and it sets up the sauce so a spoonful holds together on the plate.
Mozzarella is in the mix for stretch and a softer melt, the kind that pulls into a strand when you lift a forkful from the baking dish. Parmesan finishes the trio with a salty punch and a drier, granular texture. That graininess matters more than you’d think: it gives the sauce body without thinning it out, so you don’t end up with a pool of liquid around the pasta.
The proportions aren’t arbitrary. Three cups of cheddar to one cup of mozzarella to a half cup of Parmesan gets you sharpness first, then stretch, then that savory edge in the background. Taste the sauce before it goes into the dish.
If the sharpness isn’t there, a little more cheddar won’t hurt.
Panko Built to Stay Crisp
Panko flakes are coarse and airy, which means they don’t soak up sauce the way fine breadcrumbs do. That structure is why the topping stays crunchy instead of turning into a soggy blanket.
Before the crumbs go anywhere near the pasta, they get tossed with melted butter and smoked paprika. The butter coats each flake so they brown evenly in the oven, and the paprika lends a quiet smokiness that cuts through the richness of the cheese below.
Since the dish bakes uncovered, moisture escapes rather than collecting on the surface, and that’s what keeps the crumb topping crisp all the way through. You’re looking for a golden brown finish with a little chew at the edges of the crumbs. If you skip the butter toss, the panko will still toast, but it’ll taste dry and dusty rather than rich.
The smoked paprika should be faint, a background note, not a campfire.
The Roux Holds Everything Together
Melted butter and flour cooked together into a roux is what turns milk and cream into a sauce that can actually coat pasta. Without it, you’d be pouring flavored dairy over macaroni and hoping for the best. The roux thickens the liquid into something stable, so when the dish goes into the oven, the sauce clings to each piece of pasta instead of separating into grease and watery milk.
Cooking the flour for a minute or two also drives off that raw, pasty taste you’d otherwise notice in the finished casserole. You want the mixture to smell toasted and nutty, not like a bag of flour.
When the sauce is ready, it should coat the back of a spoon and hold a line drawn through it. That’s your signal that it’s thick enough to bake into a cohesive dish. A thin sauce will weep and leave you with greasy edges around the baking dish.
Why the Pasta Stops Early
Boiling the macaroni a minute shy of the package directions isn’t about saving time. It’s about giving the pasta room to absorb moisture from the cheese sauce as the casserole bakes.
If you cook it all the way through in the pot, it’ll keep drinking up liquid in the oven and turn soft and collapsed, with none of the bite that makes baked macaroni satisfying. Pull it while the center still has a little resistance, and the finished dish lands tender but intact.
The pasta will continue to soften as it sits in the sauce, both during baking and during the rest after it comes out. That rest isn’t just for cooling; it lets the sauce set up so servings hold their shape on the plate.
You’re looking for elbows that still have a slight chew when you bite into the finished casserole. If they’re already floppy when you drain them, the oven will only make it worse.
What to Buy and Prep for This Mac
Sharp cheddar cheese: Buy a block and shred it yourself, since pre-shredded cheese is coated with starch that keeps the sauce from melting smoothly.
Panko breadcrumbs: Coarse, airy flakes stay crisp on top, where fine breadcrumbs would soak up sauce and turn soft.
Smoked paprika: A faint background smoke is what you want, so use a fresh jar and not one that’s been sitting open for years.
Dry mustard powder: This is the sharp, hot kind, not the yellow spread, and its bite fades into the sauce as it bakes.
Whole milk: Skip low-fat or skim here; the fat in whole milk is what gives the sauce its body and richness.
Cheese is an emulsion of fat, protein, and water held together by casein proteins. When the sauce is too hot, those proteins tighten and squeeze out fat, so the sauce turns greasy and grainy instead of smooth. The recipe’s roux stabilizes the milk and cream, but it cannot protect the cheese if the heat is too high.
Reading the Sauce, the Pasta, and the Crust While They’re Still Fixable
The roux’s color and smell before the liquid goes in
Butter and flour over medium heat will go from pale and raw-smelling to toasted and nutty in about 1 to 2 minutes. Pull it off the heat if it starts to smell acrid or the color darkens past light gold. The roux keeps cooking in the hot pan, and a dark roux will stain the sauce and taste bitter against the cheese.
Whisk constantly so no dry flour hides in the corners of the pan.
When the sauce coats the spoon, not the whisk
After 4 to 6 minutes over medium heat, the sauce should leave a clear line when you drag a finger through it on the back of a spoon. If it’s still thin enough to drip off in a stream, keep whisking.
A sauce that hasn’t thickened enough will weep in the oven, leaving grease around the edges of the dish and a puddle under the pasta. If it’s pasty and clumps on the whisk, add a splash more milk.
The moment the cheese goes in, and when to stop stirring
Turn the heat to low before adding the cheddar, mozzarella, and Parmesan. If the sauce is bubbling hard, the cheese can break and turn grainy, with a slick of fat on top.
Stir until the shreds disappear into the sauce, then stop. Overworking melted cheese makes it stringy and tough.
Taste a spoonful: it should be sharp, salty, and smooth. If it feels thick, a splash of milk loosens it without thinning the flavor.
What the pasta should feel like when you drain it
The elbows should still have a slight resistance at the center, roughly 1 minute shy of the package time. Bite one: if it’s already soft all the way through, it will collapse in the oven.
If it’s chalky in the middle, it needs another 30 seconds. Drain it and fold it into the sauce while both are still hot, so the pasta absorbs sauce instead of sitting dry.
When the top is done, and when to pull it before the broiler
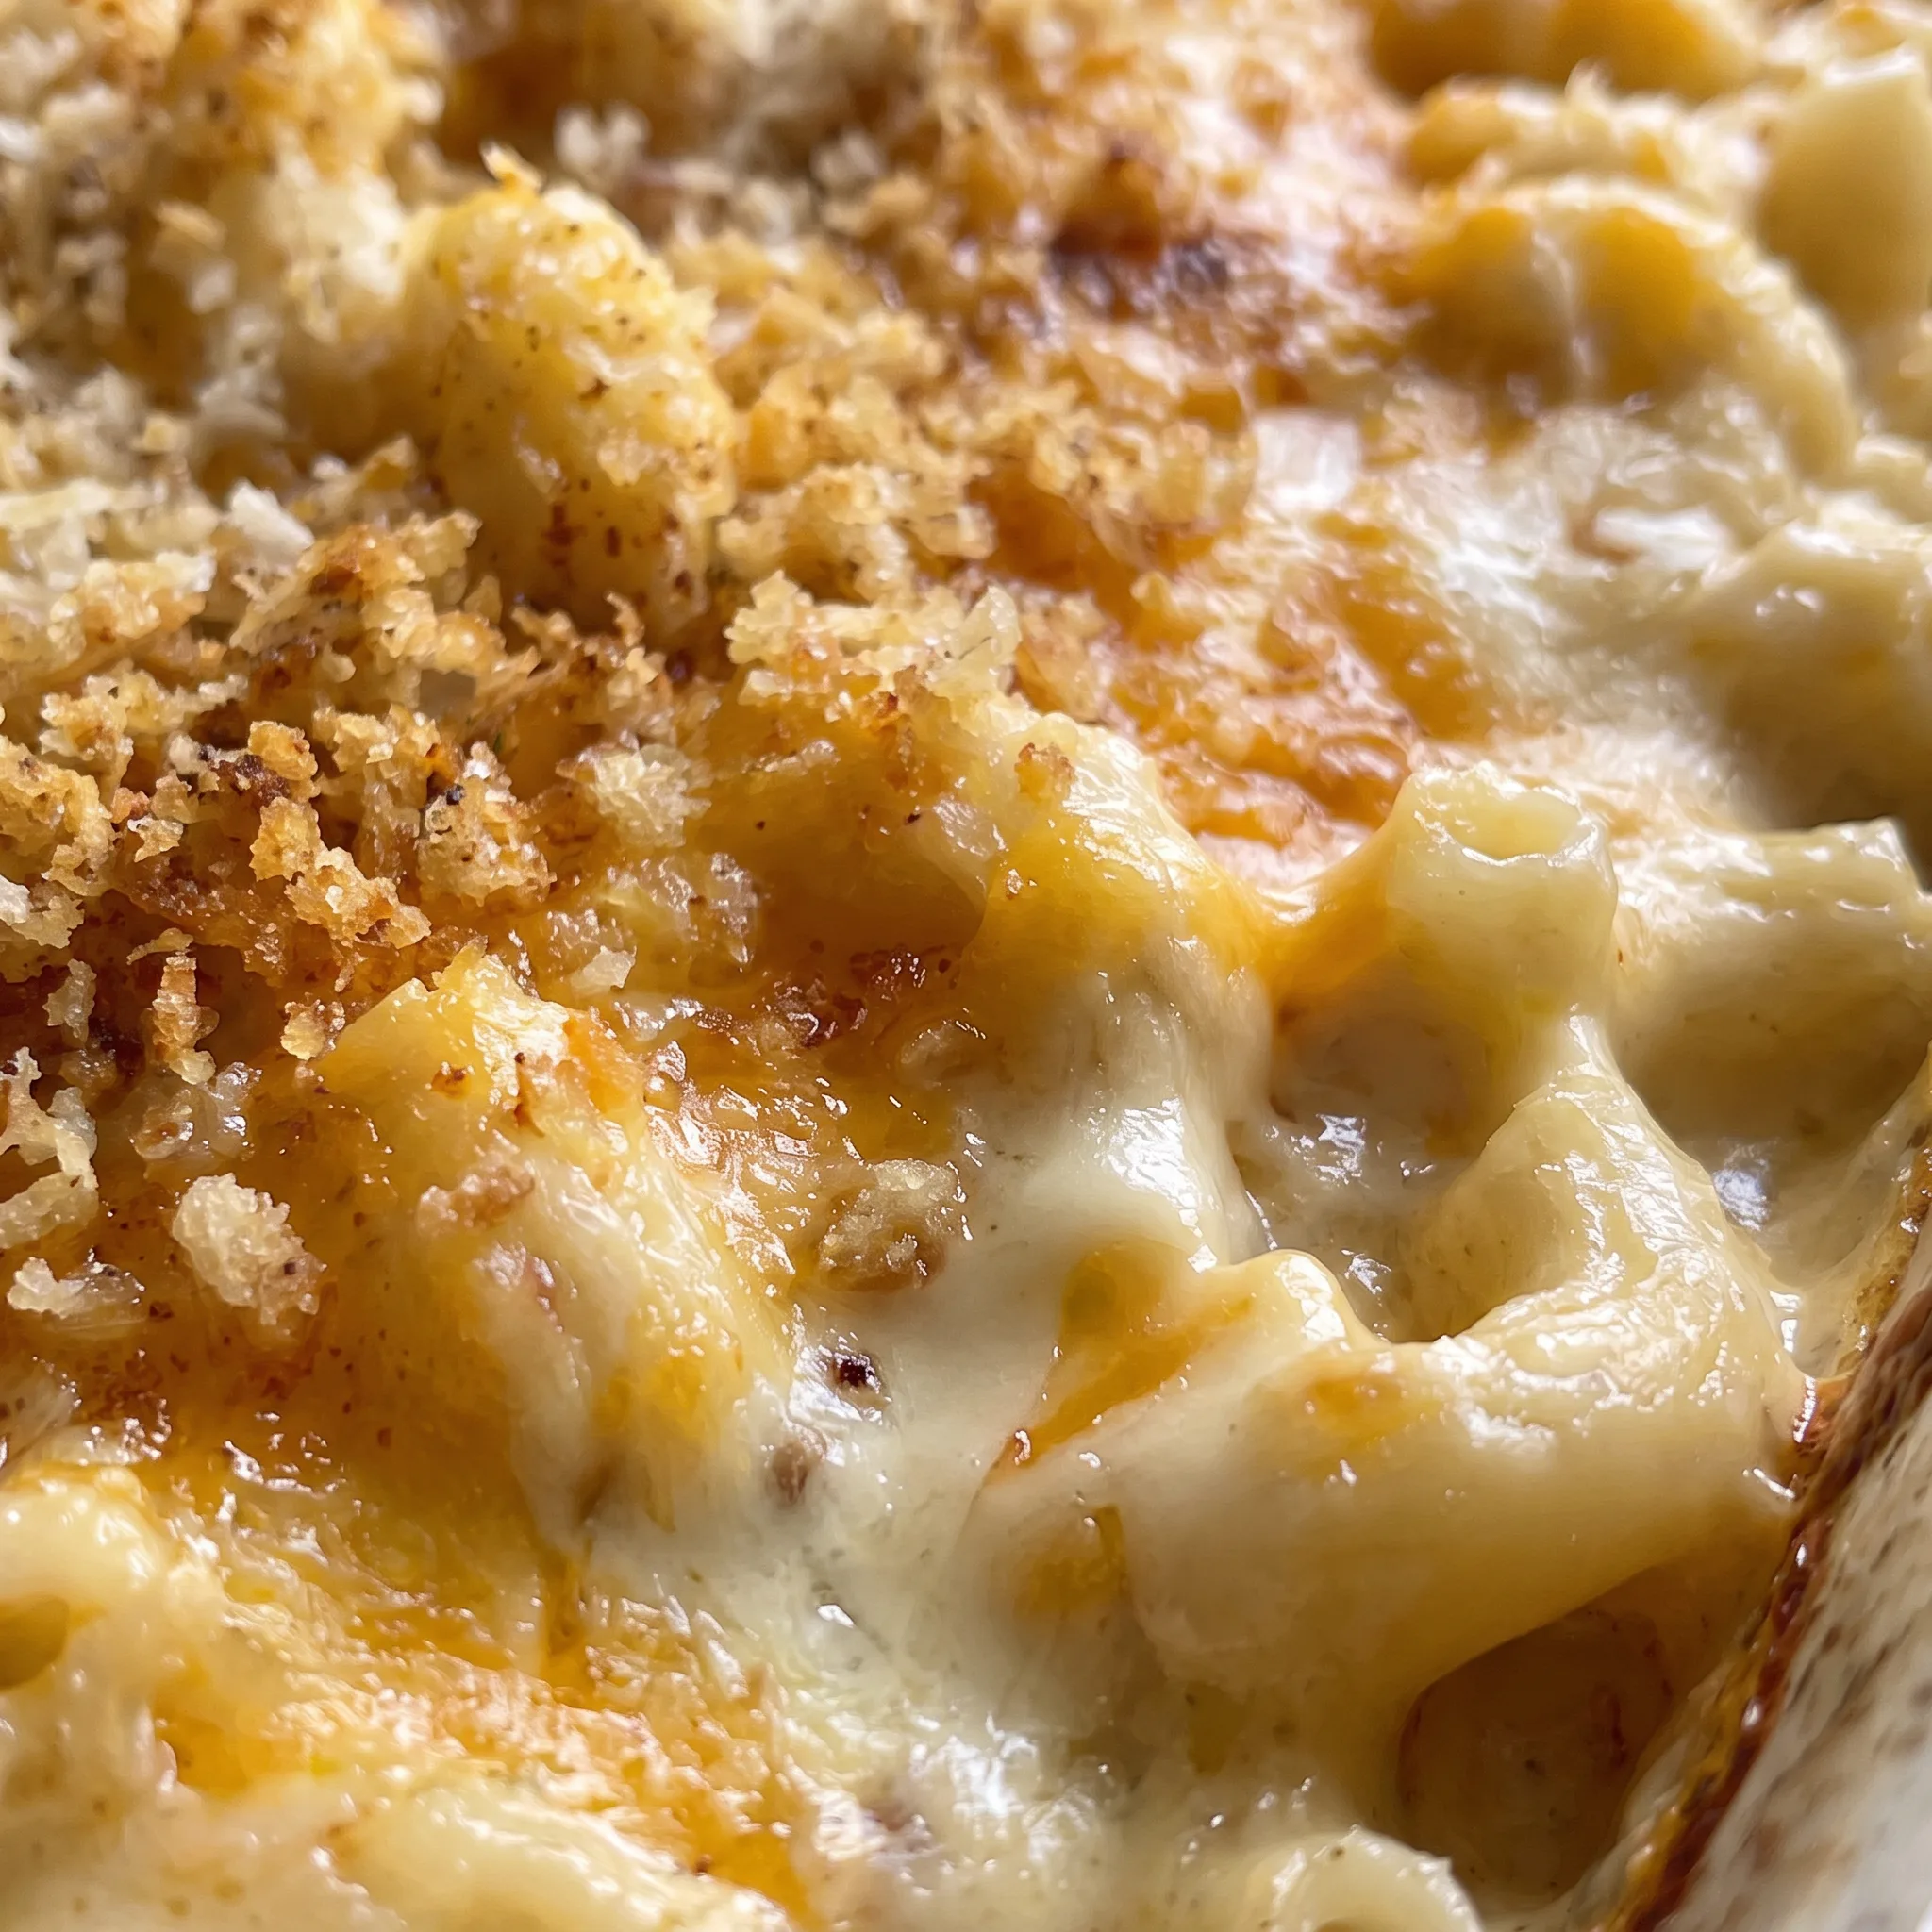
At 350°F, the casserole needs 20 to 25 minutes, until the edges bubble and the panko turns lightly golden. If the crumbs are browning but the center isn’t bubbling, cover with foil and keep going.
For a crunchier crust, broil for 2 to 3 minutes, but stay at the oven: panko goes from golden to black in under a minute. The rest for 5 to 10 minutes lets the sauce set so servings hold together.
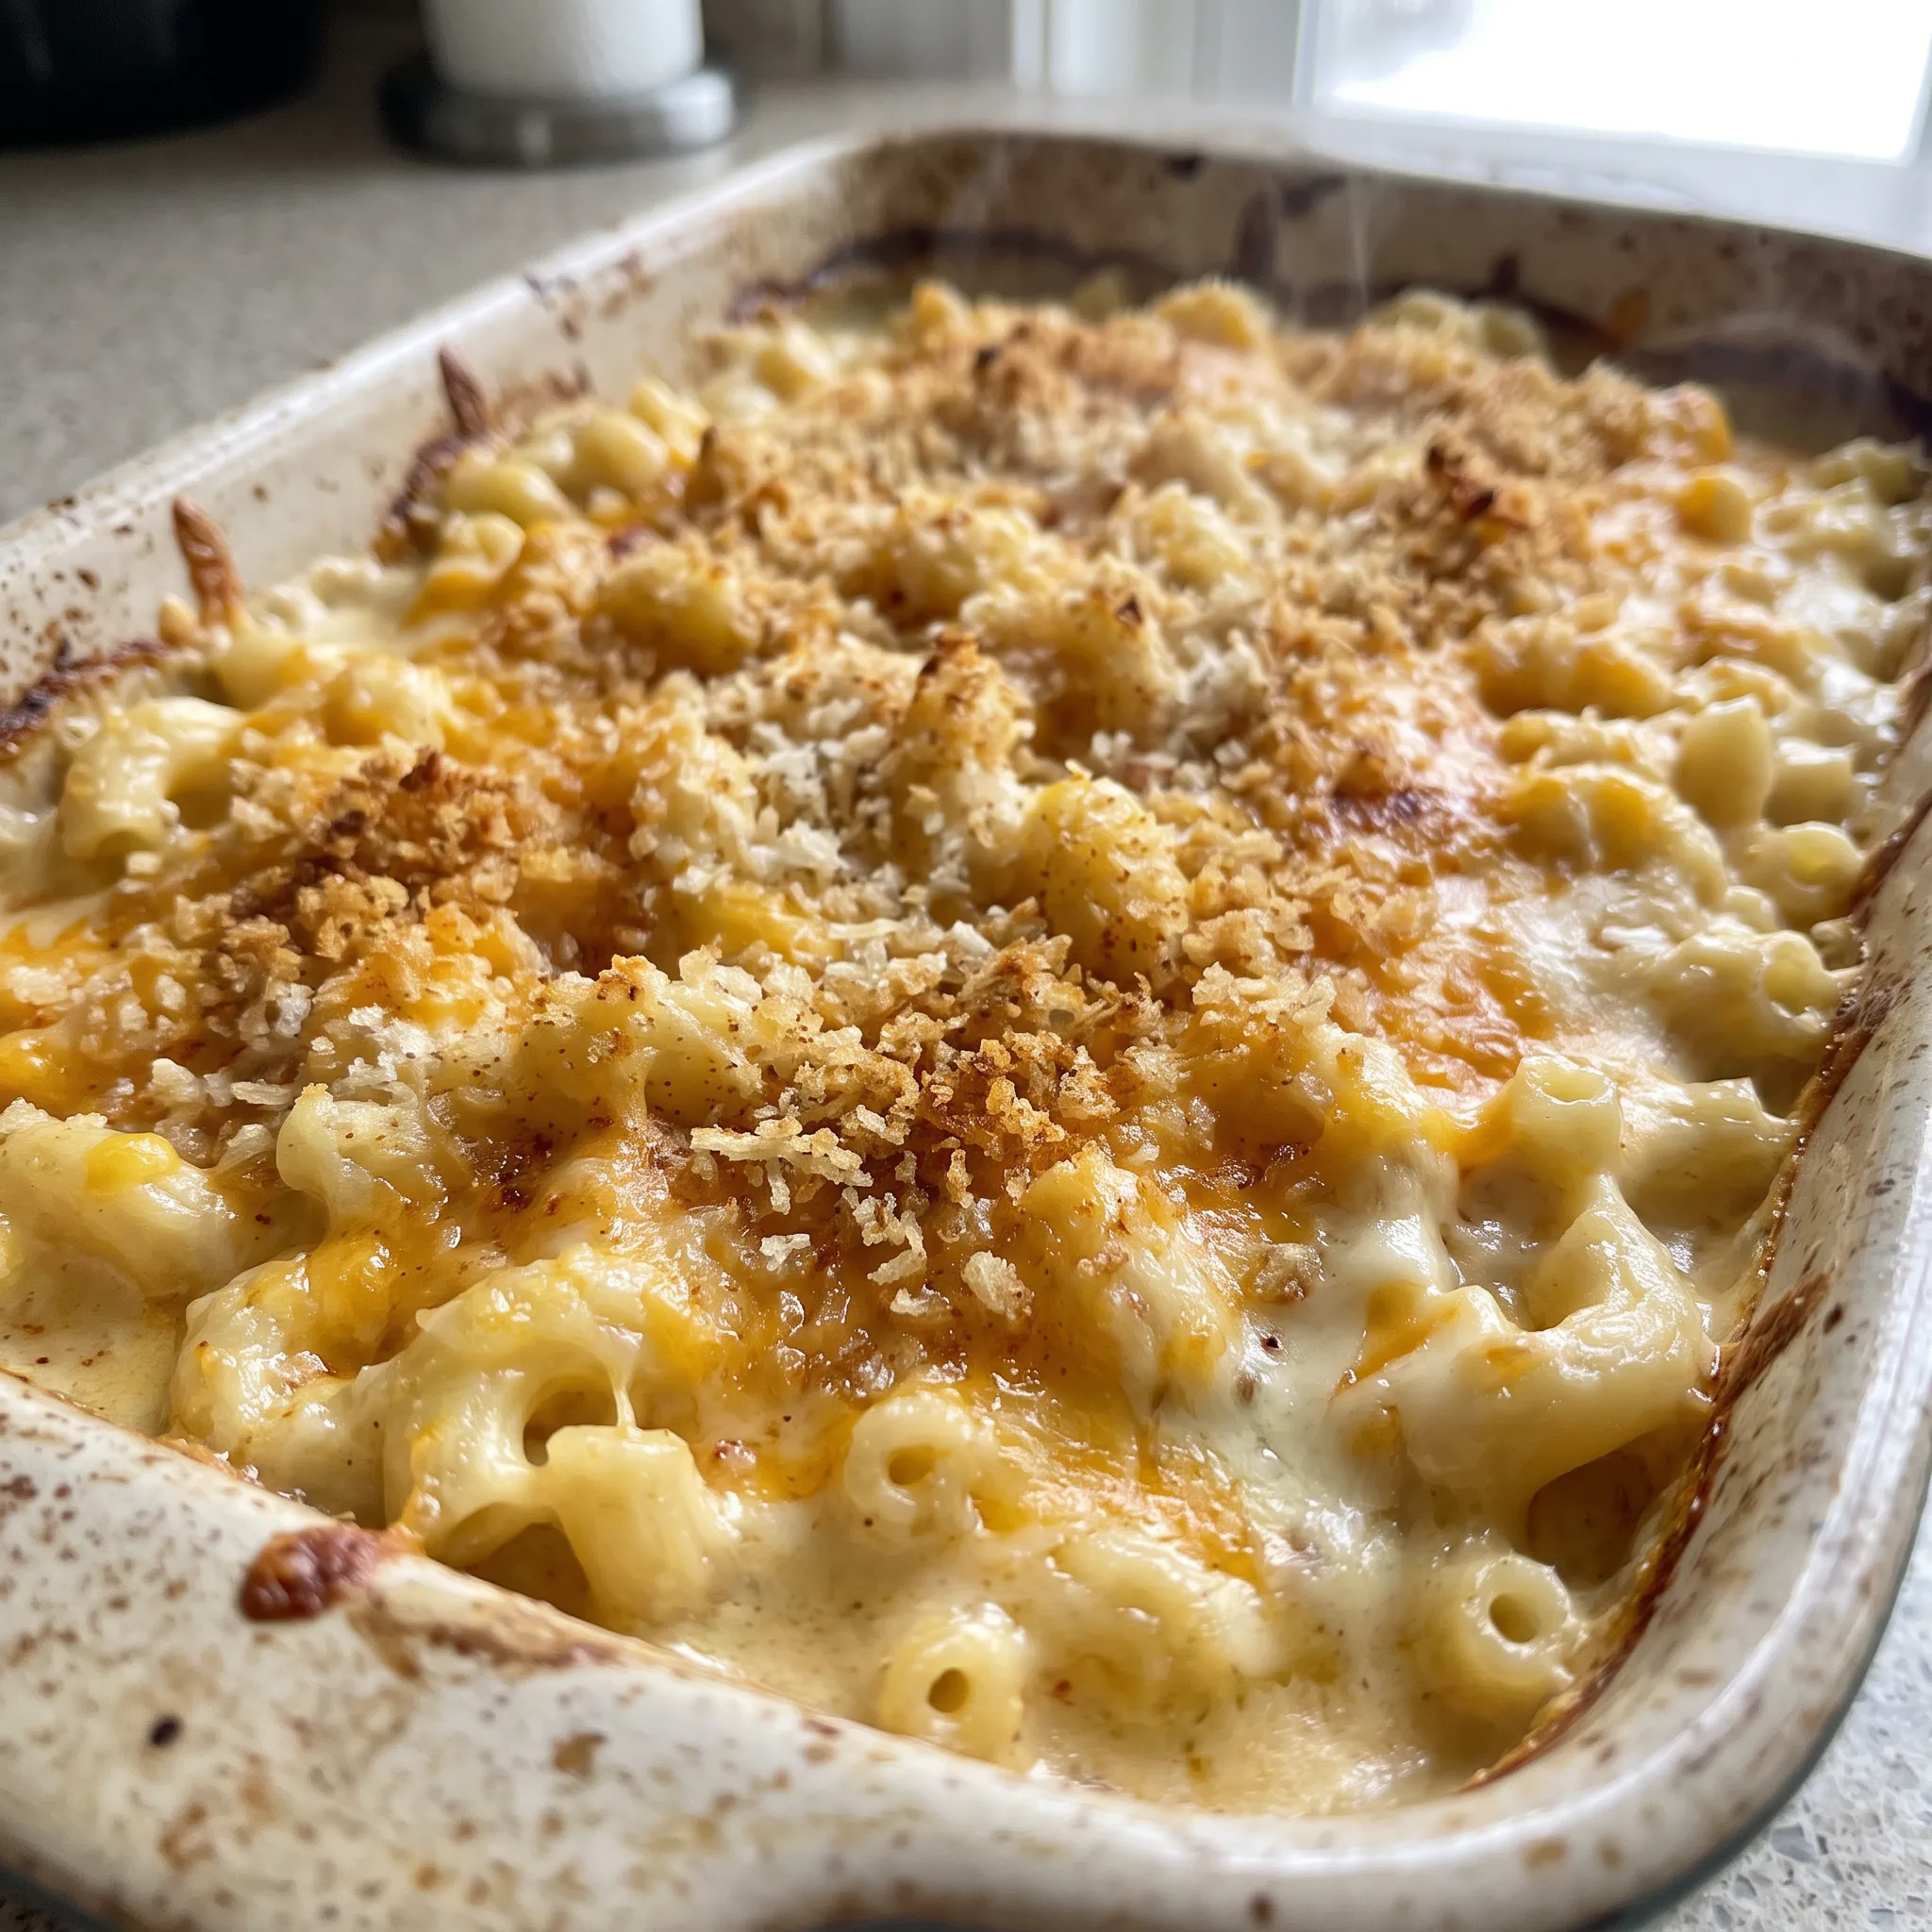
Creamy Baked Macaroni and Cheese
Ingredients
Method
- Set oven to 350°F (175°C). Apply a light coating of grease to a 9×13-inch baking dish.
- Fill a large pot with salted water and bring to a rolling boil. Boil the elbow macaroni until just al dente, roughly 1 minute shy of the package directions. Drain and set aside.
- In a large saucepan over medium heat, melt the butter. Add the flour and whisk continuously, cooking for 1–2 minutes until the mixture turns lightly golden and begins to bubble.
- While whisking, gradually stream in the milk and cream. Keep cooking until the sauce thickens a bit, about 4–6 minutes. Whisk in garlic powder, mustard powder, paprika, salt, and pepper.
- Turn the heat down to low. Add the shredded cheddar, mozzarella, and Parmesan, stirring until fully melted and smooth.
- Fold the cooked macaroni into the cheese sauce. Stir thoroughly so every piece of pasta is coated.
- Transfer the cheesy pasta to the greased baking dish and spread it into an even layer.
- Combine panko with melted butter and smoked paprika. Scatter this mixture over the pasta.
- Bake without a cover for 20–25 minutes, until the top is bubbly and lightly golden. For a crunchier crust, broil for 2–3 minutes at the end.
- Allow to rest for 5–10 minutes before serving for optimal texture.
Substitutions That Work in a Baked Mac, and the Ones That Don’t
Elbow macaroni: Any short, sturdy pasta like penne, rigatoni, or cavatappi. Use the same 1 lb weight.
Tubular shapes trap sauce inside and hold their structure through baking, so you might get a slightly chewier bite. Elbows are classic because their curves cradle sauce, but they aren’t the only option.
Sharp cheddar cheese: For a milder sauce, replace half the cheddar with a melting cheese like Monterey Jack or fontina. Start with 1 1/2 cups cheddar and 1 1/2 cups Jack, keeping the mozzarella and Parmesan as written.
The sauce will be creamier and less tangy, with a softer set. It won’t slice as neatly but will spoon out rich and gooey.
If you want some sharpness back, add an extra pinch of dry mustard.
Panko breadcrumbs: Regular dry breadcrumbs, same 1 cup amount. The topping will be finer and denser, so it won’t stay as crunchy. It’ll still brown, but expect a softer, more even crust that absorbs some sauce.
If you only have fresh breadcrumbs, toast them first to dry them out.
Whole milk and heavy cream: For a dairy-free version, use unsweetened oat milk for the milk and full-fat coconut milk for the cream. Keep the same volumes: 3 cups oat milk and 1 cup coconut milk. Use vegan butter and dairy-free cheese shreds.
The sauce will be less rich and may not thicken as firmly, so it could weep a little in the oven. Coconut milk adds a faint sweetness.
Taste and adjust salt and mustard to compensate.
After the First Serving: Storage, Reheating, and the Topping Problem
The panko crust is at its best within 20 minutes of leaving the oven. Eat it then.
Once it hits the fridge, the crumbs pull moisture from the sauce below and soften by the next day, sometimes within hours. That’s not a flaw in the recipe, it’s what buttered breadcrumbs do in a cold, humid environment. Leftovers keep covered in the fridge for 3 to 4 days.
Portion into shallow containers so the pasta cools fast; a deep 9×13 full of warm casserole traps heat and sours faster. Reheat single portions in a 350°F oven, uncovered, 12 to 15 minutes, or in a covered skillet over medium-low with a spoonful of milk to loosen the sauce. The microwave works but the crumbs go limp and the cheese sauce tightens at the edges.
If you want crunch back, toast a fresh pinch of panko in butter and scatter it on after reheating, not before. The assembled dish freezes poorly: the sauce separates and the pasta drinks up liquid on thawing.
Freeze only the pasta and sauce without topping, up to 2 months, and add fresh crumbs when you bake it from frozen.
Tips
- Shred the cheddar, mozzarella, and Parmesan on the fine holes of a box grater, not the coarse ones, for the sauce. Fine shreds melt into the milk and cream in seconds over low heat, so you can stir just until the shreds disappear and stop, which is what keeps the sauce smooth instead of stringy. Coarse shreds from a block take longer to melt, and that extra stirring is what turns melted cheese tough.
- Grate the full 3 cups of cheddar, 1 cup of mozzarella, and 1/2 cup of Parmesan before you start the roux. The sauce is ready for cheese about 10 minutes in, and a block of cheddar takes that long to shred. Having the bowls lined up means the cheese goes into the sauce while it is still hot enough to melt, rather than sitting off the heat and cooling to the point where it clumps.
Frequently Asked Questions
Can I make this mac and cheese ahead of time and bake it later?
You can assemble it ahead, but the panko topping is the sticking point: once it sits on the sauce, it pulls moisture and softens. If you’re making it the day before, leave the buttered crumbs off, cover the dish, and refrigerate.
When you’re ready to bake, scatter the topping on cold and add a few extra minutes in the oven, since the center needs longer to bubble. The assembled dish freezes poorly, so that’s not the route for longer storage.
Why did my mac and cheese turn out grainy or oily?
The most common cause is heat: if the sauce is bubbling hard when the cheese goes in, the cheese breaks and you get a slick of fat on top with a grainy texture underneath. Turn the heat to low before adding the cheddar, mozzarella, and Parmesan, and stir just until the shreds disappear. Overworking melted cheese also makes it stringy and tough, so stop stirring once it’s smooth.
A secondary check is your cheese itself: pre-shredded bags are coated with starch that keeps the sauce from melting cleanly, so shred a block yourself.
How is this baked version different from stovetop mac and cheese?
The oven does two things stovetop can’t: it sets the sauce into a sliceable casserole and it crisps the panko into a lid. The roux-thickened sauce firms up enough that a spoonful holds together on the plate, while the uncovered bake lets moisture escape so the crumbs stay crunchy instead of steaming. Stovetop stays looser and saucier, with no crust to contrast the cheese.
Here, the elbows go in a minute shy of al dente so they finish in the oven rather than turning soft in the pot.
