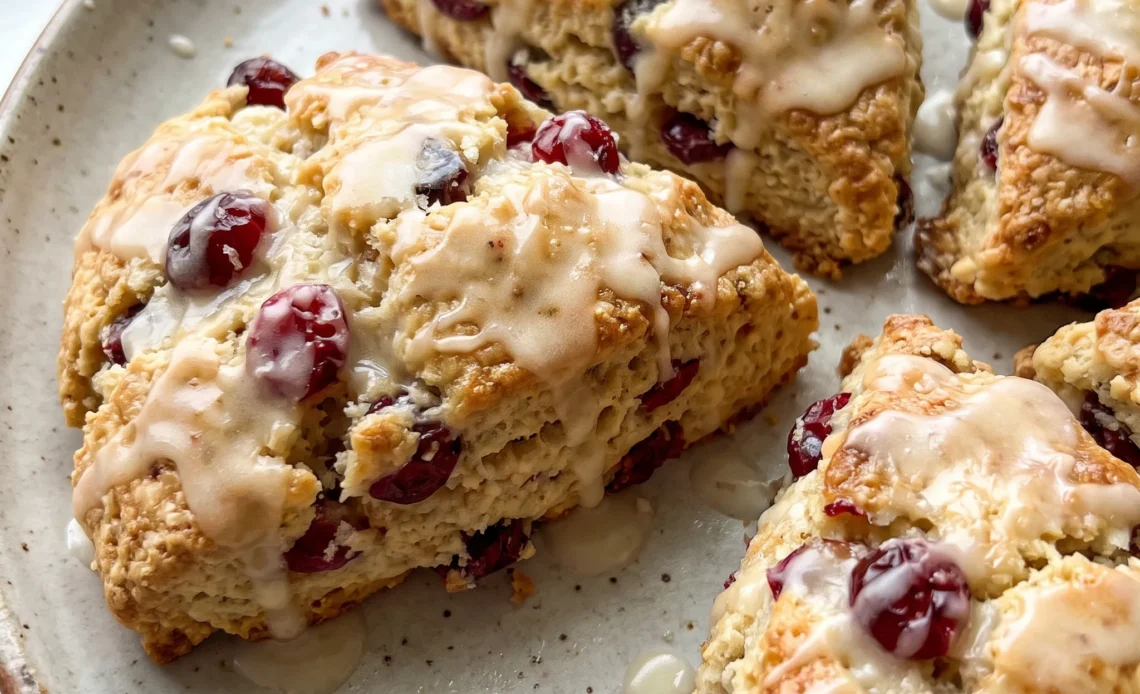
A basket of hot air can turn out cranberry orange scones with crisp edges and a tender middle in about the time it takes to preheat a regular oven, which is exactly why the dough rewards a light hand and punishes a heavy one. Get it right and the cold butter leaves pockets that steam into flakes; keep stirring past shaggy and you’ll feel the dough tighten under your palm, and the baked wedges come out chewy instead of split at the sides. The margin is narrower than an oven’s, because the air fryer’s heat is close and fast, so the tops brown before you expect while the centers lag behind.
Spacing matters as much as mixing. Crowd the basket and the sides stay pale and soft, and no amount of extra time fixes it.
Keep the Butter Cold and the Mixing Light
Cold butter cut into the flour stays in distinct pieces. When those pieces hit the air fryer’s heat, they melt and leave small pockets that steam, which lifts the dough into flakes.
That only happens if the butter is cold when the scones go in. Warm butter blends into the flour and you lose the pockets. The same goes for mixing: stop as soon as the dough looks shaggy, with dry patches and a rough texture.
That ragged stage means the butter is still cold and the gluten hasn’t been worked. Keep stirring and the flour hydrates fully, gluten strands form, and the scones turn dense and chewy.
I’ve watched a batch go from shaggy to smooth in ten extra strokes, and the baked scones came out tough. So when the dough clumps but doesn’t form a ball, you’re where you need to be.
The air fryer will finish the job, and the scones will split and flake at the sides.
A Trio That Balances Tart, Bright, and Warm
Cranberries bring a sharp tartness that cuts through the butter and half and half in the dough. Without that edge, a scone can taste flat, just sweet and rich.
Orange zest adds a bright, aromatic note that lifts the cranberry’s flavor. The two are a classic pair for a reason: the citrus makes the berry taste more like itself.
Then there’s nutmeg, just a quarter teaspoon, enough to add a warm background spice. It doesn’t shout; it rounds out the edges.
Together, these three create a scone that’s balanced, not one-note. You’ll smell the orange and nutmeg as soon as the dough comes together, and that’s a good sign.
During air frying, the kitchen fills with that same warm citrus scent. The first bite should taste tart, then sweet, then a hint of spice.
If any one of them dominates, the balance is off. This combination works because each part plays a distinct role, and none overpowers the others.
Give Them Space in the Basket
Arrange the wedges in a single layer with room between them. Air fryers work by moving hot air fast around the food, and if the scones touch, that air can’t reach the sides.
They end up steaming in their own moisture, and the outsides stay pale and soft instead of turning golden and crisp. Spacing lets the hot air hit every surface, so the tops brown and the sides firm up.
The air fryer also blasts heat from above, which can darken the tops before the centers are done. That’s why you check at the halfway mark: if the tops are already deep brown, you can tent them with foil. The goal is scones that are golden outside and set inside.
When they’re properly spaced, you’ll hear a faint sizzle as they cook. Pull one out and tap the top; it should sound hollow and feel firm. That’s your cue that the air has done its job evenly.
The Dough’s Balance of Liquid and Fat
Half and half brings both fat and liquid to the dough. The fat coats flour particles and limits how much gluten can form, which keeps the crumb tender rather than chewy.
The liquid hydrates the flour just enough to bring everything together without making a wet, sticky mass. One large egg adds structure and richness; it helps bind the dough so the scones hold their shape in the air fryer basket.
The ratio here, three-quarters cup of half and half to two cups of flour, gives a dough that’s firm enough to pat into a circle but not dry or crumbly. If the dough feels stiff, a teaspoon more half and half can help, but don’t overdo it.
Too much liquid and the scones spread; too little and they crack. When you pat the dough out, it should feel soft but not tacky.
After air frying, the inside should be moist but not gummy. That’s the balance you’re after: a tender crumb that stays together from first bite to last.
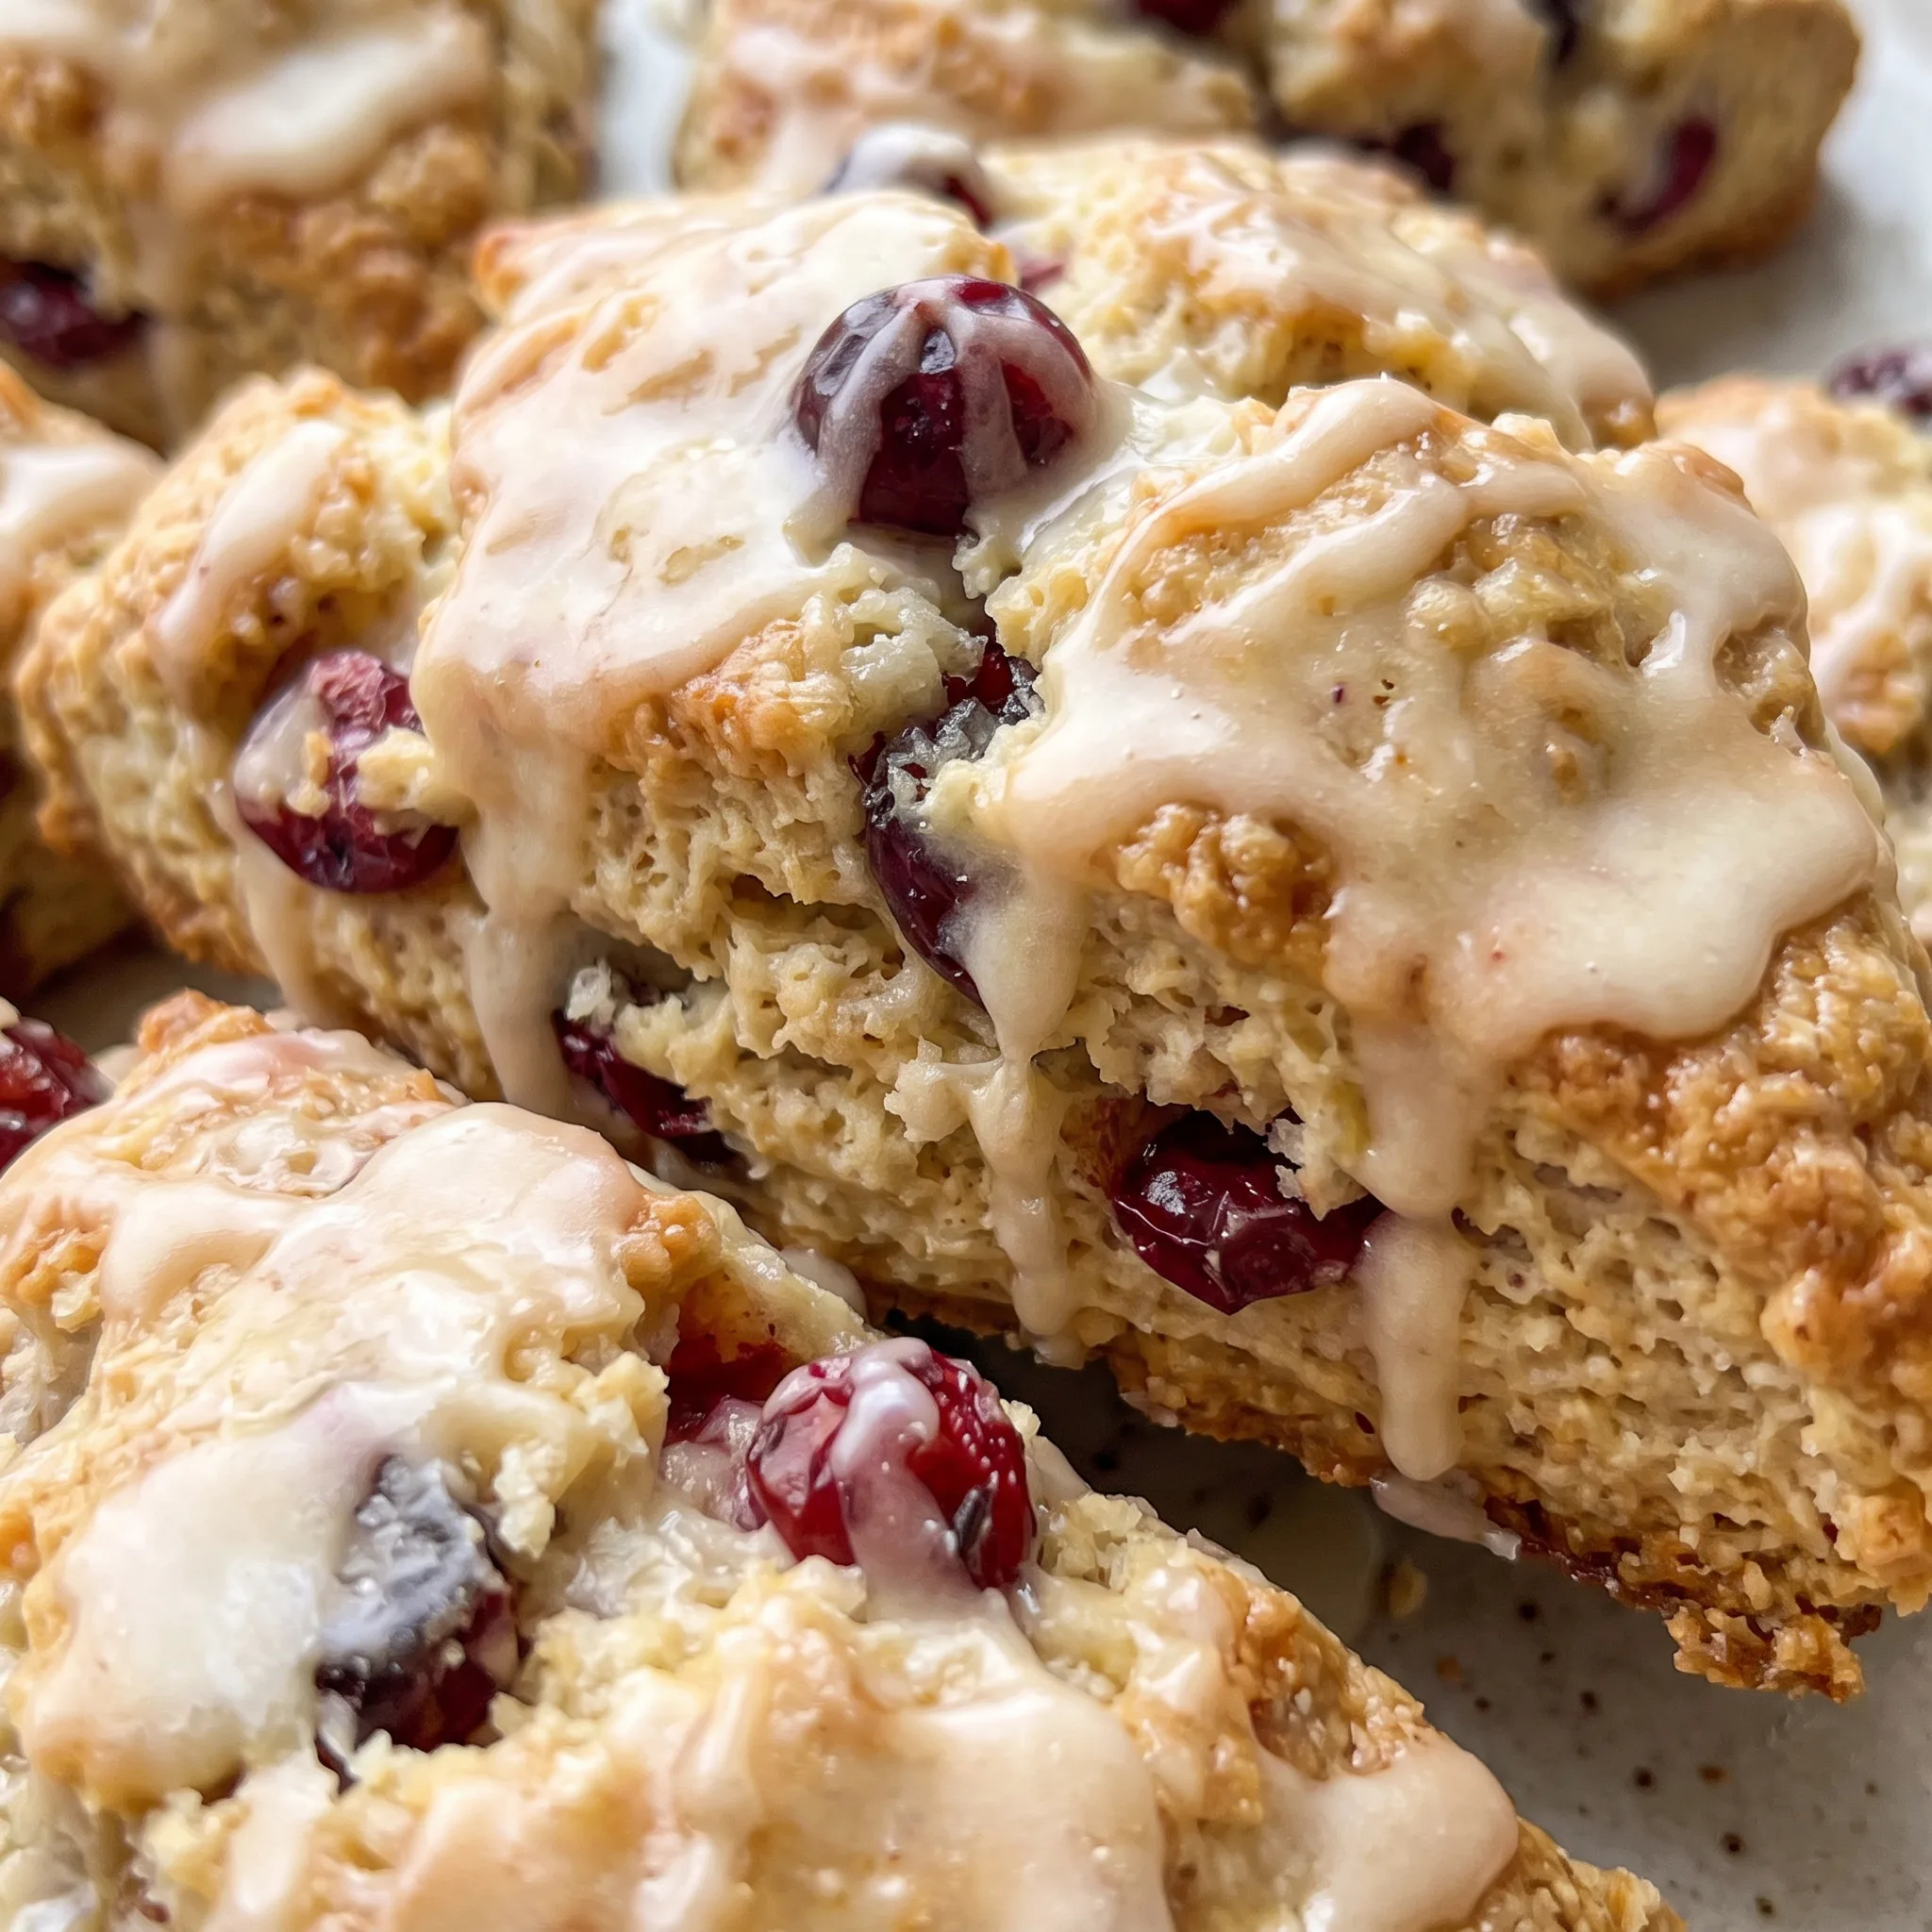
Four Ingredients That Decide How These Scones Turn Out
Cranberries: Dried fruit pulls moisture from the dough as it bakes, while frozen berries release water and can streak the crumb, so pick one form and stick with it.
Orange zest: Zest only the outer colored layer, since the white pith underneath is bitter and one tablespoon of it will carry through the whole batch.
Half and half: The full three-quarters cup is what gives the dough enough fat to stay tender, so measure it rather than eyeballing the carton.
Brown sugar: It carries more moisture than white, which is part of why these scones stay soft, so pack it into the measuring cup.
Air frying relies on rapid, circulating hot air to set the exterior and drive off moisture. When scones are crowded, the released steam cannot escape, so the surface stays pale and the interior steams rather than bakes. Spacing the wedges in a single layer allows the hot air to reach all sides, producing the desired golden crust and even rise.
Judging the Dough, the Cut, and the Pull
The dough that’s shaggy but not dry
After mixing, the dough should look ragged, with dry patches and visible butter pieces. If it’s smooth and elastic, you’ve overworked it, and the scones will be tough. If it’s too dry and won’t hold together, add half and half a teaspoon at a time.
The sweet spot is when it clumps but doesn’t form a ball. That’s when you stop and shape it.
Cutting clean wedges, not sawing
When you cut the circle into wedges, press straight down with a sharp knife or bench scraper. Sawing back and forth seals the edges and prevents the scones from rising.
You want clean cuts that separate easily. If the dough sticks, dip the knife in flour.
The wedges should hold their shape as you lift them.
The color and firmness that signal done
At 365°F, start checking at 10 minutes. The tops should be golden brown and the centers set.
If they’re pale, give them another minute; if dark, pull them out. Press the top gently: it should feel firm and spring back.
A hollow sound when tapped means they’re done. Underdone scones will be gummy inside; overdone ones dry.
Cooling before glazing
Let the scones cool completely on a wire rack before glazing. If you glaze while warm, the glaze melts and runs off.
The scones also continue to set as they cool. Wait until they’re room temperature. The glaze should be thick enough to cling but still spreadable.
A thin glaze will drip; a thick one won’t coat evenly.
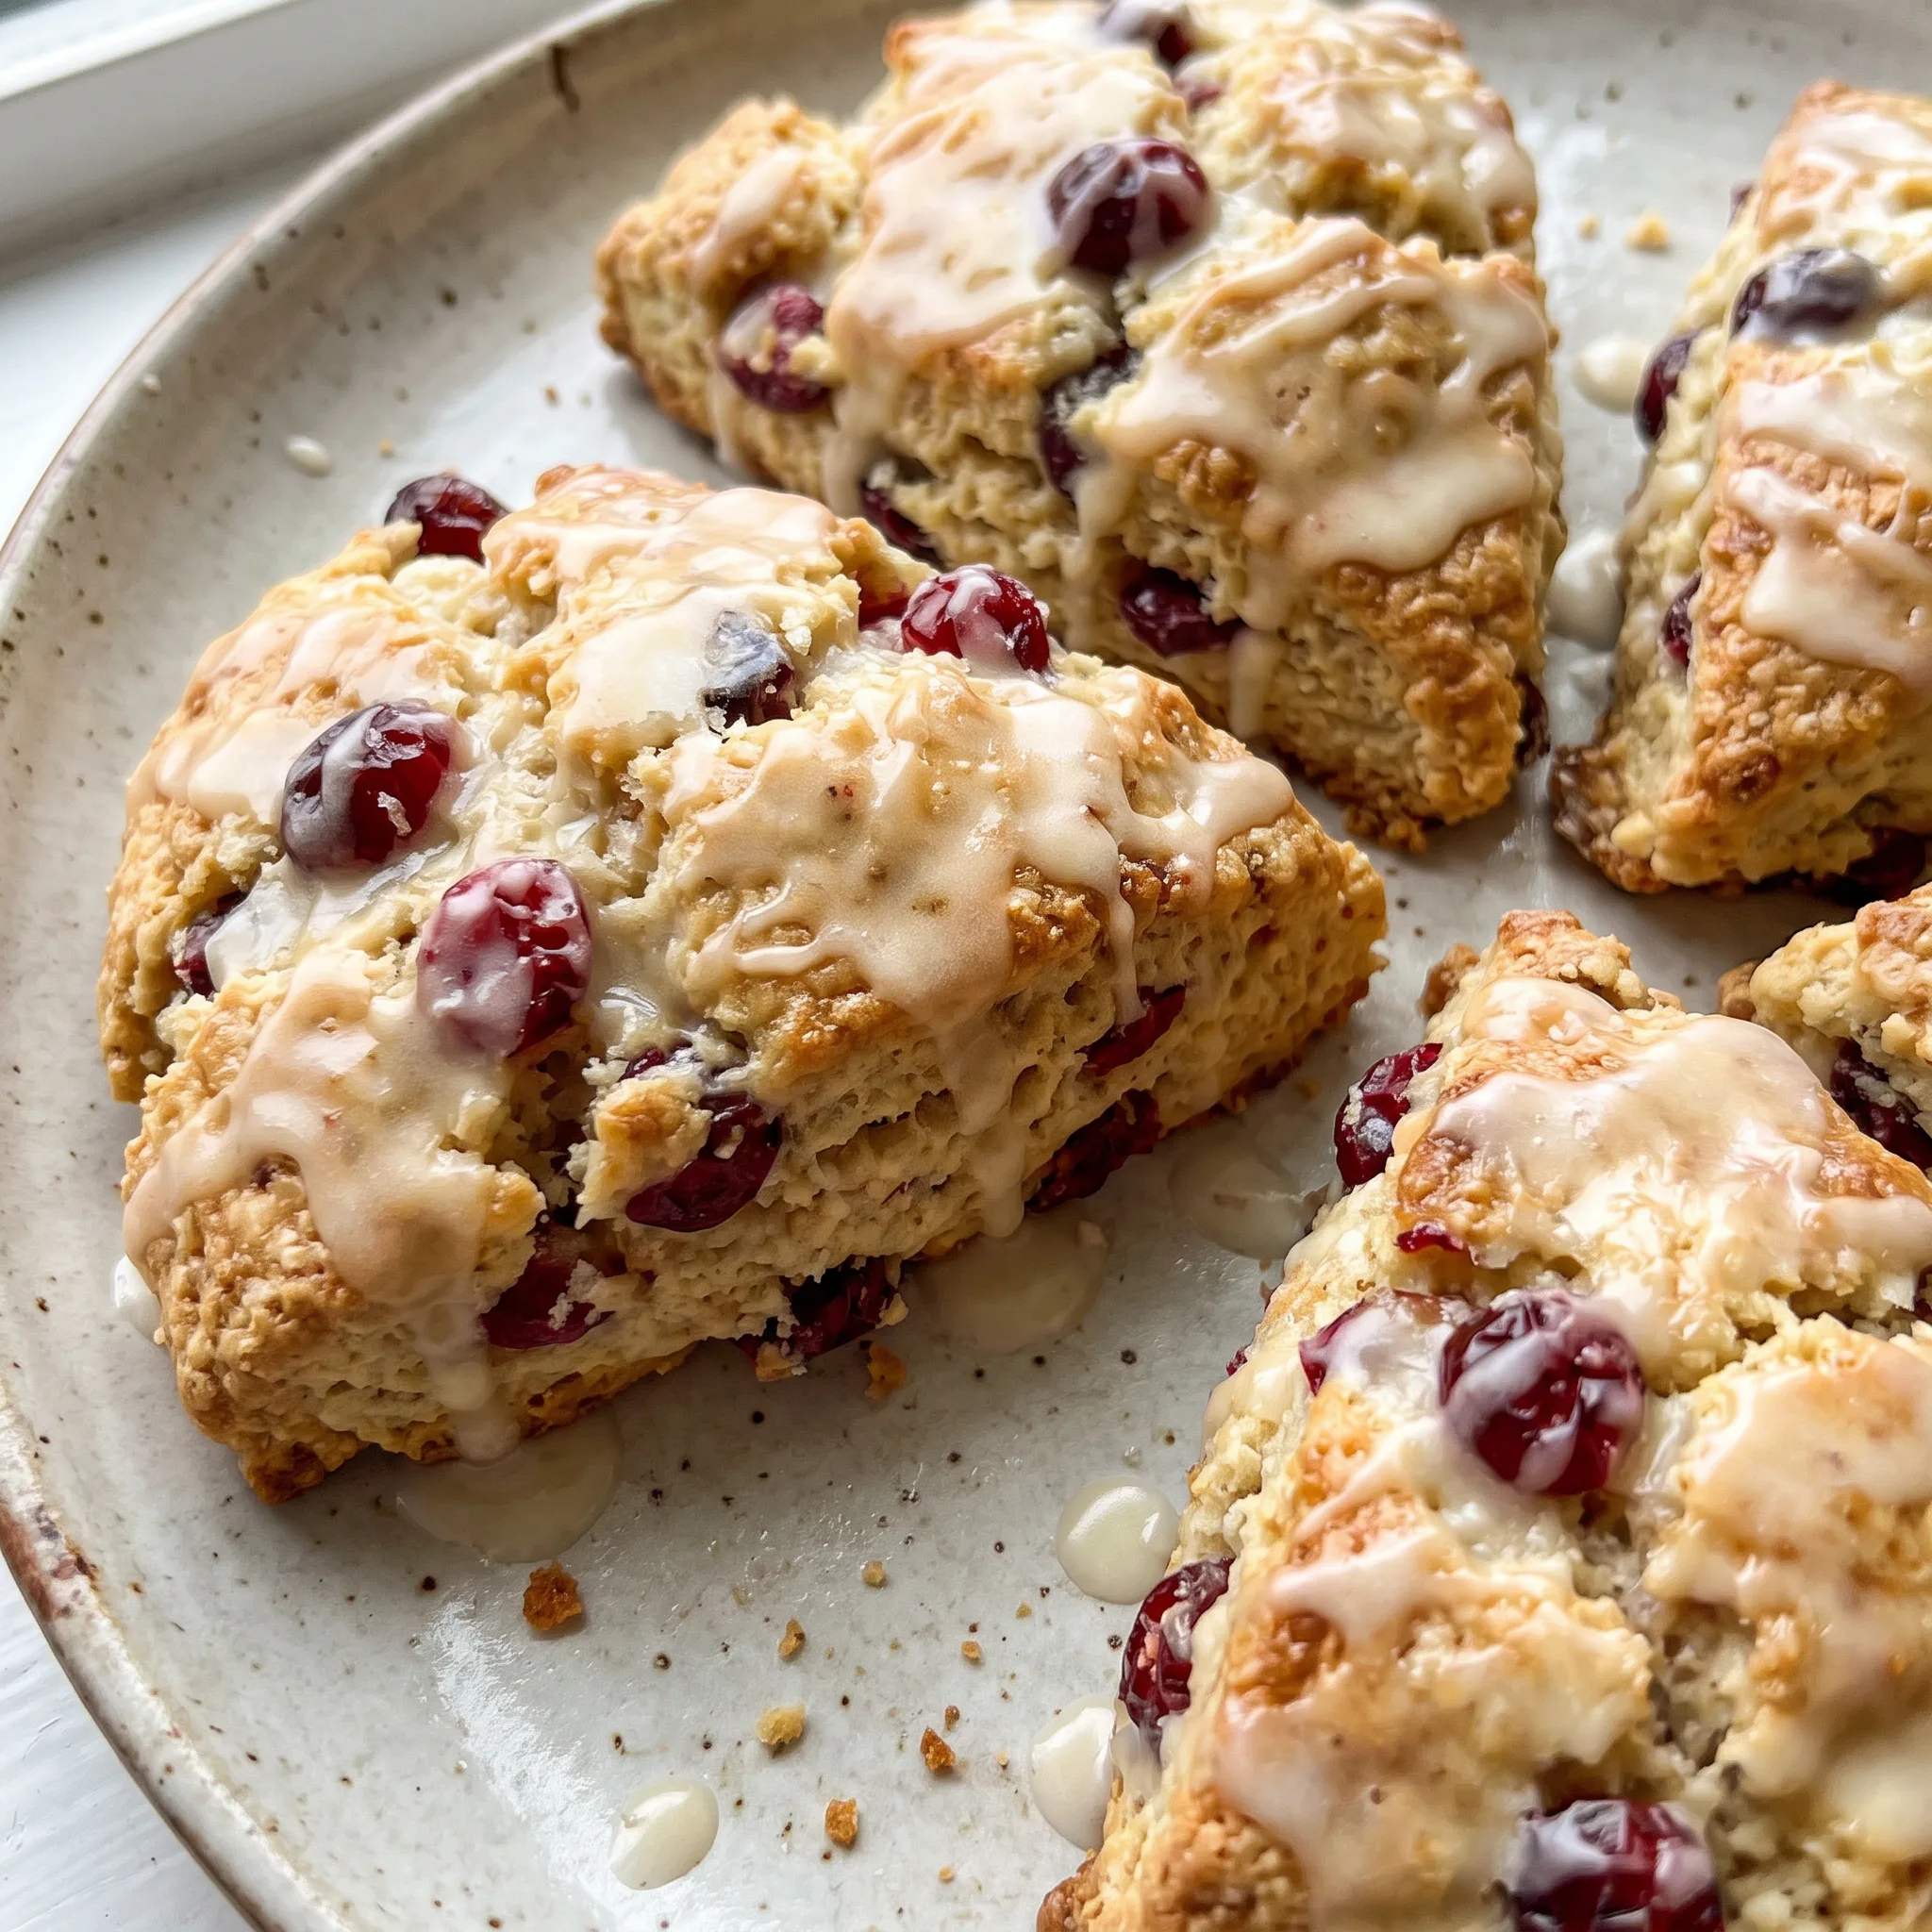
Air Fryer Cranberry Orange Scones
Ingredients
Method
- Whisk the flour, brown sugar, baking powder, nutmeg, and salt together in a large mixing bowl until thoroughly combined.
- Cut in the cold butter, then add the half and half and egg. Mix just until a shaggy dough begins to form.
- Fold in the cranberries, granulated sugar, and orange zest gently, stirring lightly so the dough remains tender.
- Transfer the dough onto a lightly floured surface and knead just until it holds together.
- Pat into a circle about 6 inches across and 1 inch thick, then cut into 8 wedges.
- Arrange the wedges in the air fryer basket in a single layer, spacing them apart.
- Set the air fryer to 365°F (185°C) and cook for 10 to 12 minutes, checking around the halfway point — exact time depends on your air fryer. They’re done when golden on top and set in the center.
- Cool on a wire rack. Glaze once fully cooled, if desired.
What Swaps Work Here and What Breaks the Batch
Cranberries: Dried cranberries work if you plump them first. Pour boiling water over them, let sit 10 minutes, then drain and pat dry. Frozen cranberries go in straight from the freezer.
Fresh are easiest. Dried fruit straight from the bag pulls moisture from the dough and stays leathery after 12 minutes in the air fryer.
Plumping fixes that. Frozen berries release water as they heat, which can streak the crumb and leave small wet patches, but they taste brighter than dried. A mix of fresh and dried gives you tart pockets and chewy bits in the same scone.
Half and half: Whole milk plus 1 tablespoon melted butter for the full 3/4 cup. Skip skim milk entirely. Whole milk with the added butter brings back most of the fat that half and half provides, so the crumb stays tender.
Skim milk has almost no fat, and the dough turns out dry and tight, more like a biscuit than a scone. If you only have skim, use it but expect a leaner texture and add an extra teaspoon of butter.
All-purpose flour: A 1-to-1 gluten-free flour blend can replace the all-purpose cup for cup. Don’t swap in almond flour or coconut flour alone.
A good blend mimics regular flour closely enough that the dough handles the same way. Almond flour has no gluten and too much fat, so the scones spread flat and crumble. Coconut flour drinks liquid, and you’d need to add more half and half and eggs, which throws off the whole balance.
If you go gluten-free, check the scones at 10 minutes; they brown faster.
Butter: For dairy-free, use a plant butter stick that’s sold in blocks, not the soft spread in a tub. Keep it cold and dice it the same way.
Block plant butter has a fat content close to dairy butter, so it creates the same cold pockets that steam and flake. Tub spread has more water and oil, and it blends into the flour instead of staying in pieces, which gives you a dense, greasy scone. Taste the dough before baking; some plant butters are salty, so you might cut the 1/4 teaspoon salt to a pinch.
Crisp Now, Tender Later: Storage and Serving
Eat these within a few hours of air frying. That’s when the crust is at its crispest, and the contrast between the shattering outside and the tender crumb inside is the whole reason you made them. After that, the crust pulls moisture from the interior and softens.
They’re still good the next day, just tender all through. Keep leftovers in a paper bag or a loosely covered container at room temperature; sealed plastic traps steam and speeds the softening. To serve a stored scone, skip the microwave, which makes it rubbery.
Put it back in the air fryer at 350°F for 2 to 3 minutes, until the outside crisps again and the center warms. Glaze only fully cooled scones, and only the ones you’ll eat that day; glaze on stored scones turns sticky and soaks in. The dough freezes well before baking: cut the wedges, freeze them solid on a sheet, then bag them.
Bake from frozen, adding 2 to 3 minutes.
Tips
- Zest the orange directly over the bowl of granulated sugar and rub the two together with your fingertips before adding them in step 3. The sugar’s rough edges rupture the zest’s oil sacs, so the orange flavor spreads through all 8 wedges instead of staying in a few pockets, and the sugar turns pale orange, which shows you how much oil you actually released.
- Smell the zest before you commit it to the dough. Zest from an orange that has sat in the drawer for a week smells flat and faintly waxy, and against 1 cup of tart cranberries and 1/4 cup of brown sugar it will not register at all. A fresh orange gives off a sharp, oily scent the moment the grater breaks the skin; if yours doesn’t, add a second orange’s worth of zest to reach the 1 tablespoon the recipe calls for.

Frequently Asked Questions
Can I make the dough ahead of time and air fry later?
The dough itself is best shaped and air fried right away. Cold butter is doing the heavy lifting in this recipe, and as the dough sits, that butter softens and the flour drinks up the liquid, so a batch held in the fridge for hours bakes up tighter and less flaky.
If you want to work ahead, shape the wedges and freeze them solid on a sheet, then bag them, which is the method that actually protects the texture. Air fry straight from frozen, adding a couple of minutes. What you don’t want is a bowl of soft dough waiting on the counter.
Why did my scones turn out dry and crumbly?
Nine times out of ten the dough got too much flour, either from the measuring cup or from a heavy hand with the dusting on the counter. Spoon the flour into the cup and level it, and use only enough on the board to keep the dough from sticking. A second check is the half and half: the full three-quarters cup is what keeps the crumb tender, so if you poured short or swapped in something leaner, that’s your culprit.
Frozen cranberries can also pull moisture and leave dry pockets around the fruit. The dough should feel soft and just barely tacky when you pat it out, not stiff.
How do I know when the scones are fully cooked in the air fryer?
Color tells you most of it: golden brown across the top, with the sides firm and set rather than pale and soft. Press the center of one gently and it should feel firm and spring back instead of giving under your finger. Tap the top and you want a hollow sound.
If the tops are browning fast while the middle still feels soft, tent them loosely with foil and give them another minute. An underdone scone reads gummy in the middle when you break it open, and that’s the sign to add time next batch.
Can I use frozen cranberries without thawing them?
Yes, straight from the freezer, no thawing. Thawed berries bleed juice into the dough and leave wet streaks, while frozen ones hold their shape until they hit the heat. They do release water as they cook, so you may see small damp patches around the fruit and a slightly less even crumb, but the flavor comes through brighter and more tart than dried.
Toss them in frozen and fold gently, since they’re hard and can tear the dough if you stir hard. Expect a touch more tartness than fresh.
What’s the difference between air fryer scones and traditional oven-baked scones?
The air fryer moves hot air fast and close, so the tops and sides brown hard and quick, giving you a crisper shell than a full-size oven usually manages. That same concentrated heat is why you check them partway through and why exact timing swings from one machine to the next. Oven scones bake slower and more evenly, with a softer crust and a slightly more uniform rise.
Both end up tender inside if the dough was handled lightly. The trade here is speed and crust against the oven’s gentler, more predictable heat.
