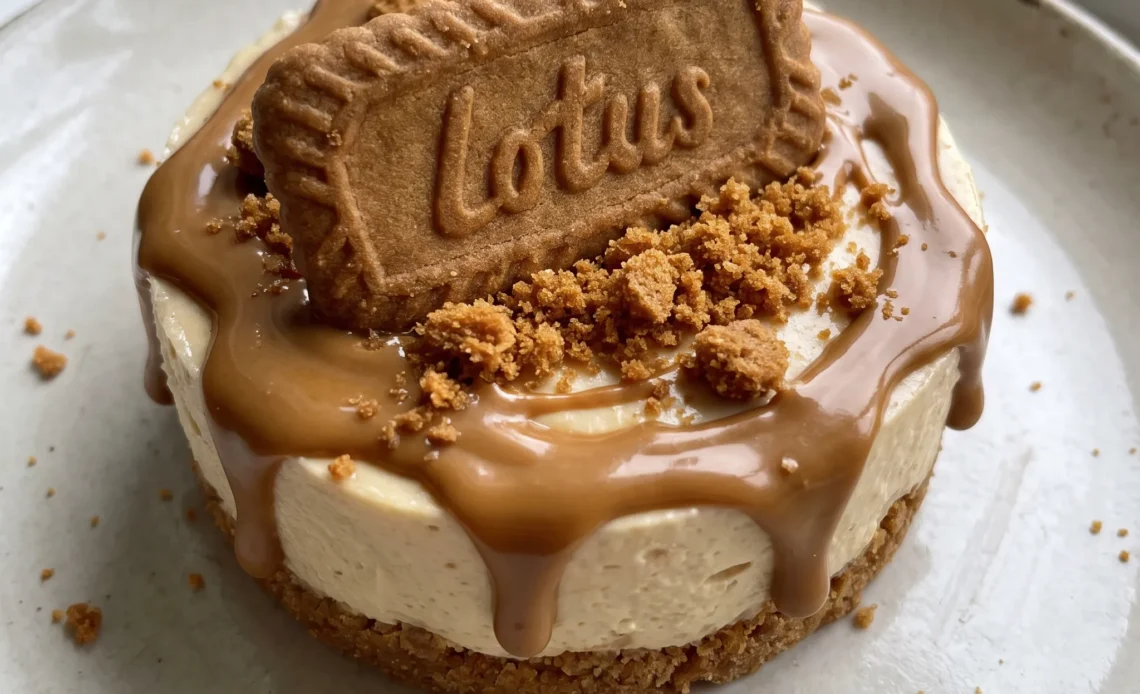
Chilling is the secret handshake here, and it’s a long one. You’ll make the filling, spoon it over a pressed cookie crust, and then wait, because the fridge does the structural work that an oven would normally do. The payoff is a set, sliceable texture that feels like a mousse, but the real draw is the contrast: a sturdy, spiced base, a cloud of cream cheese and air, and that glossy cookie butter ribbon on top.
These mini biscoff cheesecakes are a study in patience, but the margin for error is forgiving if you respect the chill time. The hardest part is not sneaking a spoonful of the filling before it firms up.
The crust relies on the butter to bind the cookie crumbs into a cohesive layer. If the mixture is packed too loosely or the crust is not frozen long enough, it won’t have the structural integrity to support the filling, leading to crumbling. Also, moisture from the filling can seep into the crust if it’s not properly set, causing it to stick to the paper liners.
The Base That Holds
A cheesecake without a baked crust needs something else to give it structure. Here, the crust is the foundation, and it gets a head start in the freezer. Pressed into muffin cups and chilled for 10 minutes, the butter and cookie crumbs firm up into a compact layer.
The ratio of crushed Biscoff to melted butter is what makes it stick together without turning sandy. You want a base that doesn’t crumble apart when you bite into it, and this one delivers. It’s sturdy enough to support the creamy filling above it, yet still has that familiar crunch.
When you take a spoonful, the crust holds its shape, giving you a clean cut and a satisfying contrast in textures.
Air Without Eggs
The filling gets its light, mousse-like texture entirely from whipped cream. Softened cream cheese is beaten until smooth, then mixed with powdered sugar, cookie butter, and vanilla.
That mixture is dense on its own. The magic happens when cold heavy cream is whipped to stiff peaks and folded in.
The whipped cream adds air and volume, making the filling fluffy rather than heavy. You can see the difference: the batter goes from thick and pasty to light and airy.
This is what gives the cheesecake its delicate mouthfeel, no gelatin or eggs required. The result is a filling that feels rich but not leaden, with a smooth, creamy bite that melts as you eat it.
Time to Set
Chilling is what changes this from a soft mixture into a sliceable cheesecake. The filling needs at least 4 hours in the refrigerator to firm up properly.
During that time, the cream cheese and whipped cream set, so when you cut into it, the texture is clean and holds its shape. Too little time and you’ll get a spoonable mess instead of a neat slice. Chilling overnight works just as well, and it’s a convenient option if you’re making these ahead.
Either way, the wait is worth it. After a few hours, the cheesecakes are set enough to release from the liners and hold up to the topping.
Finishing Touch
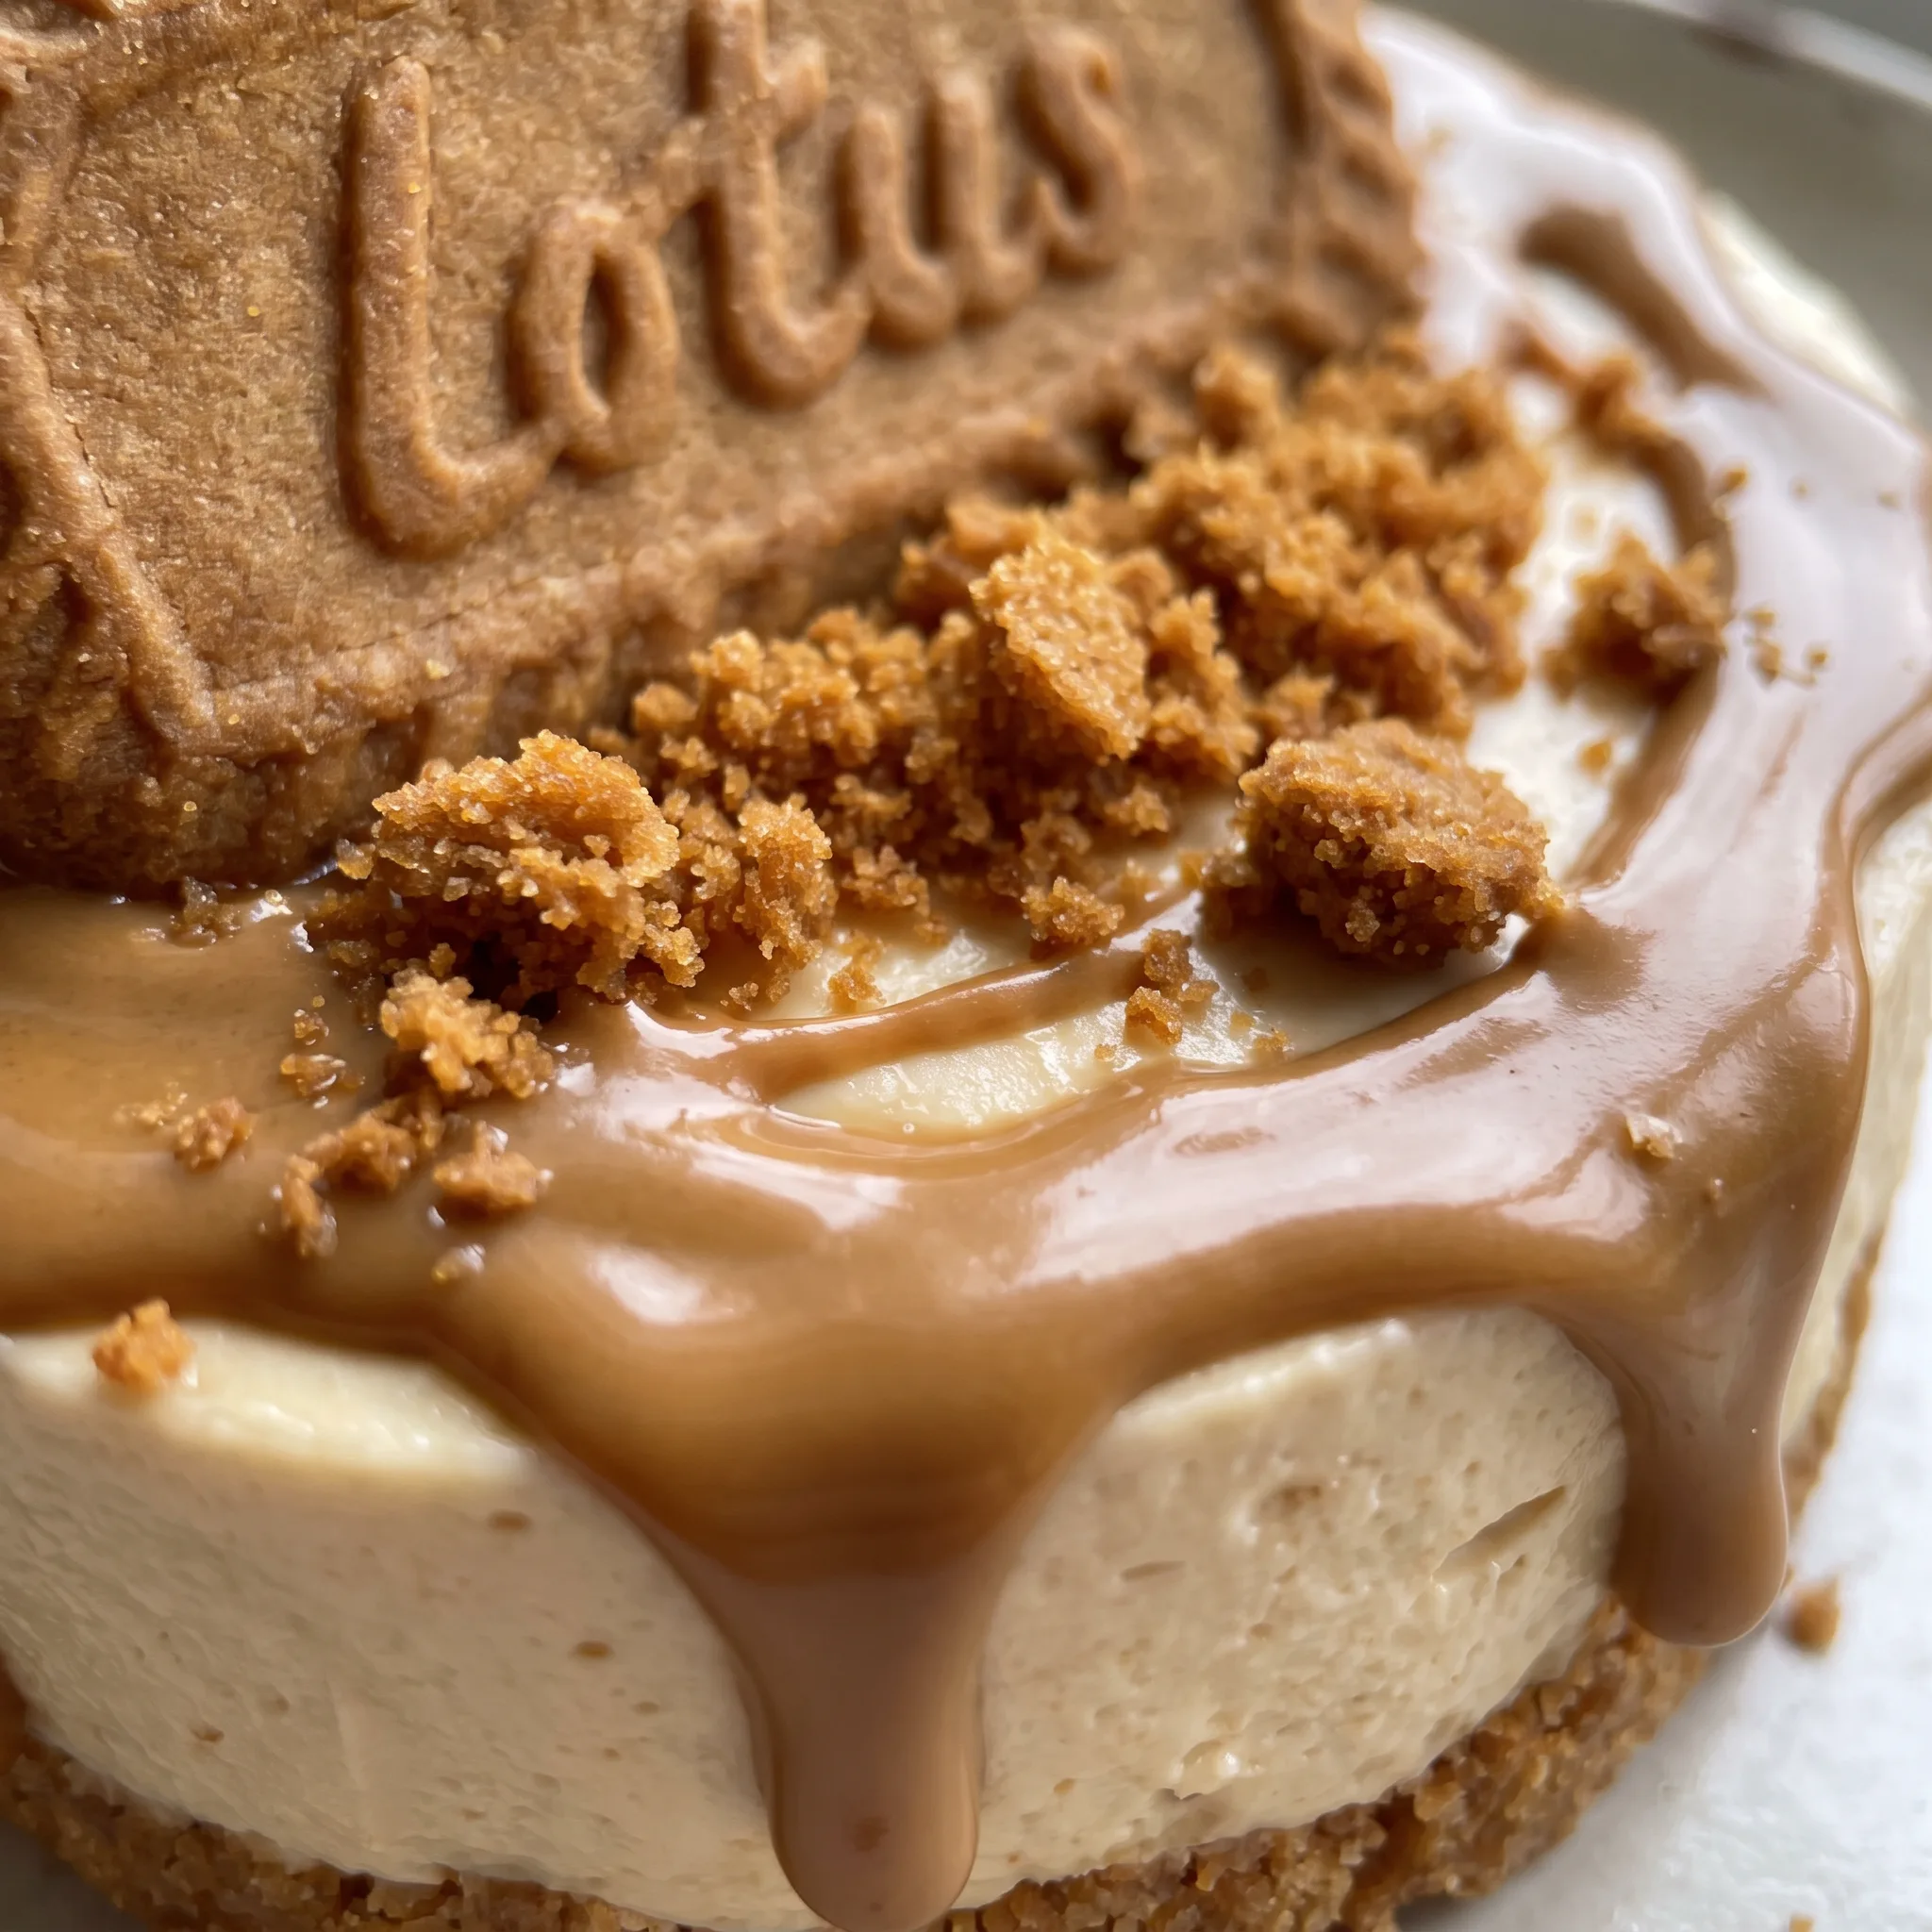
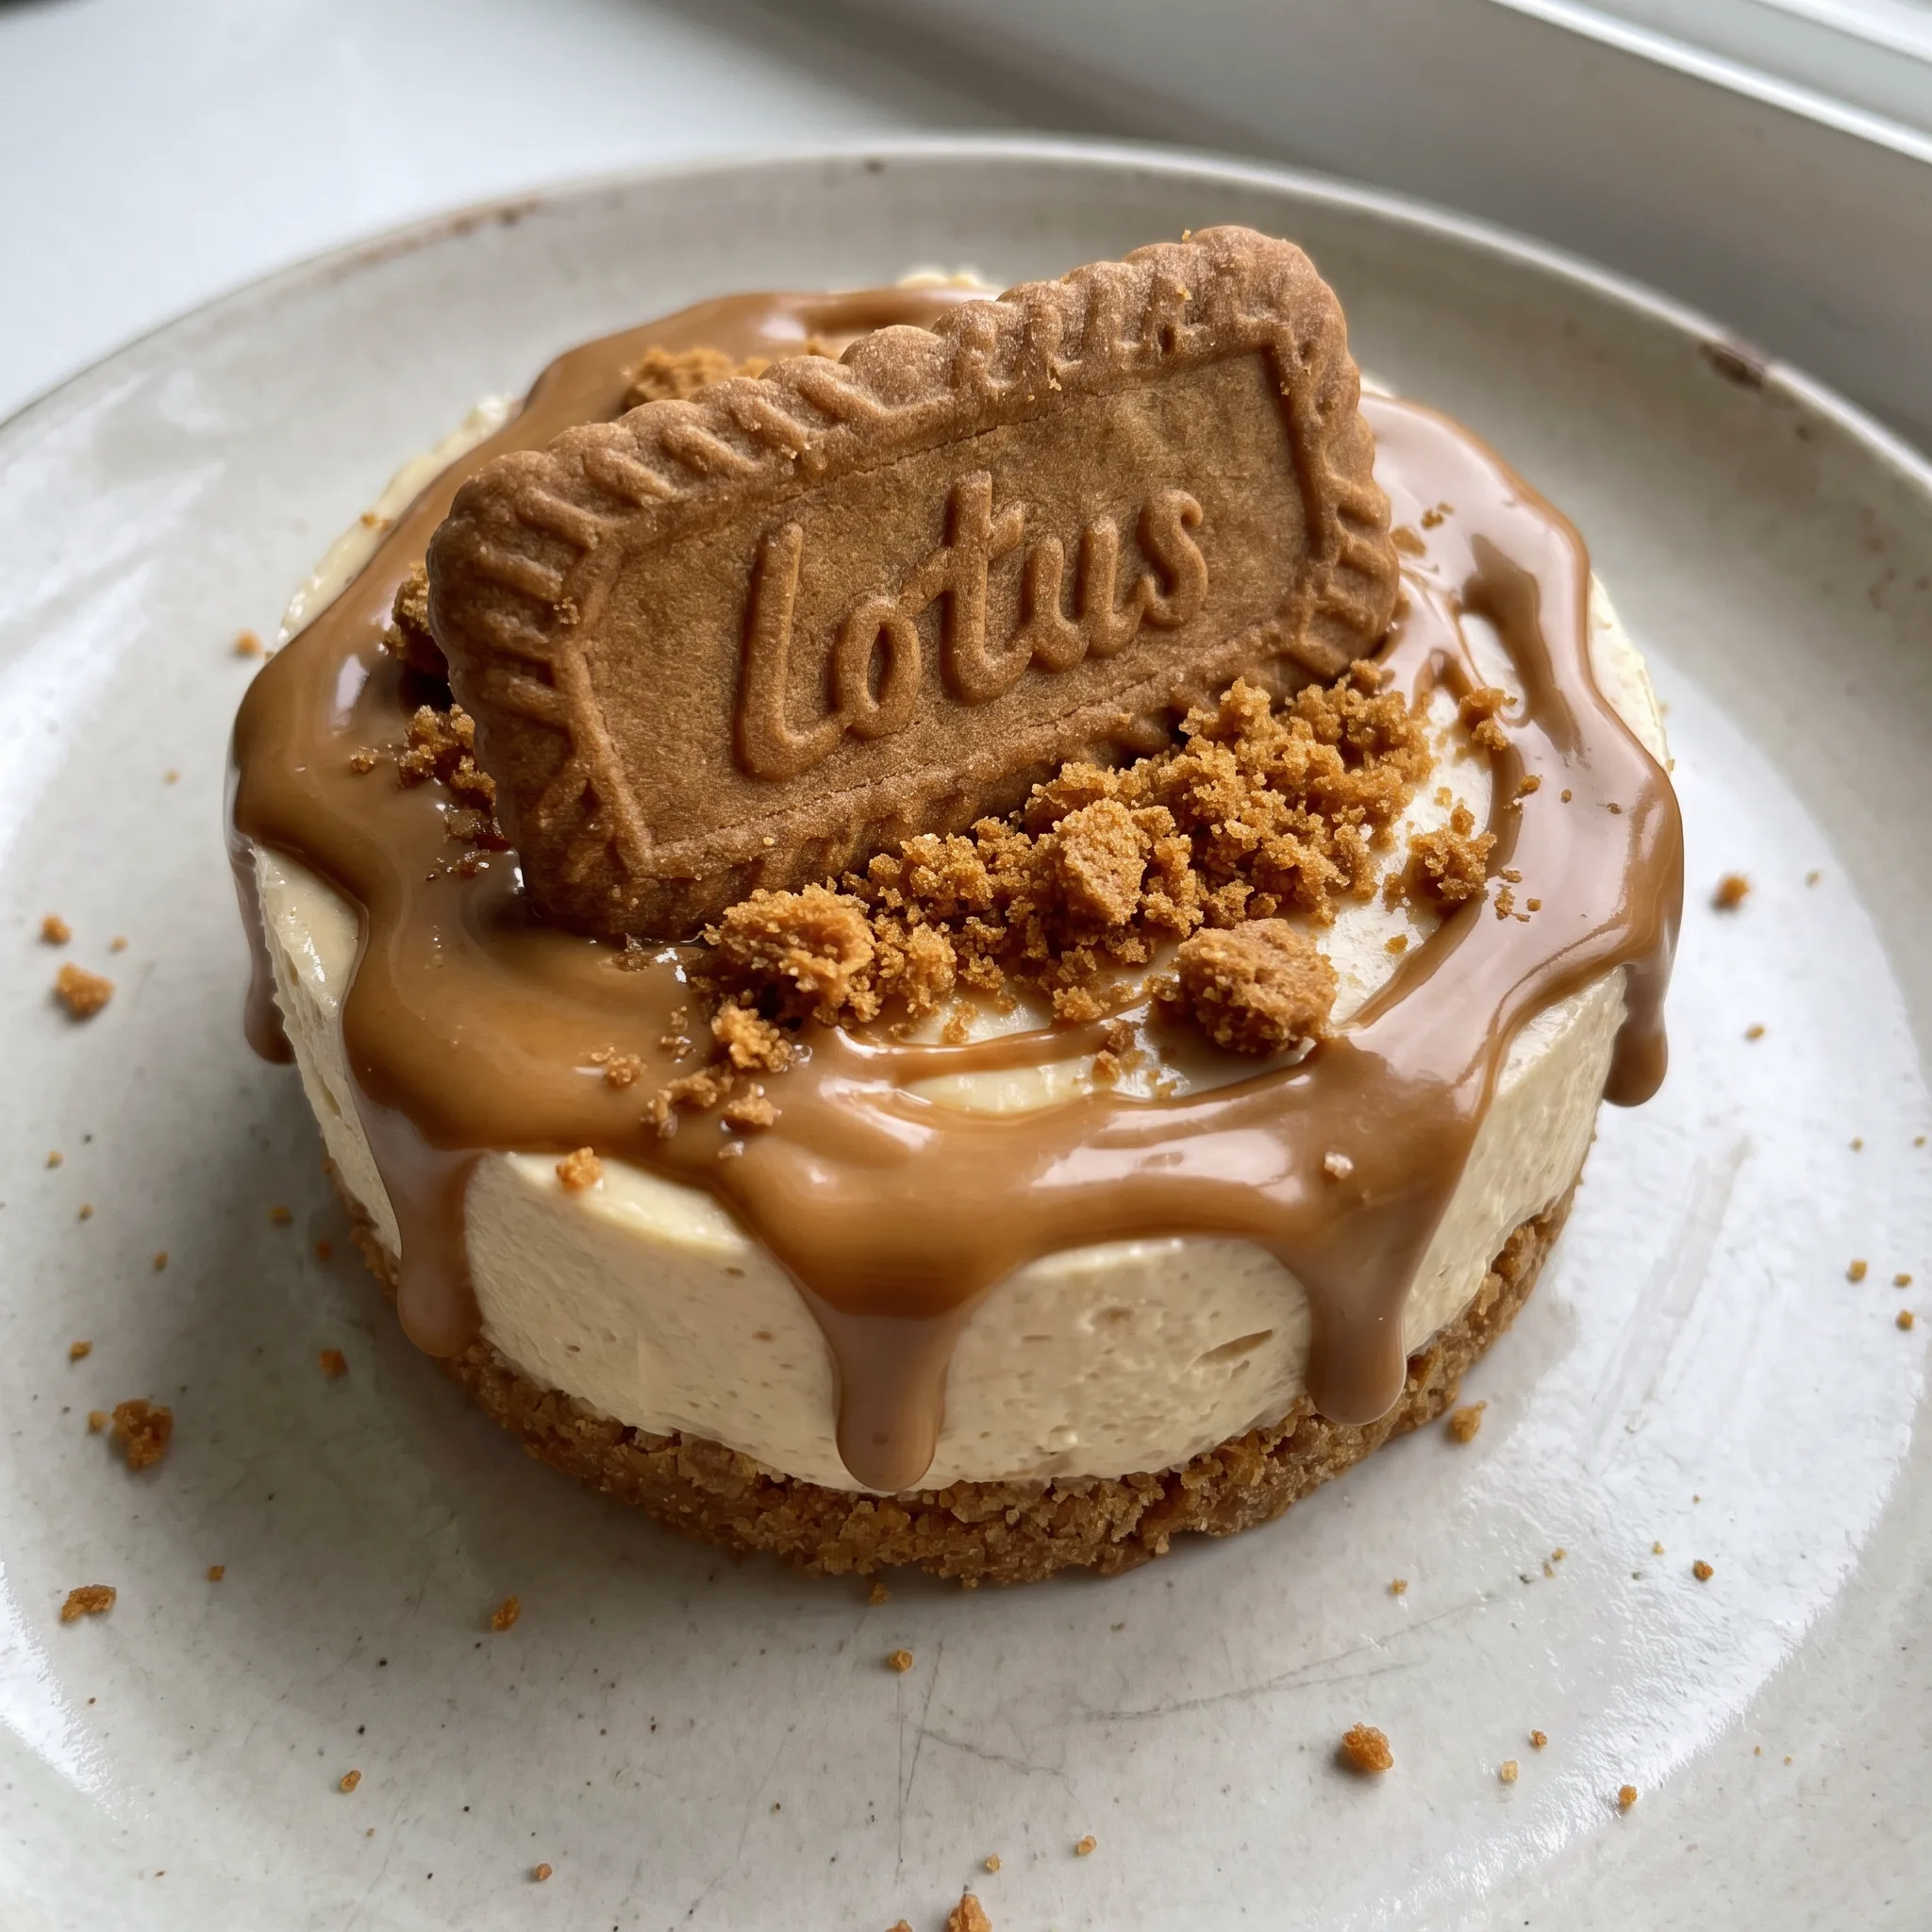
The melted cookie butter topping does double duty, adding flavor and visual appeal. You warm the spread until it’s glossy and fluid, then drizzle it over the chilled cheesecakes. It flows down one side in a thick ribbon, catching the light.
A whole Biscoff cookie stands upright in that soft topping, giving each mini cheesecake a distinct look. The crushed crumbs scattered on top add a bit of crunch.
The topping sets in a few minutes, so it doesn’t run off when you serve. It’s the final note that ties the whole dessert together, echoing the cookie flavor in every bite.
Ingredients That Matter Here
Biscoff crumbs: Use the cookie crumbs, not the spread, for the crust. They need to be finely crushed.
Cream cheese: It must be softened to room temperature so it beats smooth without lumps.
Heavy cream: Keep it cold, straight from the fridge, to whip up to stiff peaks.
Biscoff cookie butter: Use the smooth spread for the filling and the melted topping; it should be fluid when warm.
Reading the Dough by Feel
When the crust is ready to press
You’re aiming for damp sand that clumps when squeezed. If it’s dusty and won’t hold a shape, add a touch more melted butter.
If it’s greasy or pools butter, too much. Press it firmly into the cups; a loose crust will crumble when you bite.
The cream cheese is smooth enough
Beat until no lumps remain, about 2 minutes. Scrape the bowl and beat again if needed. Lumps won’t disappear later, leaving streaks in the filling.
The mixture should be glossy and uniform before you add the whipped cream.
Whipped cream holds its peak
Whip cold cream until stiff peaks stand when you lift the beater. Under-whipped cream won’t give the filling its lift, and over-whipped cream can turn grainy.
Stop the moment peaks are firm but still smooth. Fold gently; deflating the cream makes the filling dense.
The filling is light enough
After folding, the mixture should be airy and mousse-like, not stiff or pasty. It should drop from a spoon in soft blobs. If it’s too thick, you’ve likely over-folded or the cream was under-whipped.
Spoon it over the crusts and smooth the tops; it will level as it chills.
The topping is pourable but not too runny
Heat the cookie butter in 15-second bursts until it’s glossy and fluid, just enough to drizzle. If it’s too thick, it won’t flow down the sides; if it’s too hot, it may melt the cheesecake. It should pour in a smooth ribbon and set within minutes.
No Bake Mini Biscoff Cheesecakes
Ingredients
Method
- Prepare a 12-cup muffin tin by lining each cup with a paper liner. In a separate bowl, combine 1 1/2 cups of crushed Biscoff cookies with 4 tbsp of melted butter, mixing until the texture becomes like damp sand.
- Evenly distribute the crumb mixture among the prepared muffin cups. Firmly press down each portion to form a compact, crumbly base. Place the tin in the freezer for 10 minutes to set.
- In a large mixing bowl, beat 16 oz of cream cheese that has been softened to room temperature for 2 minutes until it is smooth. Incorporate 1/2 cup of powdered sugar, 1/4 cup of Biscoff spread, and 1 tsp of vanilla extract, beating until the mixture is uniform and has a pale beige color.
- In a chilled bowl, whip 1/2 cup of cold heavy cream until stiff peaks form. Using a spatula, gently fold the whipped cream into the cream cheese mixture with broad, sweeping strokes.
- Spoon the smooth filling over the chilled crusts, leveling the tops. Refrigerate for a minimum of 4 hours, or let it chill overnight.
- Take the chilled cheesecakes out of the tin and remove the paper liners. Microwave 1/2 cup of Biscoff spread at 50% power in 15-second bursts until it becomes glossy and fluid. Drizzle the melted spread over the tops, letting it run down one side.
- Immediately place a whole rectangular Lotus Biscoff cookie upright into the soft topping. Scatter the remaining 2 tbsp of crushed cookie crumbs around the top. Allow everything to set for 5 minutes prior to serving.
Storing and Serving
These mini cheesecakes keep in the fridge for up to 5 days, but the texture shifts. The filling stays creamy and smooth, but the cookie butter topping will slowly soften and lose its glossy finish.
The crust keeps its crunch best for the first 2 days, then it will start to absorb moisture from the filling. For the cleanest texture, eat them within 48 hours. Store them in an airtight container, layered with parchment between any stacked layers.
Let them sit at room temperature for 5 minutes before serving, but don’t leave them out longer than 20, or the filling will get too soft. The melted topping and crushed cookies are best added just before serving, not when you first chill them.
If you’re making ahead, assemble the cheesecakes without the topping, cover, and refrigerate up to 3 days. Add the topping no more than an hour before you plan to serve. Freezing isn’t ideal for the whole cheesecake because the cream-based filling can separate and turn watery when thawed.
You can freeze the crusts alone, but skip the filling and topping.
Tips
- Use a 2-tablespoon cookie scoop to portion the filling into the cups. It keeps each cheesecake the same size, so they chill evenly and the topping covers each one consistently. A scoop also avoids overfilling, which can make the filling spill over the crust when you smooth it.
- Before adding the topping, blot any condensation on the chilled cheesecakes with a paper towel. The cold surface can cause moisture to form, and if the melted cookie butter hits water, it can seize or slide off. A dry top lets the topping flow in a clean ribbon and set firmly.
Swapping the Cookie Without Losing the Crunch
Biscoff cookie crumbs (crust): Graham cracker crumbs or chocolate wafer crumbs, same amount by weight (150g). Graham gives a milder, honeyed note and a slightly softer crumb. Chocolate wafers darken the flavor and add a cocoa edge.
Either will bind with the butter the same way, so the crust still presses firm. The crunch changes a little, but the structure holds.
Biscoff cookie butter (filling and topping): Another smooth spread like speculoos, cookie butter, or a nut butter (peanut or almond). Nut butters bring their own flavor and can be thicker. Warm the topping longer if it doesn’t flow.
The filling will taste different, but the texture still sets. Just avoid chunky versions; they’ll leave bits in the smooth filling.
Cream cheese: Do not substitute with low-fat or non-dairy versions. The filling needs the full-fat cream cheese to set properly. Reduced-fat versions hold more water, so the cheesecake may stay soft and not slice cleanly.
Non-dairy cream cheese often has a different structure and may not firm up the same way. Stick with the real thing.
Heavy whipping cream: Do not substitute with half-and-half or milk. Half-and-half won’t whip to stiff peaks.
The filling relies on that whipped cream for its airy texture. Without enough fat, you’ll get a dense, heavy result instead of the light mousse-like bite.
Keep the cream cold and whip it just until stiff.
Frequently Asked Questions
Can I make these mini cheesecakes ahead of time?
Yes, you can. Assemble them without the topping and refrigerate for up to 3 days.
Add the melted cookie butter and cookie garnish no more than an hour before serving. The crust stays crunchiest within the first 2 days, so for the best texture, serve them within that window.
How do I know when the cheesecakes are fully set?
After at least 4 hours in the fridge, they should be firm to the touch and hold a clean edge when you peel back the liner. If they jiggle like jelly, they need more time. Overnight chilling gives the firmest result, so don’t rush it.
Can I use a different type of cookie for the crust?
Yes, you can swap in graham cracker crumbs or chocolate wafer crumbs in the same weight (150g). Graham gives a milder, honeyed note; chocolate wafers add a cocoa edge. Both bind with the butter the same way, so the crust holds its shape, though the crunch will differ slightly.
Why did my filling turn out lumpy?
The most likely culprit is cream cheese that wasn’t fully softened. If it’s cold, it won’t beat smooth, leaving lumps that stay in the batter. Let it sit at room temperature until it gives when pressed, then beat for a full 2 minutes.
If lumps persist, you might have added the powdered sugar too quickly, beat it in gradually on low speed to avoid clumps.
