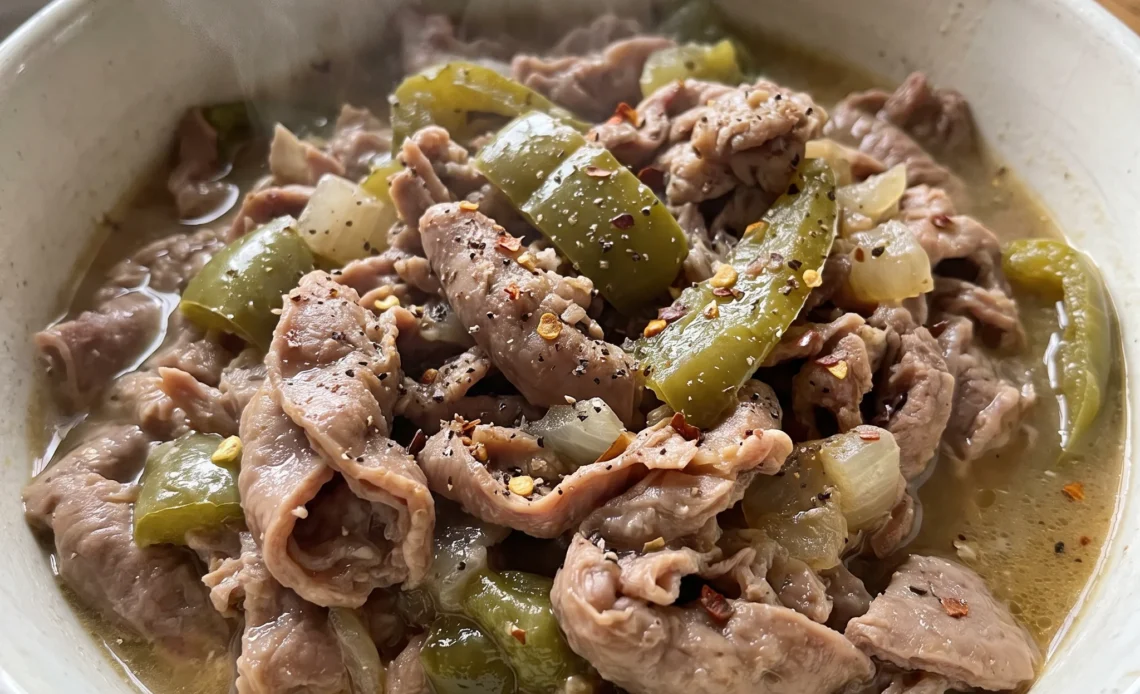
Most people who try chitterlings for the first time don’t fail at the cooking; they fail at the cleaning. And that’s understandable.
This isn’t a dish you can rush. Southern chitterlings demand a kind of patience that’s rare in modern cooking, but the payoff is a rich, savory main that turns simple ingredients into something deeply satisfying. The key is knowing that every piece needs individual attention before it ever sees the pot.
It’s tedious, sure, but it’s also the difference between a bowl that’s comforting and one that’s gritty. If you’re willing to put in the work, the simmer does the rest, changing those humble cuts into a tender, flavorful centerpiece that’s made for sharing. Just be prepared for a long, slow process that rewards care over speed.
The Wash Station
Before a single chitterling goes near the pot, the cleanup decides the outcome. Run two sinks or basins, both scoured and ready.
One holds the raw product, the other collects the cleaned pieces. Under running water, work each piece individually.
Look at every fold and crevice. Grit hides in plain sight, dark spots signal what you don’t want to eat. Pick them off, rinse again, move the piece over.
Then repeat the whole pass two or three times. It’s tedious, but this is where you earn a clean pot of chitterlings. Skip it and you’ll taste the difference.
The texture of the final dish depends on what you remove now, not what you add later.
The Long Simmer
Boiling does the heavy lifting here. A big pot with a couple gallons of water, onion, bell pepper, garlic, and the seasonings comes to a rolling boil first. Then the cleaned chitterlings drop in one by one.
The heat drops to medium, the lid goes on, and the pot settles into a gentle simmer. Three hours at that pace softens them gradually. You’ll see them turn white and take on a fluffy texture as the liquid reduces.
Seasoned salt and black pepper lay down the base, while optional red pepper flakes or vinegar give it a kick. The aromatics don’t just float around; they seep into the cooking liquid and coat every piece. That’s the flavor you’re after.
Taste and Adjust
Once the chitterlings are tender, the pot isn’t done. Sample a piece.
The seasoning might need a nudge. More seasoned salt? A crack of black pepper?
A splash of vinegar to brighten it? Trust your palate here.
This is the moment to fix anything before you lift the pot off the stove. Then serve it hot, with hot sauce on the side.
Some folks like a vinegary heat, others want a milder bowl. The sauce lets each eater find their own level.
You’re not looking for perfection, just a balance that works for you. And when it’s right, you’ll know from that first bite.
What to Look For When You Buy
Chitterlings: Buy them frozen and thaw in the fridge overnight; fresh ones spoil fast.
Seasoned salt: Lawry’s is the standard, but any brand works as long as it’s not too salty.
Apple cider vinegar: It’s optional, but a splash at the end brightens the pot without making it sour.
Crushed red pepper flakes: Add only if you want heat; start with 1 teaspoon, taste, then add more.
Chitterlings have a complex, folded surface that easily traps debris. If not thoroughly cleaned, these impurities remain during the long simmer, embedding into the soft texture and ruining the dish. The recipe’s meticulous multi-rinse process is the only way to ensure a clean final product, as cooking cannot remove grit once it is sealed in.
Reading the Clean
The point where clean is actually clean
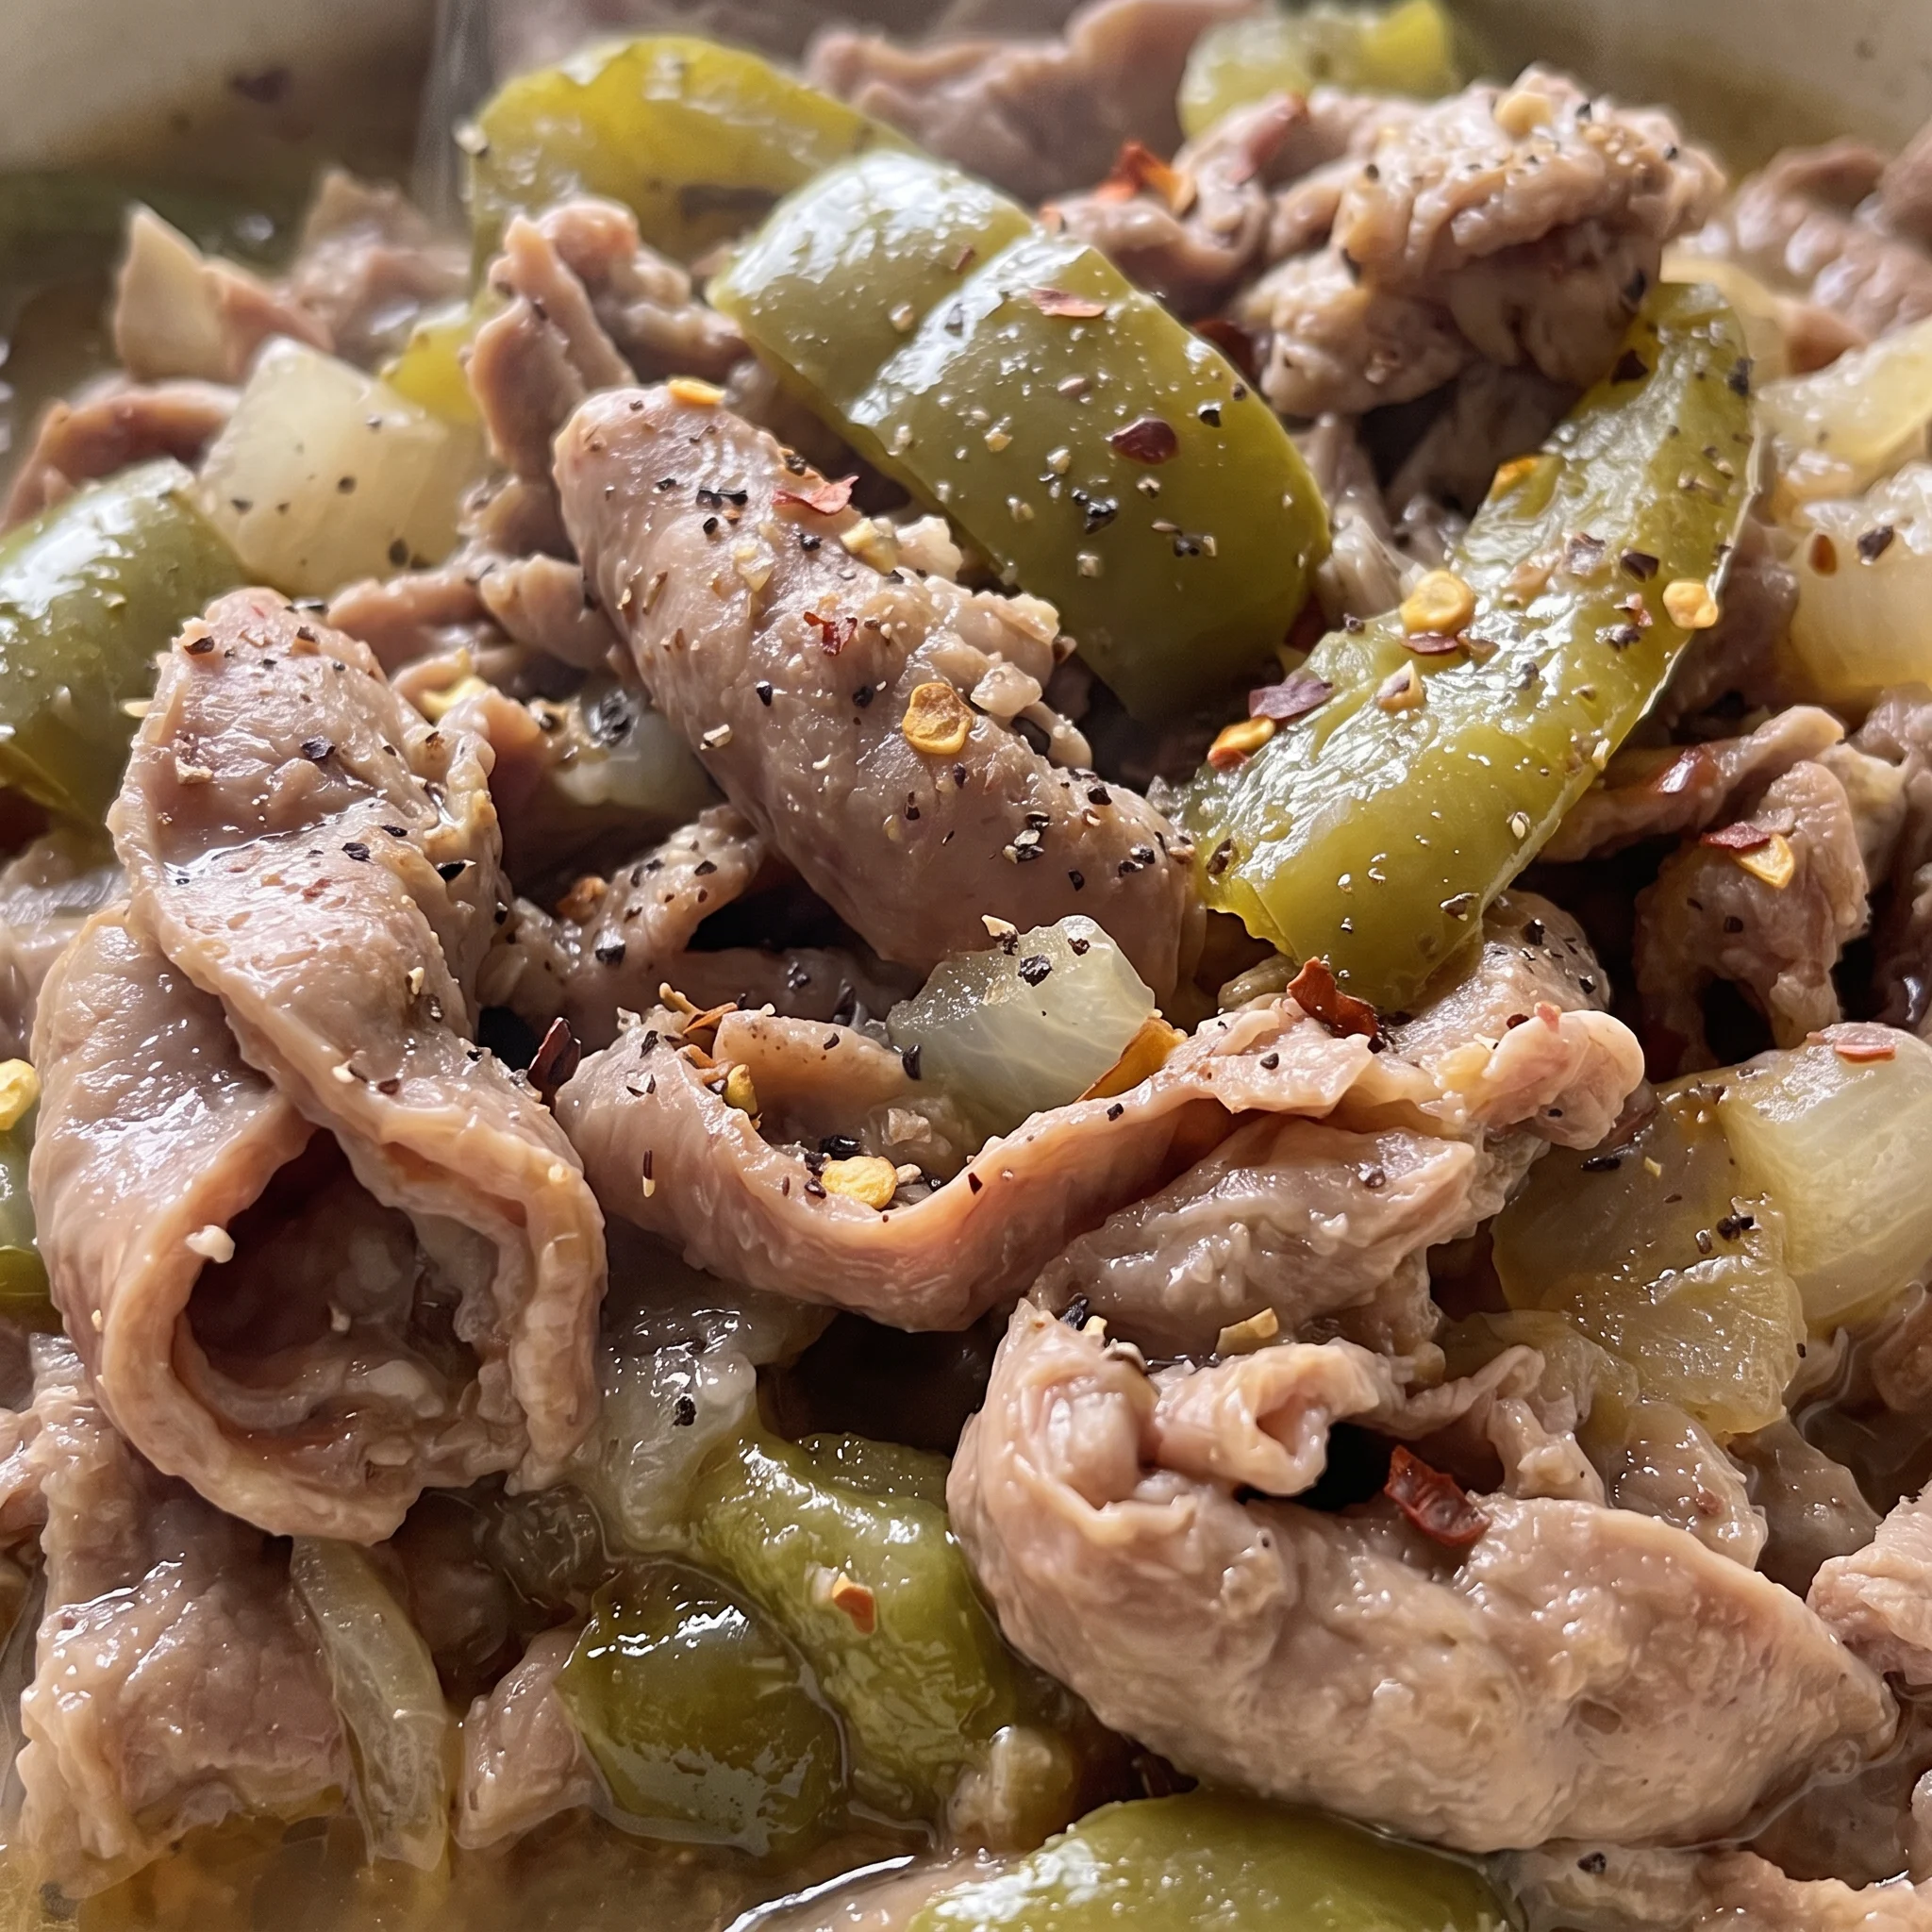
After a few rinses, you’re looking for pieces that feel smooth, not slick or tacky. No dark flecks clinging to the folds. If you see any, that piece goes back for another pass.
The water runs clear, not cloudy. That’s your cue you’ve done enough.
Miss it and the simmer won’t fix it; grit stays gritty no matter how long it cooks.
Judging tenderness through the lid
At around the 3-hour mark, pierce a piece with a fork. It should slide in with little resistance, and the meat looks white, almost fluffy, not gray or rubbery.
If it still fights back, give it another 20 minutes and check again. Overcooking turns them soft but mushy, so stop the moment they yield.
When the liquid has reduced enough
The pot should have a modest amount of seasoned liquid left, not swimming, not dry. Lift the lid and tilt the pot: you want a sauce that coats a spoon, not a watery broth.
If it’s too thin, simmer uncovered for a few minutes to concentrate. If it’s nearly gone, add a splash of hot water so nothing scorches.
Tasting for the right balance
Sample a piece with some of the cooking liquid. The seasoning should come through clearly, salty, peppery, with a hint of onion and garlic.
If it tastes flat, add seasoned salt in small pinches, stirring and tasting between. Vinegar can brighten it if it feels heavy.
Don’t over-correct; you can always add more later.
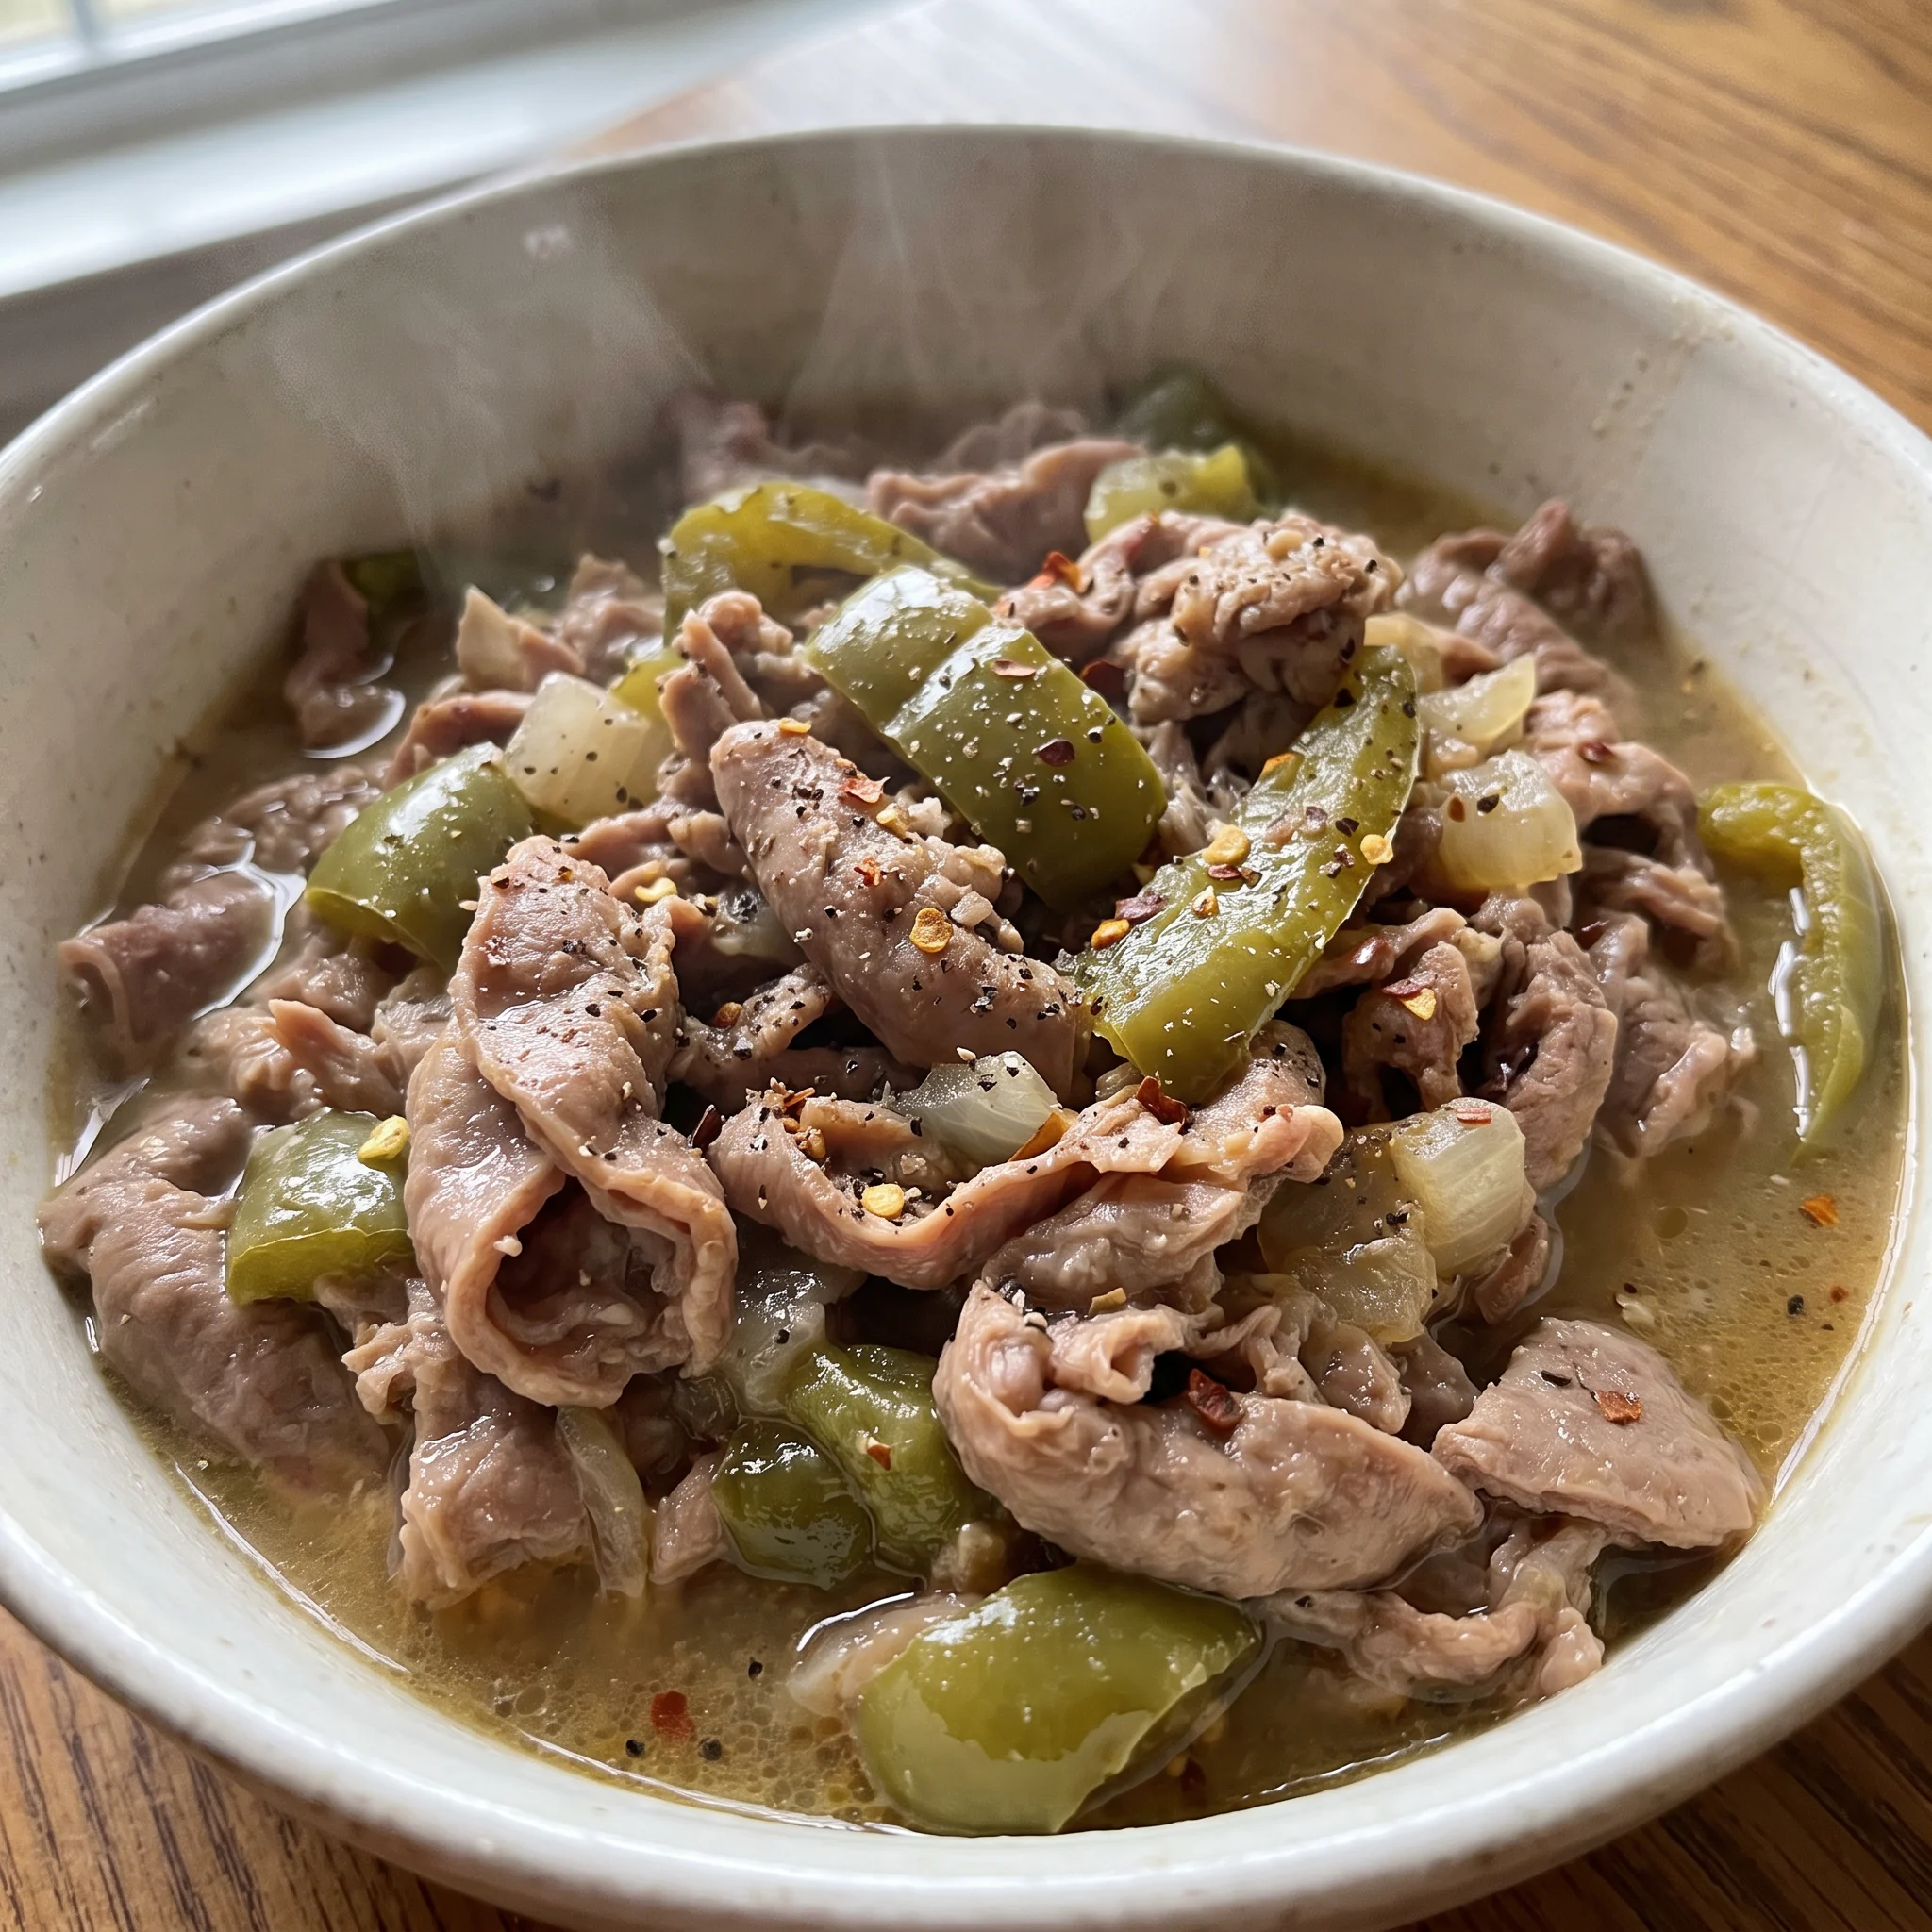
Southern Chitterlings with Onion and Bell Pepper
Ingredients
Method
- Set up two sinks or two separate wash basins for cleaning. Make sure they are spotless before you put in the chitterlings.
- Under running water at room temperature, rinse each chitterling individually to wash away debris. Examine every piece closely, picking off any grit or dark spots, then transfer to the second sink. Repeat this rinsing procedure two to three more times until the chitterlings are completely clean.
- Fill a very large pot (5-gallon capacity) with 1 1/2 to 2 gallons of water. Put in the chopped onion and bell pepper, seasoned salt, garlic powder, black pepper, and if desired, the red pepper flakes or apple cider vinegar. Set the heat to high and bring the liquid to a vigorous boil.
- After boiling starts, lower the heat to medium and drop in the cleaned chitterlings one by one. Give the pot a gentle stir so the seasonings are well mixed.
- Put the lid on and let it cook on medium for roughly 3 hours, until the chitterlings are soft and the liquid has reduced. They should look white and have a fluffy texture. Check on the pot from time to time.
- When they are done and tender, sample them for seasoning and add more if needed before taking the pot off the stove.
- Present hot as a primary dish or as part of a bigger meal, usually accompanied by hot sauce.
What You Can Swap Without Ruining the Pot
Chitterlings: Frozen is fine, and honestly, what most people buy. Fresh ones spoil fast, so unless you have a direct line to a processor, stick with frozen. Thaw them in the fridge overnight, not on the counter.
The texture will be the same, provided you clean them thoroughly. Frozen chitterlings sometimes have more debris, so give them an extra rinse pass.
The long simmer will soften either form, but fresh can be a touch more tender if you get them truly fresh, which is rare.
Seasoned salt: Lawry’s is the standard, but you can swap in any seasoned salt blend, or make your own by mixing 1 part garlic powder, 1 part onion powder, and 2 parts salt with a pinch of paprika and black pepper. Start with the same amount the recipe calls for and adjust at the end. The blend changes the flavor profile slightly, but the real risk is saltiness.
Some brands are saltier than others, so taste before adding more. You’re looking for a savory base, not a salty one.
Apple cider vinegar: White vinegar or lemon juice both work. Use the same amount, but add it toward the end of cooking, not at the start, so the acidity stays bright.
Start with a teaspoon, taste, then add more if you want that tang. White vinegar is sharper and less fruity, so it will cut through the richness more directly.
Lemon juice adds a citrus note that brightens without making it sour. Either way, the vinegar isn’t there to make it sour; it’s to lift the heaviness.
If you skip it, the dish will be heavier and might taste flat.
Tips
- Work in small batches and keep the cleaned chitterlings submerged in cold water in the second basin until you’re ready to cook them. This prevents the exposed surfaces from drying out, which can make them tough and harder to cook evenly during the long simmer.
- Use a paring knife to scrape any stubborn spots that don’t come off with rinsing. A gentle scrape with the blade flat against the surface removes residue without tearing the delicate texture, which helps maintain the fluffy consistency you’re aiming for after the 3-hour cook.
Storing and Serving Leftover Chitterlings
For the best texture, serve chitterlings within 30 minutes of finishing the simmer. That’s when they’re softest and the seasoned liquid is at its peak. If you’re making them ahead, cool the pot to room temperature, then transfer the chitterlings and some of the cooking liquid to an airtight container.
They’ll keep in the fridge for up to 3 days. As they sit, the texture firms up slightly and the flavors concentrate, but reheating gently brings them back. Add a splash of water or broth to keep them moist, and warm them on the stovetop over medium-low heat, stirring occasionally, until heated through.
Microwaving works too, but use a covered dish and stir halfway to avoid drying out the edges. Freezing is an option for the cooked chitterlings, but expect a softer texture after thawing; they’ll hold for about 2 months.
Reheat from frozen directly on the stovetop with extra liquid. Don’t refreeze once thawed. For serving, keep hot sauce on the side so each person can add their own heat.
Frequently Asked Questions
Can I prepare chitterlings ahead of time and reheat them?
Yes, they reheat well. After cooking, cool the pot to room temperature, then store chitterlings with some cooking liquid in an airtight container; they’ll keep in the fridge for up to 3 days. To serve, warm gently on the stovetop with a splash of water or broth over medium-low heat, stirring occasionally.
The texture firms up as they sit, but reheating brings back the softness.
How do I know when chitterlings are fully cooked and safe to eat?
At around the 3-hour mark, pierce a piece with a fork; it should slide in with little resistance, and the meat looks white, almost fluffy, not gray or rubbery. The cooking liquid should have reduced to a sauce that coats a spoon, not a watery broth. If they still fight back, give them another 20 minutes and check again.
What can I serve with chitterlings to make a complete meal?
Chitterlings are rich and savory, so balance them with something starchy and something bright. Collard greens cooked with smoked turkey or ham hock add a classic Southern counterpoint, while cornbread soaks up the seasoned potlikker. A simple slaw with vinegar-based dressing cuts through the richness, and hot sauce on the side lets everyone add their own kick.
