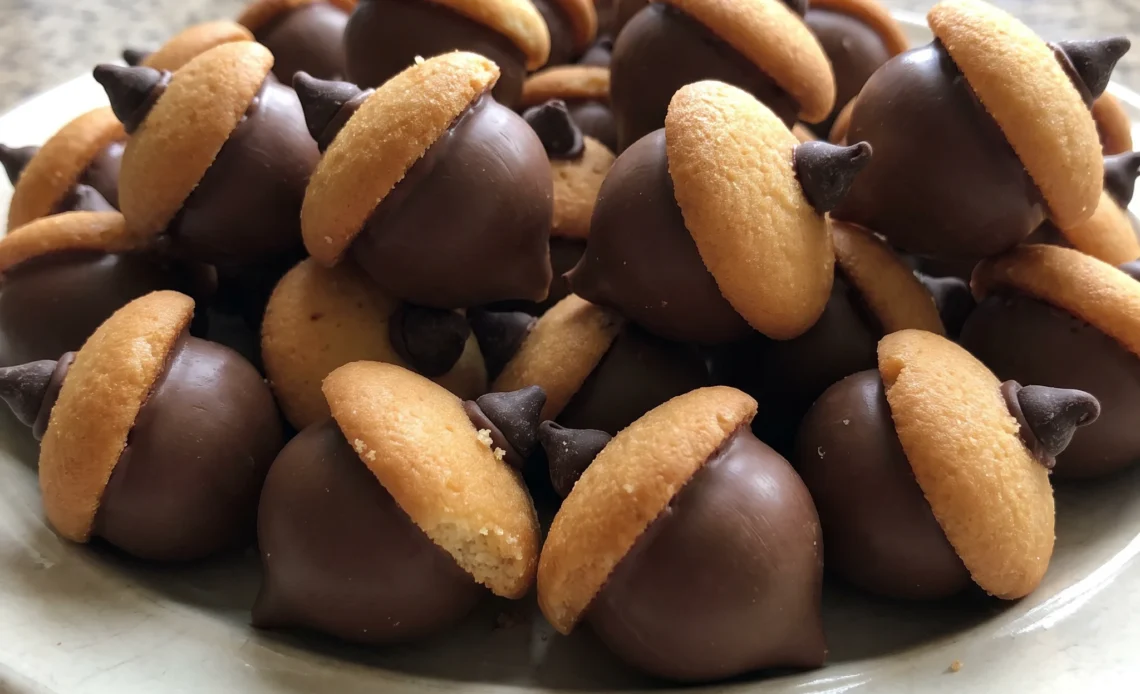
Chocolate acorns that look like you foraged them from a forest floor, only to reveal a Hershey’s Kiss hiding inside. The surprise is half the fun: each bite starts with a crisp wafer cap, then gives way to that familiar, creamy milk chocolate.
They’re a playful nod to fall, but they’re not just for Thanksgiving tables, they’re the kind of treat that makes people do a double-take at a party or a bake sale. What’s sneaky is how few pieces go into making them look this convincing.
The whole assembly comes down to a flat base, a dab of melted chocolate, and a steady hand, but the payoff is a tray of tiny acorns that look like they took hours of careful sculpting.
The melted candy melts act as a glue that must be applied while still fluid. If it cools too much, it becomes thick and fails to wet the surfaces, creating a weak joint. The recipe uses a thin layer and immediate assembly to ensure the chocolate flows into the cookie’s texture and the Kiss’s base, forming a strong bond as it hardens.
A Flat Base for a Firm Hold
The Hershey’s Kiss comes to you with a flat bottom, and that’s exactly what you want for gluing. That flat surface gives the melted chocolate a broad area to grab onto, so the bond is strong from the start. The cookie’s flat side matches it, making the contact even and secure.
When you press the two together, you get a joint that won’t shift or slide as the chocolate sets. Think about the shape, too. The Kiss is already pointed on top, so when it sits on the wafer, it looks like an acorn’s body with the nut’s tip facing down.
The cookie becomes the cap. That flat base isn’t just practical; it’s what makes the whole silhouette read correctly. Without it, you’d have a wobbly connection and a less convincing acorn.
Candy Melts Do the Gluing
Candy melts are the right adhesive here because they set up firm and fast. Once they cool, they hold the Kiss to the wafer with no give, so your acorns won’t fall apart when you pick them up.
They’re also edible and taste like chocolate, which keeps the whole thing in one flavor family. The melted consistency is thick enough to coat the Kiss’s base without dripping, but still fluid enough to pipe through a tiny bag opening for the stem. That dual role means you use one ingredient for both jobs, no second glue to buy.
When you let them set at room temp or give them a quick chill, they turn from shiny liquid to a solid bond in minutes. The result is a sturdy little treat that stays together until someone bites into it.
The Chip That Becomes the Stem
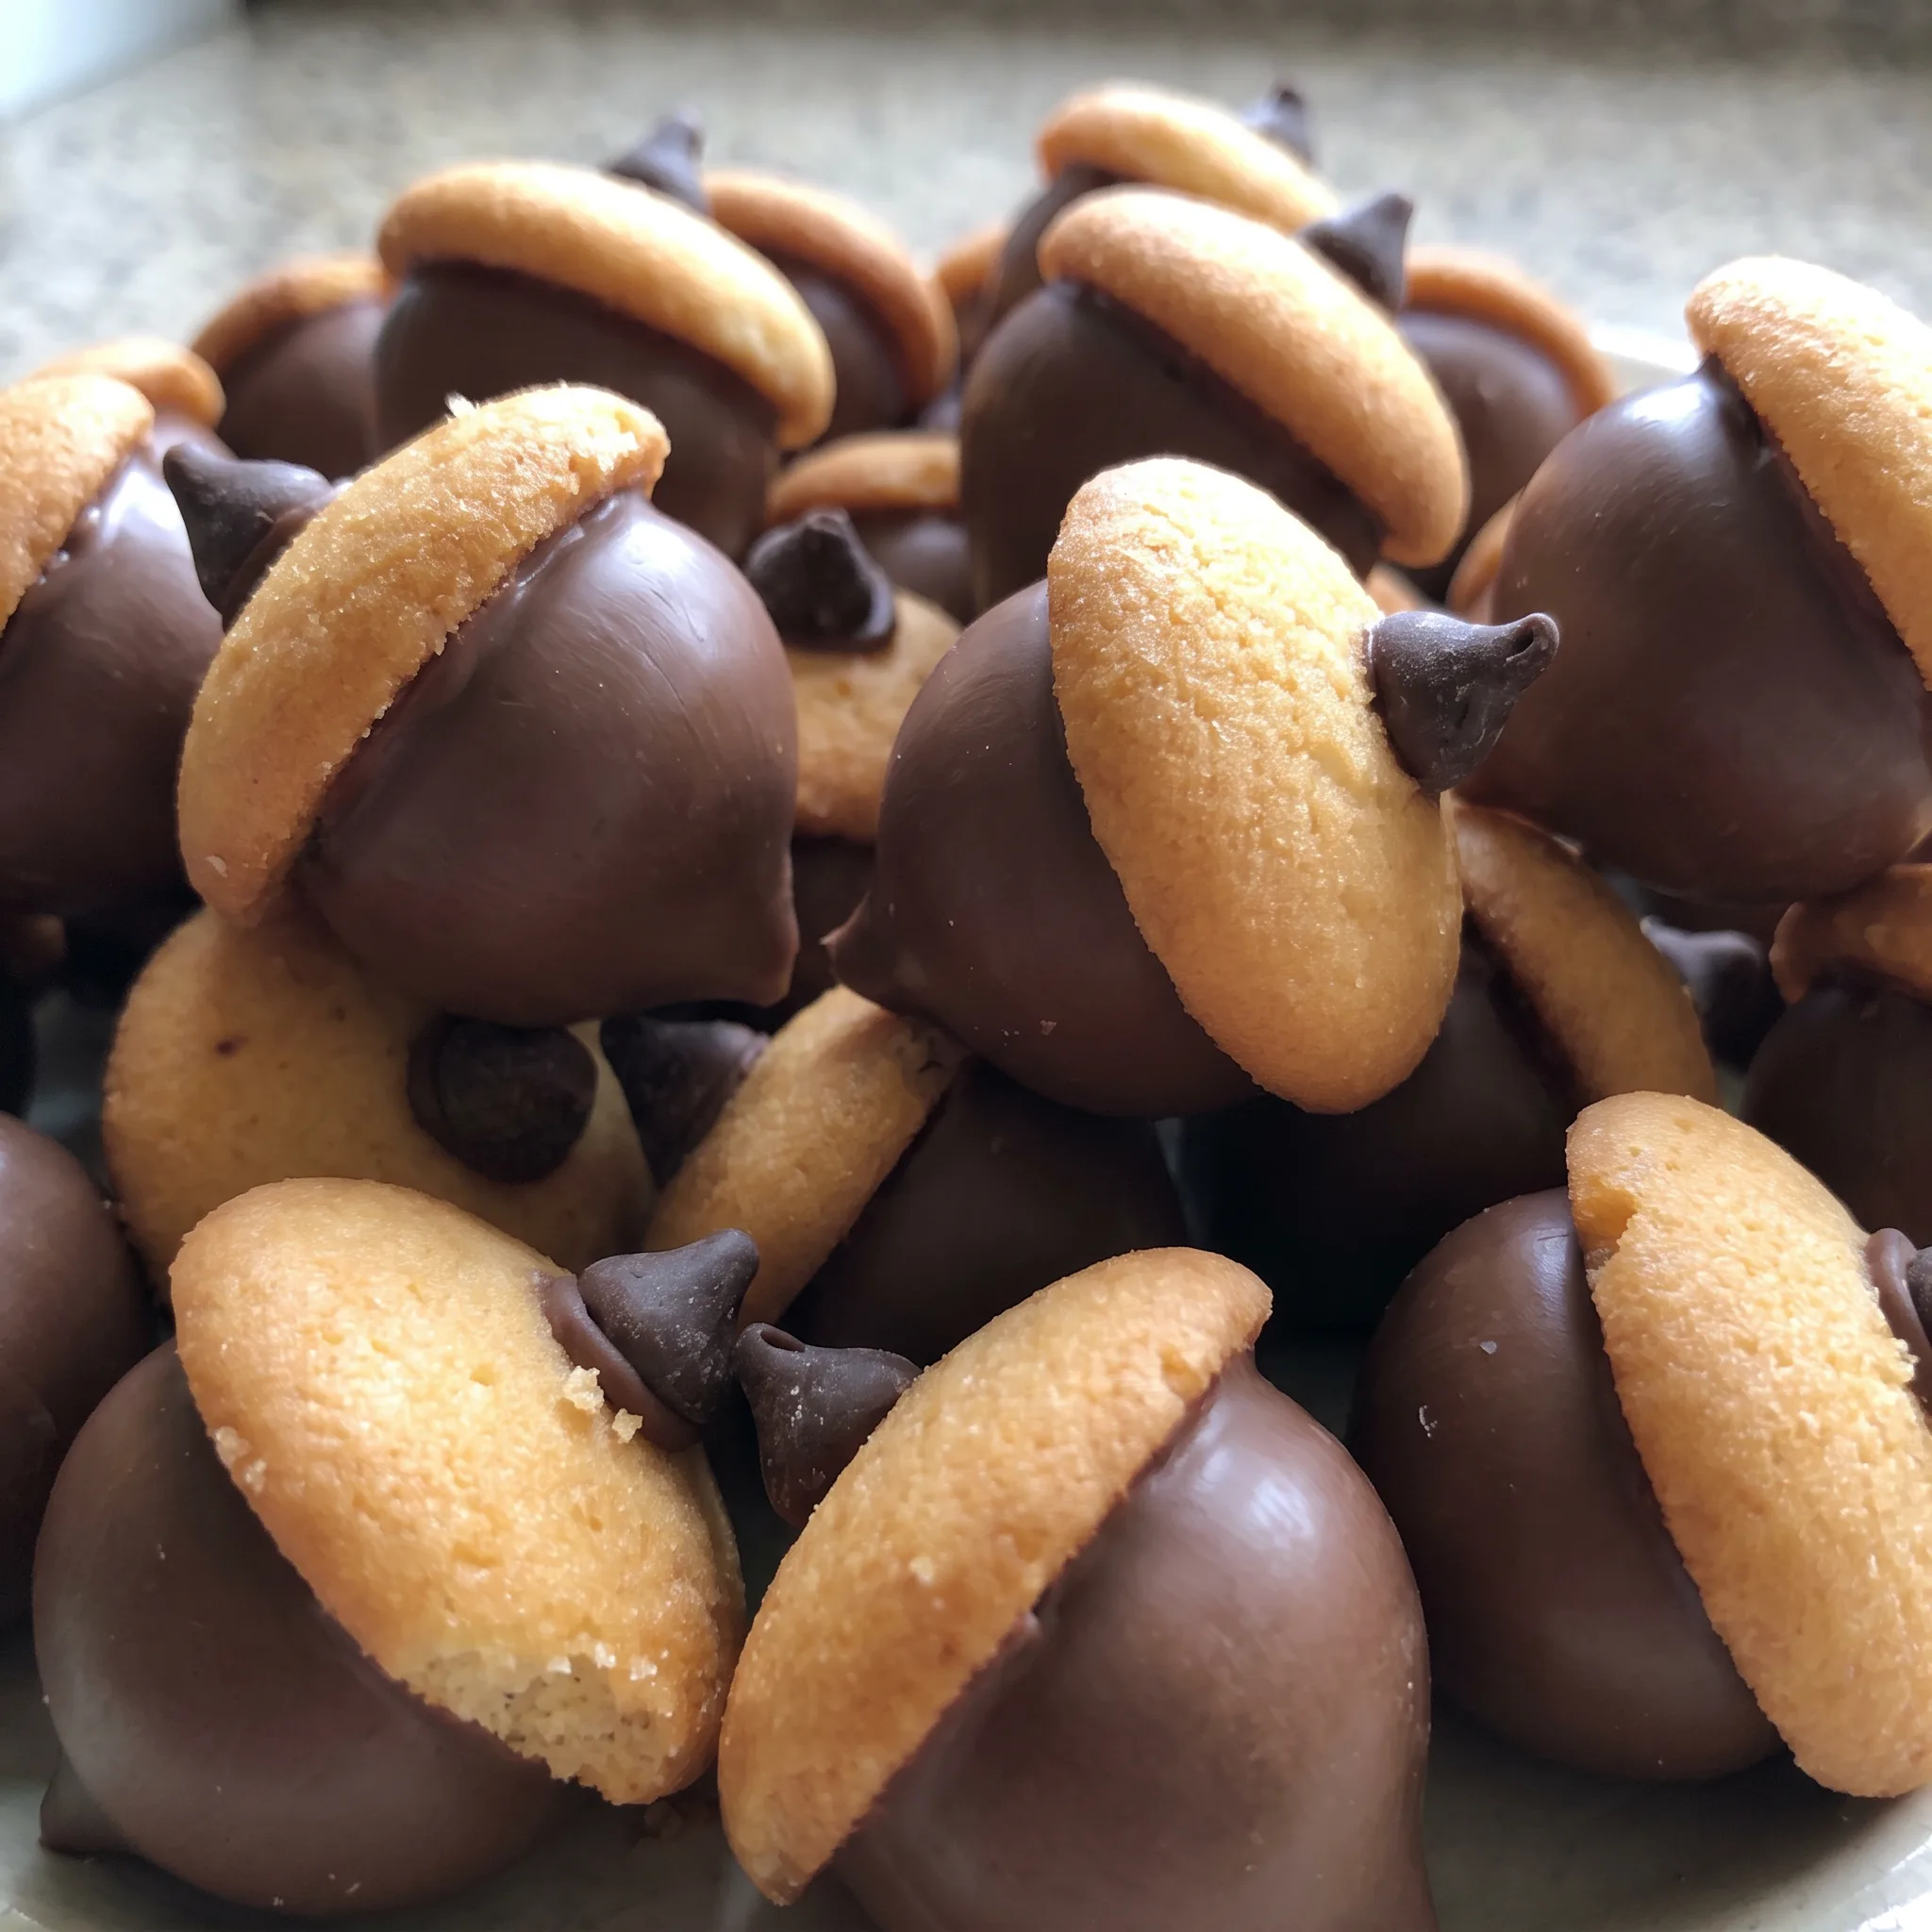
That mini chocolate chip on top of the wafer isn’t just a garnish; it’s what finishes the acorn’s look. Positioned vertically, its pointed end mimics a stem, and the flat bottom sits neatly on the cookie’s surface.
You attach it with a dab of the same melted chocolate, so it stays put once hardened. Without that chip, you’d have a round wafer cap with nothing to say. With it, the eye immediately reads acorn.
The contrast between the chip’s dark color and the wafer’s lighter brown helps the stem stand out, even at a glance. It’s a small detail, but it’s the difference between a cookie stack and a recognizable shape.
The chocolate holds it securely, so the whole assembly stays intact, and the acorn looks ready to hang from a branch.
Picking the Pieces That Hold Together
12 oz chocolate candy melts: Buy the kind that melts smooth and sets hard; the coating needs to grip the Kiss and pipe cleanly.
50 milk chocolate Hershey’s Kisses: Keep them wrapped until you’re ready so they stay cool and hold their shape when you press them onto the wafer.
50 mini Nilla wafer cookies: Check the package for unbroken cookies; a cracked wafer won’t give the flat, solid base you need for the cap.
50 mini chocolate chips: Look for chips with a flat bottom and a defined point; the shape makes the stem read clearly on the wafer.
Reading the Set: When the Chocolate Is Ready to Glue
Judging the Melt: Silky, Not Stiff or Runny
The candy melts need to be fully liquid and smooth, with no lumps. If they’re too thick, they won’t coat the Kiss’s base thinly, and the bond will be bulky. If they’re too hot, they’ll run off the Kiss and pool on the cookie.
The right consistency is like warm honey: it flows off a spoon in a steady ribbon but holds a shape for a second before flattening. Stir often, and if it stiffens while you work, warm it gently again.
The Press: Feeling the Bond Seat
When you set the Kiss onto the wafer, you should feel a slight resistance as the melted chocolate spreads and grips. Press just firmly enough to squeeze out a tiny bit of chocolate around the edge, that means full contact.
If you press too hard, the Kiss may slide off-center or the cookie might crack. If you don’t press enough, the Kiss will sit high and wobble. The right feel is a gentle, even push that seats the Kiss flat against the cookie.
Spotting a Secure Connection Before It Sets
Look at the seam where the Kiss meets the wafer. A thin, even line of chocolate should be visible all the way around. If you see gaps or dry spots, the bond will be weak.
Fix it now by dabbing a little extra melted chocolate into the gap with a toothpick or the tip of your piping bag. Once the chocolate hardens, you can’t reattach without remelting, so check each one as you go.
The Piping Consistency for the Stem
The leftover chocolate in the bag needs to be fluid enough to pipe a small dot, but not so thin that it floods the chip. When you squeeze, the chocolate should come out in a slow, controlled stream.
If it’s too thick, it won’t adhere well; if too runny, it’ll spread under the chip and look messy. Test on a scrap piece of parchment first. If it’s too stiff, warm the bag briefly in warm water, then dry it off.
Knowing When They’re Firm Enough to Move
After chilling for 5 minutes, the chocolate should be hard to the touch. Gently press the side of one acorn, no give, no fingerprint. If it still feels soft, give it another minute or two.
Once firm, they’ll lift cleanly off the parchment. If you try to move them too early, the Kiss can shift and ruin the bond.
The chocolate goes from shiny to matte as it sets, a quick visual cue you can check without touching.
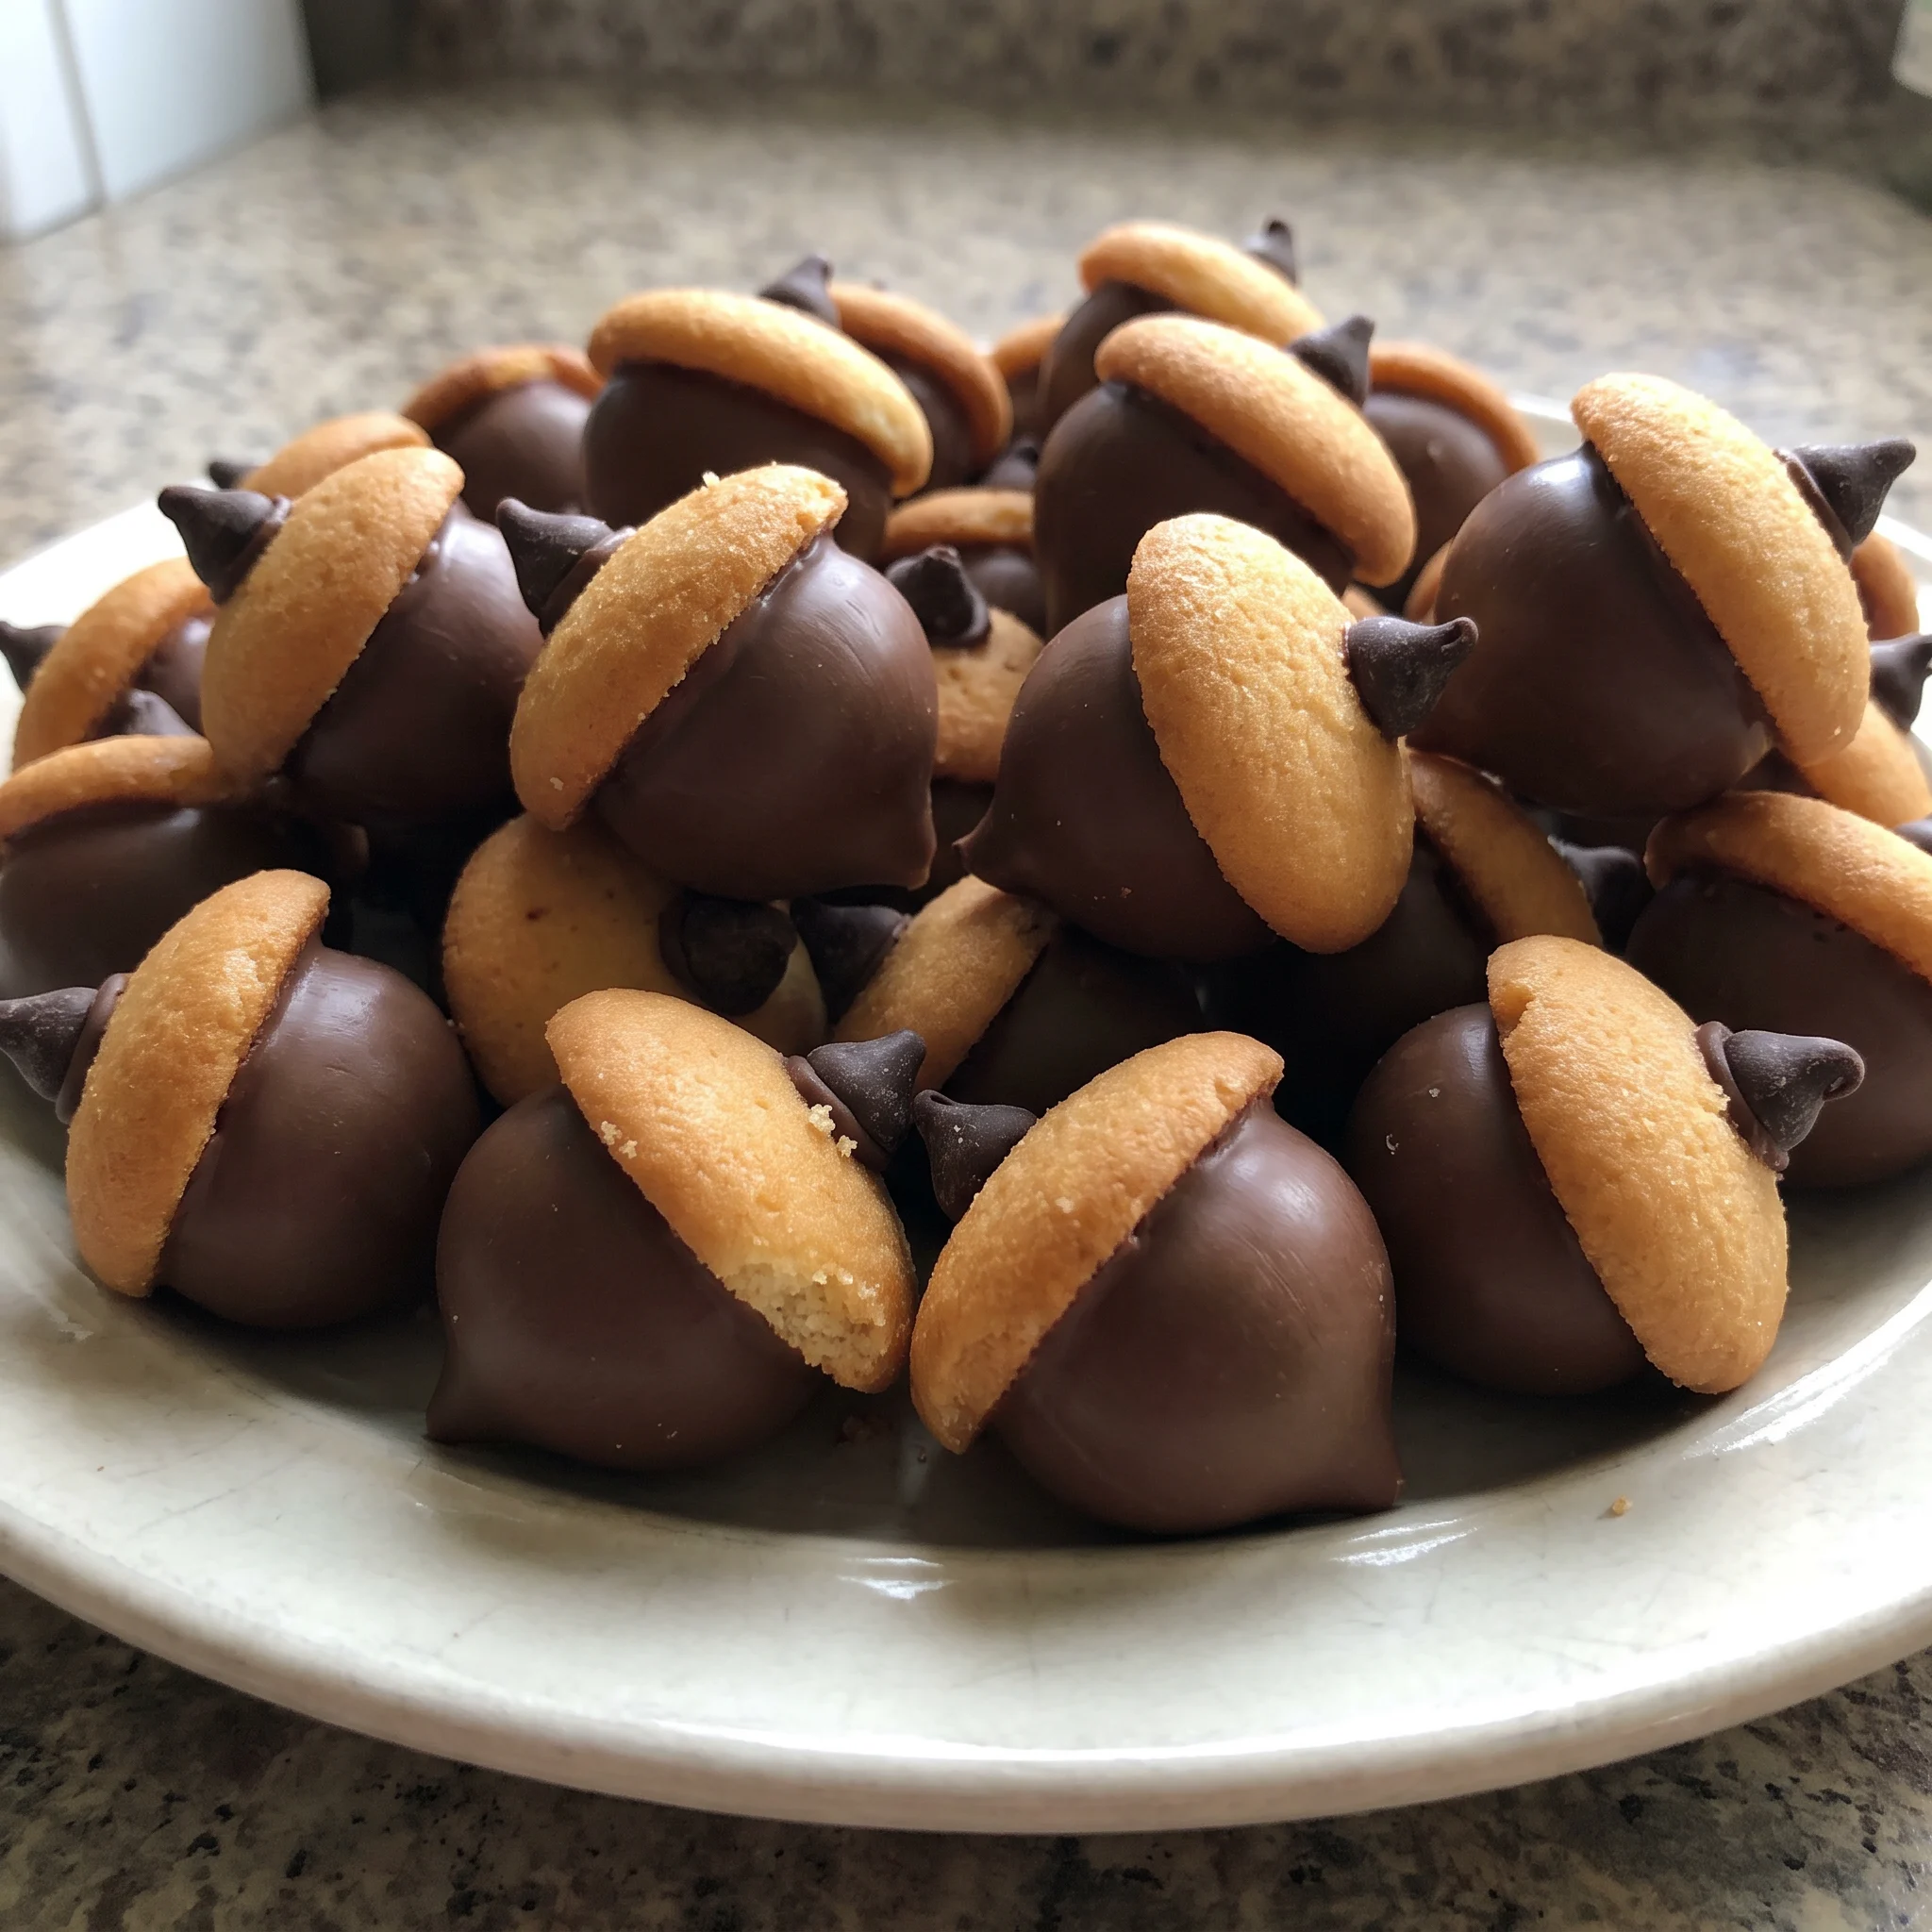
Chocolate Acorn Cookies with Kisses and Wafers
Ingredients
Method
- Prepare a baking sheet by covering it with parchment paper; reserve.
- Soften the candy melts as directed on the package until they are fully melted and silky.
- Take each Hershey’s Kiss and gently coat its flat base with a thin layer of the melted chocolate, then immediately affix it to the flat side of a mini Nilla wafer. Position the cookie side down on the prepared sheet. Continue with all remaining Kisses and cookies.
- Pour the leftover melted chocolate into a small resealable bag and cut off a tiny tip.
- Squeeze a bit of chocolate onto a mini chocolate chip and fix it to the wafer’s top to create the stem.
- Allow to harden at ambient temperature, or chill the baking sheet for about 5 minutes until fully firm.
Storing and Serving Chocolate Acorns
Once the chocolate sets, the acorns are sturdy and will keep at room temperature for up to two weeks. Store them in an airtight container, layered between sheets of parchment or wax paper to prevent sticking and protect the wafer caps from cracking.
Keep them away from heat and direct sunlight, which can soften the chocolate and cause the Kisses to slide off the cookies. For the crispiest texture, serve within the first few days; over time, the wafers will absorb a bit of moisture from the air and lose some crunch, but the acorns will still taste fine. If you need to make them ahead, they’re for that, just assemble and store as directed.
Don’t refrigerate unless your kitchen is very warm, as condensation can make the wafers soggy. Freezing isn’t recommended; the chocolate can bloom and the wafers may become soft on thawing. To serve, arrange them on a platter or in small paper cups.
They’re best eaten within a week for the full crunch, but will hold their shape and flavor for the full two weeks.
Swap the Kiss, Keep the Wafer and Chip
Hershey’s Kisses: Any chocolate candy with a flat base and a pointed top, like a Rolo or a mini peanut butter cup (if you press it into a dome shape). The flat base is what lets the melted chocolate grab hold, and the point is what makes the acorn read from across the room.
A Rolo is softer, so it squishes more when you press it on, but it still works. A peanut butter cup gives a wider, flatter body, so the acorn looks stouter.
Just make sure whatever you pick has a real flat side, or the bond won’t seat.
Mini Nilla wafers: Don’t swap these. A different cookie, like a mini shortbread round or a chocolate wafer, changes the shape or the flavor balance. Shortbread is thicker, so the cap looks bulky, and chocolate wafers make the whole thing too dark.
The Nilla wafer’s light color and crisp bite are what set off the dark chocolate and give the acorn that two-tone look. Keep them.
Mini chocolate chips: Use a sliver of a dark chocolate bar, cut into a tiny triangle, if you don’t have chips. The chip is the stem, and its point is what makes it look like one. A bar sliver can work if you keep it small and pointed, but it won’t have the same clean flat bottom to seat on the dab of chocolate.
It’ll still hold, but you might need to press it gently and let it set a bit longer. The chip’s dark color against the wafer is what finishes the silhouette, so don’t skip it.
Chocolate candy melts: Use white candy melts mixed with a little cocoa powder or melted dark chocolate to get a similar color, or just use regular chocolate chips with a teaspoon of coconut oil to thin them. Candy melts are the glue and the stem.
If you swap in regular chocolate chips, they’re thicker when melted, so you’ll need to thin them with a bit of oil to get the same silky, pipeable consistency. Cocoa powder in white melts will give you a chocolate color, but it might seize if you add too much.
Start with a tiny bit. The key is that the coating sets hard at room temperature, so if you use something that stays soft, like a ganache, the acorns won’t hold together when you pick them up.
Tips
- Unwrap all 50 Hershey’s Kisses and lay out the wafers and chips before you melt the candy melts. Once the chocolate is melted, it starts to set as you work, so pausing to unwrap a Kiss will thicken the coating and make the bonds less clean. Having everything within reach keeps the assembly pace steady, so the melted chocolate stays fluid for the full batch.
- If the melted candy melts stiffen before you finish all 50 acorns, rewarm them in short bursts in the microwave (15 seconds at a time) or over a double boiler, stirring until smooth again. Do not add water or any liquid to thin it, as that can seize the chocolate and ruin its ability to set hard. Keeping the chocolate at the right consistency ensures every bond is secure and the piping for the stems stays controllable.
Frequently Asked Questions
Can I make these chocolate acorns ahead of time?
Yes, you can. They’ll keep in an airtight container at room temperature for up to two weeks, so assembling them a few days ahead works well. The wafers will lose a bit of crunch over time, but they’ll still hold their shape.
Just keep them away from heat and sunlight, and don’t refrigerate or freeze them, condensation can make the wafers soggy.
Why do my acorns fall apart?
The bond is weak, most likely because the candy melts weren’t fully melted or the Kiss wasn’t pressed firmly enough to seat the chocolate. You should see a thin, even line of melted chocolate around the seam when you press. If you see gaps, dab a little extra melted chocolate into them with a toothpick before it sets, once hard, you can’t reattach.
How long do chocolate acorns last?
They’ll stay good for up to two weeks in an airtight container at room temperature, but for the crispiest texture, eat them within the first week. The wafers will soften over time, but the chocolate will hold. Avoid refrigerating or freezing, as moisture can ruin the wafers and cause the chocolate to bloom.
