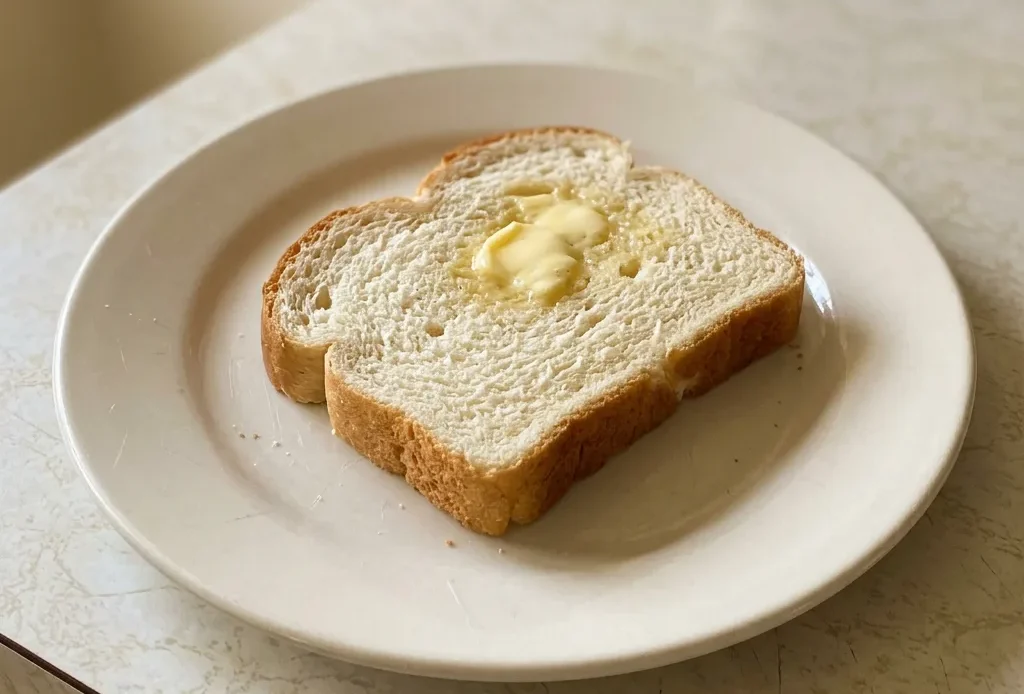
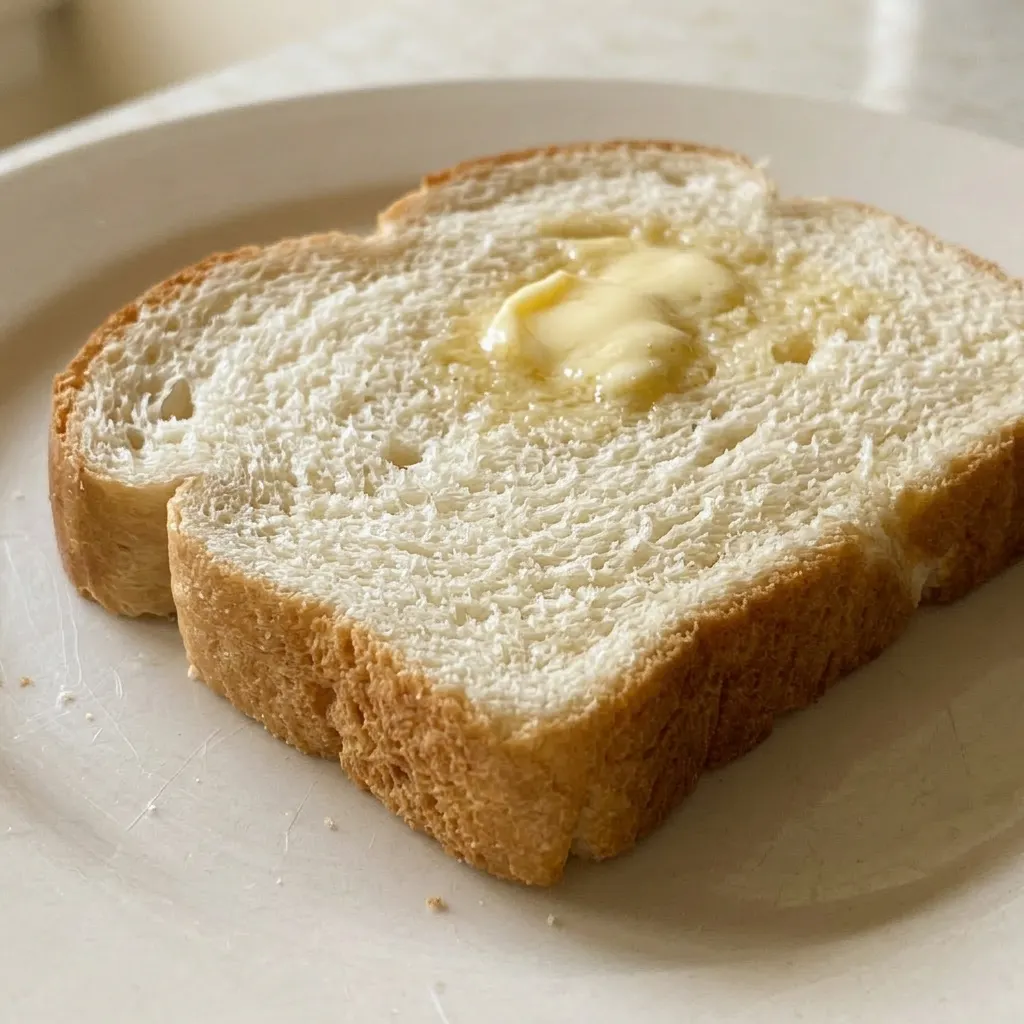
Two rises separate this white bread from a one-rise loaf, and the difference shows in the crumb. The first rise builds flavor; the second sets the shape. Miss either, and the texture tightens up.
It’s a simple recipe, flour, yeast, water, oil, sugar, salt, but the margin for error is real. Water above 110°F kills the yeast, and under-kneading leaves you dense. That foamy layer after proofing is your only insurance.
Good technique, not luck, makes this work.
Yeast Activation
Yeast is a living thing. Warm water around 110°F gets it moving without killing it.
Sugar gives the yeast something to eat, and as it feeds, it releases carbon dioxide gas. That gas gets trapped in the dough’s gluten network, creating the bubbles that make bread rise. If the water is too hot, the yeast dies and the dough stays flat.
Too cool, and it wakes up slowly, if at all. The foamy layer that forms on top of the water after 10 minutes is your sign, it means the yeast is alive and hungry. Without that foam, you’d be baking a brick.
This step isn’t just about mixing ingredients; it’s about confirming your leavening agent is active before you commit to the flour.
Two Rises
White bread gets its light, airy crumb from two separate rises. The first rise, which takes about an hour, lets the gluten relax and the flavor deepen. As the dough sits, yeast keeps working, producing more gas and developing subtle fermented notes you’d miss with a single rise.
Punching down redistributes the yeast and evens out the gas pockets, giving you a uniform crumb later. The second rise, in the pan, is shorter, 30 minutes, and sets the final shape and volume. This staged approach means the dough isn’t rushed.
Homemade bread recipes often skip one rise, but you can taste the difference: two rises give a more open, tender texture and a rounder, less bready flavor.
Gluten Development Through Kneading
Kneading for about 8 minutes changes a shaggy mass into smooth, elastic dough. What’s happening is gluten strands are aligning and strengthening, forming a web that traps gas from the yeast. When you poke the dough, it should spring back slowly, that’s the sign gluten is developed.
Under-kneaded dough won’t hold gas well, so the loaf comes out dense and compact. Over-kneading tightens the gluten too much, making the bread tough. The goal is a supple, stretchy dough that feels alive.
Other bread recipes might call for a shorter knead, but for a classic white loaf, that 8 minutes is the sweet spot between airy and chewy.
Prep: 20 min · Cook: 30 min · Total: 2 hr 30 min · Servings: 12 · Calories: 150 kcal
What to Look For in White Bread Ingredients
Active dry yeast: One standard packet holds 1/4 ounce, which is the 7 grams you need here.
All-purpose flour: Use unbleached for a slightly heartier flavor and stronger gluten structure.
Vegetable oil: Any neutral oil works; avoid strong flavored oils like olive that will compete.
Making the White Bread Step by Step
Activate the yeast
Stir the sugar into warm water until dissolved, then sprinkle yeast on top. After 10 minutes, you should see a thick, foamy layer, that means the yeast is alive and ready. If not, start over.
Mix the dough
Add oil and salt to the yeast mixture, then stir in flour one cup at a time. The dough will look shaggy at first. Keep mixing until it pulls away from the bowl sides, that’s when it’s ready to knead.
Knead until smooth
Turn the dough onto a floured surface and push, fold, and turn for 8 minutes. The dough should become smooth and spring back when poked. If it tears easily, keep going.
Stop when it feels supple.
First rise
Place the dough in an oiled bowl, turn to coat, and cover with a damp cloth. Let it sit in a warm spot until doubled in size, about 1 hour. A finger poke should leave an indent that slowly fills.
Shape and second rise
Punch down the dough to deflate it, then shape into a loaf and place in a greased 9×5-inch pan. Cover and let rise again for 30 minutes, it should dome just above the pan rim.
Bake until done
Bake at 375°F for 30 minutes. The top should be deep golden brown, and tapping the loaf should sound hollow. If the top browns too fast, tent with foil for the last 10 minutes.
White Bread (Cuckoo Bread Maker Recipes)
Ingredients
Method
Dissolve yeast in sugar water:
In a large bowl, combine 2 tablespoons white sugar with 1 cup warm water (110°F (45°C)) until dissolved. Sprinkle 1 package active dry yeast over the surface and let sit for about 10 minutes, until foamy.Knead dough until elastic:
Add 1/4 cup vegetable oil and 1 teaspoon salt to the yeast mixture and stir. Gradually incorporate 3 cups all-purpose flour one cup at a time, mixing thoroughly after each addition. Once the dough comes together, transfer to a lightly floured surface and knead for about 8 minutes until smooth and elastic.Let dough rise until doubled:
Lightly oil a large bowl, place the dough inside, and turn to coat evenly. Cover with a damp cloth and let rise in a warm environment until doubled in size, about 1 hour.Shape loaf and second rise:
Punch down the dough and turn out onto a lightly floured surface. Form into a loaf and place into a greased 9×5 inch loaf pan. Cover with a damp cloth and let rise again until doubled, about 30 minutes.Bake until golden brown:
Preheat the oven to 375°F (190°C). Bake the loaf for about 30 minutes, until the top is golden brown and tapping the loaf produces a hollow sound.
Swapping Oil and Flour in White Bread
Vegetable oil: Melted butter or coconut oil. Butter adds a richer flavor and slightly denser crumb. Coconut oil works but can stiffen if the dough cools; both should be measured as liquid.
All-purpose flour: Bread flour. Bread flour gives a chewier, taller loaf with more structure. Expect a slightly firmer crumb, not as tender.
Active dry yeast: Instant yeast. Instant yeast doesn’t need proofing. Skip the 10-minute wait and mix it directly with the flour.
Reduce the first rise by about 15 minutes.
White sugar: Honey or maple syrup. Liquid sweeteners add moisture and a darker crust. Use 3 tablespoons honey or maple syrup instead of 2 tablespoons sugar, and reduce water by 1 tablespoon to keep dough consistency.
Tips
- If your kitchen is cool, place the dough on the oven’s top rack with a pan of boiling water on the bottom rack to create a warm, humid environment for rising. This speeds up the process without drying out the dough.
- To test if the first rise is complete, press two fingers about 1/2 inch into the dough. If the indent remains and doesn’t spring back, it’s ready to punch down. If it springs back quickly, let it rise longer.
Storage and Serving
Cool the loaf completely on a wire rack before storing, about 1 hour. Wrap tightly in plastic wrap or a resealable bag and keep at room temperature for up to 3 days. The crust softens over time, so if you want it crisp, reheat slices in a 350°F oven for 5 minutes.
For longer storage, freeze the whole loaf or slices tightly wrapped in plastic then foil for up to 3 months. Thaw at room temperature, still wrapped, to avoid condensation making the crust soggy.
Bread is best the day it’s baked, when the crumb is soft and the crust crackles. After that, texture slowly tightens.
Toast revives day-old slices. Don’t refrigerate; it accelerates staling. Serve any time after the loaf has cooled, within 2 hours of baking for peak texture.
Frequently Asked Questions
Can I use instant yeast instead of active dry yeast, and do I need to activate it?
Yes, you can swap instant yeast for active dry. Instant yeast doesn’t need proofing, mix it directly with the flour and skip the 10-minute wait. The first rise will be about 15 minutes shorter.
The dough should still double in size during the first rise, about 45 minutes total.
Why did my bread turn out dense and not rise enough?
Most likely the yeast wasn’t active, your water might have been above 110°F and killed it. Next time, check the water temperature with a thermometer and look for a thick foam after 10 minutes. If the foam was good, the dough might have been under-kneaded; it should feel smooth and spring back when poked.
Can I make the dough ahead and refrigerate it overnight?
The article covers storage only after baking, not raw dough. For this recipe, refrigerating the shaped loaf overnight isn’t recommended because the second rise is only 30 minutes. If you want to prep ahead, bake the loaf, cool completely, wrap tightly, and freeze for up to 3 months, thaw at room temperature still wrapped.
How do I know when the bread is fully baked without a thermometer?
Tap the bottom of the loaf, it should sound hollow. The top should be deep golden brown all over, not pale. If the top browns too fast, tent with foil for the last 10 minutes of the 30-minute bake.
What’s the difference between this white bread and a classic sandwich loaf?
This bread uses vegetable oil instead of butter, which gives a softer, more tender crumb than a classic butter-based sandwich loaf. The two rises create a light, airy texture with deeper flavor than a single-rise loaf. It has a neutral flavor that works for toast or sandwiches, but the crust will soften after a day at room temperature.