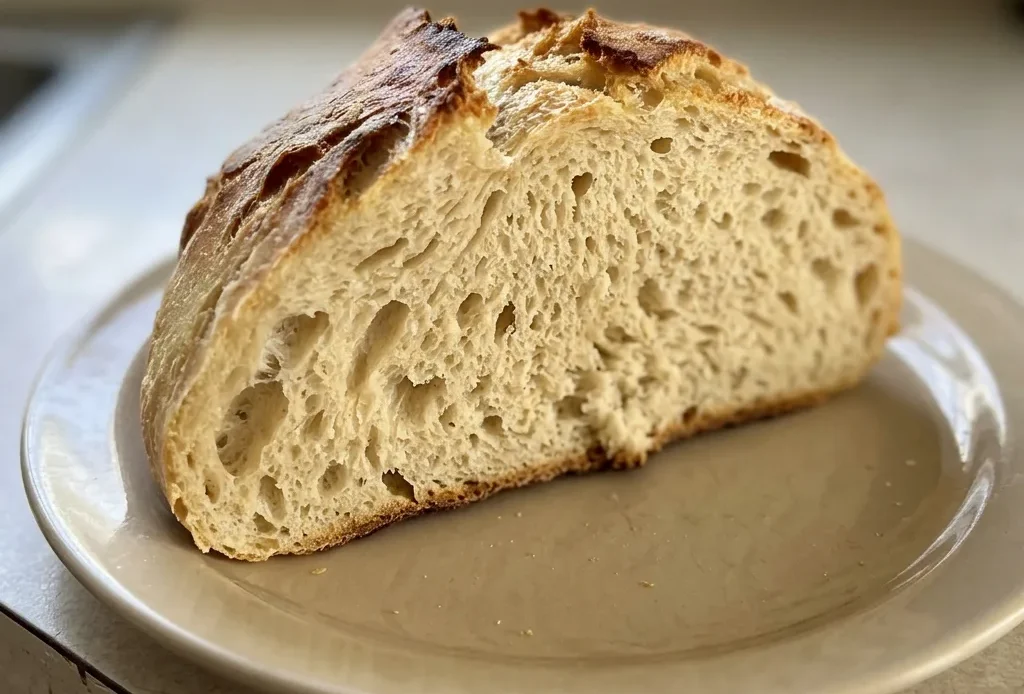
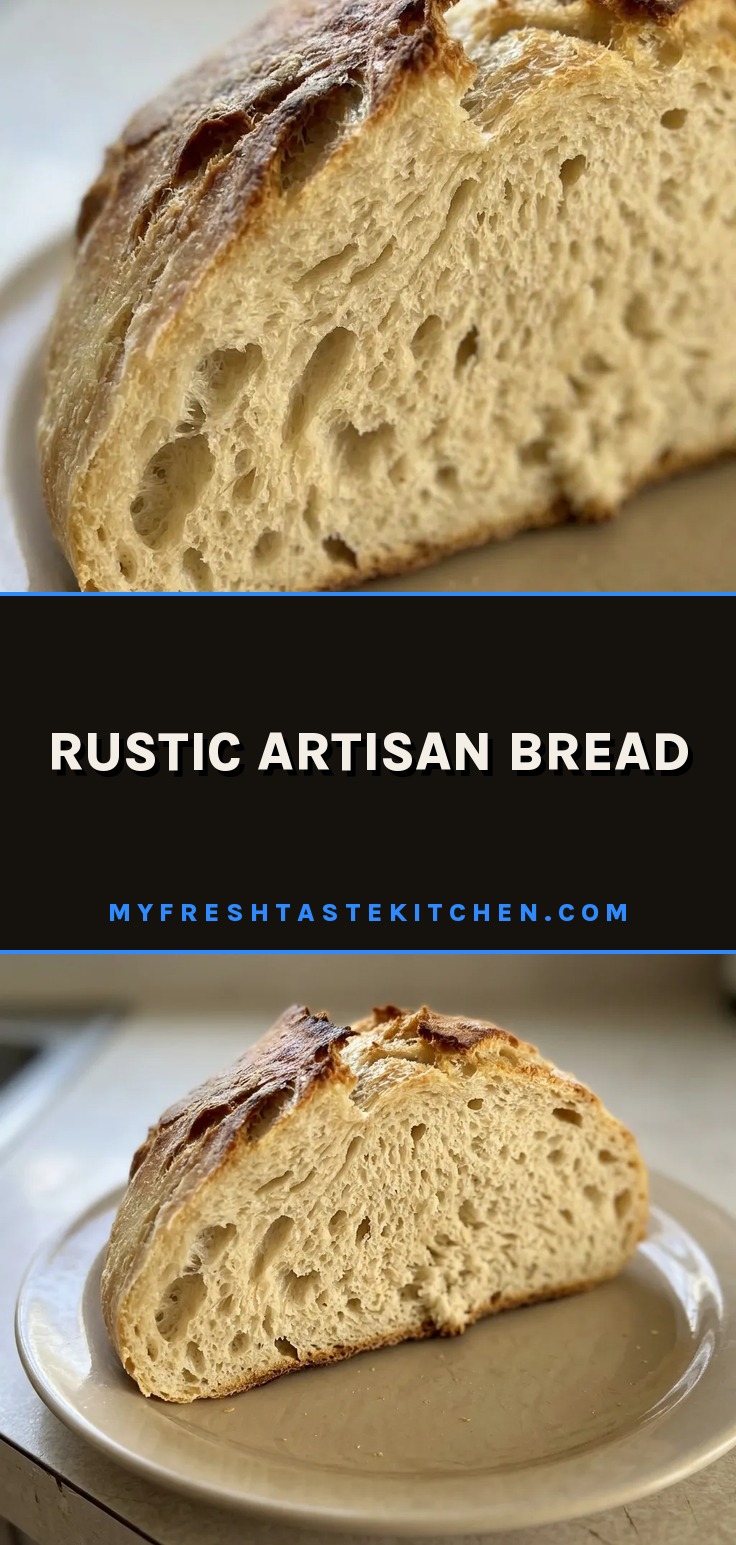
The crust shatters when you bite it, revealing a chewy, open crumb that looks like it came from a bakery. That contrast, crackling shell against airy interior, is what this rustic artisan bread delivers, and it comes from a wet, no-knead dough and a screaming-hot Dutch oven. The dough feels alarmingly loose and sticky, but that high hydration is what creates steam pockets in the oven.
You shape it with just a few folds, then let the heat do the rest. No stand mixer, no kneading, no fuss.
Most people skimp on the water because a wet dough feels wrong, then wonder why their loaf comes out like a brick.
Why does this dough need to be so wet?
That sticky, shaggy dough you scrape into the bowl isn’t a mistake. For a loaf with an open crumb and crackling crust, high hydration is the key. 5 to 2 cups of water for 3 cups of flour, the dough holds plenty of moisture.
During baking, that water turns to steam, creating air pockets and a light interior. The olive oil slicked on top isn’t just for flavor; it keeps the surface from drying out during the long rise.
You’ll see the dough spread rather than hold a tight ball, that’s the wetness doing its work.
How does a long rise replace kneading?
Without kneading, gluten needs time to align. Two hours in a warm spot, say, your oven with the light on, lets the yeast work steadily. The dough doubles, and with that slow fermentation, flavor deepens.
Active dry yeast performs just fine here. You’ll smell it: yeasty, a little sour.
That’s the structure building on its own. The result is a chewy crumb you’d expect from kneaded dough, but with less effort.
Why preheat the Dutch oven?
A blazing-hot Dutch oven, lid on, creates a steam trap. When you lower the dough in, that trapped moisture keeps the crust from setting too soon. The loaf can expand fully, that’s oven spring.
You’ll see it puff in the first minutes. Without this, the crust firms early and the bread stays dense.
The heat is aggressive, but the steam is what gives you that shatteringly crisp shell.
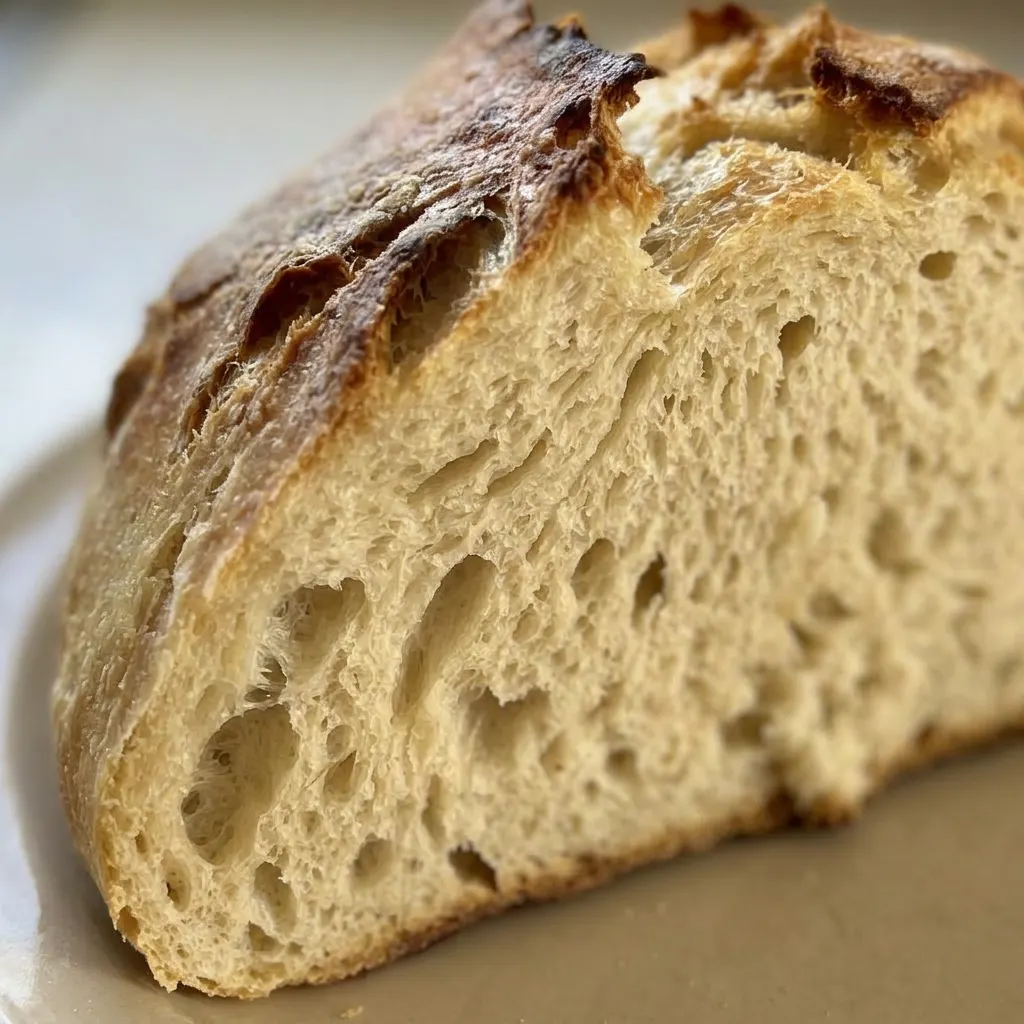
Prep: 15 min · Cook: 35 min · Total: 2 hr 50 min · Servings: 1
About the flour and yeast
All-purpose or bread flour: Bread flour gives more chew, all-purpose a softer crumb. Either works; just adjust water: bread flour needs 1.5 cups, all-purpose 2.
Instant yeast (or active dry): Active dry works but needs proofing first. Instant you can mix right in. Both need that warm spot to double.
Build the dough, then trust the rise
Mix the dough
Whisk dry ingredients, then pour in the warm water and 1 tablespoon oil. Stir until a sticky, shaggy mass forms, no dry bits left. If it looks more like batter than dough, you added too much water; it should barely hold together.
Oil and rise
Drizzle the remaining oil on top, don’t stir. Cover tight and set in a warm spot.
After 2 hours, the dough should double and look puffy with bubbles on the surface. If it hasn’t risen much, your yeast may be old or the spot too cool.
Preheat the pot
Place the covered Dutch oven in a cold oven, then heat to 450°F. Let it sit at temperature for at least 20 minutes after preheating. The pot must be screaming hot to trap steam and give that oven spring.
Shape the loaf
Flour your hands and a work surface. Scrape the dough onto it, it will be loose and oily.
Fold the edges into the center 4 to 5 times to form a rough ball. Don’t overwork; the dough should stay soft and slightly tacky, not tight.
Bake covered
Lower the dough on parchment into the hot pot. Cover and bake 30 minutes. The lid traps steam, so the loaf will puff and develop a pale, matte crust.
If the dough deflates when you lower it, it was overhandled.
Bake uncovered
Remove the lid and bake 5 to 10 minutes more. Watch for a deep golden-brown crust that sounds hollow when tapped. If it’s still pale after 10 minutes, leave it in until the color deepens, a pale crust means a soggy interior.
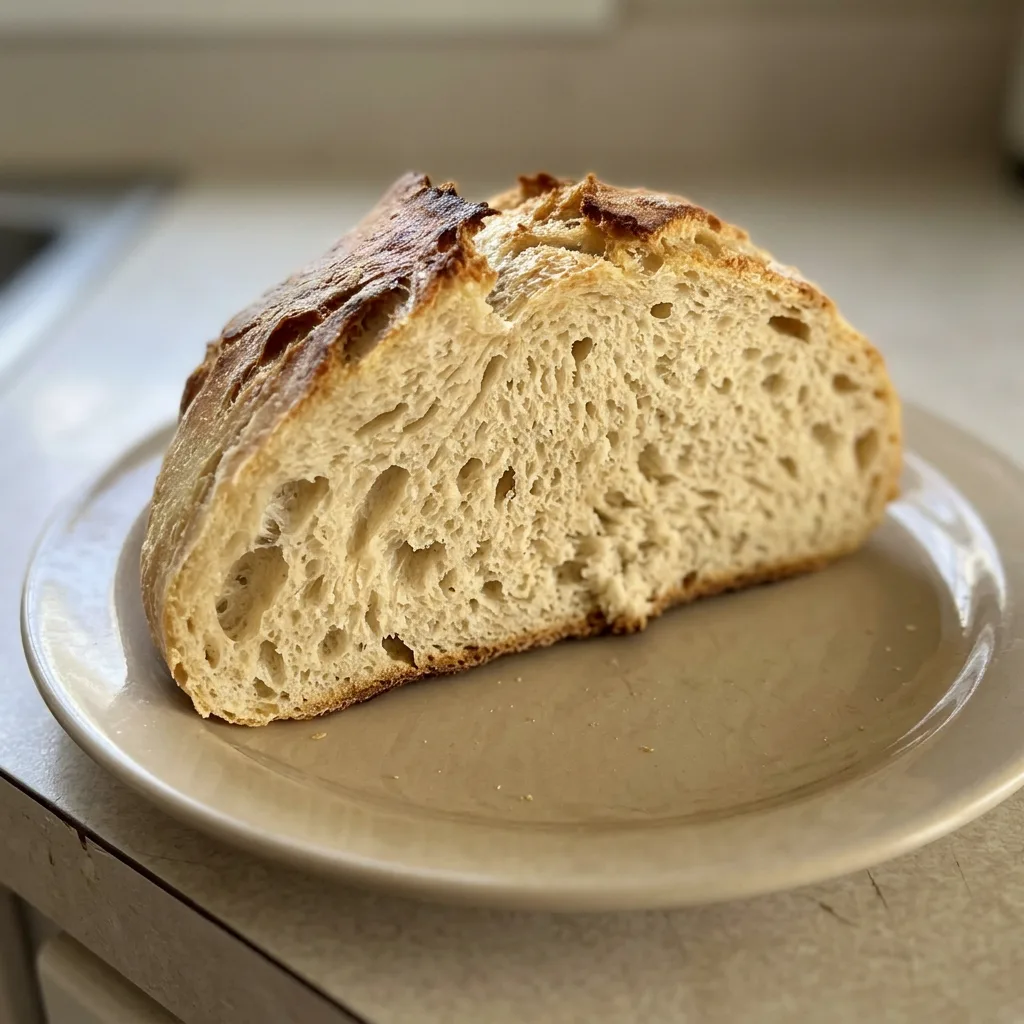
Rustic Artisan Bread
Ingredients
Method
Mix dry ingredients and water:
In a large mixing bowl, whisk together the flour, sugar, yeast, and salt. Pour in the warm water and 1 tablespoon of the olive oil. Stir with a silicone spatula or wooden spoon, scraping down the sides, until a sticky, shaggy dough forms. For all-purpose flour, use 2 cups water; for bread or Italian flour, use 1.5 cups. Begin with less water and add more if necessary.Drizzle olive oil on dough:
Drizzle the remaining 1 tablespoon of olive oil over the dough’s surface (exact measurement not required).Cover and let rise:
Cover the bowl tightly with plastic wrap and a kitchen towel. Set it in a warm location (such as an oven with the light on) or at room temperature. Allow to rise until doubled in volume, roughly 2 hours.Preheat oven with Dutch oven:
Position the covered Dutch oven on the middle oven rack and preheat to 450°F (230°C).Scrape dough onto floured surface:
Lay a sheet of parchment paper large enough to hold the dough on a work surface. Dust the work surface lightly with flour. Using a spatula, scrape the dough onto the floured area (it will be wet, loose, and oily).Fold dough into ball:
Dust the dough with flour. Using a bench scraper or silicone spatula, fold the dough over onto itself from each side, repeating 4–5 times, forming a rough ball. Transfer the dough to the center of the parchment paper, reshaping as needed.Transfer dough to hot Dutch oven:
Once the oven reaches 450°F (230°C), carefully remove the hot Dutch oven and its lid. Lift the parchment corners to lower the dough into the Dutch oven. Replace the lid and return to the oven.Bake covered then uncovered:
Bake for 30 minutes, then carefully take off the lid and continue baking for 5–10 minutes. Remove the Dutch oven from the oven and place on the stovetop. Lift the bread by the parchment corners and move to a wire rack. Cool slightly before slicing. Serve warm with butter.
Storage and Serving
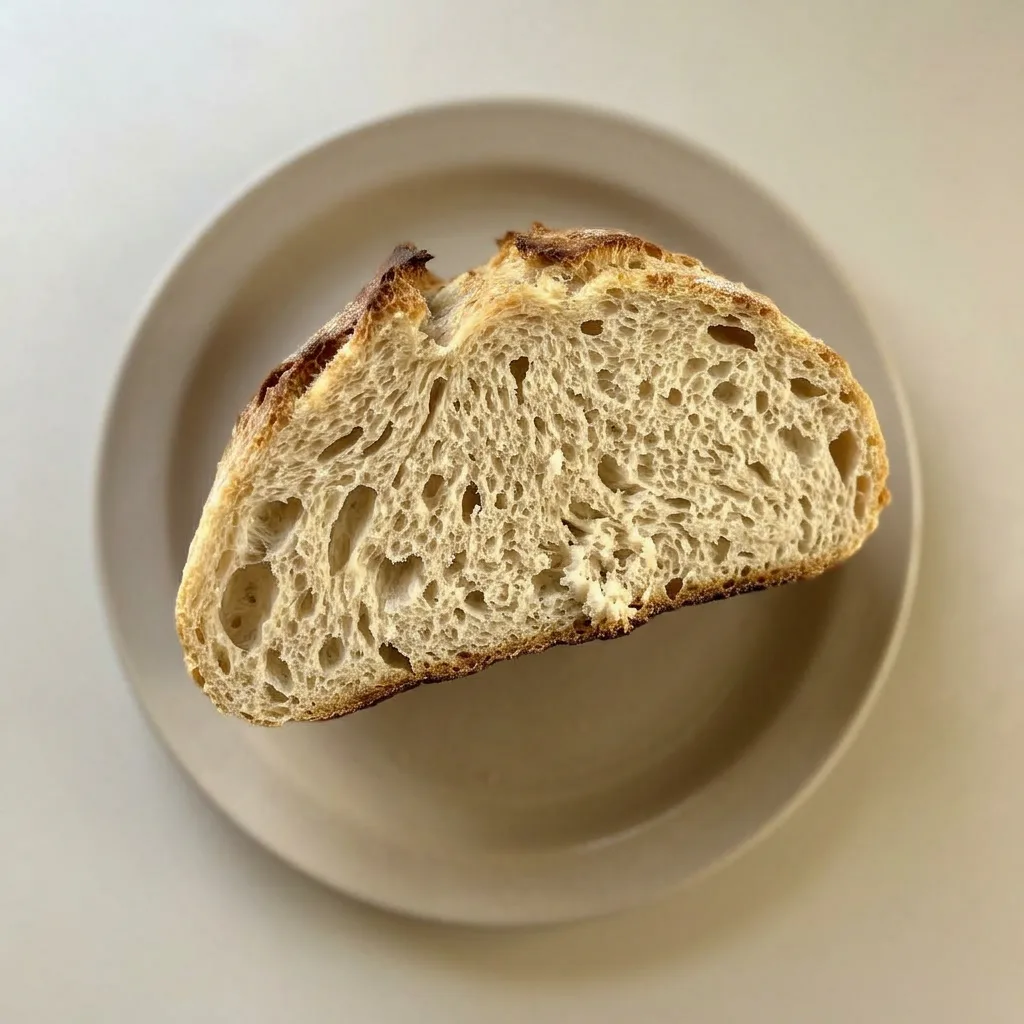
This bread is at its peak the day it’s baked: crust shatters, crumb is springy. Cool completely before storing. Keep cut side down on a cutting board, or wrap in a kitchen towel, at room temperature for up to 2 days.
Don’t seal in plastic; the crust will go leathery. By day two, the crust softens noticeably. To re-crisp, slice what you need and toast it, or warm the whole loaf in a 350°F oven for 5 to 10 minutes.
For longer storage, freeze the whole loaf or slices in a freezer bag for up to 3 months. Thaw at room temperature, then reheat in a 350°F oven for 5 minutes.
The crust won’t be as crackling as fresh, but the interior stays good. Don’t refrigerate; it accelerates staling.
Tips
- Add the water gradually: start with 1.5 cups for bread flour or 1.75 cups for all-purpose, then add more by the tablespoon if the flour hasn’t absorbed all the moisture. The dough should be sticky and shaggy, not soupy. If it spreads like a thick batter when you stop stirring, you’ve added too much water; sprinkle in a little flour to tighten it.
Swapping flour, yeast, and oil in this wet dough
All-purpose or bread flour: Whole wheat flour for up to half the total, or use 100% bread flour. Whole wheat soaks up more water, dough feels stiffer and may need an extra tablespoon or two of water; the crumb gets denser, less open, and the loaf doesn’t rise as high. Bread flour makes the bread noticeably chewier, with a stronger crust and more height.
All-purpose gives a tender, softer crumb. 5 cups for bread flour.
Stick to that or adjust by feel, the dough should be sticky and shaggy, not stiff.
Instant yeast (or active dry): Active dry yeast for instant, or vice versa. Instant yeast mixes straight in; active dry needs to be proofed in a bit of the warm water with a pinch of sugar for about 5 minutes until foamy.
If you skip proofing, the rise may be sluggish or fail. Both work, but the rise time stays about 2 hours. The dough should double and look puffy with bubbles on the surface, if it doesn’t, your yeast may be old or the spot too cool.
Extra virgin olive oil: Neutral oil like avocado, grapeseed, or canola. Olive oil adds a fruity, peppery note that comes through in the finished bread.
A neutral oil makes the flavor nearly absent, the bread tastes more of flour and yeast. The oil’s main job here is keeping the dough surface from drying during the long rise; any oil does that. Use the same amount.
If you want the olive oil flavor, keep it. If not, any liquid fat works.
Frequently Asked Questions
Can I let the dough rise longer than 2 hours?
Yes, up to about 3 hours total. Beyond that, the dough overproofs: it collapses, smells overly sour, and bakes into a dense, flat loaf with a tight crumb. At 2 hours, it should be doubled and bubbly, that’s the sweet spot.
Why did my bread turn out dense and flat?
Most likely the dough didn’t rise enough, either the yeast was old or the spot wasn’t warm enough. Check that the dough doubled in 2 hours. Overhandling when shaping can also deflate it, so fold gently just 4 to 5 times.
Can I make the dough ahead and bake later?
You can refrigerate the dough after the 2-hour rise, covered, for up to 24 hours. Then scrape it onto a floured surface, shape, and bake straight from the fridge. Expect a slightly less dramatic oven spring and a denser crumb.
The loaf won’t be as airy as same-day, but it’s still good.
How is this different from a traditional kneaded bread?
No-knead dough starts wetter and shaggier, and you never work it by hand or mixer. The long, warm rise builds the gluten network without effort. The result is a more open crumb and a chewier texture, with a crispier crust from the steam in the Dutch oven.