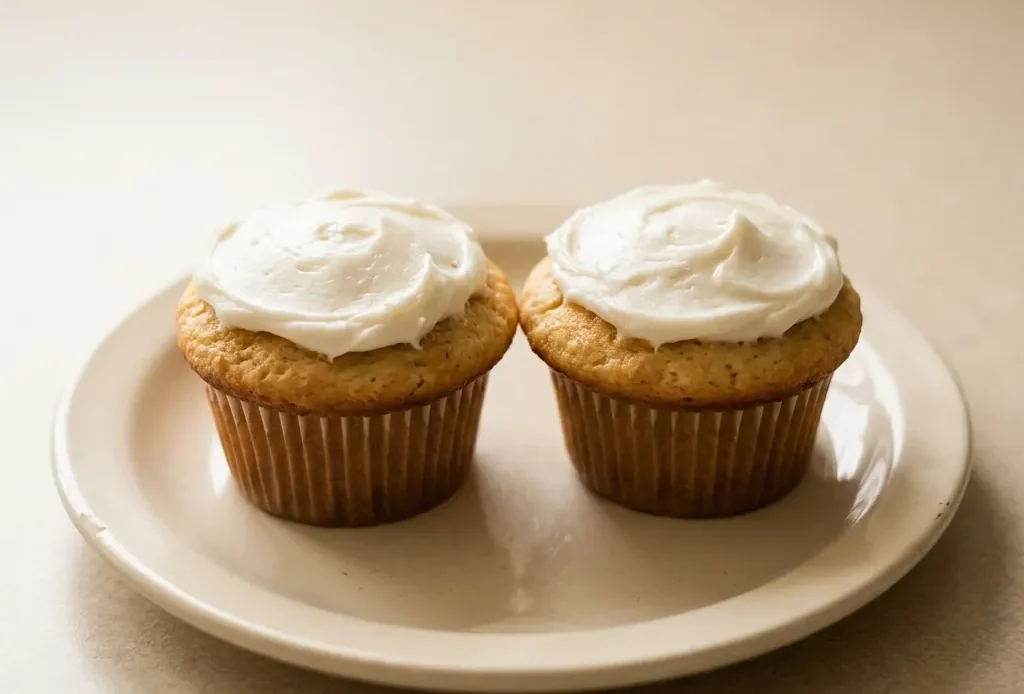
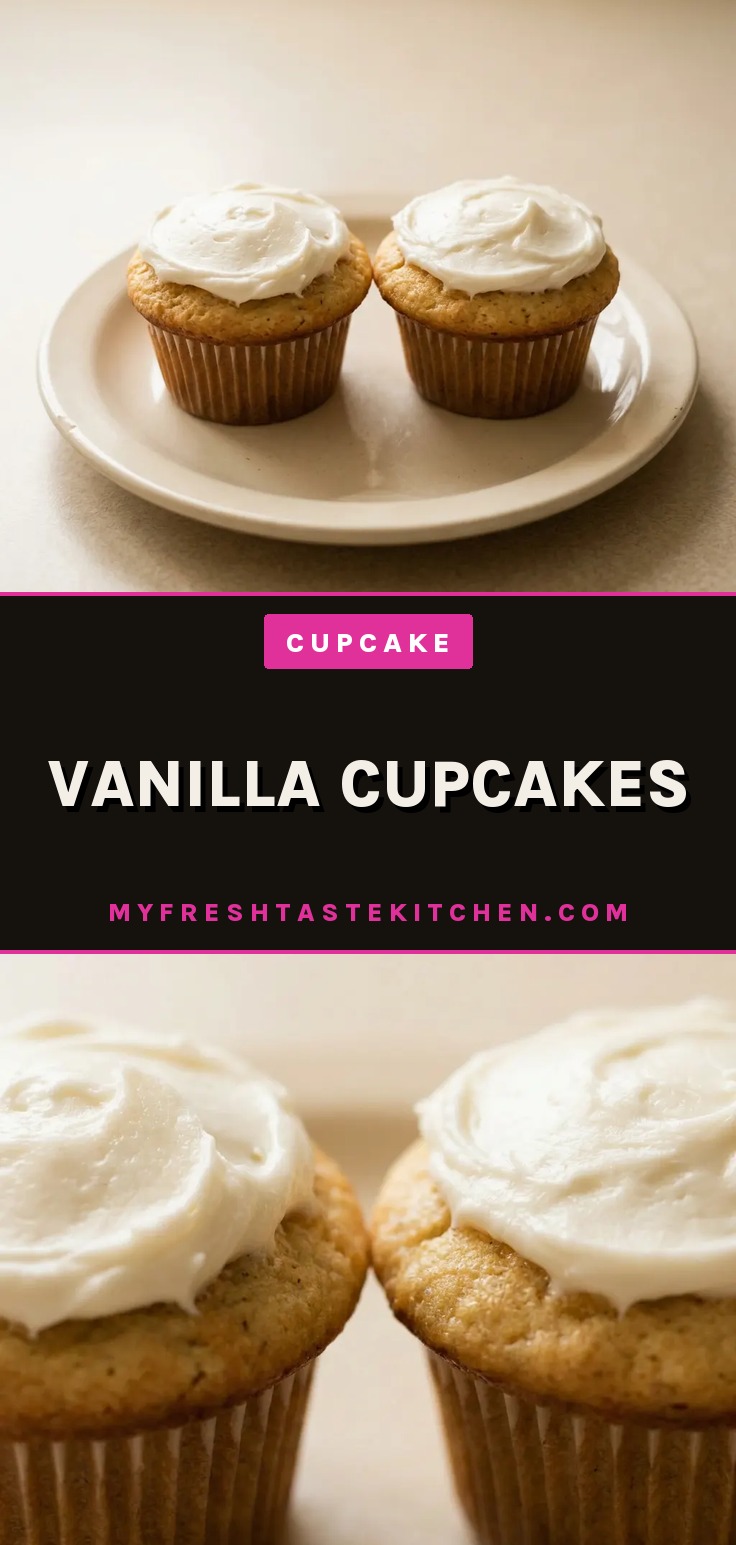
Not a box mix shortcut, these vanilla cupcakes are the real thing, tender, fine-crumbed, and reliably domed. The method hinges on one simple observation: how the butter and sugar look when you’ve creamed them long enough.
Pale and fluffy means you’ve trapped the air that lifts the cake. Underdo it and the crumb tightens; overmix the flour and it goes dense. The margin is forgiving, but the visual cues are clear.
I once beat the batter until it was smooth and silky, thinking I was being thorough. The cupcakes came out dense and squat, more like hockey pucks than fluffy treats.
Creaming for lift
Creaming butter and sugar isn’t just mixing, it’s building the structure that makes a cupcake light. When you beat room-temperature butter with sugar, the sugar crystals cut tiny air pockets into the fat.
Those pockets expand in the oven, creating lift. You’ll see the mixture go from yellow to pale, and it’ll look fluffy, almost like frosting.
That’s the sign you’ve incorporated enough air. If the butter’s too cold, it won’t trap air; too warm, it’ll collapse. The pale, fluffy stage is your cue that the foundation is set.
Alternating wet and dry
Adding flour and milk in alternating batches keeps the gluten from overdeveloping. Gluten forms when flour proteins combine with liquid, and too much makes tough cupcakes. Starting and ending with flour gives structure without toughness.
Mix only until the flour streaks disappear; the batter may look a little lumpy, that’s fine. Now I stop mixing as soon as the flour streaks disappear, even if the batter looks a little lumpy, to avoid developing too much gluten.
Overmixing yields a dense, rubbery crumb, so err on the side of undermixing.
Filling the liners
Filling each liner two-thirds full gives the batter room to rise without spilling over. Too little batter, and you get flat cupcakes; too much, and they’ll mushroom. Paper liners do more than prevent sticking, they help the sides bake evenly and make removal easy.
Use a scoop or spoon to fill each cavity to the same level; uneven filling leads to some cupcakes overbaked, others underbaked. The goal is a rounded dome, not a muffin top.
Oven temperature and placement
Baking at 350°F gives a steady, even heat that browns the tops golden without burning the bottoms. Place the pan on the center rack to allow hot air to circulate evenly around each cupcake. Ovens vary, so start checking around 15 minutes; a toothpick inserted in the center should come out clean.
Cupcake size affects timing, smaller ones bake faster, larger ones need more time. The toothpick test doesn’t lie: clean means done, gooey means bake longer.
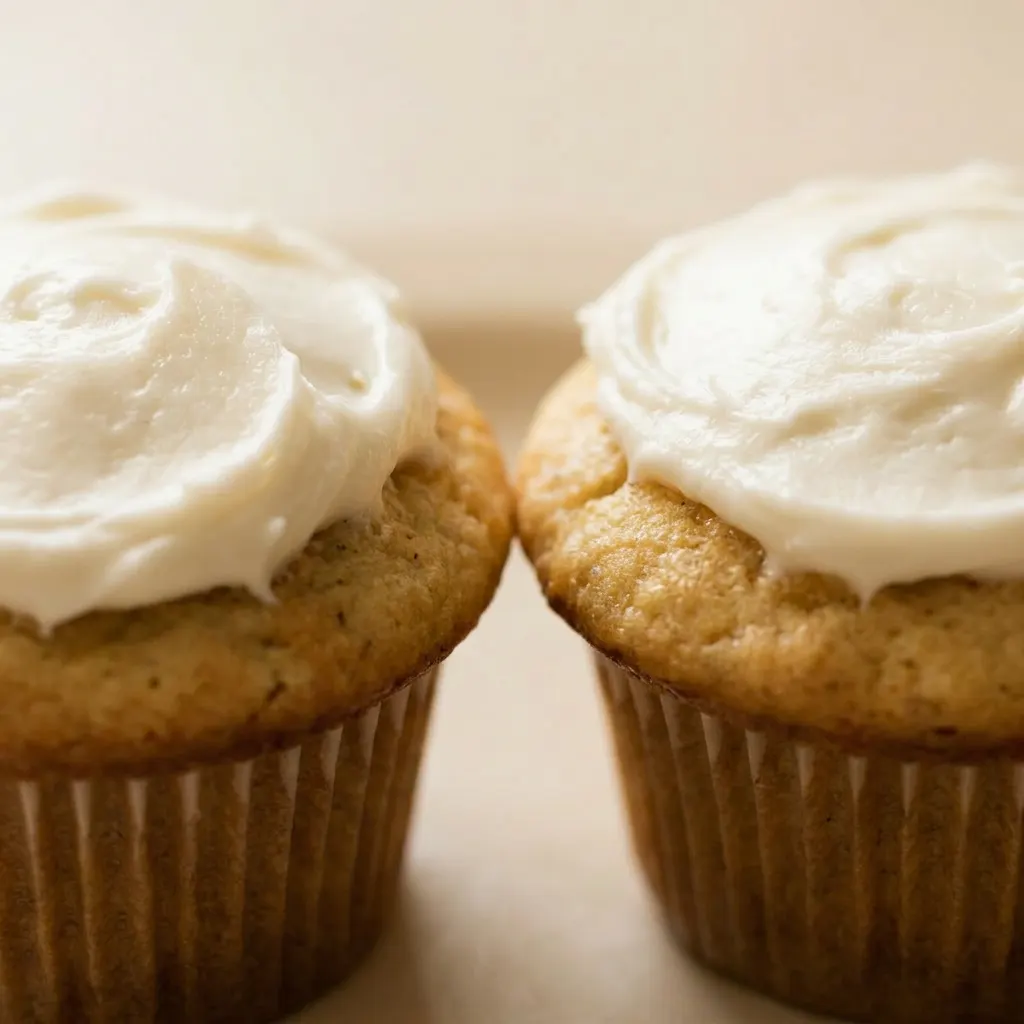
Prep: 15 min · Cook: 20 min · Total: 35 min · Servings: 24
Ingredient Notes for Tender Cupcakes
Butter: Use unsalted butter, softened to room temperature so it creams properly with the sugar.
All-purpose flour: Standard all-purpose flour works best; avoid high-protein bread flour which makes dense cupcakes.
Vanilla extract: Pure vanilla extract gives the cleanest flavor, but imitation vanilla can work in a pinch.
Milk: Whole milk gives the richest crumb, but 2% works fine; skim milk will produce a drier texture.
Mixing the batter for tender crumb
Beat butter and sugar
Beat on medium-high until pale and fluffy, about 3 minutes. The mixture should look light and feel airy when you lift the beater, not dense or greasy.
Add eggs one at a time
Beat each egg in thoroughly before the next. The batter may look slightly curdled after the first egg, that’s normal. Keep beating; it will smooth out.
Alternate dry and wet
Add flour mixture and milk in three additions, starting and ending with flour. Mix on low until just combined; stop when you no longer see dry flour. A few lumps are okay.
Fill the liners
Fill each liner about two-thirds full, about 3 tablespoons. Use a cookie scoop for even portions. Too full and they’ll mushroom; too little and they’ll be flat.
Bake and test
Bake at 350°F for 15 to 25 minutes. Start checking at 15 minutes: a toothpick inserted in the center should come out clean, not wet. The tops should spring back when lightly pressed.
Vanilla Cupcakes
Ingredients
- 2½ cups all-purpose flour 312g
- 1½ cups granulated sugar 300g
- 2 tsp baking powder
- ½ tsp salt
- 1 cup unsalted butter 227g, room temperature
- 4 large eggs
- 1 cup milk 240ml
- 2 tsp vanilla extract
Instructions
Preheat oven:
Heat oven to 350°F (175°C).Mix dry ingredients:
In a bowl, combine flour, baking powder, and salt with a whisk.Cream butter and sugar:
In another large bowl, beat butter and sugar until pale and fluffy. Incorporate eggs one by one, beating thoroughly after each addition, then stir in vanilla.Alternate flour and milk:
Gradually add the flour mixture and milk to the butter mixture in alternating batches, starting and ending with the flour. Mix only until incorporated; avoid overmixing.Fill muffin liners:
Place paper liners in muffin tins and fill each liner about two-thirds full.Bake and cool:
Bake for 15–25 minutes (adjusting for size) until a toothpick inserted in the center emerges clean. Let cool in the pan for 5 minutes, then move to a wire rack.
Swapping in Vanilla Cupcakes Without Losing Lift
Butter: Vegan butter or margarine (stick form, 80% fat). Creams and aerates much like dairy butter. Your cupcakes will be slightly less rich but still light.
Avoid spreads with less fat; they’ll deflate the batter and ruin the structure.
Milk: Buttermilk or plain non-dairy milk (soy, oat, or almond). Buttermilk adds tang and a slightly tighter crumb; reduce baking powder to 1½ tsp and add ½ tsp baking soda. Non-dairy milk works 1:1, but the crumb will be a touch drier, add an extra tablespoon of milk if the batter seems stiff.
Vanilla extract: Vanilla bean paste (same amount). Gives visible vanilla specks and a more aromatic, round flavor. The texture stays identical.
Storage and Serving
Store unfrosted cupcakes in an airtight container at room temperature for up to 3 days. The crumb stays moist and tender for the first 2 days; by day 3 it starts to dry out slightly. If you’ve already frosted them, keep them in the fridge, but let them sit out for 30 minutes before serving to take the chill off.
For longer storage, freeze unfrosted cupcakes in a single layer in a freezer bag for up to 3 months. Thaw at room temperature for about an hour. Frost only after thawing.
Serve cupcakes within a few hours of frosting for the best texture; the frosting softens the cake over time. If you’re making them ahead, bake and freeze unfrosted, then frost the day you plan to serve. Use a cupcake stand for a clean presentation.
Tips
- Test your baking powder before starting: drop 1/2 teaspoon into a small bowl of hot water. If it bubbles vigorously, it’s active. If not, replace it. Stale baking powder won’t lift the cupcakes and you’ll get dense, flat tops.
- For even baking, rotate the muffin tin halfway through the bake time. Ovens often have hot spots, so turning the pan ensures all cupcakes brown and rise uniformly.
Frequently Asked Questions
Can I make the batter ahead of time and bake later?
No, bake the batter right after mixing. The leavening starts reacting as soon as you combine wet and dry, and waiting deflates the air you beat in. If you need to prep ahead, bake the cupcakes fully, cool them, and freeze unfrosted, they keep for up to 3 months.
Why did my cupcakes sink in the middle after baking?
Most likely underbaking, the center wasn’t set when you pulled them. Start checking at 15 minutes with a toothpick; it should come out clean, not wet. Another cause: opening the oven door too early, which lets in cold air and collapses the structure.
How do I get a domed top instead of flat cupcakes?
Start with properly creamed butter and sugar, it should look pale and fluffy, not dense. Fill liners exactly two-thirds full; too little batter gives flat tops. Bake on the center rack at 350°F without opening the door for the first 15 minutes.
What’s the difference between vanilla cupcakes and vanilla muffins?
Cupcakes are leavened mostly by creamed butter and eggs for a tender, fine crumb, while muffins rely on baking powder and a liquid fat for a coarser, denser texture. Cupcakes are sweet and meant for frosting; muffins are less sweet and eaten plain.
