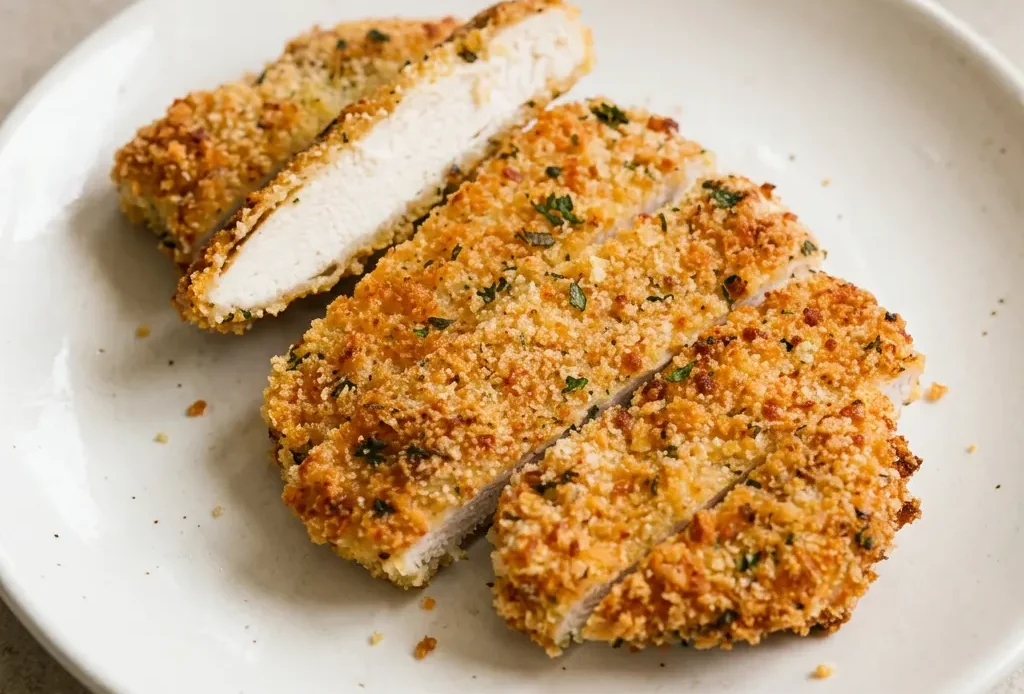
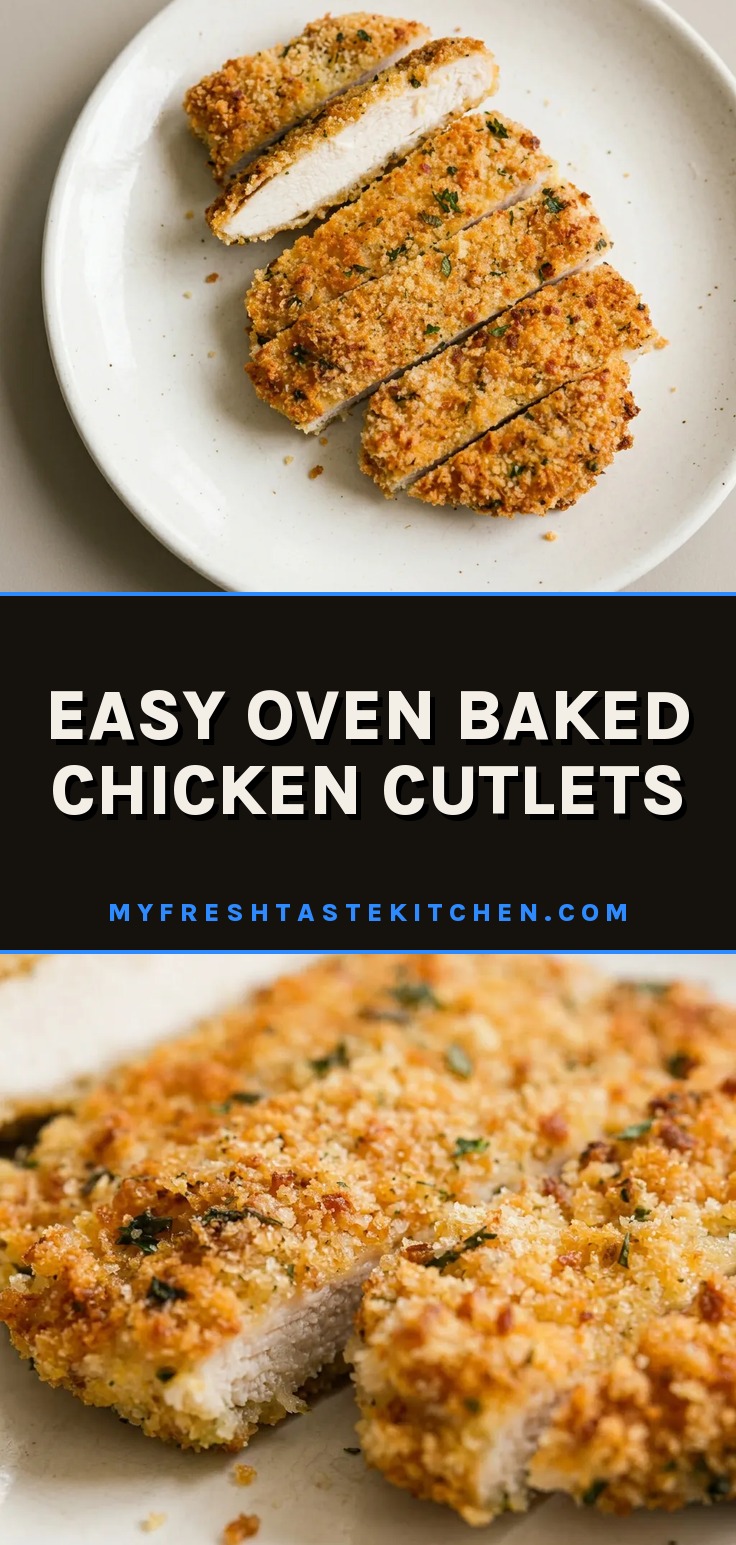
You want the crunch of fried chicken without the grease and mess. These easy oven baked chicken cutlets get there with a simple trick: a light spray of oil and a quick broil at the end.
No deep fryer, no standing over a spattering pan. The breading stays shattery and the meat stays juicy, but only if you follow the order of the breading station and don’t skip the pound.
A little patience with that step pays off in even cooking and a crust that actually clings.
Why pound chicken to an even thickness?
Uneven chicken breasts cook at different rates: thin parts dry out while thick parts stay underdone. Pounding to a uniform ¼-inch thickness solves this.
Each piece now cooks at the same speed, so the whole cutlet finishes together. Thin cutlets also cook fast, leaving less time for moisture to escape.
The breading browns evenly too, because every part of the surface hits the same oven heat. No scorched edges or pale centers. What you get: juicy chicken through and through, with a consistent golden crust.
What makes the breading stick and stay crunchy?
The flour-egg-panko sequence works because each layer preps the next. Flour gives the egg something to grip, without it, the egg slides off raw chicken. The egg then acts as glue, holding the panko-Parmesan mix in place.
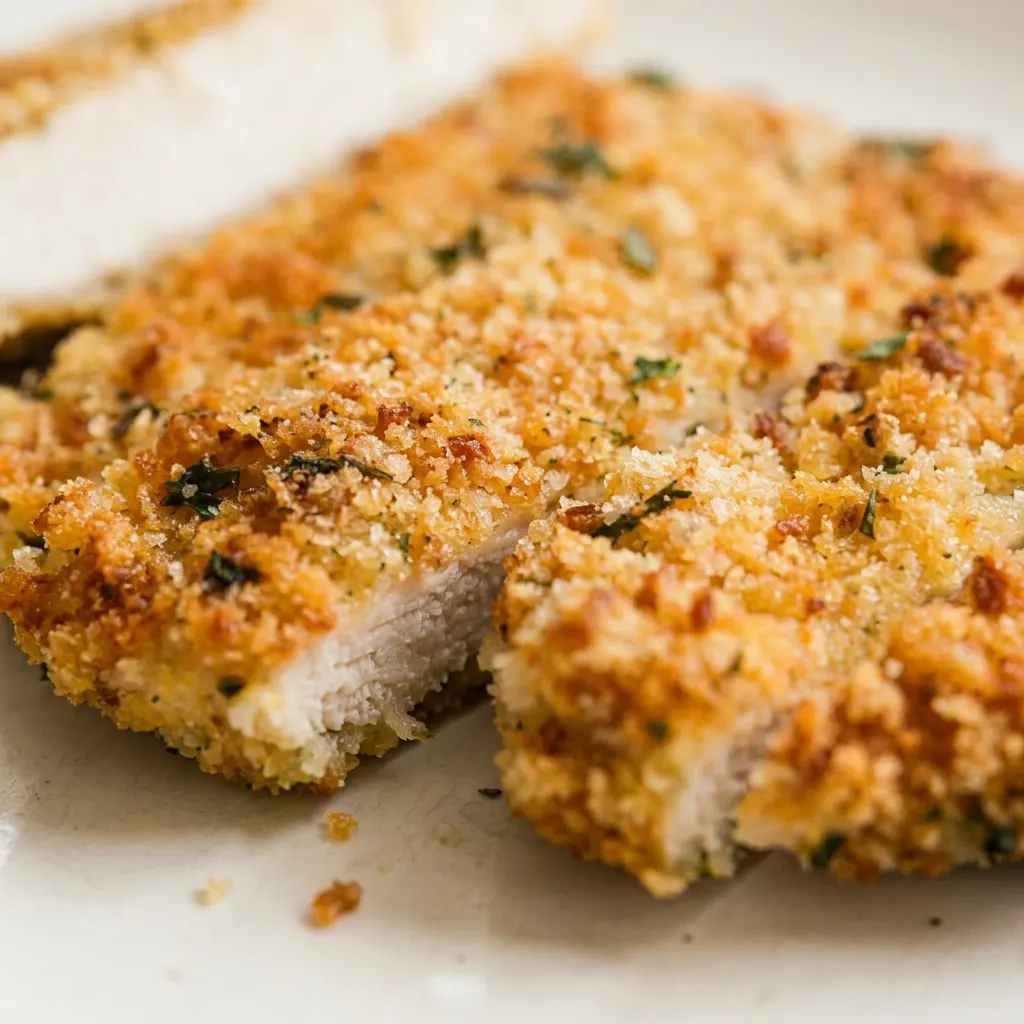
Parmesan adds flavor and helps the crust brown, while panko stays light and airy. No heavy, dense coating. When you bite, the crust shatters, not peels off.
That’s the payoff: a crunchy shell that clings to every bite of chicken.
How does baking with a spray of oil and a final broil get a crispy crust?
Baking at 400°F cooks the chicken through without the grease of frying. But a dry breading just turns pale and mealy. A light mist of olive oil spray gives the panko a thin fat layer that browns in the oven.
That initial 18-minute bake firms the crust, then the 2 to 3 minute broil finishes it. The high direct heat from above dries and crisps the surface fast, turning it golden and crunchy.
No deep fryer needed. The result: a cutlet with a shatter-crunch exterior and moist meat inside.
Prep: 20 min · Cook: 20 min · Total: 40 min · Servings: 3
Ingredients that make these cutlets work
Thin chicken breasts: Start with cutlets already thin, or buy full breasts and pound them yourself to 1/4 inch.
Seasoned Panko breadcrumbs: Seasoned panko has salt and herbs already; check the label so you don’t over season.
Parmesan cheese: Grate it fresh from a block. Pre shredded stuff has anti caking agents that dull the crust.
Eggs: Use large eggs. They give the right amount of glue for the breading to stick.
How to bake chicken cutlets that are crunchy and juicy
Pound the chicken to even thickness
Flatten each breast to ¼ inch. You’ll feel the thickness even out under the mallet.
If one side is thicker than the other when you lift it, pound more. The goal: no thin spots that dry out or thick ones that stay under.
Set up the breading station
Arrange flour, beaten eggs, and panko-Parmesan mix in three shallow bowls. The flour should cling dry to the chicken, if it looks patchy, you missed a spot. The egg should coat the flour completely, no dry patches.
Bread each cutlet in order
Coat in flour, dip in egg, then press into panko. When you lift the cutlet, the breading should feel firmly attached, not falling off.
If crumbs drop onto the baking sheet, press harder next time. Keep the coating even, no bare spots.
Bake and then broil for crunch
Bake 10 minutes, flip, then bake 8 more. The crust should look set and lightly golden.
Switch to broil for 2 to 3 minutes. Watch closely: when the breading turns deep golden brown and you hear a faint sizzle, it’s done. Pull it before it blackens.
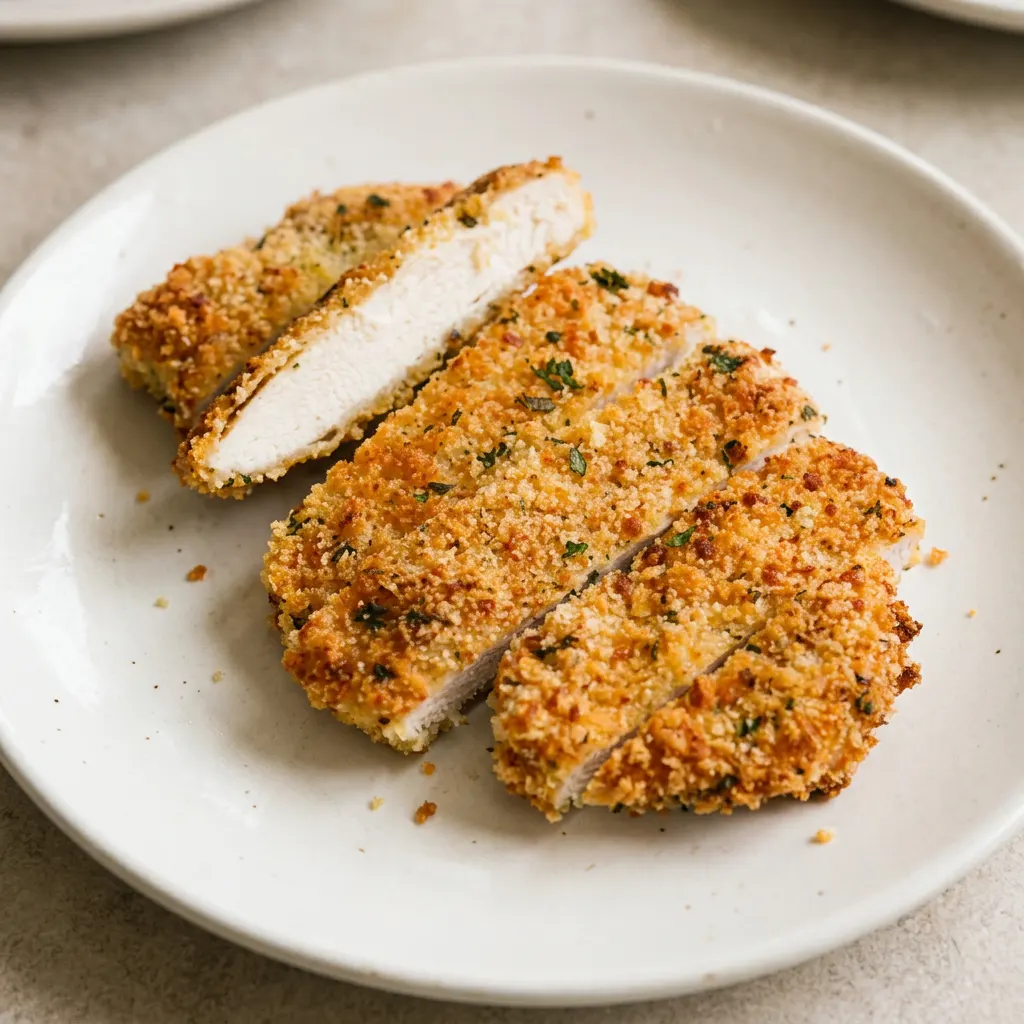
Easy Oven Baked Chicken Cutlets
Ingredients
Method
Preheat oven to 400°F:
Set the oven to 400°F (205°C) to preheat.Flatten chicken breasts:
On a cutting board, flatten each chicken breast to an even 1/4-inch thickness using a meat mallet or a heavy object.Set up breading station:
Prepare a breading station: in one shallow bowl, beat the eggs. In a second shallow bowl, add the flour. In a third shallow bowl, mix the Panko breadcrumbs, Parmesan cheese, garlic powder, dried parsley, salt, and black pepper.Bread the chicken pieces:
Coat each chicken piece first in flour, then dip into the egg, and finally press into the breadcrumb mixture, making sure each side is fully covered.Arrange on baking sheet:
Arrange the breaded chicken on a baking sheet lined with parchment paper. Lightly mist the tops with olive oil spray.Bake and broil until crispy:
Bake for 10 minutes, then turn each piece over and bake for an additional 8 minutes. Increase the heat to broil on high and cook for 2-3 minutes until the coating is golden and crispy, keeping a close eye to avoid burning.Garnish and serve:
If desired, serve with a garnish of fresh parsley and a squeeze of fresh lemon juice.
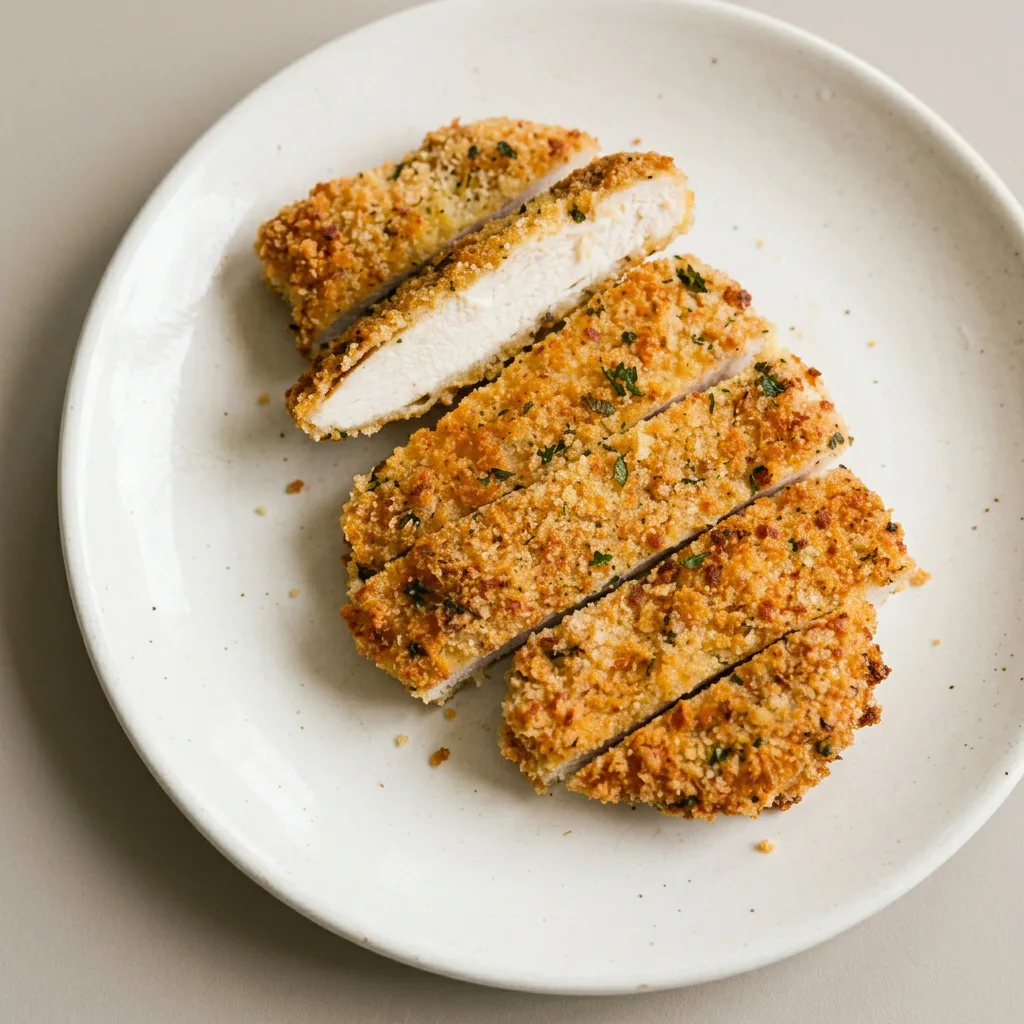
What to swap in these chicken cutlets (and what not to)
Seasoned Panko breadcrumbs: Crushed pork rinds for a keto version, or gluten-free panko for GF. Pork rinds make the crust sturdy but lighter, with a porky flavor that works with Parmesan.
Gluten-free panko stays crunchy but may brown quicker; check at 8 minutes. For either, start with the same amount as panko, then adjust if the coating feels thin.
All-purpose flour: Gluten-free all-purpose flour blend (for GF). GF flour clings the same as regular flour; the egg still grabs it.
No change in texture or flavor. Use the same amount.
Parmesan cheese: Leave it unless you must go dairy-free; then use a dairy-free hard cheese like aged vegan Parmesan or nutritional yeast. Parmesan adds salt, umami, and helps the crust brown. Skip it and the coating tastes flat and stays pale.
Nutritional yeast gives a cheesy note but less browning; add 1/4 tsp more salt to compensate. Vegan Parmesan shreds may not melt the same, expect a less cohesive crust.
Chicken breast: Thin-cut pork loin or turkey breast cutlets. Pork and turkey cook similarly; aim for same 1/4-inch thickness.
Pork has a bit more fat, so the meat stays slightly juicier. Turkey can dry out faster; check temp at 15 minutes total.
Flavor differs, but the breading and method work unchanged.
Tips
- Press the breadcrumb mixture firmly onto the chicken with your palms, then gently shake off excess. If any bare spots remain after pressing, dab a little egg on the spot and press more crumbs there. This prevents the coating from peeling off during flipping.
- After breading, let the cutlets rest on the baking sheet for 5 minutes before spraying with oil. This allows the egg to set slightly, which helps the breading stay attached when you flip them halfway through baking.
Storage and Serving
Eat these chicken cutlets within 30 minutes of the final broil for the crispiest crust. Any longer and the breading starts to soften from the steam inside. To store leftovers, let the cutlets cool completely on a wire rack, then place them in a single layer in an airtight container.
Refrigerate for up to 3 days. The crust will lose its crunch as moisture migrates from the chicken.
To restore crispiness, reheat in a 350°F oven or air fryer for about 5 minutes, flipping halfway. Avoid the microwave; it turns the breading soggy. Freezing is not recommended; the breading becomes soft and the chicken can dry out.
If you must freeze, freeze the breaded but unbaked cutlets on a sheet pan, then transfer to a freezer bag. Bake from frozen, adding 5 minutes to the initial bake time. For serving, add fresh parsley and lemon juice only after reheating, just before eating, so the garnish stays bright and the lemon doesn’t soak in.
Frequently Asked Questions
Can I use regular breadcrumbs instead of panko?
You can, but the crust won’t be as crunchy. Panko has larger, flakier crumbs that stay crisp after baking. Regular breadcrumbs are finer and denser, so they absorb more oil and turn out more like a traditional breading, still good, but not shattery.
How do I keep the breading from falling off?
Press the panko mixture firmly onto the chicken so it adheres. If the breading still falls off, you likely missed the flour step or the egg didn’t coat fully. Make sure each cutlet gets a complete flour coat, the egg needs it to stick, and let the breaded cutlet rest a minute before baking.
Can I make these ahead and reheat?
Best eaten within 30 minutes of broiling for maximum crunch. Leftovers can be refrigerated up to 3 days, then reheated in a 350°F oven or air fryer about 5 minutes, flipping halfway. The microwave makes the crust soggy, skip it.
What’s the difference between this and fried chicken cutlets?
These are baked, not deep-fried, so they use a light oil spray instead of a bath of oil. The method relies on a final broil to achieve crunch without the grease. You get a similar shatter-crunch crust, but the chicken stays leaner and the process is hands-off once it’s in the oven.