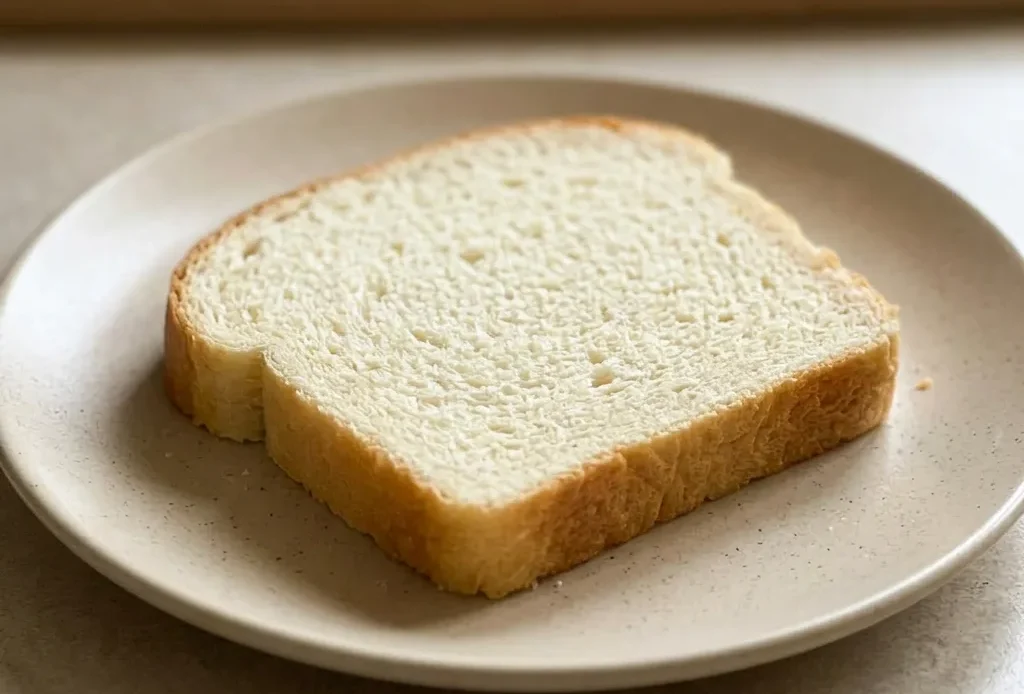
A good white bread comes down to feel, not just a timer. The window between under- and over-proofed is maybe ten minutes, and that’s where the crumb goes from airy to dense.
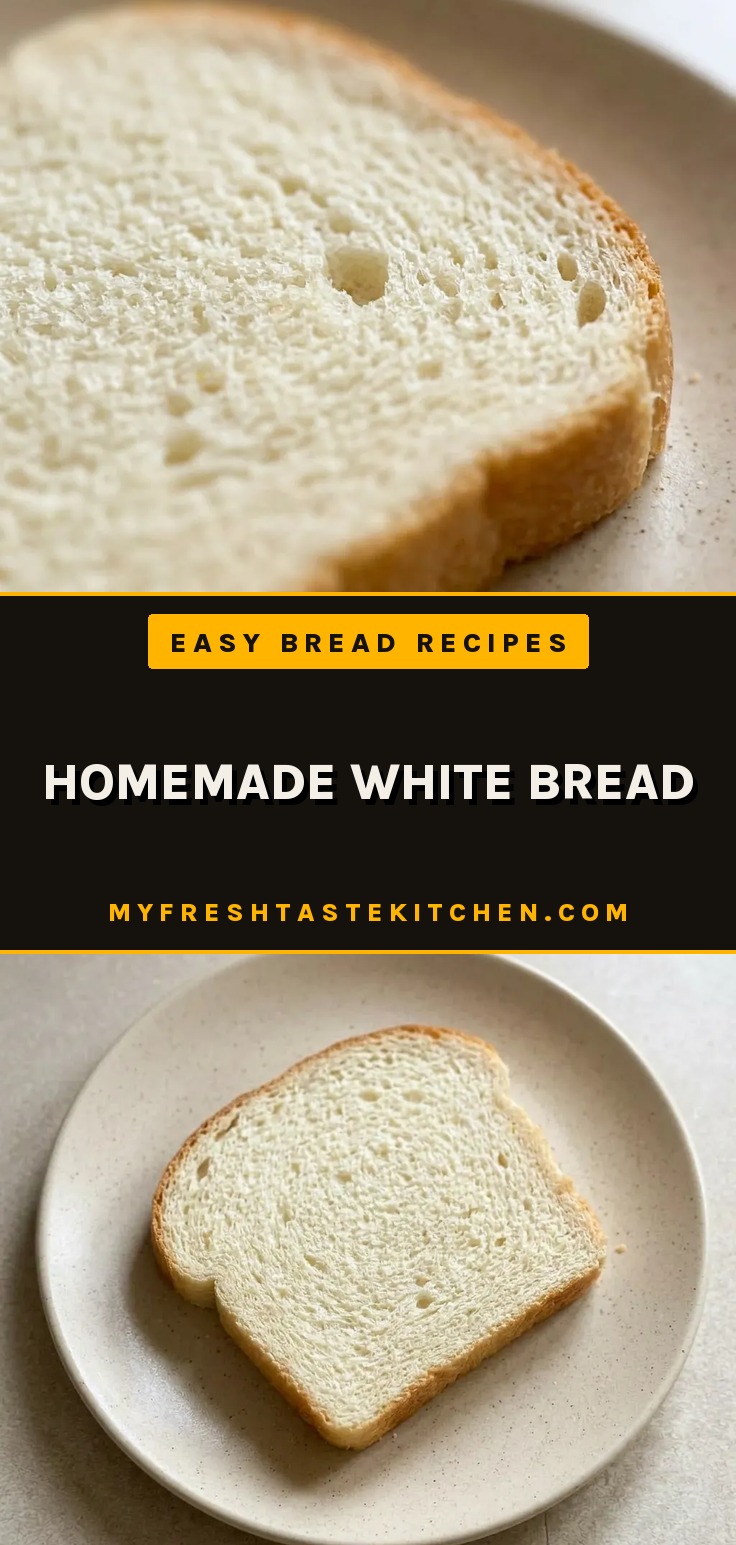
This homemade white bread uses honey for a softness you can pinch between two fingers without it tearing, and a trace of acid to keep that texture around a day longer than plain loaves. It’s the kind of sandwich bread that doesn’t fight back, the slices hold up to mayo and tomato without going soggy. If you’ve ever pulled a heavy, squat loaf from the oven, the fix is usually in the dough’s tackiness before the first rise, not in the oven temperature.
Why proof the yeast before mixing the dough?
Dissolving honey in lukewarm water and sprinkling yeast over the surface gives you a clear signal that the yeast is alive. Within 15 minutes, a frothy layer should form, that’s the yeast feeding and multiplying. If you see no bubbles, the yeast is dead and won’t leaven the bread.
Catching that early saves you from mixing a whole batch that never rises. It’s a simple check that costs only a few minutes.
For easy bread recipes for beginners, this step removes guesswork.
What should the dough feel like during kneading?
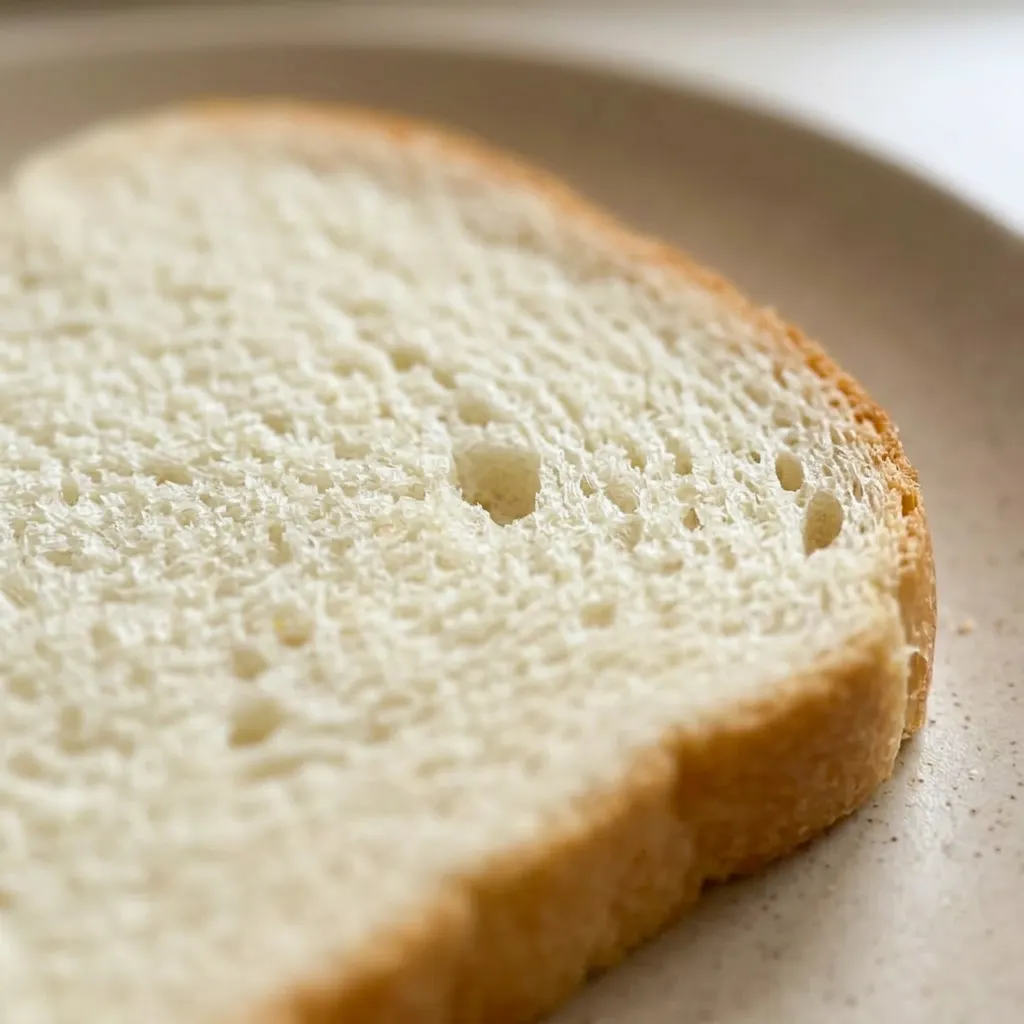
As you knead, the dough changes. It starts sticky and wet, clinging to everything. Over 12 to 15 minutes, it becomes smooth and elastic.
The key is hydration: if the dough clings to the sides of the bowl, it’s too wet, add flour a little at a time. If it’s tacky but mostly releases from the sides (only sticking at the bottom), you’re right on target.
If it doesn’t stick to the bottom at all, it’s too dry, sprinkle in water in half-teaspoon increments. That slick, supple feel is exactly what yields a light, airy crumb.
For easy bread recipes, this consistency is the goal.
How do you know when the second rise is done?
After shaping the dough into the pan, let it rise until doubled, about 45 minutes to an hour in a warm spot. To test, press a finger into the dough about half a centimeter deep. If the indent stays or rebounds only slightly, it’s ready to bake.
If it springs back almost completely, it needs more time. That pause tells you the gluten has relaxed enough and the yeast has built up gas for a good oven spring.
For a fluffy sandwich bread recipe, nailing this proof gives you that soft, soft texture. Underproofed dough will dome and crack; overproofed will collapse.
A little acid goes a long way in white bread
Adding 1/4 teaspoon citric acid or 1/2 tablespoon white vinegar to the dough does two things you can feel and taste. It strengthens the gluten network, making the dough easier to shape and giving the crumb a finer, more even structure.
It also extends shelf life by a day or two, the bread stays soft longer without stale notes. You won’t taste the acid in the final loaf; it’s used up during fermentation. For homemade bread recipes, this small boost is especially helpful when your kitchen is warm or your flour is low in protein.
It’s a simple tweak that pays off in texture and keeping quality.
Prep: 1 hr 30 min · Cook: 45 min · Total: 4 hr 15 min · Servings: 32 · Calories: 90 kcal
A few ingredients matter more than others in this white bread
Active dry yeast: Buy fresh, not expired. The proofing step in the recipe will confirm it’s alive before you commit.
All-purpose flour: Spoon into the cup and level off. Scooping packs it tight and throws off the hydration.
Citric acid or white vinegar: Optional but helps strengthen the gluten and keeps the loaf soft an extra day or two.
Unsalted butter: Use melted, not softened. It blends into the dough more evenly for a tender crumb.
Knead until the dough feels smooth and supple, not sticky
Proof the yeast
Dissolve honey in lukewarm water, sprinkle yeast on top, and let sit 15 minutes. You should see a frothy layer. No bubbles means dead yeast, start over.
Mix the dough
Add flour, water, salt, honey, acid, and melted butter to the proofed yeast. Stir until a shaggy mass forms. It will look dry at first but come together.
Knead in the mixer
Use the dough hook on low for 2 to 5 minutes until a ball forms. Increase to speed 3, 4 and knead 12 to 15 minutes. The dough will go from sticky to smooth and elastic.
Check dough consistency
After 10 minutes, try speed 5, 6 for a minute. If it clings to sides, add flour a spoonful at a time. If tacky but releases from sides (only sticks at bottom), it’s right.
If it doesn’t stick to bottom, add water in 1/2 tsp increments.
First rise
Fold the dough into a smooth ball, place in a lightly oiled bowl, cover, and let rise about 1 hour until doubled. A warm spot speeds it up.
Shape the dough
Turn dough out onto a floured surface, press into a rectangle about 8 inches wide. Roll tightly from the short side, pinching the seam. Tuck sides and seal.
Place seam-side down in greased pan.
Second rise
Cover loosely and let rise 45 minutes to 1 hour until doubled. Test by pressing a finger 1/2 cm deep, if indent stays or rebounds slightly, it’s ready. If it springs back, let it rise more.
Bake the bread
Preheat oven to 375°F. Bake 35 to 45 minutes.
The loaf is done when tapping the top sounds hollow or internal temperature hits 195°F. Let cool in pan 10 minutes, then on a rack.
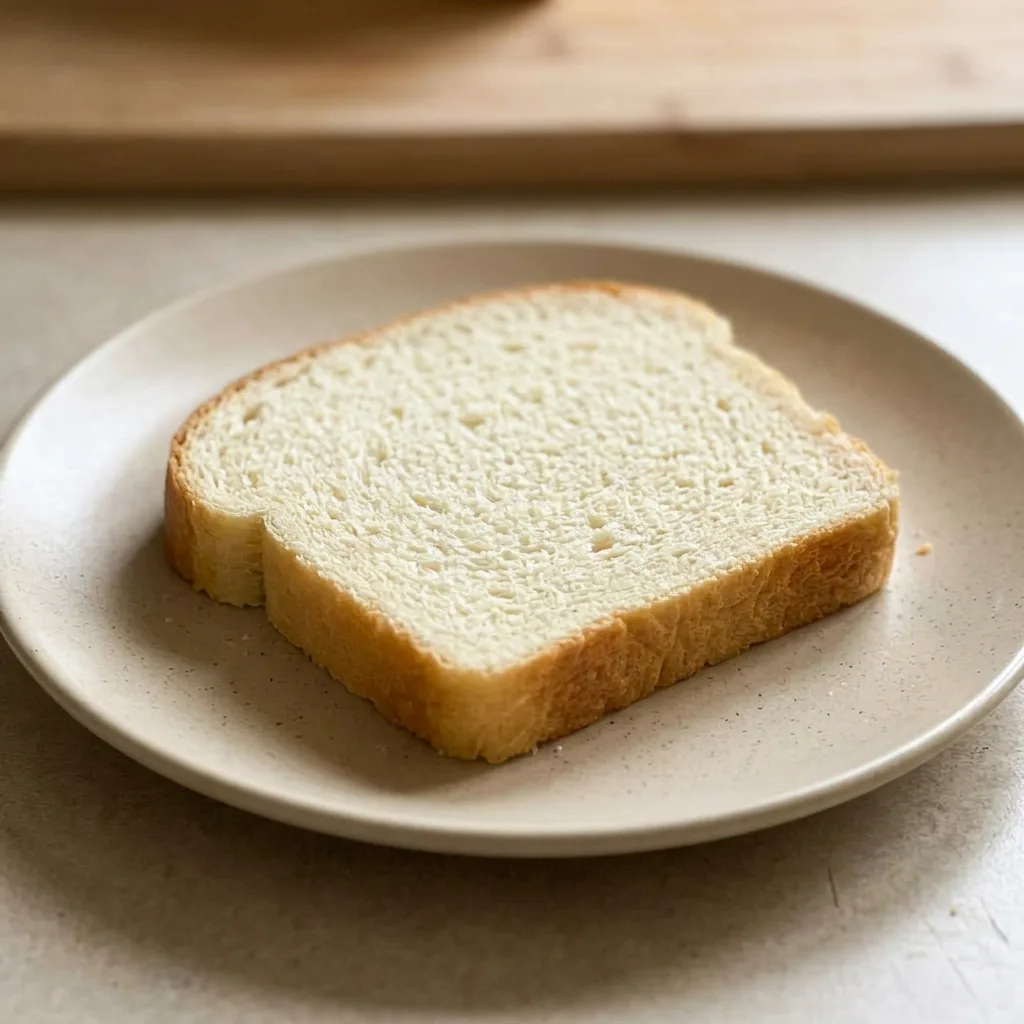
Homemade White Bread (Sandwich Recipe)
Ingredients
Method
Proof the Yeast:
Pour 240 mL (1 cup) lukewarm water into a stand mixer bowl. Dissolve 11 g honey (2 1/4 tsp) in the water, then scatter 7 g active dry yeast (2 1/4 tsp) over the surface and stir gently. Allow to rest in a warm spot for roughly 15 minutes until the mixture becomes frothy and active (if the yeast was frozen, this may take longer; if no bubbles form, the yeast is expired and should be discarded).Mix Dry Ingredients:
Add 553 g all-purpose flour (4 1/3 cups), 120 mL (1/2 cup) lukewarm water, 1 1/4 tsp sea salt, 22 g honey (1 tbsp), 1/4 tsp citric acid (or 1/2 tbsp white vinegar, optional), and 30 g unsalted butter (2 tbsp, melted) to the proofed yeast. Combine using a dough whisk or spatula until a shaggy dough forms.Knead the Dough:
Fit the mixer with the dough hook and knead at low speed for 2-5 minutes until the dough gathers into a ball. Raise the speed to 3-4 (KitchenAid) and continue kneading for 12-15 minutes until the dough is smooth and elastic. Inspect periodically: the dough will start very sticky and wet, then gradually become smoother. After roughly 10 minutes, test by increasing the speed to 5-6 for 1-2 minutes. If the dough clings to the sides, it is too wet; sprinkle in flour a little at a time. If the dough is tacky but mostly releases from the sides (adhering only at the bottom), the consistency is correct. If the dough does not stick to the bottom, it is too dry; add water in 1/2 tsp increments. The finished dough should be smooth, soft, and slightly tacky.First Rise:
Detach the dough hook, then fold the dough over itself several times by hand to shape it into a smooth ball. Transfer to a lightly oiled bowl, cover with plastic wrap, and let rise for about 1 hour until at least doubled in volume.Prepare Loaf Pans:
While the dough is rising, prepare the loaf pans: grease one 9×5-inch pan for an extra-large loaf, or two 8.5×4.5-inch pans for smaller loaves. Set aside.Divide the Dough:
Turn the proofed dough out onto a lightly floured surface and gently flatten it. If making two smaller loaves, divide the dough in half using a sharp knife or bench scraper (weigh for precision). Refrigerate one portion while shaping the first.Shape the Loaf:
Press the dough into a rectangle of even thickness, with the short side measuring about 8-8.5 inches (slightly less than the pan length). Starting from the short side, roll the dough tightly, pinching the edge as you go. After rolling, pinch the seam to seal, then tuck in the sides and pinch those seams as well. Ensure all seams are on one side (bottom) and the opposite side is smooth (top).Second Rise:
Place the shaped dough seam-side down into the prepared pan, pressing it evenly into the bottom. Loosely cover with plastic wrap and let rise again in a warm spot for 45 minutes to 1 hour until doubled. Repeat with the second portion if making two loaves.Test Proofing:
Test the proofing: lightly press the top with a finger to create a 1/2 cm deep indent. If the indent stays or rebounds only slightly, the dough is ready. If it springs back almost completely, it needs more proofing time.Preheat Oven:
During the final 30 minutes of the second rise, preheat a conventional oven to 375°F (190°C). Ensure the oven has been at temperature for at least 20 minutes before baking.Bake the Bread:
Position the loaf pans in the center of the oven, leaving at least 2 inches between them for air circulation. Bake for 35-45 minutes. The bread is done when tapping the top produces a hollow sound or the internal temperature reaches 195°F (90°C).Cool the Loaf:
Take the pans out of the oven and keep them in a warm area away from drafts. After about 10 minutes, remove the bread from the pans and let it cool completely on a wire rack. Optionally, brush the hot top with melted butter for extra flavor.Store the Bread:
Store the loaf in a bread box at room temperature for up to 4-5 days, or slice and freeze for up to 1 month.
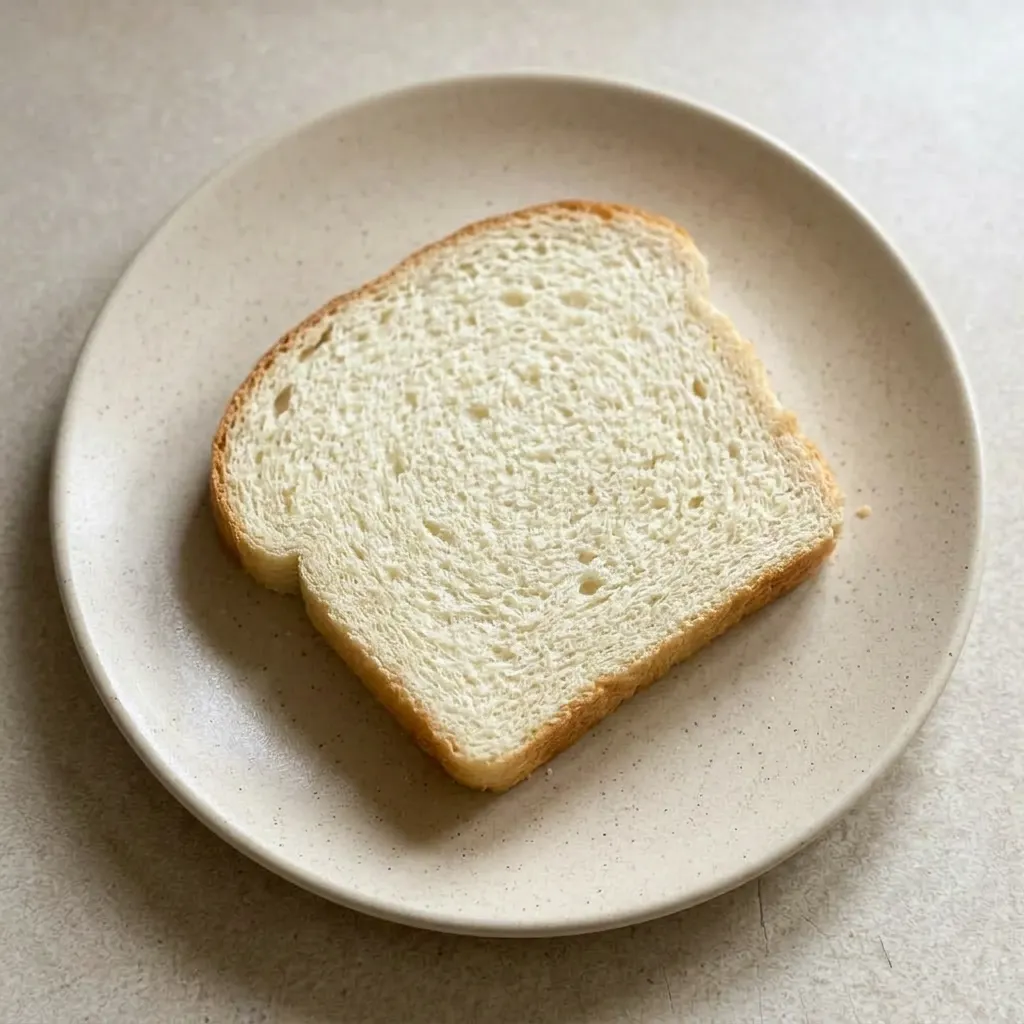
Three swaps that actually work in this white bread
Honey: Granulated sugar or maple syrup. Use the same amount of sugar by weight. Honey adds more moisture, so with sugar the dough may feel slightly drier, add a teaspoon of water if needed.
Maple syrup works measure for measure but adds subtle flavor; the bread may brown a touch faster, so check the crust at 30 minutes.
Unsalted butter: Vegetable oil (neutral like canola or grapeseed). Use the same 30g (2 tbsp) melted.
The crumb will be slightly less tender and the crust a bit softer. Butter contributes flavor and a finer texture; oil makes the bread keep moist longer but the flavor flattens.
Citric acid or white vinegar: Omit entirely. Skip the acid and you lose the subtle gluten strengthening and the slight extension in shelf life. The loaf will still rise fine and taste the same, but the crumb may be a hair coarser and the bread may stale a day sooner.
No other adjustment needed.
Tips
- Weigh your flour instead of using volume. The recipe calls for 553 g, which is 4 1/3 cups spooned and leveled. If you scoop flour from the bag, you can easily pack in 30% more, making the dough dry and dense. A scale ensures the water-to-flour ratio is correct every time.
- If you don’t have a scale, fluff the flour with a fork before spooning it into the cup and leveling with a straight edge. This reduces packing but still isn’t as accurate as weighing. The dough should feel tacky but not sticky after kneading; adjust with small amounts of water or flour if needed.
Storage and Serving
Store the fully cooled loaf in a bread box or paper bag at room temperature for up to 4 to 5 days. Plastic bags trap moisture and soften the crust, so avoid them if you prefer a crispier exterior. The crumb stays tender for the first 2 days; after that, it gradually firms.
To revive day-old slices, toast them lightly. For longer storage, slice the bread and freeze in a sealed bag for up to 1 month. Freeze slices in a single layer first, then stack to prevent sticking.
Thaw at room temperature or toast directly from frozen. The texture remains nearly fresh if you freeze shortly after baking.
Do not refrigerate; it accelerates staling. Serve the bread within a few hours of baking for the best soft crumb and crisp crust. If you brush the hot loaf with melted butter, do it right after removing from the pan, then cool completely before storing.
Frequently Asked Questions
Can I make the dough the night before and bake it the next day?
Yes, you can. After the first rise, punch it down, wrap it tightly in plastic, and refrigerate overnight.
The next day, let it come to room temperature, then shape and proceed with the second rise. The cold fermentation will deepen the flavor slightly.
Why did my bread turn out dense and not rise much?
Most likely the yeast was dead, if it didn’t get frothy in step 1, it won’t leaven the dough. Another common cause is underkneading: the dough should be smooth and elastic after 12 to 15 minutes of mixing. Check that your second rise doubled in volume before baking.
How do I know when the bread is fully baked without a thermometer?
Tap the top of the loaf, it should sound hollow. Also look for a deep golden-brown crust and the sides pulling away from the pan. If it feels heavy or the bottom is pale, give it another 5 minutes.
Can I freeze the baked bread? How should I thaw it?
Yes, slice and freeze in a sealed bag for up to one month. Thaw at room temperature or toast directly from frozen. Don’t refrigerate, it speeds up staling.
Is this bread supposed to be soft and fluffy or more crusty?
It’s a soft, fluffy sandwich loaf with a tender crumb and a moderately crisp crust. The butter and honey keep the crumb tender, while the crust browns nicely during the 35 to 45 minute bake. For a softer crust, store in a paper bag.
