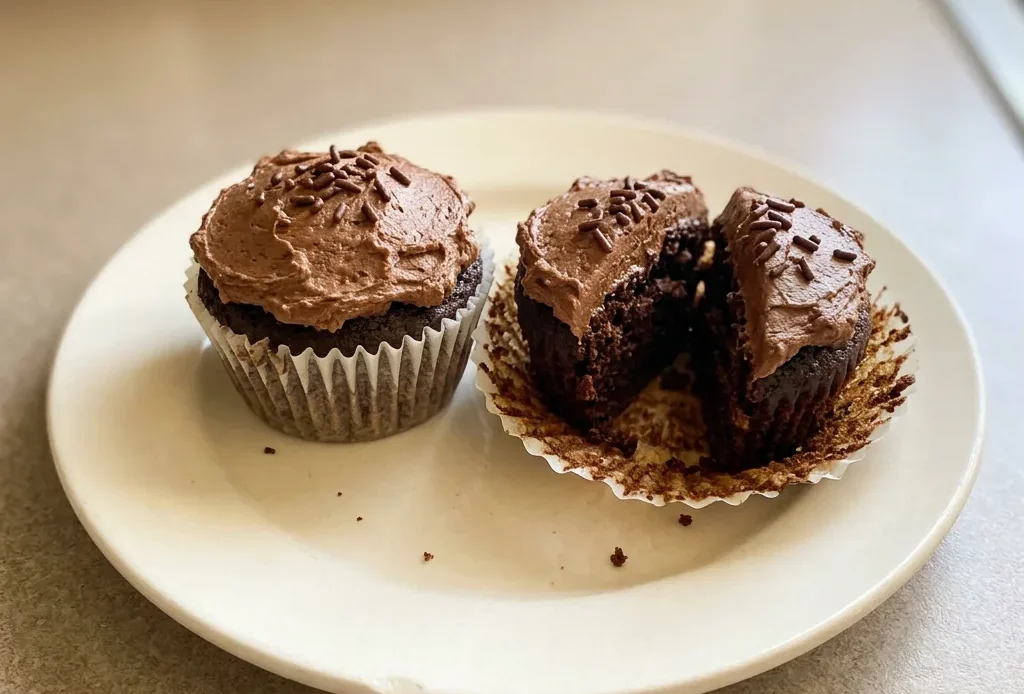
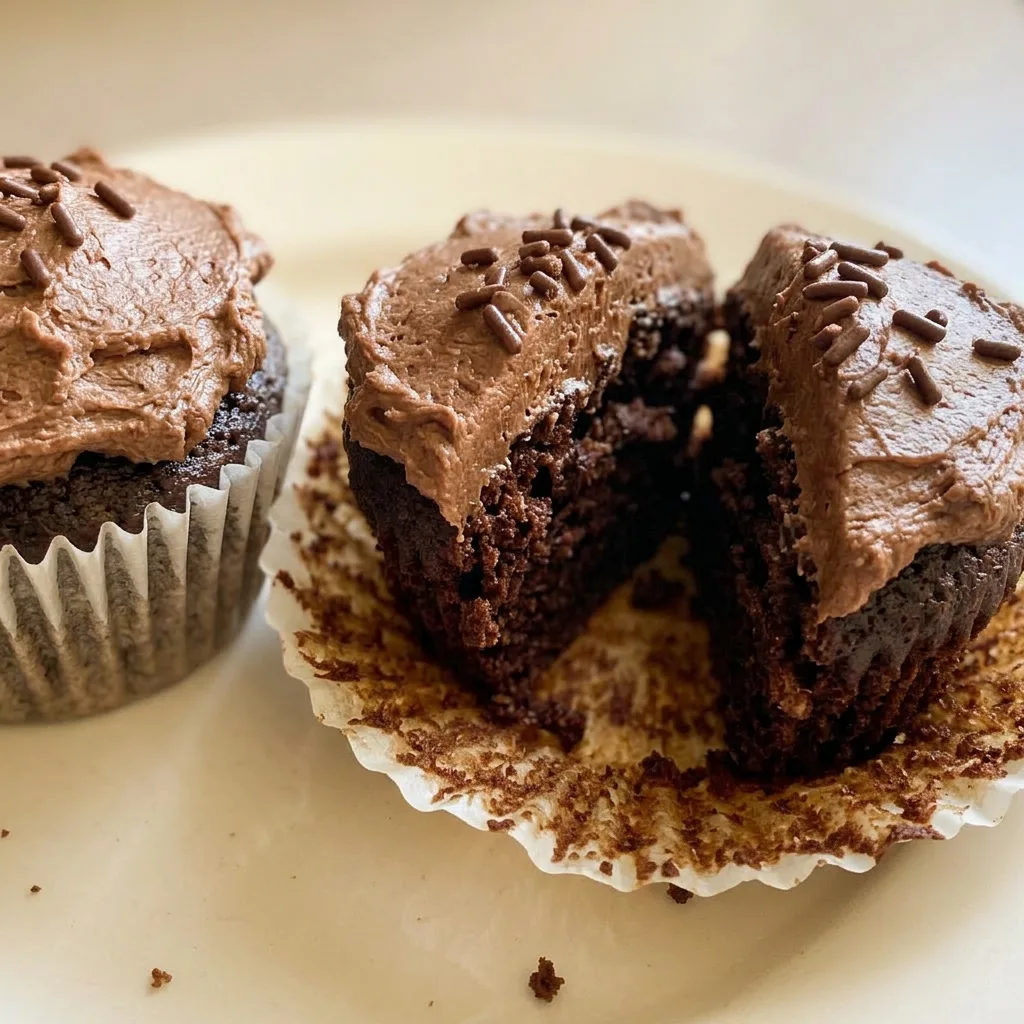
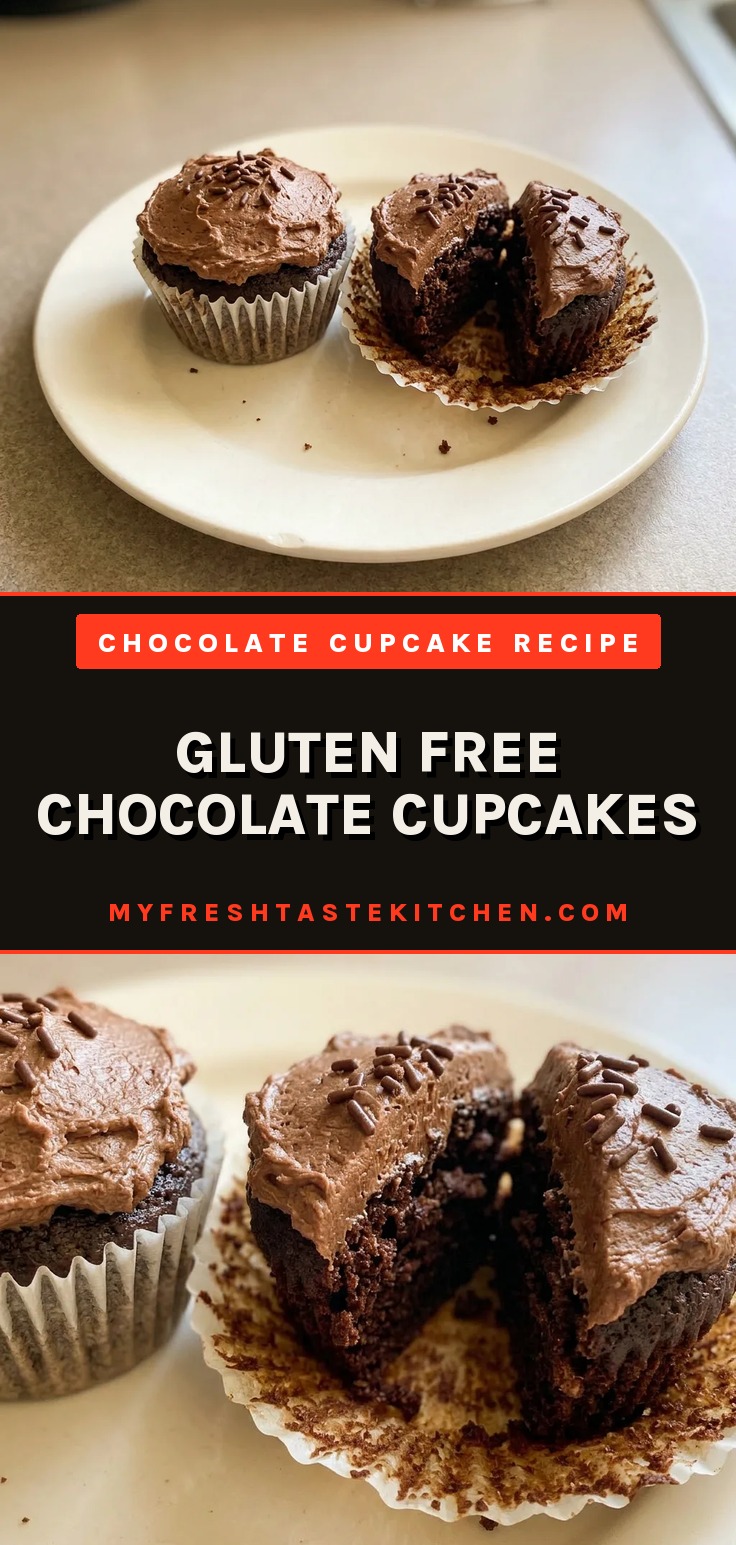
These gluten free chocolate cupcakes have a tender, moist crumb that’s nothing like the dry, gritty disasters you might have endured. The secret isn’t in the flour blend alone, it’s in the hot liquid and a splash of vinegar that do the heavy lifting. That thin, glossy batter you’ll whisk up isn’t a mistake; it’s exactly what you need to hydrate the starches and create lift without gluten.
The result is a cupcake that tastes like a classic chocolate version, just with a different structure. No one at the table will ask why you made them gluten free, they’ll just ask for another.
Hot Liquid for Moisture and Tenderness
Boiling water or hot coffee does more than dissolve sugar. It blooms the cocoa powder, unlocking deeper chocolate flavor you can smell as you mix.
For gluten-free flour blends, hot liquid hydrates the starches and gums, preventing that gritty, sandy texture some gluten-free bakes have. The batter ends up thin, like a regular cupcake batter but looser, which helps the crumb stay tender and rise evenly. You’ll see it smooth out as you whisk.
That thinness isn’t a problem; it’s what gives you a moist, soft cupcake without gluten.
Why Apple Cider Vinegar Matters
In gluten-free baking, vinegar pulls double duty. First, it reacts with baking soda to create bubbles for lift, you’ll see the batter get slightly foamy if you let it sit.
Second, it tenderizes the flour blend, mimicking some of the elasticity gluten would provide. The result is a cupcake that rises well and has a softer bite, not dense or heavy.
Taste-wise, a teaspoon of vinegar brightens the chocolate flavor and balances sweetness; you won’t taste vinegar at all. It’s a small addition that makes a noticeable difference in texture.
A Little Espresso Powder Goes a Long Way
Espresso powder doesn’t make these cupcakes taste like coffee. At half to one teaspoon, it simply deepens the cocoa’s richness, making the chocolate taste more intense and rounded. You’ll notice a darker, more complex flavor without any coffee note.
The powder dissolves completely in the hot liquid, so no grit. It’s optional, but once you try it, you’ll likely add it every time. The effect is subtle but real, like turning up the volume on chocolate without changing the station.
Fluffy, Stable Chocolate Buttercream
Room-temperature butter is key, cold butter won’t cream properly, leaving lumps. Beat it until pale and fluffy, then add cocoa powder and powdered sugar gradually. For a dairy-free version, use non-dairy butter and milk; oat or almond milk work fine.
Adjust consistency with milk or powdered sugar: you want it spreadable but firm enough to hold shape. The cocoa adds structure, so don’t skimp.
Taste as you go, add more cocoa for a darker flavor. This buttercream is rich, smooth, and pipes neatly without sliding off the cupcake.
Prep: 10 min · Cook: 20 min · Total: 30 min · Servings: 12 · Calories: 280 kcal
Key Ingredients for Gluten Free Chocolate Cupcakes
Bob’s Red Mill GF 1:1 All Purpose Baking Flour: This blend already has xanthan gum, so you don’t need to add any extra binder.
Cocoa powder: Use natural unsweetened cocoa, not Dutch process; the baking soda needs its acidity to react.
Oil: Olive oil adds a subtle fruity richness, but any neutral oil works fine here.
Hot coffee or boiling water: Hot liquid blooms the cocoa and hydrates the gluten free flour for a tender crumb.
Apple cider vinegar: It reacts with baking soda for lift and tenderizes the crumb without any vinegar taste.
I always pause at the mixing step and scrape the bowl obsessively, even though the batter looks thin, it’s the only way I’ve found to avoid hidden flour clumps that turn gummy.
How to Bake Moist, Tender Gluten-Free Chocolate Cupcakes
Mix the dry ingredients
Whisk sugars, flour, cocoa, salt, leaveners, and espresso powder in a large bowl. Break up any cocoa clumps with the whisk; you want an even color before adding wet ingredients.
Add the wet ingredients
Pour in eggs, vanilla, oil, hot liquid, and vinegar. Beat on medium speed until smooth, scraping the bottom once. The batter will be thin and glossy, don’t worry, that’s correct.
Fill the liners
Divide batter evenly among 12 lined cups, filling each about ¾ full. The thin batter levels itself; no need to spread.
Bake until just set
Bake at 350°F for 18 to 24 minutes. Check at 18 minutes with a toothpick; if it comes out clean or with a few moist crumbs, stop. Overbaking dries them out fast.
Cool completely before frosting
Cool in the pan for 10 to 15 minutes, then transfer to a wire rack. Wait until fully room temperature, warm cupcakes will melt the buttercream.
Make the buttercream
Beat room-temperature butter until pale and fluffy. Add cocoa, then alternate powdered sugar and milk until you reach a spreadable consistency. Taste and adjust cocoa or sugar as you like.
Frost and top
Pipe or spread frosting onto cooled cupcakes. Add sprinkles immediately before the frosting sets.
Gluten Free Chocolate Cupcakes
Ingredients
Chocolate Cupcakes
- 2/3 cup white sugar 133g
- 1/4 cup light brown sugar 50g
- 2 large eggs at room temperature
- 2 teaspoons vanilla extract
- 1/3 cup oil 80ml (olive oil for rich flavor, or any oil)
- 2/3 cup boiling water or hot brewed coffee 160ml
- 1 teaspoon apple cider vinegar
- 3/4 cup + 2 tablespoons Bob’s Red Mill GF 1:1 All Purpose Baking Flour 125g
- 1/2 cup cocoa powder 42g, spooned and leveled
- 1/4 teaspoon salt
- 1/2 teaspoon baking soda
- 3/4 teaspoon baking powder
- 1/2-1 teaspoon espresso powder optional but recommended
Chocolate Buttercream Frosting
- 1/2 cup unsalted butter 113g, at room temperature (dairy or non-dairy)
- 2-3 tablespoons milk 30-45ml
- 2 teaspoons vanilla extract
- 1/2 cup cocoa powder 42g (or more to taste)
- 2-3 cups powdered sugar 240-360g
- Sprinkles for topping
Instructions
Chocolate Cupcakes
Preheat oven and line pan:
Heat oven to 350°F (175°C). Place paper liners in a 12-cup muffin pan.Whisk dry ingredients:
In a large mixing bowl, combine white sugar, brown sugar, flour, 1/2 cup cocoa powder, salt, baking soda, baking powder, and espresso powder by whisking.Mix wet ingredients into batter:
Incorporate eggs, vanilla, oil, boiling water/coffee, and apple cider vinegar. Beat on medium speed until smooth, scraping bowl bottom. Batter will be thin but not watery.Fill cupcake liners:
Evenly distribute batter among the 12 liners, filling each roughly 3/4 full.Bake until toothpick clean:
Bake in the middle of the oven for 18-24 minutes. Test at 18 minutes; if a toothpick emerges clean, take them out. Avoid overbaking since they continue cooking a bit in the pan. Usually done at 20 minutes.Cool in pan then rack:
Let cool in the pan for 10-15 minutes, then move to a wire rack to cool thoroughly.
Chocolate Buttercream Frosting
Cream butter for frosting:
For the frosting: Cream the room-temperature butter with an electric mixer until light and fluffy.Mix cocoa, sugar, milk, vanilla:
Mix in 1/2 cup cocoa powder. Then blend in 2 cups powdered sugar, 2 tablespoons milk, and 2 teaspoons vanilla. Adjust thickness: add more milk if too thick, more powdered sugar if too thin. For deeper chocolate taste, replace some sugar with extra cocoa.Frost and garnish cupcakes:
Once cupcakes are fully cool, apply frosting using piping tips or a knife. Garnish with sprinkles.
Storage and Serving
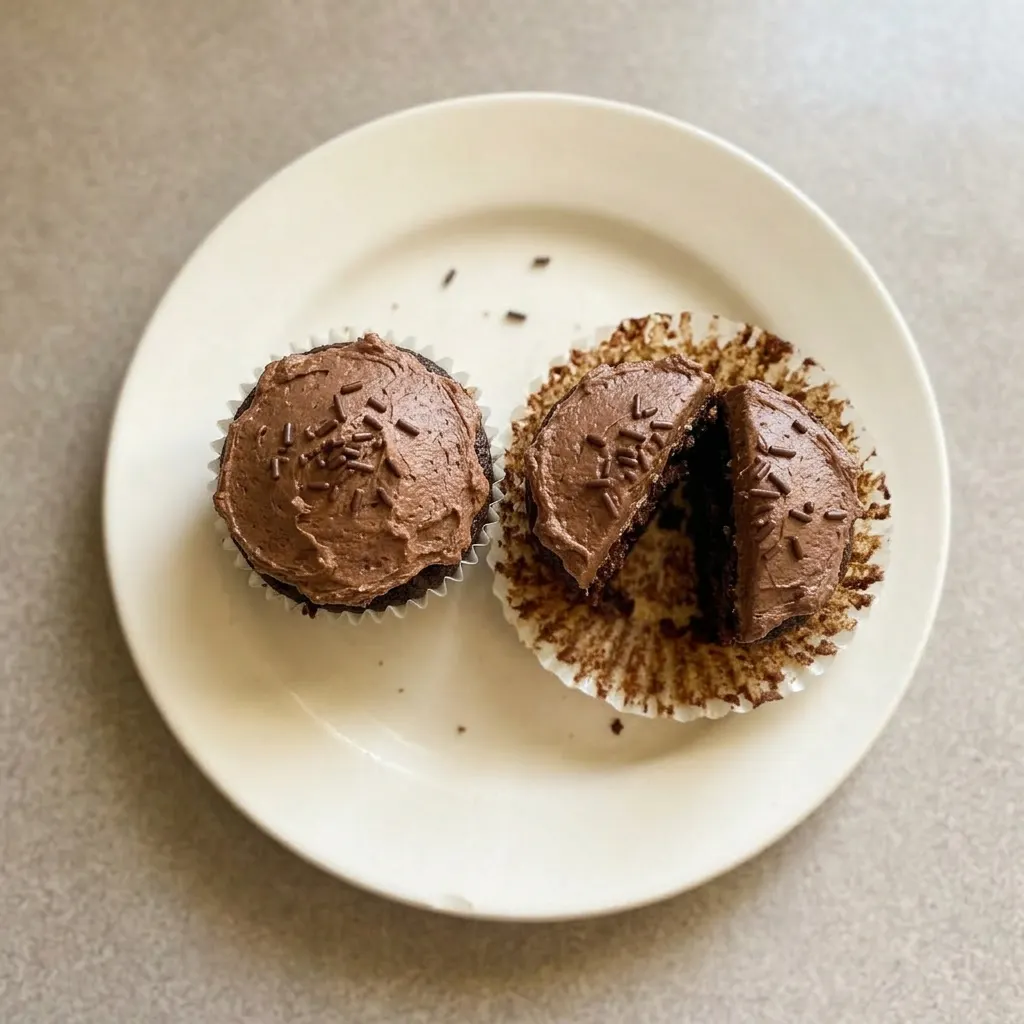
For the best texture, serve these cupcakes the day they’re frosted. Frost only what you’ll eat within a few hours; the buttercream stays soft at room temperature for about 2 hours.
Store unfrosted cupcakes in an airtight container at room temperature for up to 2 days. The crumb stays moist, but the top may feel slightly tacky by day 2.
Refrigerate frosted cupcakes in a sealed container for up to 5 days. Cold buttercream firms up, so let them sit at room temperature for 20 to 30 minutes before serving to soften.
To freeze, wrap unfrosted cupcakes individually in plastic wrap and place in a freezer bag for up to 3 months. Thaw at room temperature still wrapped to prevent condensation.
Frost after thawing. The buttercream does not freeze well; it can separate when thawed. Do not assemble and freeze the whole cupcake.
Serve at room temperature for the softest crumb and creamiest frosting.
Tips
- Add a pinch of cayenne pepper (1/8 teaspoon) to the dry ingredients for a subtle warmth that amplifies the chocolate without making the cupcakes spicy.
What You Can Swap in These Gluten Free Chocolate Cupcakes (and What to Leave Alone)
Oil: Melted coconut oil or unsweetened applesauce. Coconut oil works cup for cup; the cupcakes will be slightly firmer when cool. Applesauce replaces half the oil at most, use 1/3 cup applesauce + 2 tablespoons oil to keep them moist, or they’ll turn dense and dry.
Butter (in frosting): Non-dairy butter (like Miyoko’s or Earth Balance) and non-dairy milk (oat or almond). Use the same amount by weight. Non-dairy butters vary in water content; you may need an extra tablespoon of powdered sugar to stiffen the frosting.
Flavor is slightly less rich but still creamy.
Espresso powder: Leave it out or double it. Skipping it? The chocolate flavor is still good, just a bit flatter.
Doubling it? Fine, up to 1 teaspoon, no coffee taste, just deeper chocolate. Don’t use instant coffee granules; they don’t dissolve as well.
Apple cider vinegar: None, do not swap or omit. The vinegar reacts with baking soda for lift and tenderizes the crumb.
Without it, the cupcakes will be dense and flat. Lemon juice works in a pinch, but ACV gives the best texture.
Frequently Asked Questions
Can I make these cupcakes ahead of time?
Yes, but frost the day you plan to serve. Unfrosted cupcakes keep at room temperature in an airtight container for up to 2 days; the crumb stays moist, though the top may feel slightly tacky by day 2. You can also freeze unfrosted cupcakes, wrapped individually in plastic and bagged, for up to 3 months, thaw still wrapped to avoid condensation, then frost.
The buttercream doesn’t freeze well, so don’t assemble and freeze the whole cupcake.
Why did my gluten-free cupcakes turn out dense or gummy?
Most likely overbaking or overmixing. Bake just until a toothpick comes out clean or with a few moist crumbs, at 20 minutes check, because they continue cooking in the pan as they cool.
Overmixing the batter can also develop excess structure; mix only until smooth, then stop. If you swapped the apple cider vinegar or reduced it, that would also cause density, since the vinegar reacts with baking soda for lift and tenderizes the crumb.
How do I know when the cupcakes are done without overbaking?
Insert a toothpick into the center of a cupcake at 18 minutes. If it comes out clean or with a few moist crumbs, pull them. The edges will have pulled away from the liner slightly, and the tops spring back when lightly pressed.
Don’t wait until the toothpick is bone-dry, that’s overbaked.
What’s the difference between these and regular chocolate cupcakes?
These use a gluten-free flour blend with xanthan gum and rely on hot liquid and apple cider vinegar for moisture and lift, so the batter is thinner than a wheat-based one. The crumb is tender and moist, not as light and airy as a gluten cupcake, but not dense either, the hot water hydrates the starches to prevent grittiness. The flavor is deeper thanks to espresso powder, which you can taste as a richer chocolate note.
