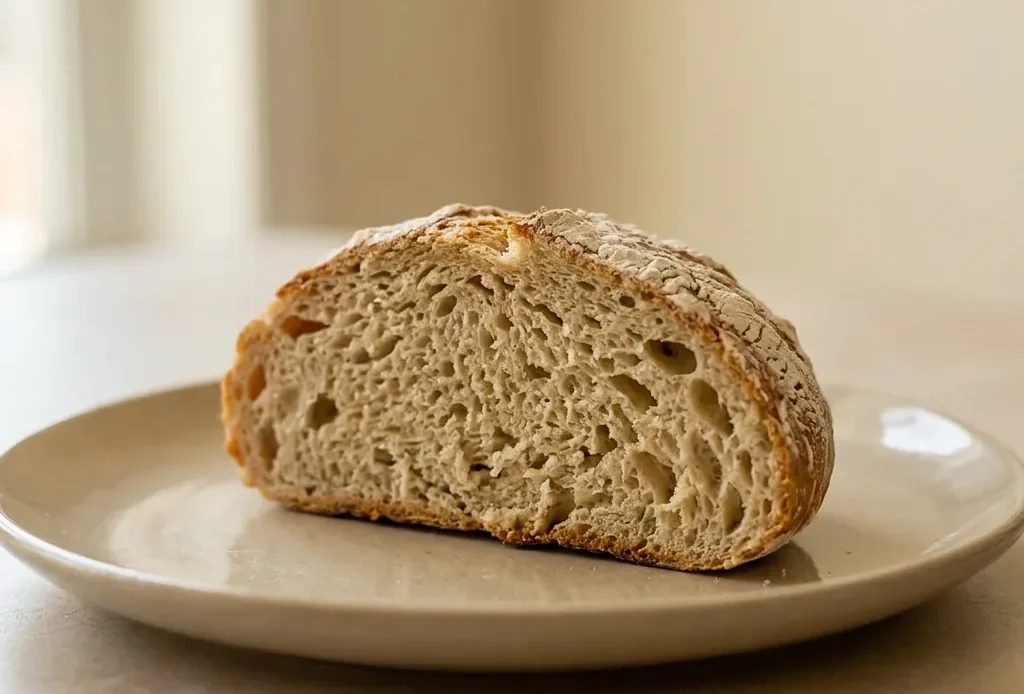
The most common mistake with gluten-free bread is expecting it to behave like wheat dough, it won’t. No gluten means no elastic network, so a short rise leaves you with a dense, gummy brick.
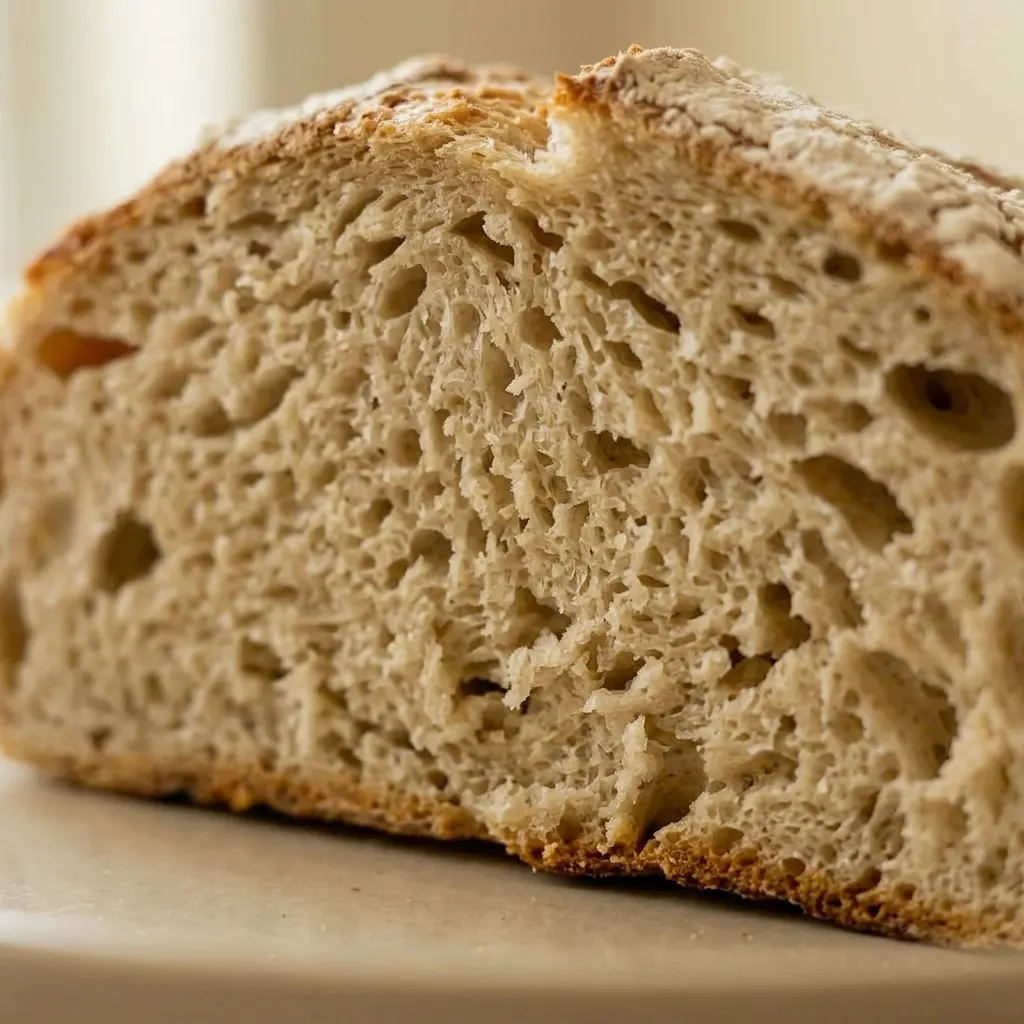
This gluten-free artisan bread uses a long, hands-off fermentation to build structure, giving you a crackling crust and an open crumb without a starter. You don’t knead, you don’t shape tightly; you just wait, and the time does the work.
Time builds structure when gluten can’t
Gluten-free dough has no elastic web to trap gas, so a long rise does the job instead. Over 12 to 18 hours at room temperature, yeast slowly produces bubbles while acids develop, giving the crumb an open texture and a mild tang. This extended fermentation mimics sourdough without a starter.
Cut the rest short, and the loaf turns dense and gummy, the starches never get a chance to relax and reorganize. You’ll see a rough, sticky mass that barely rises in the oven. The wait is what changes a slack batter into bread that actually holds air.
A covered pot creates the crust you want
Baking inside a preheated Dutch oven traps steam released from the dough, keeping the surface moist while the loaf springs in the first minutes. That steam delays crust setting, letting the bread expand fully before browning begins.
The heavy pot also evens out heat, so no scorched spots develop. Without that sealed environment, the dry oven air would quickly harden the exterior, locking in a flat, squat shape.
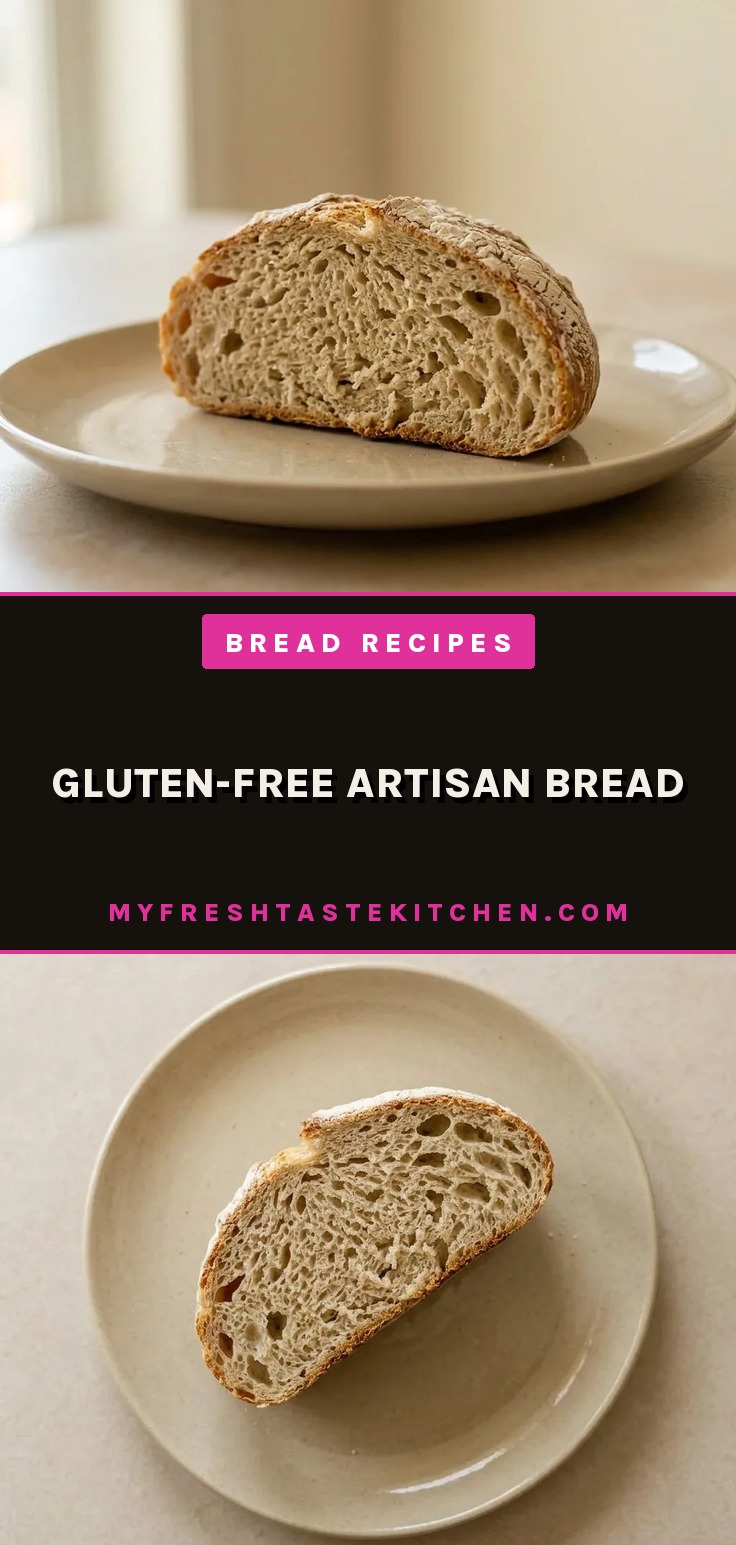
The result is a crisp, crackling crust with a tender interior, the kind artisan bread recipes aim for.
Patience after baking fixes the crumb
Hot gluten-free bread is fragile, cutting too soon compresses the still-soft starch gel, turning the slice gummy and crumbly. Cooling on a wire rack for a full hour lets starches set and moisture redistribute evenly, firming the crumb without drying it out.
You’ll feel the difference: a cool loaf slices cleanly, holds its shape, and has a tender bite. Skipping this step leaves a tacky, dense interior that collapses under the knife.
One hour of patience delivers the texture that makes homemade bread recipes worth the wait.
Cook: 45 min · Total: 12 hr 45 min · Servings: 1 · Calories: 130 kcal
Pick the right flour blend for structure
gluten-free flour blend (with rice, tapioca, and potato starch): Use a blend with rice, tapioca, and potato starch. Brands vary in absorbency, so stick with one you trust.
active dry yeast: Check the expiration date. Dead yeast won’t foam and your bread won’t rise, no matter how long you wait.
warm water (110°F/43°C): Water too hot kills yeast; too cold slows it. 110°F feels warm but not hot on your wrist.
The first time I made this, I thought the long rise was just for flavor and cut it to four hours. The loaf looked but was a dense, gluey brick inside.
Watch the dough, not the clock
Mix the dry ingredients
Whisk flour and salt in a large bowl. If you see clumps, break them with your fingers, even distribution matters here.
Proof the yeast
Stir yeast into warm water and let sit 5 to 10 minutes. Look for a creamy foam on top; if nothing happens after 10 minutes, your yeast is dead, start over.
Combine wet and dry
Pour the yeast mixture into the flour and stir with a spatula until no dry spots remain. The dough will look shaggy and sticky, that’s right.
Cover and wait 12 to 18 hours
Wrap the bowl tightly in plastic and leave at room temperature. After 12 hours, you’ll see bubbles and a slightly looser texture; at 18 hours, it smells tangy and looks puffy.
Preheat the Dutch oven
Set oven to 450°F and place the empty pot inside. Give it a full 30 minutes to heat, when you touch the lid, it should feel scorching hot.
Shape the dough
Turn the dough onto a floured piece of parchment. Gently pull the edges toward the center to form a round, don’t knead, just coax. It will be slack, not a tight ball.
Bake covered for 30 minutes
Lower the dough into the hot pot using the parchment. Cover and bake. After 30 minutes, the loaf should have risen and the top will look pale.
Bake uncovered until golden
Remove the lid and bake another 15 to 20 minutes. The crust should be deep golden brown and feel firm when tapped. If it’s still pale, give it 5 more minutes.
Cool completely before slicing
Transfer the bread to a wire rack and let it sit for 1 hour. The loaf will feel light and sound hollow when tapped. Cutting sooner makes the crumb gummy, wait it out.
Gluten-Free Artisan Bread
Ingredients
- 3 cups gluten-free flour blend (with rice, tapioca, and potato starch) 420g
- 1½ teaspoons salt
- 1 teaspoon active dry yeast
- 1½ cups warm water 110°F (45°C)/43°C
- 1 tablespoon olive oil, herbs, seeds, or sweeteners Optional
Instructions
Mix flour and salt:
In a large bowl, combine the gluten-free flour and salt.Activate yeast in water:
In another bowl, stir the yeast into warm water and allow it to rest for 5–10 minutes until frothy.Combine wet and dry:
Add the wet mixture to the dry ingredients and stir until a sticky dough forms.Let dough rest overnight:
Wrap the bowl with plastic film and leave it at room temperature for 12–18 hours.Preheat oven with Dutch oven:
Heat the oven to 450°F (230°C) with a Dutch oven placed inside.Shape dough into round:
On parchment paper, form the dough into a round shape.Bake covered 30 minutes:
Gently place the dough into the preheated Dutch oven. Put the lid on and bake for 30 minutes.Bake uncovered until golden:
Remove the lid and continue baking for 15–20 minutes until the crust turns golden.Cool bread on rack:
Let the bread cool on a wire rack for at least 1 hour before cutting.
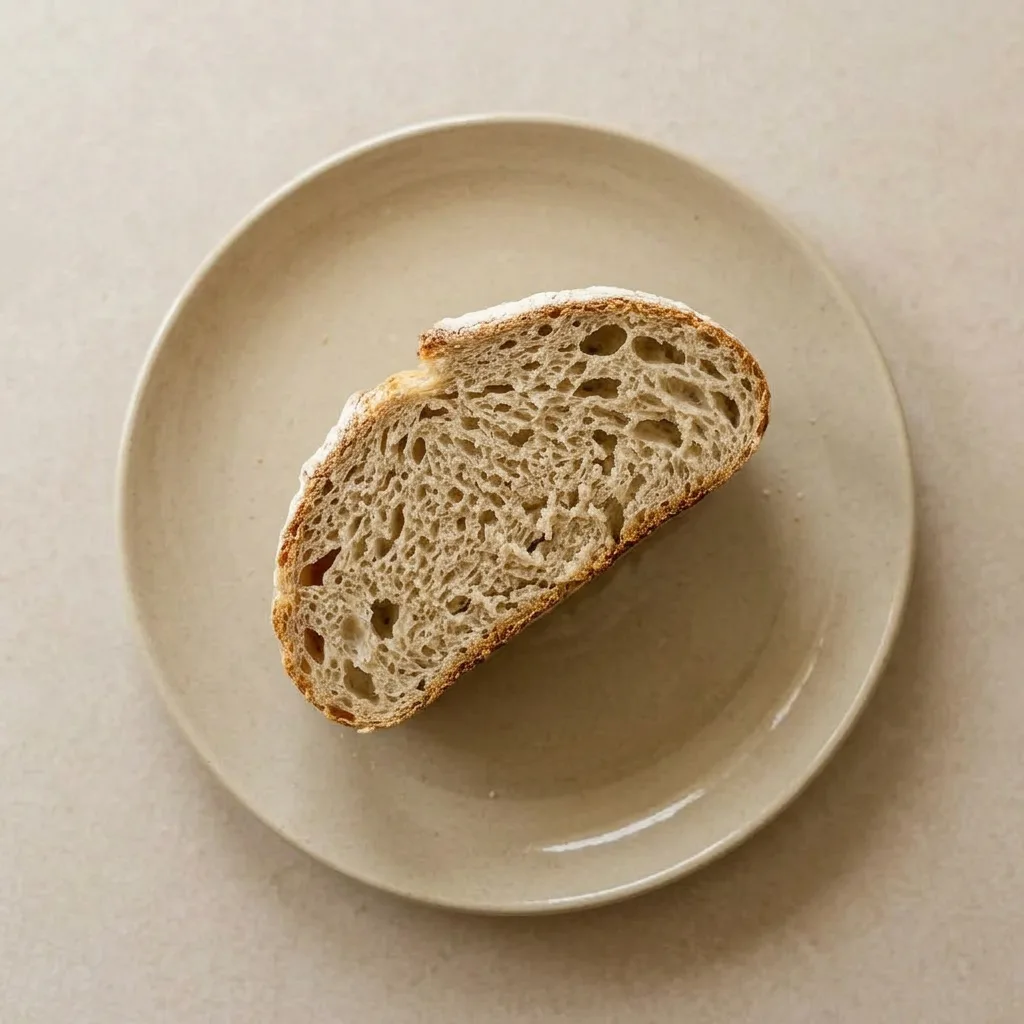
Store to keep the crust crisp and the crumb tender
This bread is best the day it’s baked. The crust stays crackling for about 6 to 8 hours at room temperature, then softens. For leftovers, store cut side down on a cutting board at room temperature up to 2 days; the exposed crumb dries slower that way.
Avoid the fridge, it accelerates staling and turns the crust rubbery. To restore crispness, reheat slices in a 350°F oven for 5 to 7 minutes straight on the rack.
The bread freezes well for up to 3 months: wrap tightly in plastic and foil, then thaw at room temperature still wrapped to prevent condensation. Reheat frozen slices directly from the freezer in a toaster or oven. Do not freeze the whole loaf once cut; freeze only whole or in halves to minimize surface area.
Tips
- If your water is too cool, the yeast will take longer to activate; use a thermometer to confirm 110°F (45°C) for consistent results.
- Check for froth after 5 minutes; if only a few bubbles appear, wait the full 10 minutes. No foam means the yeast is dead and you must start over.
Swap the flour blend, not the yeast
gluten-free flour blend (with rice, tapioca, and potato starch): Use a different gluten-free flour blend, like one with brown rice, sorghum, or oat flour. Or make your own: 2 parts rice flour, 1 part tapioca starch, 1 part potato starch. Different blends absorb water differently.
A drier blend yields a tighter crumb; one with more starch makes a softer, more tender loaf. Start with the same weight (420g) and adjust water only if the dough feels dry or soupy.
active dry yeast: Instant yeast: use same amount (1 teaspoon). No need to proof in water; mix directly with flour. But proofing still confirms yeast is alive, skip only if you’re sure it’s fresh.
Instant yeast works faster; you might see more rise in the same 12 to 18 hours, but the flavor won’t deepen as much. The crumb will be slightly less tangy.
olive oil (optional): Skip entirely, or replace with another neutral oil like avocado or melted coconut oil. Start with 1 tablespoon, same as the recipe.
Oil softens the crumb and extends shelf life. Without it, the bread dries out faster, eat within 2 days. With coconut oil, you get a faint tropical note.
herbs, seeds, or sweeteners (optional): Add up to 2 tablespoons of seeds (sesame, sunflower) or dried herbs (rosemary, thyme). For sweeteners, use 1 tablespoon honey or maple syrup, stirred into the water first.
Seeds add crunch and weigh down the dough slightly, the loaf may spread more. Sugar or honey speeds yeast activity, giving a slightly higher rise and darker crust.
Herbs infuse the whole loaf; use sparingly or they overwhelm.
Frequently Asked Questions
Can I let the dough rise for less than 12 hours if I’m short on time?
Yes, but expect a denser, less open crumb. The long rise isn’t for flavor alone, it’s what gives structure to gluten-free dough. After 8 hours, you’ll see some bubbles, but the starches haven’t had enough time to relax, so the loaf won’t rise as high and the texture will be tighter.
Why did my bread turn out gummy in the middle?
Most likely you cut into it too soon. Gluten-free bread needs a full hour on a wire rack to let the starches set, slice earlier and the interior will feel tacky and collapse under the knife. If you did wait, check that your oven temperature was accurate; a cooler oven can leave the center underdone.
Can I make the dough ahead and bake it the next day?
The dough is made ahead, it rises 12 to 18 hours, then bakes. If you mean bake a day later, the dough overproofs after 18 hours at room temperature, turning slack and sour. Better to bake at the end of the rise, then store the baked loaf: freeze whole or keep at room temperature cut-side down for up to 2 days.
How is this different from regular artisan bread?
Regular artisan bread relies on gluten for structure and elasticity; this one uses a long fermentation to build an open crumb without gluten. The dough is wetter and stickier, never kneaded, and the crust comes from steam in a Dutch oven rather than a preheated stone. The result is a tender, slightly tangy loaf that’s crisp on the outside.
