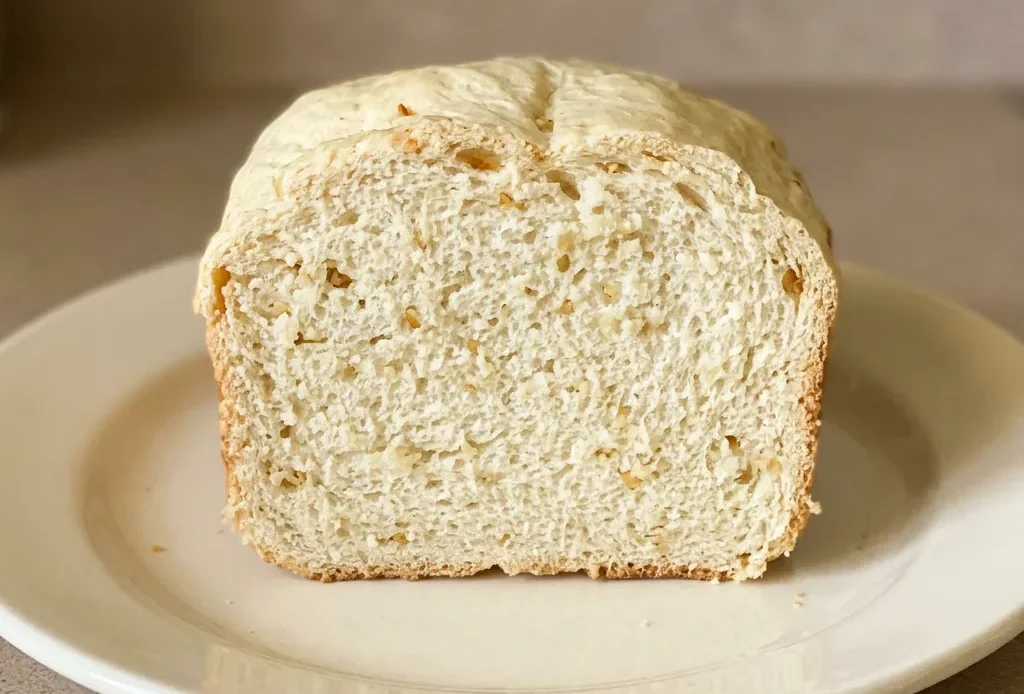
That raw garlic punch you expect from garlic bread? You don’t get it here, you get something better. Pre-cooking the garlic before it hits the bread machine is the move that separates this loaf from a novelty bread that tastes harsh after three hours in the machine.
Sautéing for just a minute or two in olive oil tames the raw burn and spreads a mellow, sweet garlic flavor through every slice instead of leaving random pockets of bitterness. You’ll smell the difference as it bakes: savory, not acrid. This bread machine garlic bread ends up crusty on the outside, chewy inside, with enough structure from bread flour to hold up to sauce sopping or butter slathering.
The margin for error here is mostly in the dough hydration, watch that ball form during kneading and adjust if it looks crumbly or soupy. Get that right, and the rest is letting the machine do its work.
Why pre-cook the garlic?
Raw garlic, especially minced fine, can turn harsh and bitter when baked in a bread machine for hours. A quick sauté in oil or butter for just 1 to 2 minutes mellows that pungency, letting the garlic’s sweetness come through without any burnt edges. That short cook also releases the aroma compounds into the fat, so when you mix it into the dough, every slice has even garlic flavor rather than random pockets of raw bite.
You’ll notice the difference: finished bread smells savory, not acrid.
Bread flour builds a sturdier crumb
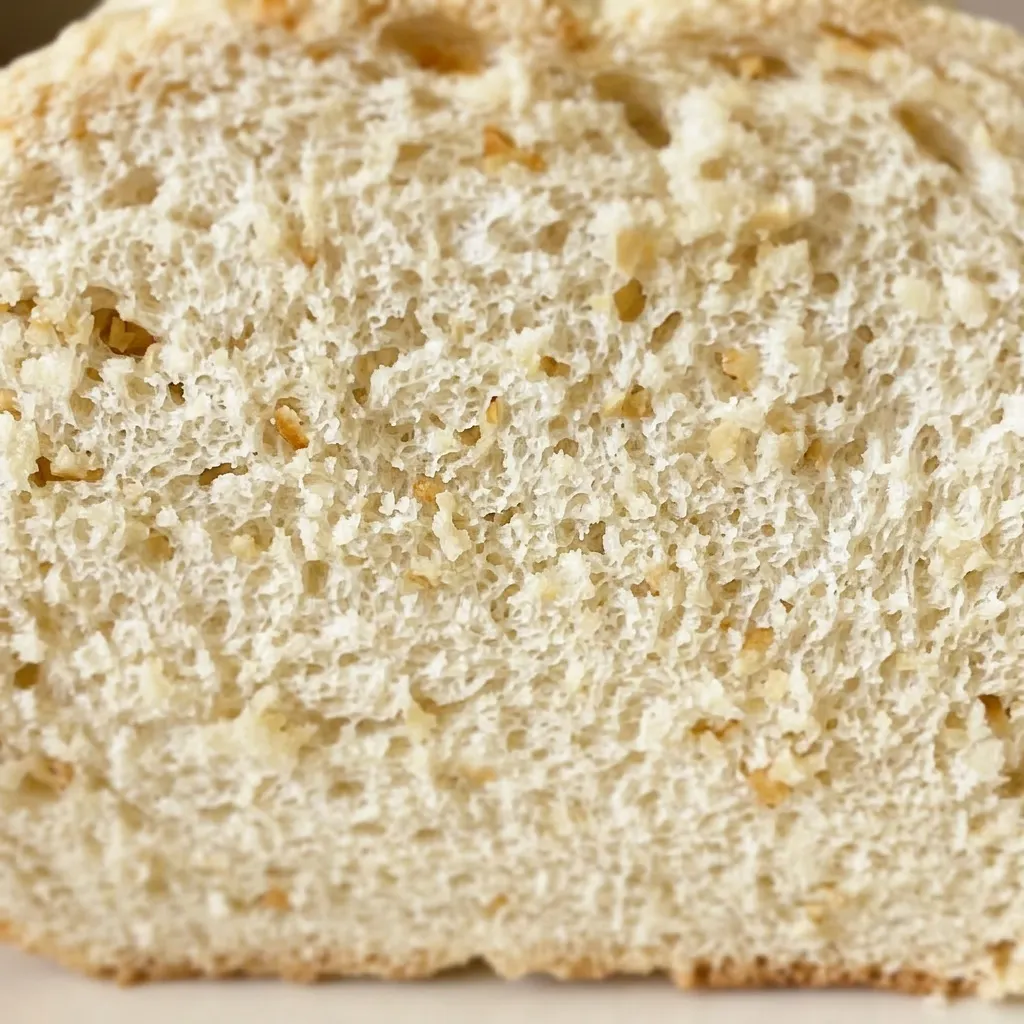
Bread flour runs 12, 14% protein, which means more gluten forms during kneading. That gluten network gives the loaf a chewy, substantial bite that stands up to the oil and garlic mixed in. All-purpose flour with its lower protein makes a softer, more tender bread, fine for sandwiches, but it can struggle to hold the extra fat without turning dense.
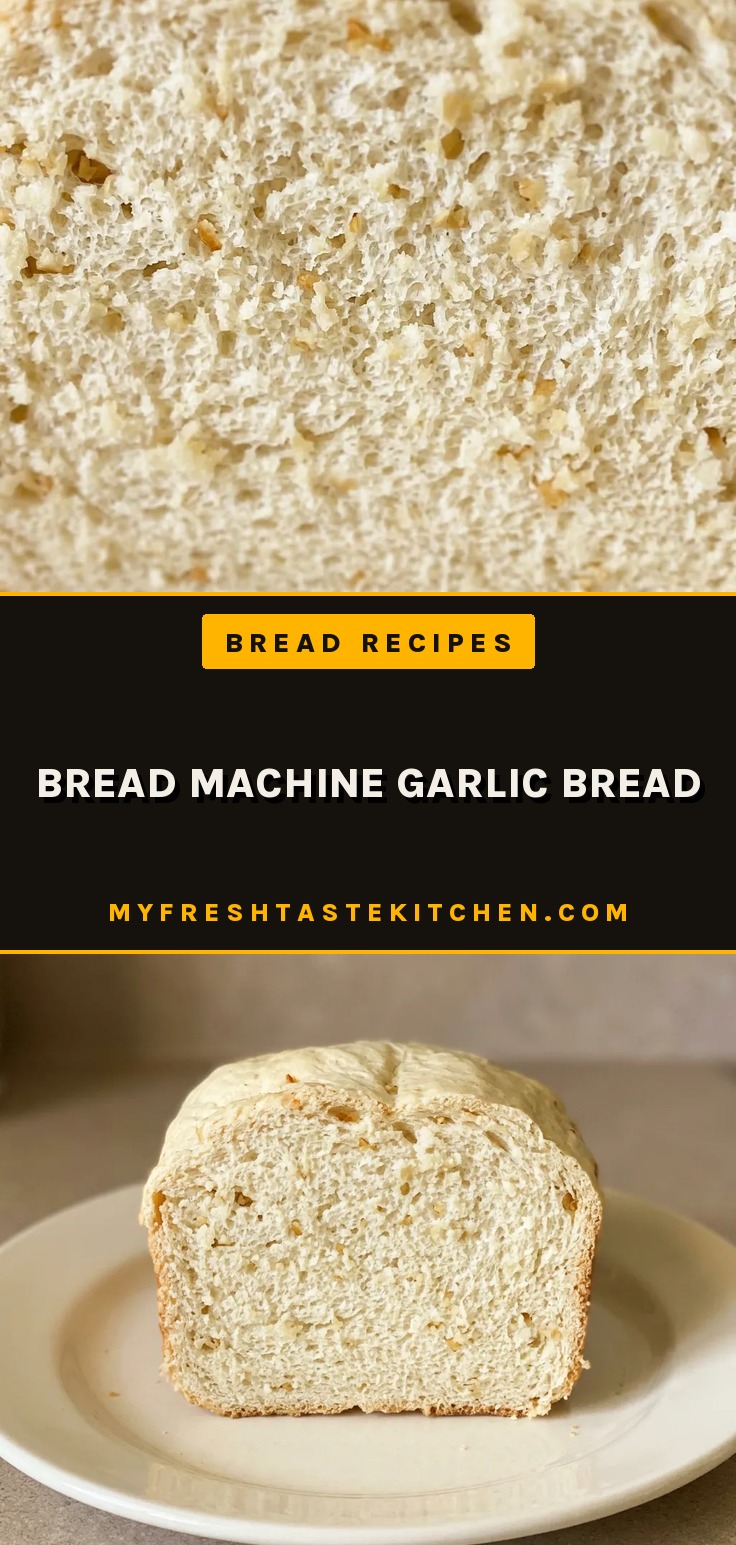
The difference is clearest when you slice: bread flour loaves spring back, all-purpose ones compress easier.
Oven-baking for a better crust
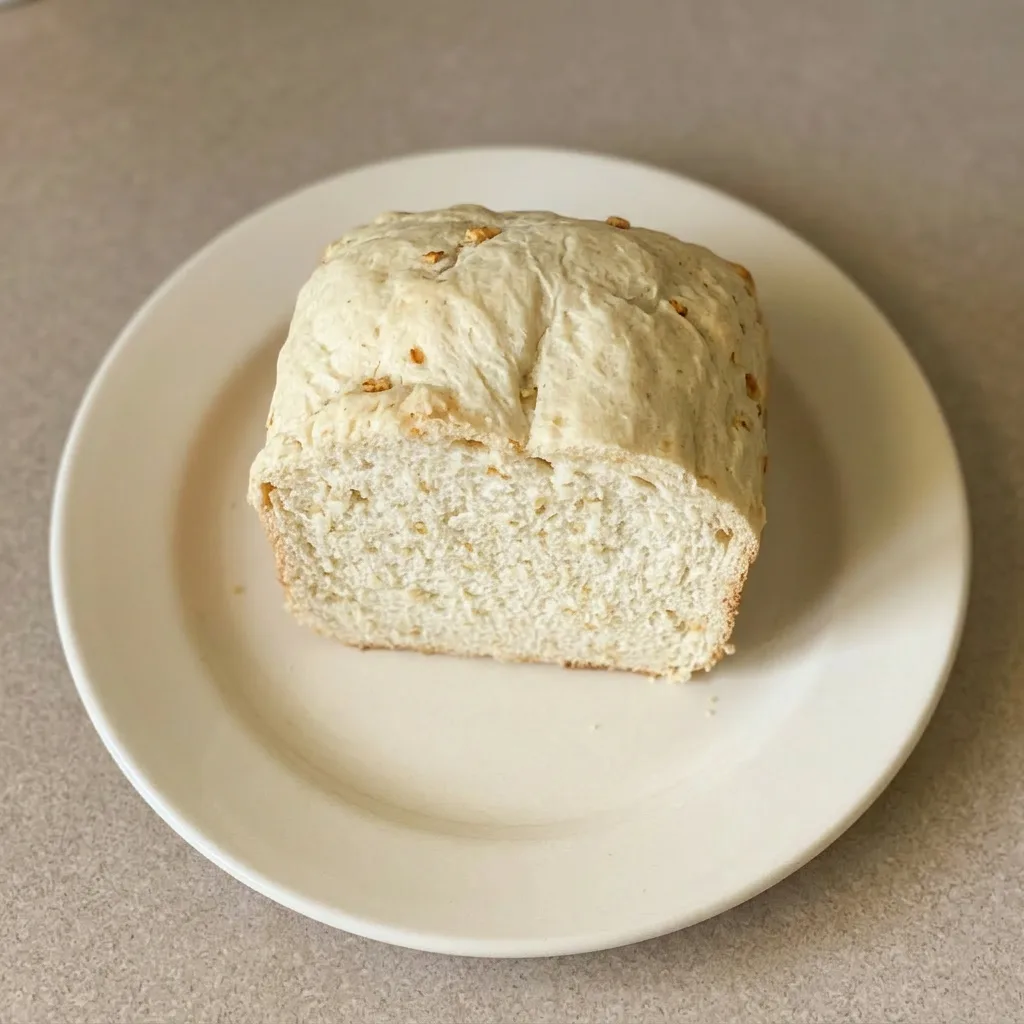
Letting the bread machine handle mixing and kneading but finishing the bake in your oven gives you control over crust development. The bread machine’s enclosed pan traps steam, producing a softer, paler shell. Shaped and risen on the counter, then baked in a hot oven, the loaf develops a golden, crackly crust from dry heat.
That extra 40-minute rise after shaping also relaxes the gluten and deepens flavor by letting yeast work a little longer. The result is a garlic bread with a crunchy exterior and an airy, even crumb inside.
Prep: 2 min · Cook: 3 hr 18 min · Total: 3 hr 20 min · Servings: 12 · Calories: 150 kcal
The right fat and flour for this dough
Extra virgin olive oil: Use good quality oil here since it contributes to both flavor and tenderness in the crumb.
Bread flour: Its higher protein content creates enough gluten to support the added garlic and oil without turning dense.
Garlic: Pre-sautéing 8, 10 cloves removes the raw burn and spreads a mellow sweetness throughout every slice.
Building the garlic flavor from the start
Sauté the garlic
Cook the minced garlic in olive oil or butter over medium heat for 1 to 2 minutes, just until fragrant and barely golden. Stop before it browns, burnt garlic turns bitter.
Load the bread machine pan
Add water, olive oil, salt, sugar, flour, then yeast. Layer the sautéed garlic on top. This order keeps yeast away from liquid and salt until mixing starts.
Watch the dough form
During the first 5 to 10 minutes of the basic cycle, peek through the window. The dough should gather into a soft, slightly sticky ball. If it’s dry and crumbly, add water a tablespoon at a time; if sloppy, sprinkle in flour.
Let the machine knead and rise
The bread machine will complete its full cycle, including kneading and first rise. Expect the dough to double in size by the end.
Shape and rise on the counter
After the cycle ends, turn the dough onto a floured surface. Shape into a tight ball, place on a parchment-lined baking sheet, cover loosely, and let rise in a warm spot until doubled (about 40 minutes).
Bake for a crackly crust
Bake at 350°F (175°C) for 35 to 45 minutes. The loaf is done when the internal temperature hits at least 180°F (80°C) and the crust is deep golden brown. Cool on a wire rack for 10 minutes before slicing.
Bread Machine Garlic Bread
Ingredients
- 1 cup warm water approximately 110°F (45°C)
- 3 tbsp extra virgin olive oil
- 1 tsp salt
- 1 tbsp sugar
- 3 cups bread flour 360g
- 2 tsp yeast instant or bread machine
- 8-10 cloves garlic or roasted garlic
Instructions
Cook minced garlic:
In a small skillet, cook the minced garlic in a small amount of olive oil or butter for 1-2 minutes.Load bread machine:
Place the ingredients into the bread machine pan in the sequence listed. Choose the basic/white bread program, set the loaf size to 1.5 lb, and pick your desired crust color. Observe the dough during the first 5-10 minutes. If it appears dry and crumbly, add water a little at a time; if it seems too wet, incorporate additional flour until a soft, slightly sticky ball forms. For oven baking, run the dough cycle. Once the cycle finishes, take out the dough, form it into a ball, and let it rise in a warm spot until doubled, roughly 40 minutes. Bake at 350°F (175°C) for 35-45 minutes, or until the internal temperature reaches at least 180°F (80°C).Cool and slice:
After baking finishes, take the loaf out and let it cool on a wire rack for 10 minutes before cutting.
What to swap, what to leave alone
Bread flour: All-purpose flour. Expect a softer, more tender loaf. The lower protein means less gluten, so the crumb compresses easier when sliced.
Start with the same 3 cups, then adjust flour during kneading if the dough looks too sticky.
Bread flour: Whole wheat flour. Substituting half or all yields a denser, nuttier loaf. Whole wheat absorbs more water, so add an extra tablespoon or two of water during the first knead.
The crumb will be tighter and less airy.
Extra virgin olive oil: Butter (melted and cooled) or a neutral oil like avocado. Butter gives a richer flavor and slightly softer crumb; oil keeps the texture more tender.
Use the same 3 tbsp. Avoid strongly flavored oils (coconut, sesame) that compete with garlic.
Garlic: Roasted garlic. Use 6, 8 roasted cloves instead of sautéed raw.
Mash them before adding. Roasted garlic is sweeter and milder, so the loaf will have a gentler garlic presence. If using raw garlic without sautéing, expect a harsh, bitter edge after the long bake.
Tips
- If your bread machine has a viewing window, check the dough after 5 minutes of kneading; if it looks dry and crumbly, add water 1 tablespoon at a time until it forms a soft, slightly sticky ball. If it looks like a wet batter, sprinkle in flour 1 tablespoon at a time. This adjustment is critical because the moisture content of flour varies with humidity and brand, and the added garlic and oil can throw off the hydration.
Storage and Serving
Cool the loaf completely on a wire rack before storing, about 1 hour. Slice only what you plan to eat; cut bread stales faster.
Store leftover slices in an airtight container at room temperature for up to 2 days. After that, the crumb starts drying out and the garlic flavor fades.
For longer storage, wrap the whole loaf or individual slices tightly in plastic wrap, then foil, and freeze for up to 3 months. Thaw at room temperature still wrapped, about 1 hour. To restore the crust, reheat slices in a 350°F oven for 5 to 7 minutes, or until crisp.
The bread is best eaten within a few hours of baking, when the crust is crackly and the inside is soft. If you make it ahead, bake the same day you plan to serve. The garlic butter stays aromatic for about 2 days at room temperature; after that, the flavor dulls noticeably.
I once used all-purpose flour because that’s all I had, and the bread came out like a brick. Now I always stock bread flour.
Frequently Asked Questions
Can I use roasted garlic instead of sautéed fresh garlic?
Yes. Use 6, 8 roasted cloves, mashed, in place of the sautéed raw garlic. Roasted garlic is sweeter and milder, so the loaf will have a gentler garlic presence.
Don’t skip pre-cooking entirely, raw garlic without any sauté or roast can turn harsh after 3+ hours in the machine.
My bread came out dense and heavy, what went wrong?
Most likely the dough was too dry during kneading. In the first 5 to 10 minutes, it should form a soft, slightly sticky ball. If it looked dry and crumbly, it didn’t develop enough gluten to trap gas.
Next time add water a tablespoon at a time until the dough just comes together. Over-flouring or using all-purpose flour (lower protein) can also cause density, but the dry dough is the usual culprit.
Can I make the dough ahead of time and bake later?
You can freeze the baked loaf for up to 3 months, cool completely, wrap tightly in plastic then foil. For same-day make-ahead, shape and let rise in the fridge overnight instead of the counter; bring to room temperature before baking. The bread is best within a few hours of baking, so the freezer option works better for longer storage.
