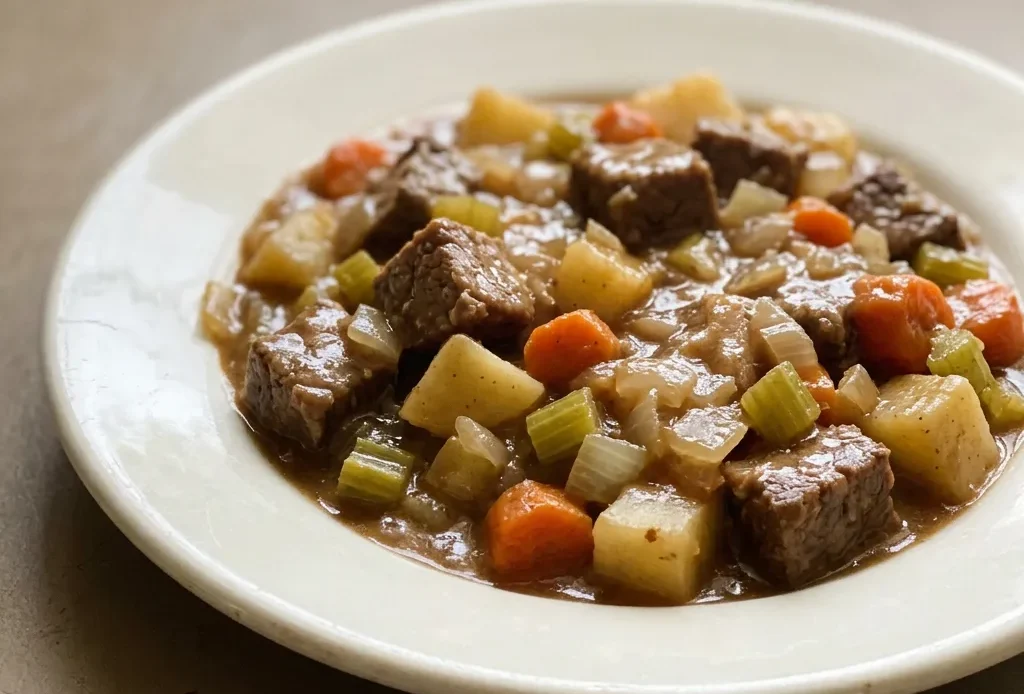
Pressure canning beef stew isn’t tricky, but it demands precision, especially with headspace and venting times. The payoff is a cupboard full of ready-to-heat stew that tastes seared, not boiled, thanks to that initial browning.
This easy beef stew canning recipe walks the line between safe shelf storage and actually enjoyable texture, something that falls apart if you rush the pressure release or swap the potato variety. The margin for error is narrow: too little headspace and jars siphon, too much and seals fail.
But follow the process as written and you get tender meat, intact vegetables, and broth that stayed put inside the jar.
Pressure can beef stew for safety
Beef stew is a low-acid food, meaning botulism spores can survive a boiling water bath. Those spores are killed only at temperatures above 212°F, which you get inside a pressure canner at 10 PSI (15 PSI above 1,000 feet). That’s why the recipe pushes you to use a pressure canner and hit those pressure numbers.
Skip the shortcut, water bath canning won’t cut it for meat and vegetables. The jars need that sustained heat to be shelf-stable.
Sear the beef before canning for flavor
Browning the beef does more than color the cubes. That dark crust from the Maillard reaction carries a savory depth that survives the high heat of canning. You’ll taste it later in the finished stew, a richer, beefier note you wouldn’t get from raw meat dropped into broth.
The recipe calls for olive oil and high heat to get that sear before the simmer, and it’s worth the extra few minutes.
Leave a 1-inch headspace in the jars
That gap at the top of the jar gives the stew room to expand under pressure without blowing the seal. Too little space and liquid can siphon out during processing, breaking the seal or leaving you with half-full jars. Now I always measure the headspace with a ruler and use a bubble remover to ensure exactly 1 inch.
Air pockets trapped inside are just as risky, they can cause uneven heating and seal failure. Take the time to poke out those bubbles.
Let the canner depressurize naturally
Rushing the pressure release is the fastest way to crack jars or pop lids. When you force the pressure down, the contents boil violently, liquid spurts out, and the seal may not form. Natural cooling lets the stew settle and the lids lock properly.
The recipe says to wait until the gauge reads zero, then an extra 10 minutes. That patience pays off in intact jars with tight seals.
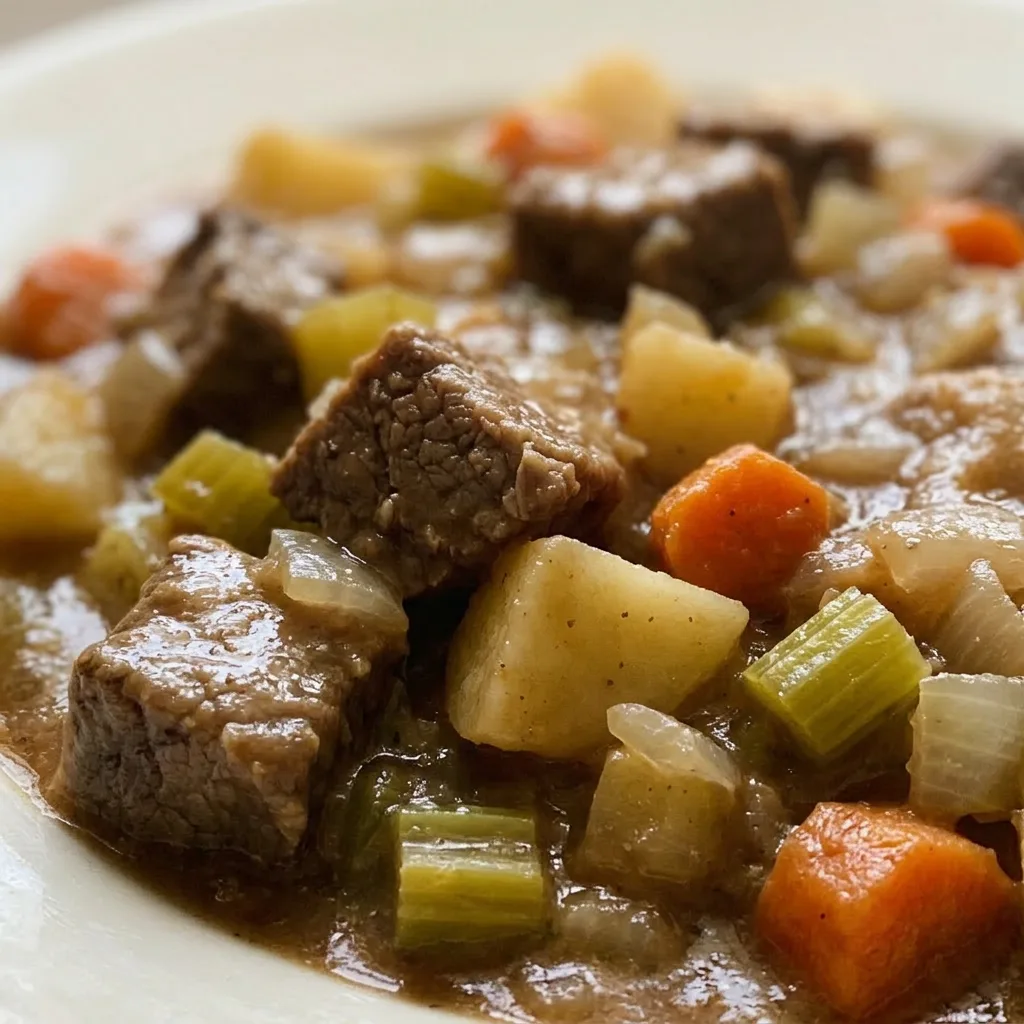
Prep: 30 min · Cook: 30 min · Total: 3 hr · Servings: 7 · Calories: 260 kcal
Choose the right beef and prep veggies for even canning
roast beef: Buy a well-marbled chuck roast; lean meat turns dry and stringy after pressure canning.
potatoes: Use waxy or all-purpose potatoes; russets break down into mush during the 90-minute process.
broth: Low-sodium broth lets you control the salt; full-sodium plus 7 teaspoons salt makes it too salty.
onions, celery, carrots: Dice them all the same size, about 1/2 inch, so they cook evenly in the canner.
Sear the beef in batches for color, not steam
Sear the beef
Heat oil in a large stockpot over medium-high until it shimmers. Add beef in a single layer, crowding drops the pan temperature and turns it gray instead of brown. Sear until a deep brown crust forms, about 3 minutes per side, then transfer to a plate.
Work in batches so each cube gets direct contact.
Sauté the aromatics
After the beef is out, add onions, celery, carrots, and garlic to the pot. Stir and scrape up the browned bits from the bottom, that’s concentrated flavor. Sauté until the onions turn translucent and the carrots soften slightly, about 5 minutes.
If they start to brown too fast, lower the heat.
Simmer the stew base
Return beef to the pot, add potatoes, salt, pepper, and broth. Bring to a boil, then reduce to a simmer. Let it bubble gently for 5 minutes, long enough to blend flavors without overcooking the vegetables, since they’ll soften further in the canner.
Fill jars with 1-inch headspace
Ladle hot stew into hot sterilized jars, leaving exactly 1 inch of space from the rim. Use a ruler if unsure, too little headspace can cause siphoning. Run a bubble remover or chopstick around the inside to release trapped air; if bubbles rise, you’re done.
Wipe rims and seal
Dampen a clean towel with vinegar and wipe each jar rim. Any grease or food residue prevents a proper seal. Center a new lid on the jar, then screw the band fingertip-tight, not too tight, or air can’t vent during processing.
Pressure can at 10 PSI for 90 minutes
Place jars in the canner, fasten the lid, and heat until a steady steam stream escapes. Vent for 10 minutes, then add the weight. Once the pressure gauge reads 10 PSI (15 PSI above 1,000 ft), start timing.
Adjust heat to keep the pressure steady; fluctuations cause liquid loss.
Let the canner depressurize naturally
After 90 minutes, turn off the heat and leave the canner alone. Don’t quick-release or open the vent, that sudden pressure drop can crack jars or break seals. Wait until the gauge reads zero, then wait an extra 10 minutes before opening the lid.
Cool and check seals
Remove jars with a jar lifter and set them on a towel, spaced apart. Let them cool undisturbed for 24 hours. Press the center of each lid, if it doesn’t flex or pop, the seal is good.
Remove bands, label, and store in a cool, dark place.
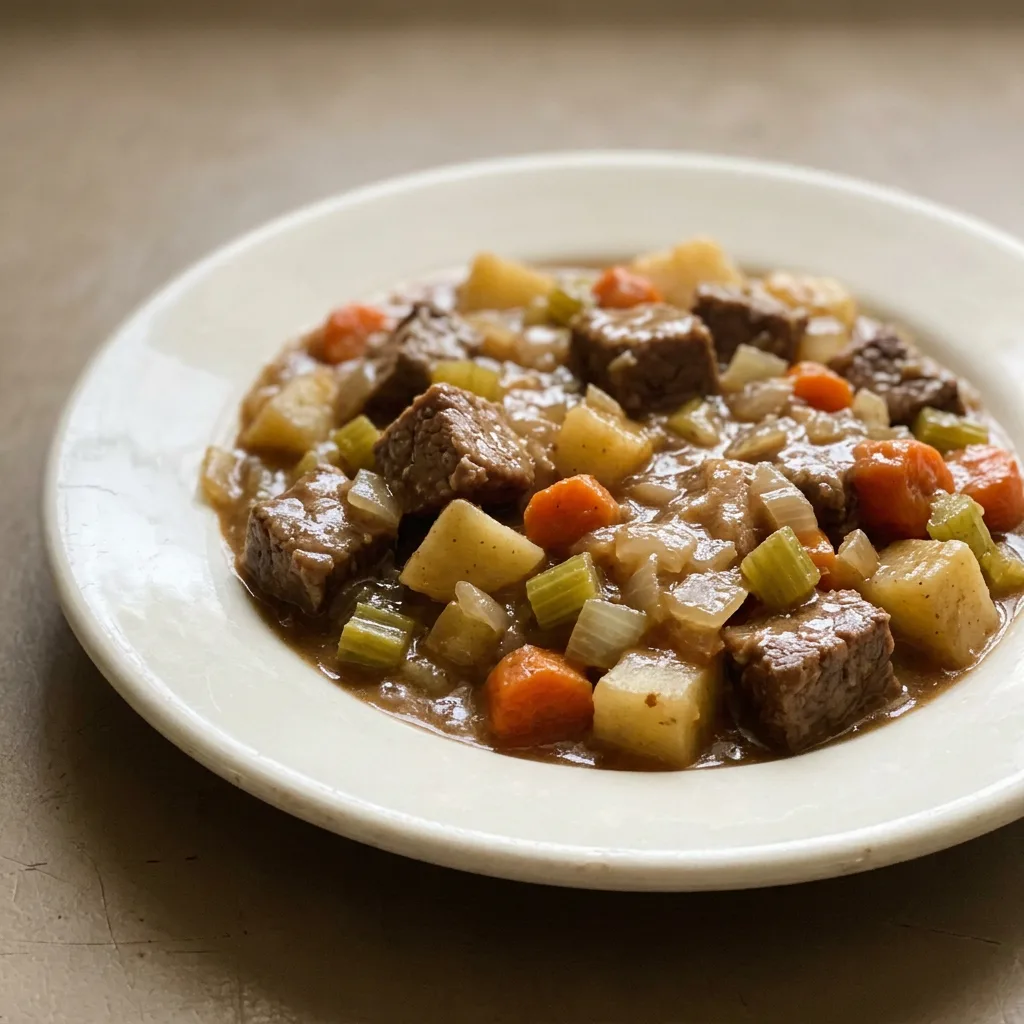
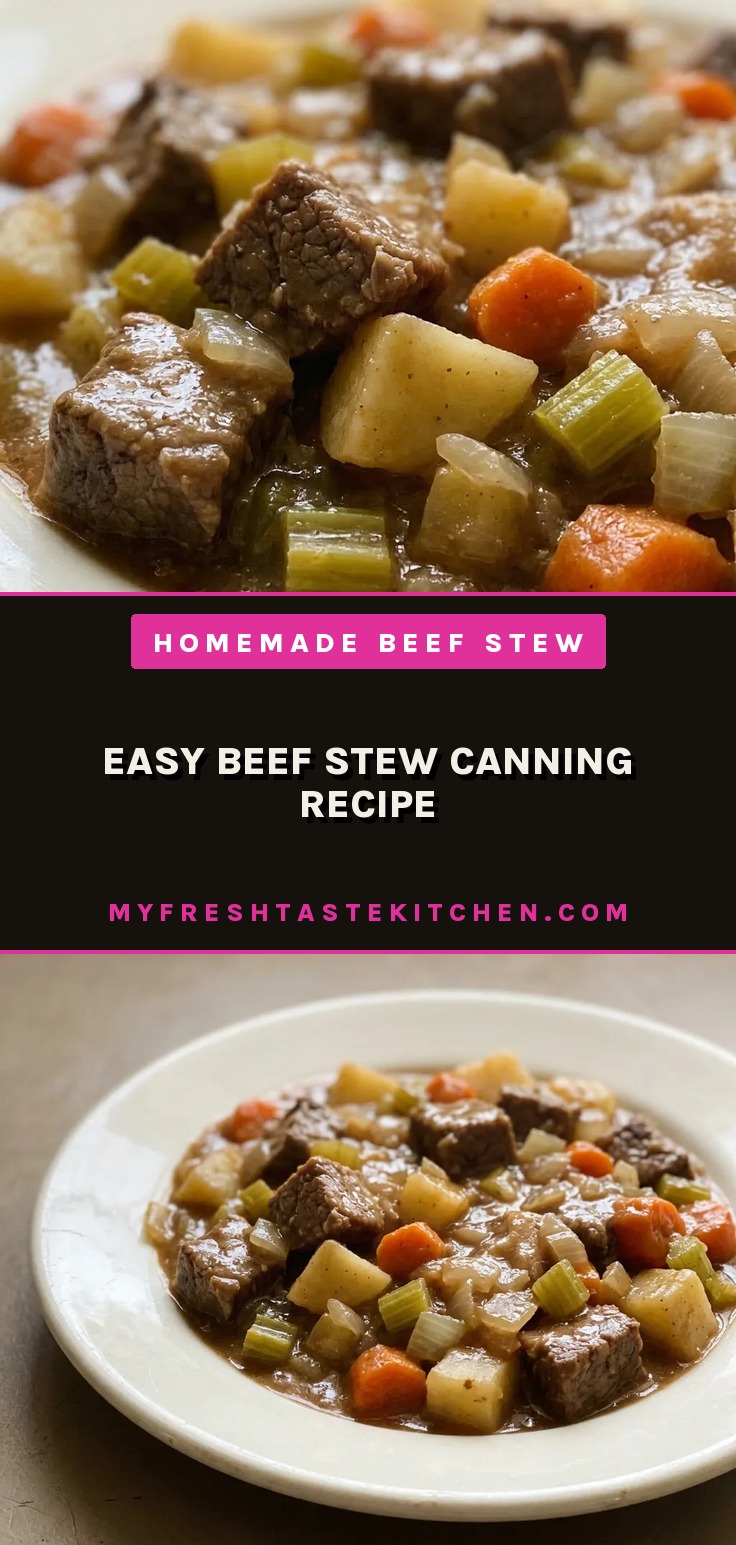
Easy Beef Stew Canning Recipe
Ingredients
Method
Prepare Canner and Jars:
Ready the pressure canner and jars: Fill the canner with water and set aside. Clean and sterilize jars, lids, and bands. Keep them warm until needed.Make Beef Stew:
Make the stew: In a large stockpot, warm olive oil and sear the cubed roast beef until browned. Stir in onions, celery, carrots, and garlic; sauté until softened. Add potatoes, salt, and pepper, then pour in broth. Bring the mixture to a boil, then reduce heat and simmer for 5 minutes.Fill Jars with Stew:
Fill jars: Spoon the hot stew into hot jars, leaving a 1-inch gap at the top. Use a bubble remover to eliminate air pockets. Wipe jar rims with a damp towel.Cover Jars with Lids:
Cover jars: Place new lids centered on jars and screw bands until fingertip-tight.Vent and Pressurize Canner:
Process: Set jars inside the pressure canner. Fasten the lid and heat until a steady steam stream emerges. Let steam vent for 10 minutes, then position weights.Process at 10 PSI:
Canning duration: Process quart jars for 90 minutes at 10 PSI (or 15 PSI for elevations above 1,000 feet).Depressurize Naturally:
Natural depressurization: Turn off the heat and allow the canner to cool unaided until the pressure gauge reads zero. Wait an additional 10 minutes before opening the lid, then take out the jars.Cool and Store Jars:
Cool and keep: Arrange jars on a towel and let them sit for 24 hours. Verify seals, take off bands, and keep in a cool, dark spot.
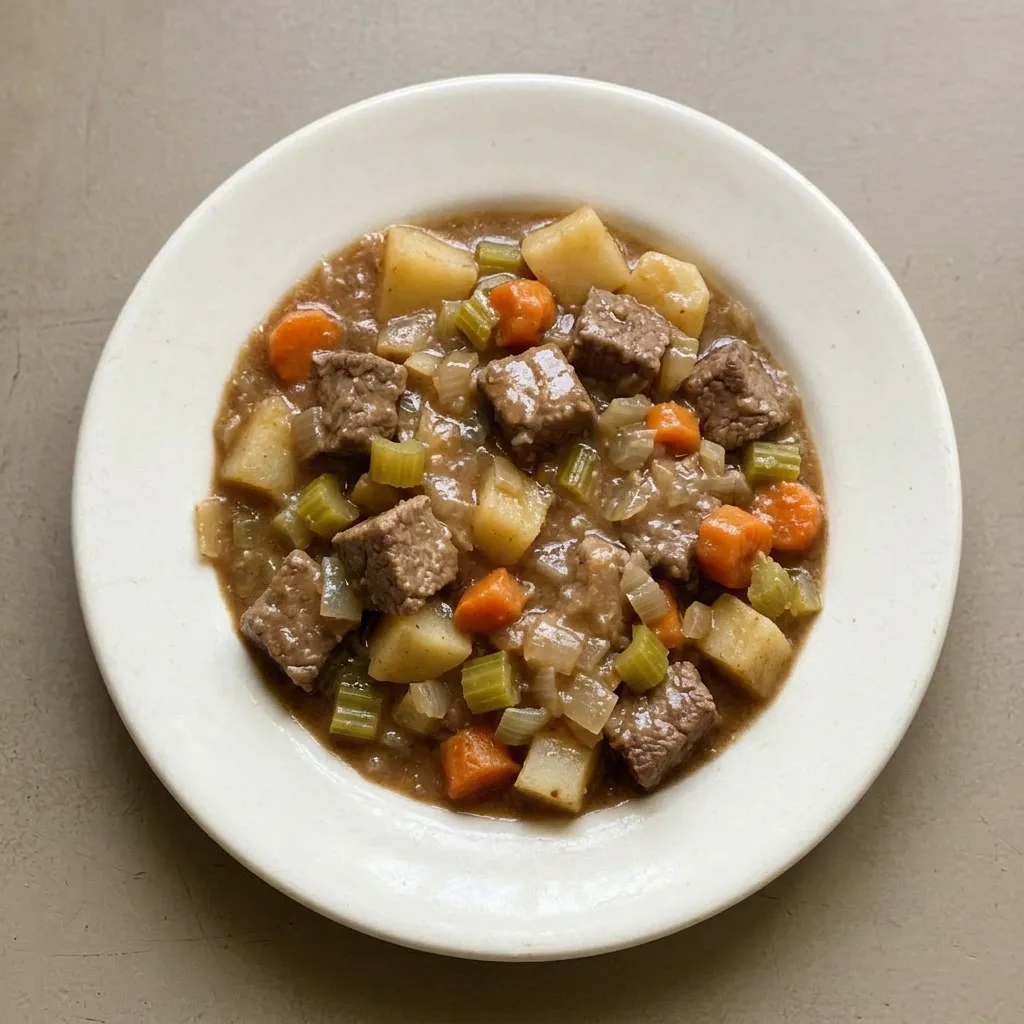
Stick with chuck for tender stew, swap potatoes for parsnips
roast beef: Chuck or bottom round. Chuck has more marbling, so it stays moist after 90 minutes under pressure. A lean cut like sirloin turns dry and stringy.
potatoes: Parsnips (same amount). Parsnips hold their shape as well as waxy potatoes and add a subtle sweetness. Russets break down into starch, clouding the broth.
broth: Gluten-free broth (check label). Most broths are gluten-free, but some contain wheat-based flavorings. The swap changes nothing, just read the ingredient list.
Tips
- Use cold broth instead of hot when adding it to the pot. Hot broth will start cooking the potatoes immediately, making them mushy before canning. Cold broth delays cooking so the potatoes remain firmer through the 5-minute simmer.
- Cut potatoes into 1-inch cubes, the same size as the beef. Smaller pieces cook faster and can going soggy during the 90-minute canning process. Uniform 1-inch cubes ensure they hold their shape alongside the meat.
Storage and Serving
Once sealed, store jars in a cool, dark place (60 to 70°F). Canned stew keeps 12-18 months; the potatoes soften gradually, so texture is best within the first year. After opening, refrigerate leftovers and eat within 4 days.
To serve, heat in a saucepan until bubbling; the carrots will be tender but not mushy. For a quick meal, reheat directly from the jar if you plan to use it all.
The stew is fully cooked, so you can eat it cold, but warm brings out the savory notes. Do not freeze canned stew, texture suffers and the seal may break. If you have leftover raw stew base before canning, you can refrigerate up to 24 hours before processing.
Frequently Asked Questions
Can I use raw beef instead of pre-cooked roast beef?
Yes, but you’ll need to adjust the recipe. The recipe calls for pre-cooked roast beef because the searing step already browns it. If using raw beef, cut it into 1-inch cubes and sear it in batches until deeply browned before adding the aromatics.
The cook time stays the same, the pressure canner will fully cook the meat during the 90-minute process.
How long will canned beef stew last in storage?
Stored in a cool, dark place (60 to 70°F), the stew keeps 12-18 months. Potatoes soften gradually, so texture is best within the first year.
After opening, refrigerate leftovers and eat within 4 days. Do not freeze canned stew, the seal may break and texture suffers.
Can I leave out the potatoes or add other vegetables?
You can leave out potatoes entirely, just skip them. To swap, substitute an equal volume of parsnips or other waxy vegetables. Avoid russets; they break down into mush during the 90-minute canning process.
Keep the total vegetable volume similar to maintain safe headspace and processing time.
