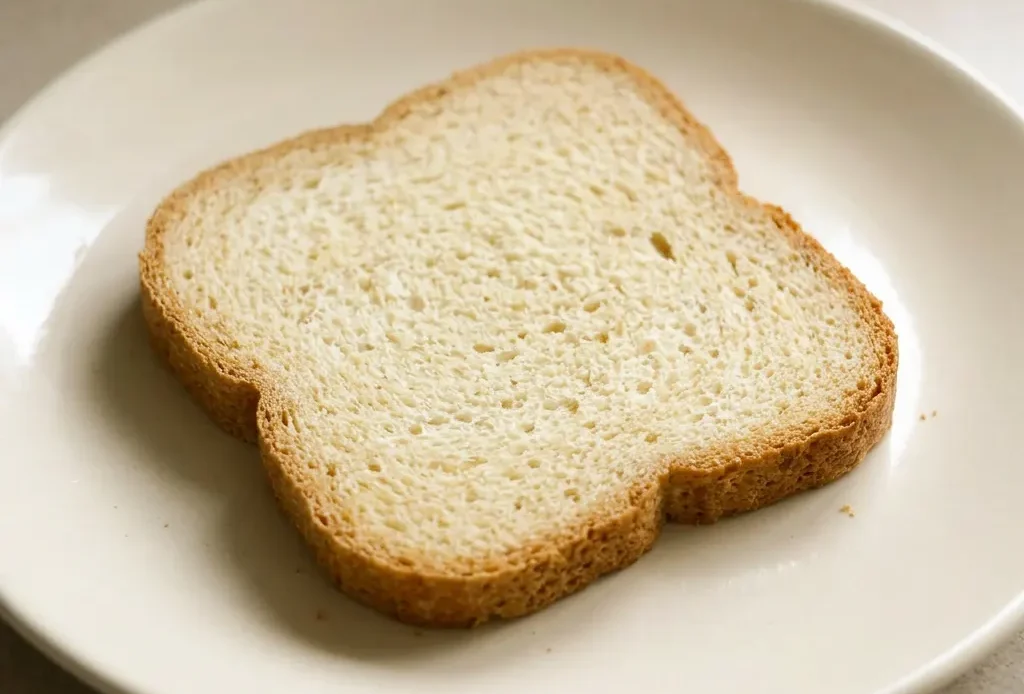
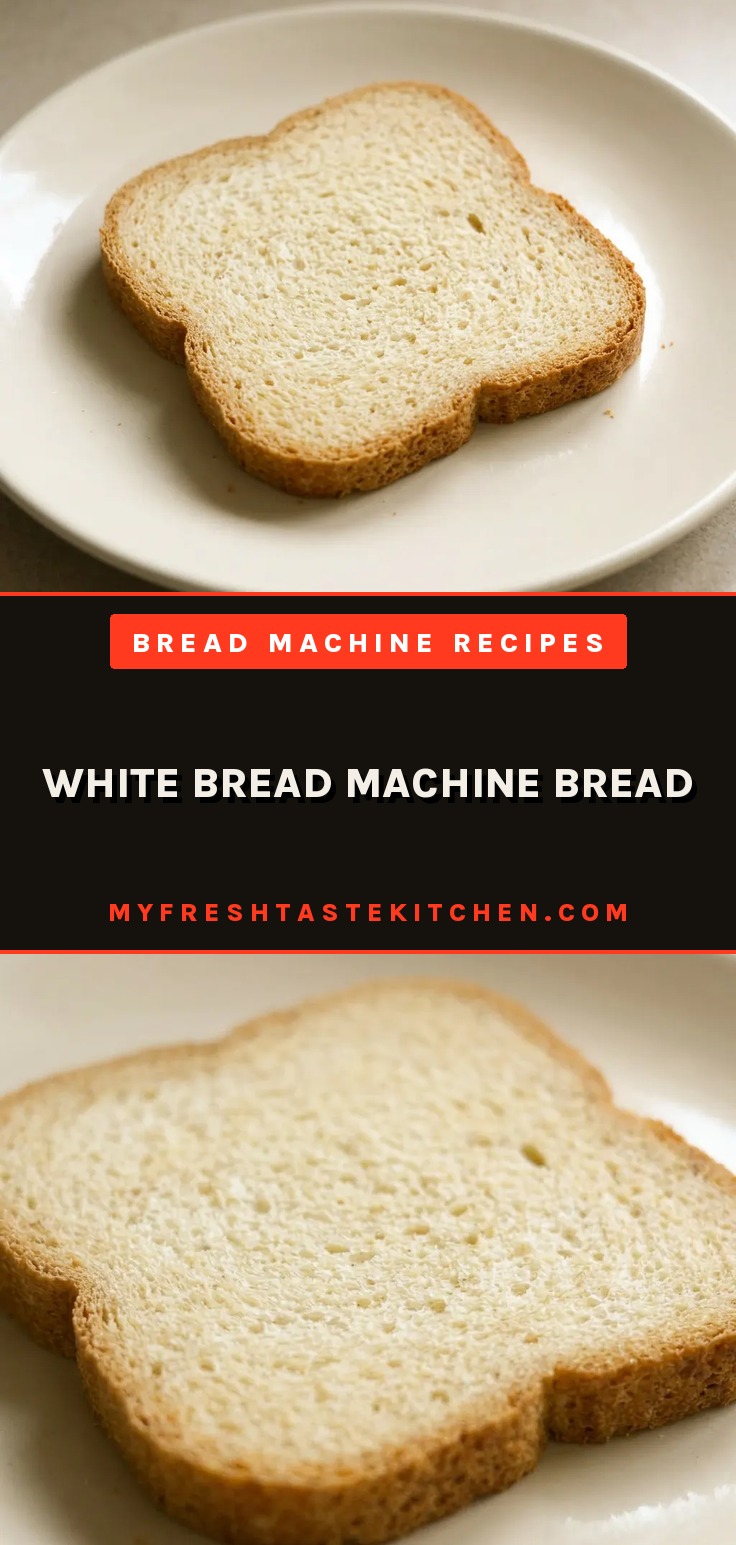
Tall, pale-gold dome, the crumb soft enough to tear with your fingers, that’s what this white bread machine bread delivers with almost no effort. The machine does the kneading and timing, but the ingredient order is the one thing you control that makes or breaks the rise. Get that right, and every loaf comes out consistent.
Liquid First, Yeast Last
In a bread machine, ingredient order matters because it controls when the yeast wakes up. Liquids go in first so the water can hydrate the flour and dissolve the sugar without the salt directly contacting the yeast too soon.
Salt slows yeast activity, so burying it under dry flour delays that contact. The yeast is added last, or as your machine specifies, so it only activates once mixing begins. This prevents the yeast from starting to ferment prematurely, which would produce a weaker rise.
You’ll see the dough come together smoothly, and the finished loaf will have an even crumb and good height. Easy simple bread machine recipes often rely on this order for consistent results.
Why Bread Flour Works
Bread flour’s higher protein content, 12 to 14 percent versus all-purpose’s 10 to 12, gives the dough more gluten-forming potential. When the machine kneads, those proteins link up into strong, elastic strands that trap gas from the yeast. That structure is what supports a tall, even rise in the loaf pan.
You’ll see the dough ball hold its shape during rising, and the finished bread will have a chewy, tender crumb, not a dense or squat one. For the best bread machine recipes, bread flour is the reliable choice for a light, well-risen loaf.
Programmed for Success
The white bread program on your machine is a fixed sequence of kneading, rising, and baking, timed to match these ingredient ratios. The cycle mixes the dough for several minutes, then lets it rise once or twice before baking at a steady temperature.
Selecting a crust darkness setting simply adds or subtracts a few minutes from the final bake to adjust browning. You don’t need to watch the dough or guess; the program handles it.
Every easy bread machine recipes easy result depends on that automated timing, open the lid at the end to find a golden, evenly baked loaf.
Cool Before You Slice
Letting the bread cool completely on a wire rack is what sets the crumb. Steam trapped inside needs to escape; if you cut while warm, the moisture makes the crust soggy and the interior gummy.
As the loaf cools, the gluten structure firms up, so you get clean, even slices instead of a crushed or torn surface. A serrated knife grabs the crust without pressing down on the soft crumb.
Once fully cool, the bread holds its shape and the texture is exactly what the recipe aimed for, tender but not wet.
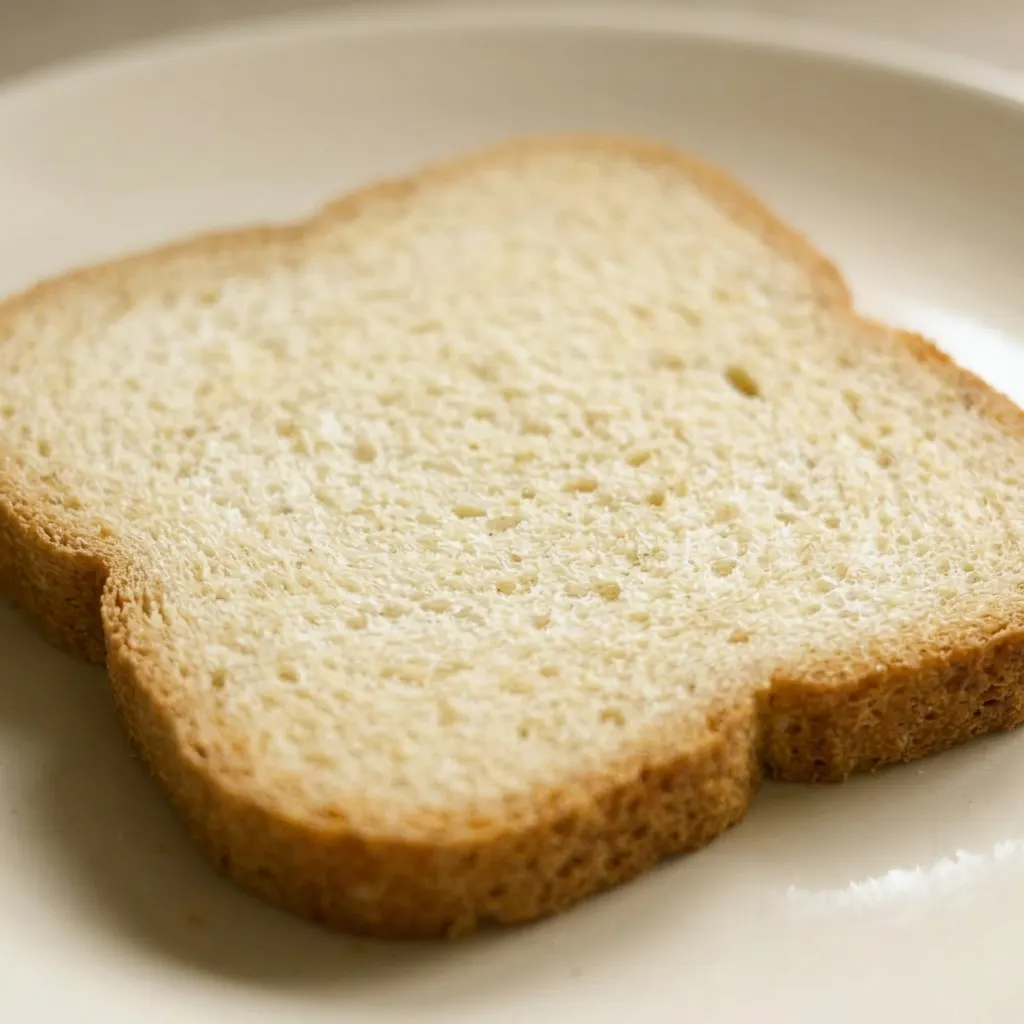
Prep: 10 min · Cook: 3 hr · Total: 3 hr 10 min · Servings: 8 · Calories: 240 kcal
Ingredient Notes
Bread flour: Use bread flour (360g) not all-purpose; its higher protein builds the gluten structure needed for a tall, even loaf.
Active dry yeast: One packet (2 ¼ teaspoons) works fine; no need to proof it first since the machine handles activation.
Vegetable oil: Any neutral oil like canola or sunflower works; avoid strong flavored oils like olive oil.
The Order Is the Secret
Layer in the liquids
Pour the warm water, oil, and sugar into the pan. The water should feel like bathwater on your wrist, hot enough to wake the yeast, not so hot it kills it.
Add dry ingredients
Sprinkle salt over the water, then add the flour, mounding it slightly. The salt stays separated from the yeast this way, so it won’t slow the rise before mixing begins.
Yeast last
Make a small well in the flour and pour the yeast into it. Keep it away from the liquid until the machine starts; if the yeast gets wet early, you’ll see bubbles before it should activate.
Run the program
Set the machine to the white bread cycle and choose your crust. During kneading, peek through the window; the dough should form a smooth ball that cleans the sides. If it’s too wet or dry, adjust with a teaspoon of water or flour.
Cool completely
After baking, let the loaf rest in the pan for 5 minutes, then turn it out onto a rack. Wait until it’s fully cool, no warmth left, before slicing. Cutting early squishes the crumb and makes the crust soggy.
White Bread Machine Bread
Ingredients
- 1 cup warm (not hot) water
- 3 tablespoons vegetable oil
- 3 tablespoons sugar
- 1 ½ teaspoons salt
- 3 cups bread flour 360g
- 2 ¼ teaspoons active dry yeast or one packet
Instructions
Add ingredients to machine:
Add all components into the bread machine following the sequence given (or per manufacturer’s instructions).Select bread cycle:
Set the bread machine to the white bread cycle and pick your preferred crust shade.Rest bread in pan:
After the cycle finishes, take out the bread pan and allow it to rest for 5 minutes before extracting the loaf.Cool loaf on rack:
Transfer the loaf to a cooling rack and let it cool entirely.Slice with serrated knife:
Cut the loaf with a serrated bread knife.
Storage and Serving
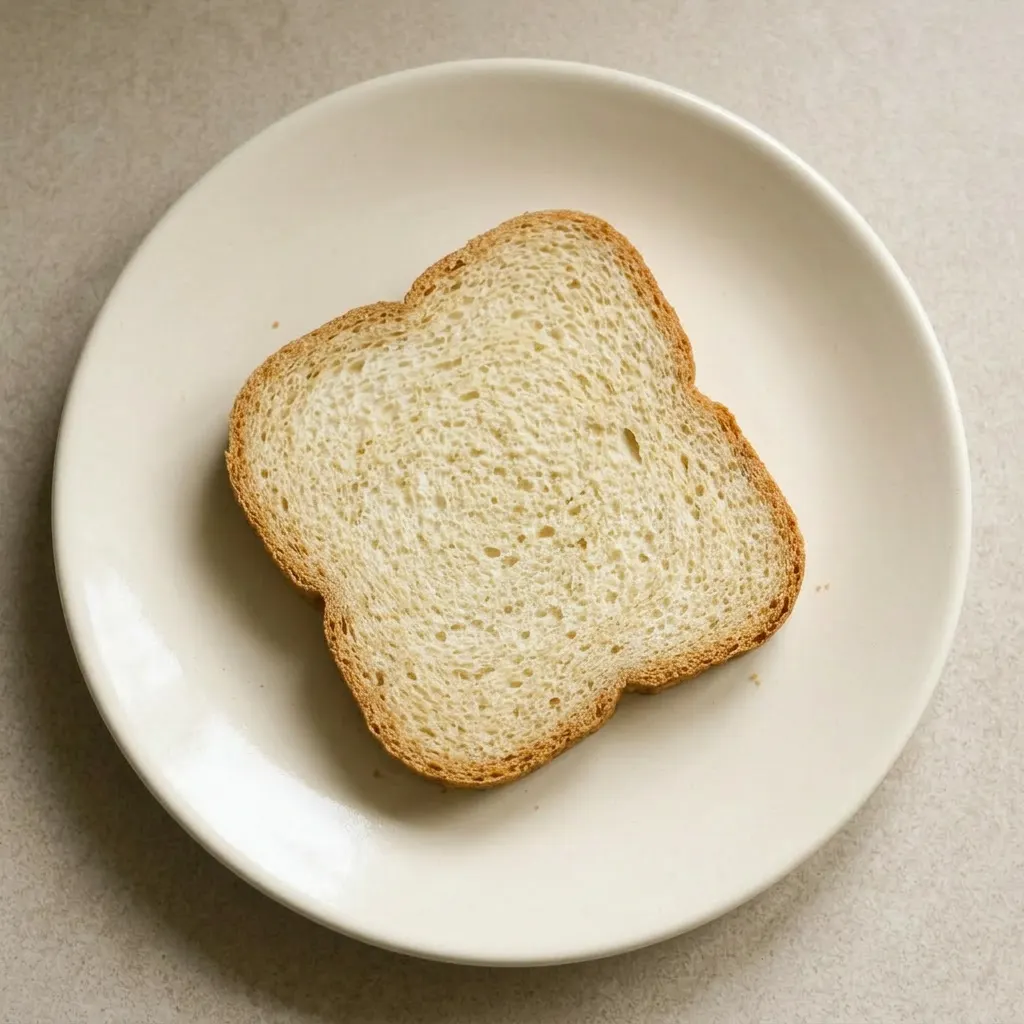
Cool the bread completely before storing. Keep it in a paper bag at room temperature for up to 3 days. The crust stays crisp, and the crumb remains tender.
Avoid plastic bags; they trap moisture and soften the crust. Do not refrigerate; the cold speeds up starch retrogradation, making the bread stale faster.
For longer storage, slice the bread and freeze the slices in a freezer bag for up to 3 months. Thaw slices at room temperature or toast directly from frozen.
The best texture is within the first day, when the crust is crunchy and the interior is soft. After day 2, the crumb dries slightly; toasting refreshes it.
Serve at room temperature or toasted, with butter or jam.
Tips
- Proofing the yeast in the warm water with a pinch of sugar for 5 minutes confirms it’s active before you add other ingredients. If the mixture doesn’t foam, the yeast is dead and the loaf won’t rise.
- Use a digital scale to measure the bread flour by weight (360g) rather than volume. Cup measurements vary, and too much flour makes the dough stiff and the loaf dense.
Swapping Ingredients in a Bread Machine Loaf
Vegetable oil: Melted butter or olive oil. Butter adds richness and a softer crumb; olive oil gives a fruity note. Use the same 3 tablespoons.
The loaf will brown slightly faster with butter.
Bread flour: Up to half whole wheat flour (180g bread flour + 180g whole wheat). Whole wheat absorbs more water, so the dough may feel stiffer.
Add an extra tablespoon of water if the ball looks dry during kneading. The loaf will be denser and less tall, with a nuttier flavor.
Active dry yeast: Instant yeast. Use the same 2 ¼ teaspoons. Instant yeast doesn’t need proofing and can be mixed with the dry ingredients.
No change in rise time or flavor, but avoid proofing it separately.
Sugar: Honey or maple syrup. Reduce liquid by 1 tablespoon since honey adds moisture.
Use the same 3 tablespoons. The crust will darken more and the crumb may be slightly softer.
Expect a mild honey or maple flavor.
Tried adding yeast first and dumping flour on top, then liquids, loaf barely rose. Switched to liquids first, then dry, yeast last, and got a tall, fluffy crumb.
Frequently Asked Questions
Can I use all-purpose flour instead of bread flour?
You can, but the loaf will be shorter and denser. All-purpose has less protein (10-12% vs 12-14%), so it forms weaker gluten.
The dough ball may look less smooth during kneading, and the finished crumb will be more tender but not as tall or chewy. Bread flour is best for this recipe’s 360g quantity.
My bread collapsed in the machine, what went wrong?
Most likely the yeast activated too early, often from warm liquid or direct contact with salt. Check that your water felt like bathwater (not hotter) and that the salt was buried under flour.
Another cause: too much water if the dough looked sticky. Next time, measure flour by weight (360g) for accuracy.
Can I set a timer so the bread is ready in the morning?
Yes, if your machine has a delay timer. Add ingredients as directed, set the timer so the cycle finishes when you wake up, then cool the loaf on a rack for at least an hour before slicing. The bread stays fresh up to 3 days at room temp in a paper bag, but the best texture is the first day.
How do I get a darker crust without burning the bread?
Select your machine’s dark crust setting, it adds a few extra minutes to the bake. If the loaf still looks pale, brush the top with melted butter or milk before baking (but only if your machine allows opening the lid during the cycle). Avoid extending the bake past the program’s end, as the crust will dry out.
