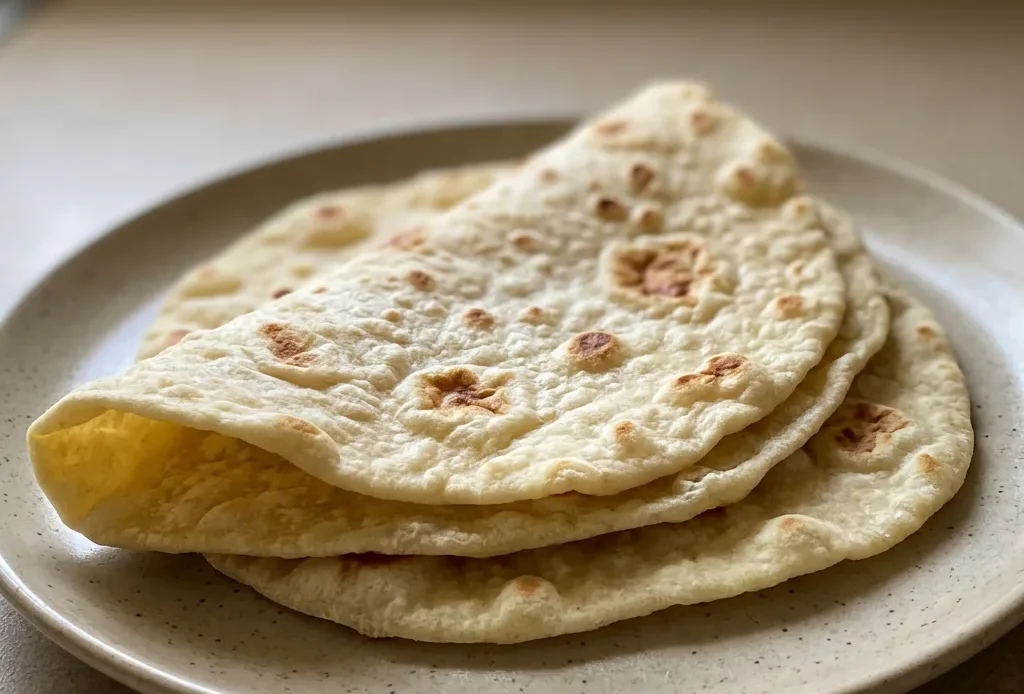
The most common mistake with sourdough discard tortillas is skipping the rest. Without that 30-minute pause, the gluten fights you, and you end up with thick, uneven rounds that puff instead of blister.
But give the dough time to relax, and it rolls paper-thin without snapping back. These sourdough discard tortillas come together in under an hour, and the tang from the discard is exactly what plain flour tortillas lack.
You get pliable, blistered tortillas that hold up to any filling without getting tough or cracking. That rest is the difference between frustration and a stack of tortillas that actually roll.
Use sourdough discard for tang and texture
Sourdough discard brings a mild tangy flavor that fresh dough lacks. You’re using unfed starter, so there’s no rise expected, these tortillas get their pliability from fat and moisture, not fermentation. The acidity in the discard also relaxes gluten, making the dough easier to roll thin without snapping back.
That subtle tang sharpens the flavor of whatever you wrap, and the texture stays soft, not tough. If you’ve only used discard in pancakes or crackers, this is a savory way to use it up without a fuss.
Rest the dough for easier rolling
That 30-minute rest is what changes a stiff lump into a supple dough you can roll paper-thin. After mixing, gluten is tense; given time, it relaxes, so the dough won’t shrink back when you roll. The flour also fully hydrates, creating a cohesive, smooth dough that won’t crack at the edges.
You’ll feel the difference: after resting, the dough yields without resistance. Skip this step and you’ll fight it, ending up with thick, uneven tortillas that puff instead of blister.
Cook over medium-low heat in cast iron
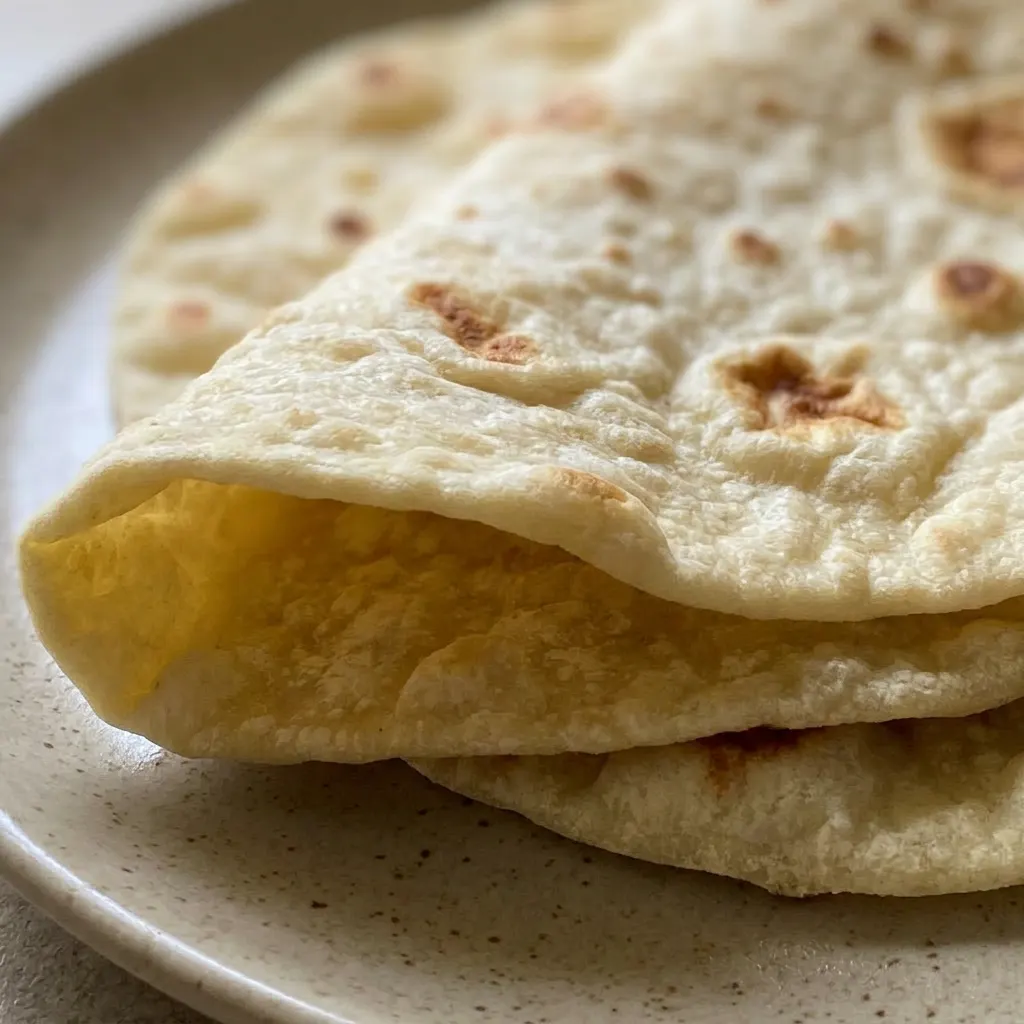
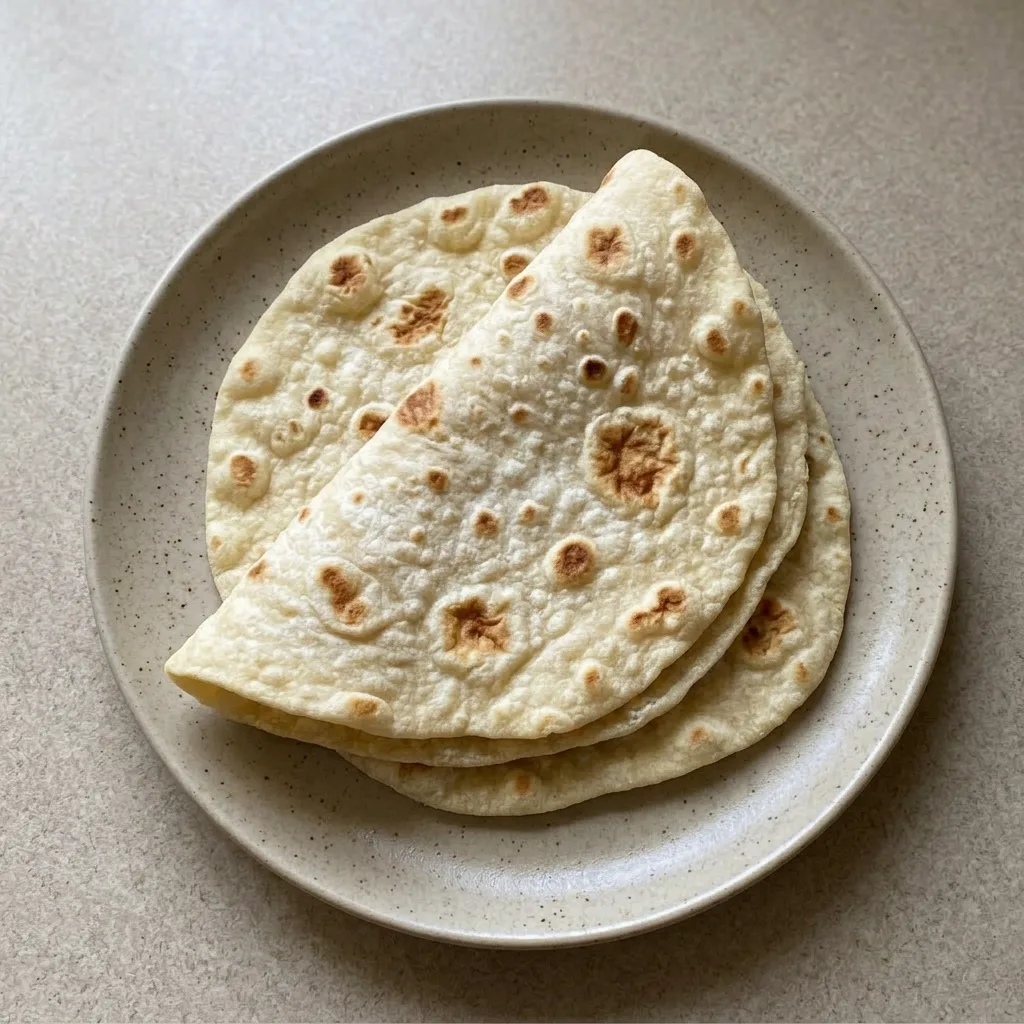
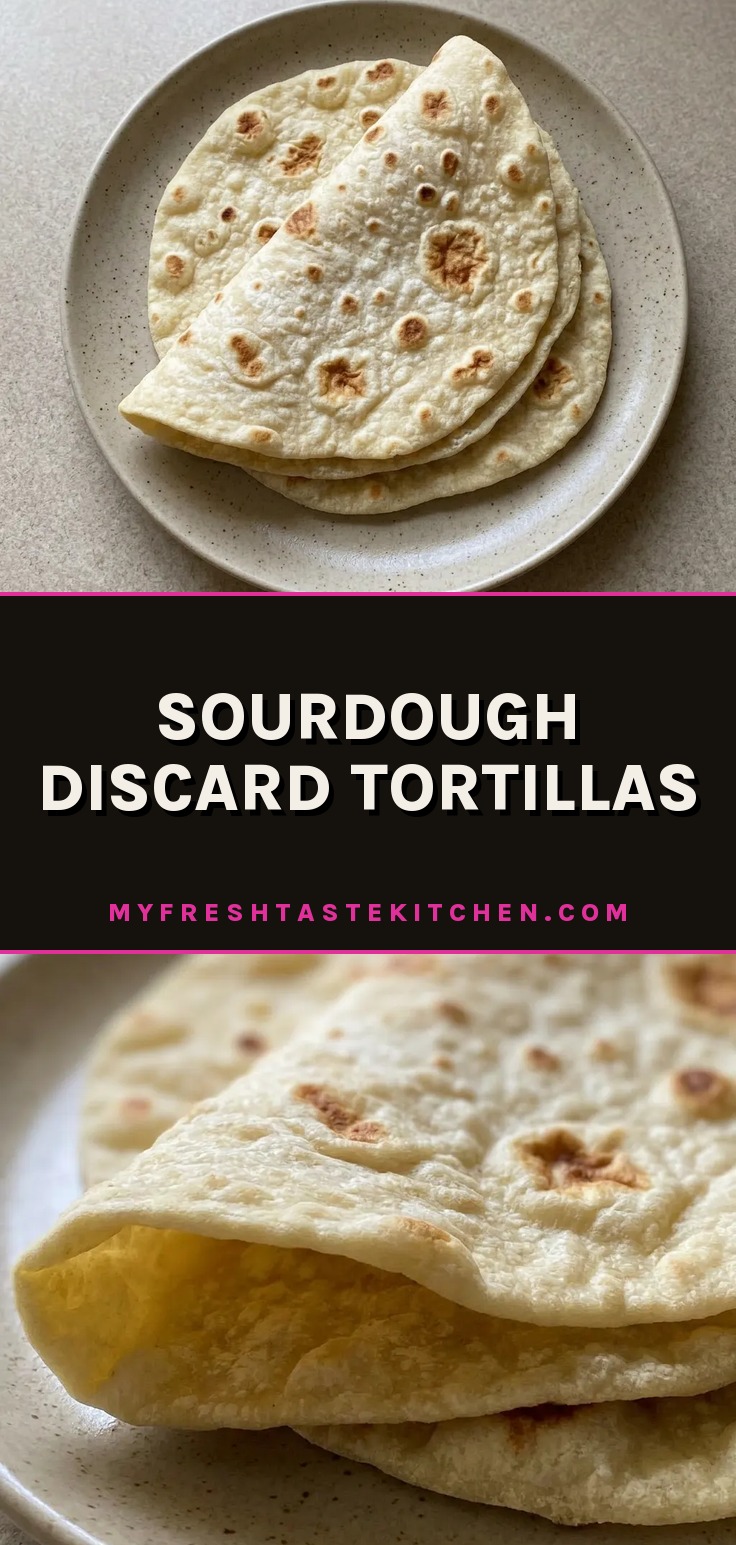
Medium-low heat lets the tortilla cook through without scorching the surface. Cast iron holds steady heat, so each tortilla gets even browning. Look for blisters, those dark spots are steam pockets that keep the tortilla soft and flexible.
Too high heat and you’ll get burnt patches with a raw inside; too low and they dry out. The blisters tell you the moisture is working, and the tortilla will roll without cracking. That’s the sign you’ve nailed it.
Prep: 5 min · Cook: 8 min · Total: 43 min · Servings: 8 · Calories: 160 kcal
Ingredient Notes for Sourdough Discard Tortillas
Sourdough starter discard: Use unfed discard straight from the fridge. Active starter works too but the tang will be milder.
Olive oil: Regular olive oil is fine; extra virgin adds a fruity note that can compete with the tang.
All-purpose flour: 208 grams, about 1 2/3 cups. Bread flour makes them chewier; whole wheat will be sturdier.
I tried rolling one batch right after mixing and another after the full 30-minute rest. The first tore apart; the second rolled out silky thin.
Roll thin, cook hot, don’t skip the rest
Mix the dough
Whisk discard, oil, and water until creamy. Stir in flour and salt until no dry bits remain. It’ll look shaggy, that’s fine.
Stretch and fold once
Grab one edge, stretch it up, and fold over the center. Turn the bowl and repeat from three more sides. This builds structure without overworking.
Rest 30 minutes
Cover with a towel. After resting, the dough feels smooth and elastic, not springy. If it still bounces back, let it sit 10 minutes more.
Divide and roll
Cut into 8 equal pieces. On a floured surface, press each into a disc, then roll from center outward, rotating as you go. Aim for paper-thin, you should nearly see through it.
Dust with flour between stacked tortillas.
Cook on medium-low
Heat a cast iron skillet over medium-low. Lay a tortilla in the dry pan. After 3 to 4 minutes, blisters appear and edges lift; flip and cook another 3 to 4 minutes.
The surface should have dark spots but no burnt patches.
Sourdough Discard Tortillas
Ingredients
- 1/2 cup sourdough starter discard
- 1/4 cup olive oil
- 1/3 cup water
- 1 2/3 cup all-purpose flour 208g
- 1/2 tsp sea salt
Instructions
Mix wet and dry:
In a large bowl, combine sourdough discard, olive oil, and water with a whisk until thoroughly blended. Incorporate the flour and sea salt. Mix until a uniform dough emerges. Employ a stand mixer’s dough hook or knead manually.Stretch and fold:
Execute one round of stretch-and-fold: draw one edge of the dough upward and over, folding it onto itself. Turn the bowl and repeat from each side, totaling four folds.Rest dough 30 min:
Shroud the dough with a tea towel and allow it to rest for 30 minutes.Portion and flatten:
Once rested, portion the dough into 8 equal pieces. On a lightly floured surface, flatten each piece into a round tortilla, as thin as possible without tearing. Separate tortillas with a lightly floured silicone mat or parchment to avoid adhesion. A tortilla press may also be used.Cook tortillas:
Warm a skillet or pan (preferably cast iron) over medium-low heat. Cook each tortilla for 3–4 minutes per side, until blisters appear on the surface. Avoid raising the heat excessively to prevent scorching.Cool and store:
Serve right away or allow to cool. Refrigerate for up to a week or freeze for up to 6 months.
Swap the fat, keep the discard
olive oil: Melted butter or avocado oil. Butter yields a richer flavor and slightly stiffer dough; avocado oil is neutral and works measure-for-measure. Both keep tortillas pliable.
all-purpose flour: Up to half whole wheat flour. Whole wheat makes tortillas sturdier and nuttier. Use 1 cup whole wheat + 2/3 cup all-purpose (208g total).
Dough may need an extra tablespoon water if dry.
sourdough starter discard: Leave as is, active starter works but tang will be milder. No substitute for the acidity that relaxes gluten.
Any change to the discard’s role risks tough tortillas. The tang is a feature, not a flaw.
Storage and Serving
These tortillas are best eaten right off the skillet, while still warm and pliable. If you’re making them ahead, let them cool completely on a rack before storing. Stack cooled tortillas in an airtight container or zip-top bag, separated by parchment to prevent sticking.
They’ll keep in the fridge for up to a week. The texture stiffens as they chill; to restore softness, reheat each tortilla in a dry skillet over medium heat for about 30 seconds per side, or wrap a stack in a damp paper towel and microwave for 20 to 30 seconds.
For longer storage, freeze for up to 6 months. Freeze in a single layer on a baking sheet, then transfer to a freezer bag. Thaw in the fridge or directly on the counter; reheat as you would refrigerated tortillas.
Freezing doesn’t affect the texture noticeably, but reheating is essential to bring back pliability. If you skip the reheat, they’ll crack when folded.
Tips
- If the dough feels too sticky after resting, dust your hands and work surface with flour rather than kneading more in. This prevents overworking the gluten, which would make the tortillas tough.
- When rolling, flip the tortilla frequently and rotate it a quarter turn each time. This ensures even thinness and prevents sticking to the counter without needing excess flour that could dry the dough.
Frequently Asked Questions
Can I make these tortillas ahead of time and reheat them?
Yes. Let them cool completely, then store in an airtight container with parchment between each.
Reheat in a dry skillet over medium heat for about 30 seconds per side, or wrap a stack in a damp paper towel and microwave 20 to 30 seconds. Skip reheating and they’ll crack when folded.
Why are my tortillas cracking when I roll them out?
Most likely you skipped or shortened the 30-minute rest. Gluten needs that time to relax so the dough stretches without snapping back. If you rested and they still crack, the dough may be too dry, add a teaspoon of water, knead it in, and let it rest another 10 minutes.
How do these compare to traditional flour tortillas in taste and texture?
They’re tangier from the sourdough discard, with a more complex flavor than plain flour tortillas. The texture is similar, soft and pliable when warm, but slightly sturdier, so they hold up well to fillings without getting soggy. The blisters from the cast-iron pan add a subtle chew that traditional tortillas often lack.
