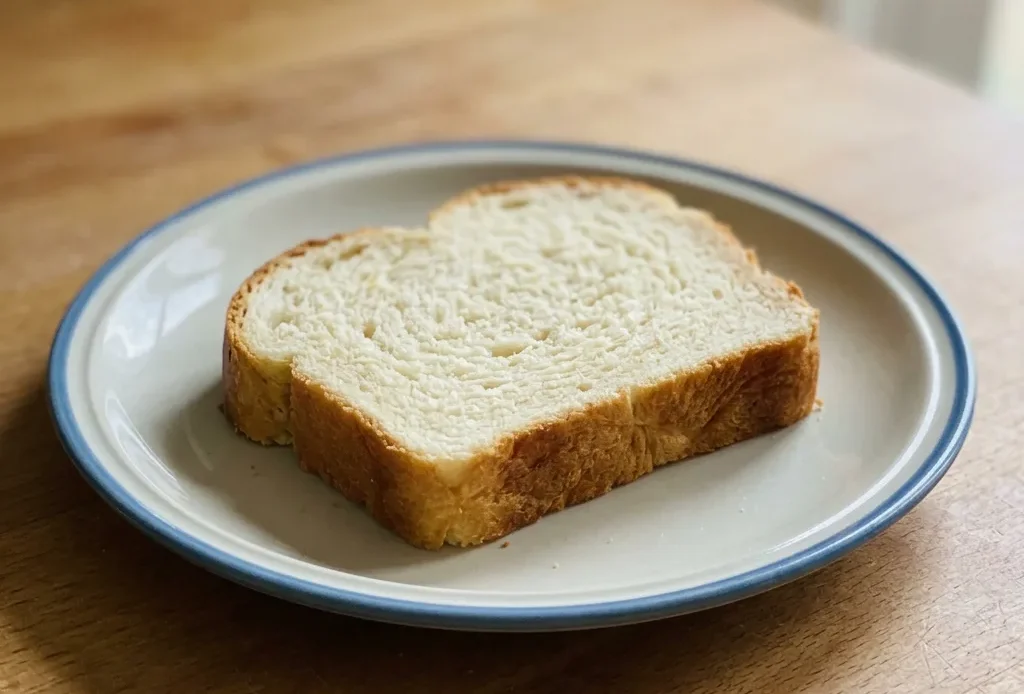
The most common mistake with a bread machine white loaf is adding ingredients in the wrong order, which stalls the rise and leaves a dense, squat brick. This recipe sidesteps that by layering liquids, then dry ingredients, with yeast last, so the machine doesn’t fight stale yeast clumps or burnt flour. It’s a hands-off white bread recipe for bread machine that leans on milk and butter for a soft, bakery-style crumb, not the cottony texture water alone gives.
The real trick is the three-minute dough check, peek early, feel for a tacky ball, and adjust before the kneading locks in a dry or sticky mess. That small window decides whether you get a tall, even loaf or a doorstop.
Ingredient order controls mixing and yeast
Most bread machine recipes call for adding liquids first, and that’s not arbitrary. Pouring milk into the pan before anything else keeps flour from sticking to the bottom and burning during baking. Salt and sugar go in next, separated from the yeast by the flour layer.
If salt sits directly on yeast, it slows fermentation; the flour barrier buys time. Instant yeast lands last on top of the flour. It stays dry until the kneading blade pulls it into the liquid, which delays activation just enough for even distribution.
You can see the dough come together as a uniform mass rather than yeast clumps. This sequence isn’t about precision for its own sake, it’s a practical setup that lets the machine do its job without you babysitting the first minute.
Milk, butter, and sugar make a soft crumb
White bread from a machine can turn out tough or dry if you lean on water alone. Milk brings fat and lactose, which tenderize the crumb and deepen browning.
Butter adds richness that you taste in every bite; it also shortens gluten strands, so the loaf stays soft rather than chewy. Sugar does double duty: it feeds the yeast for a reliable rise, and it caramelizes in the oven, giving the crust its golden color. Together, these three ingredients shift the texture from lean sandwich bread toward something more like bakery-style pull-apart.
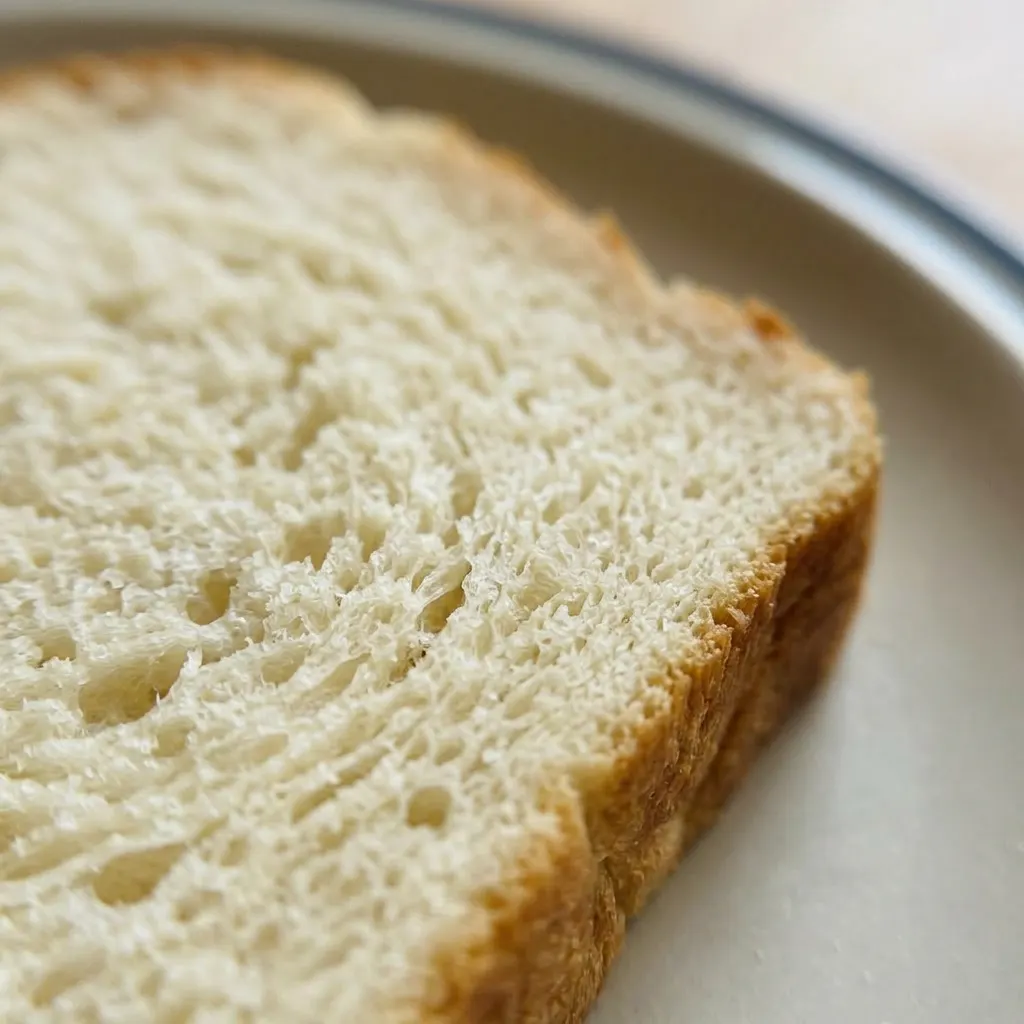
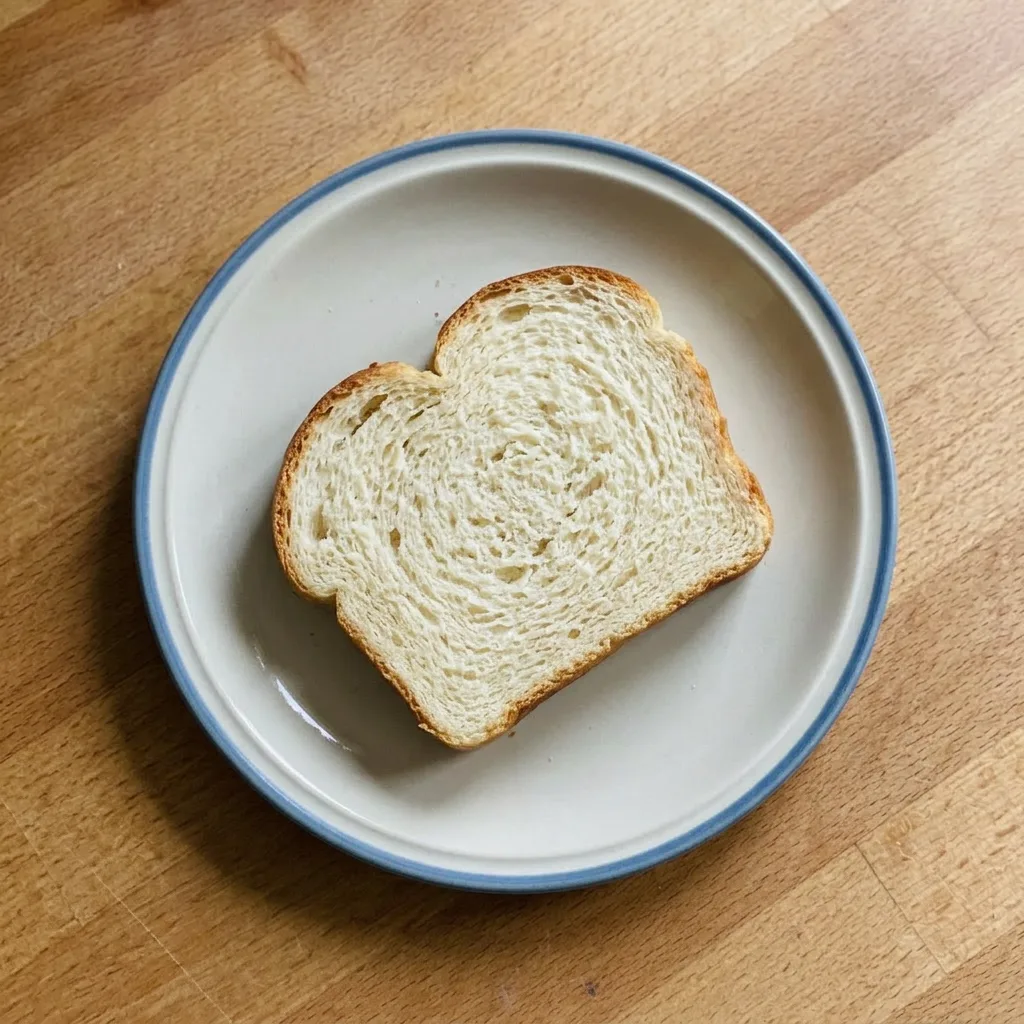
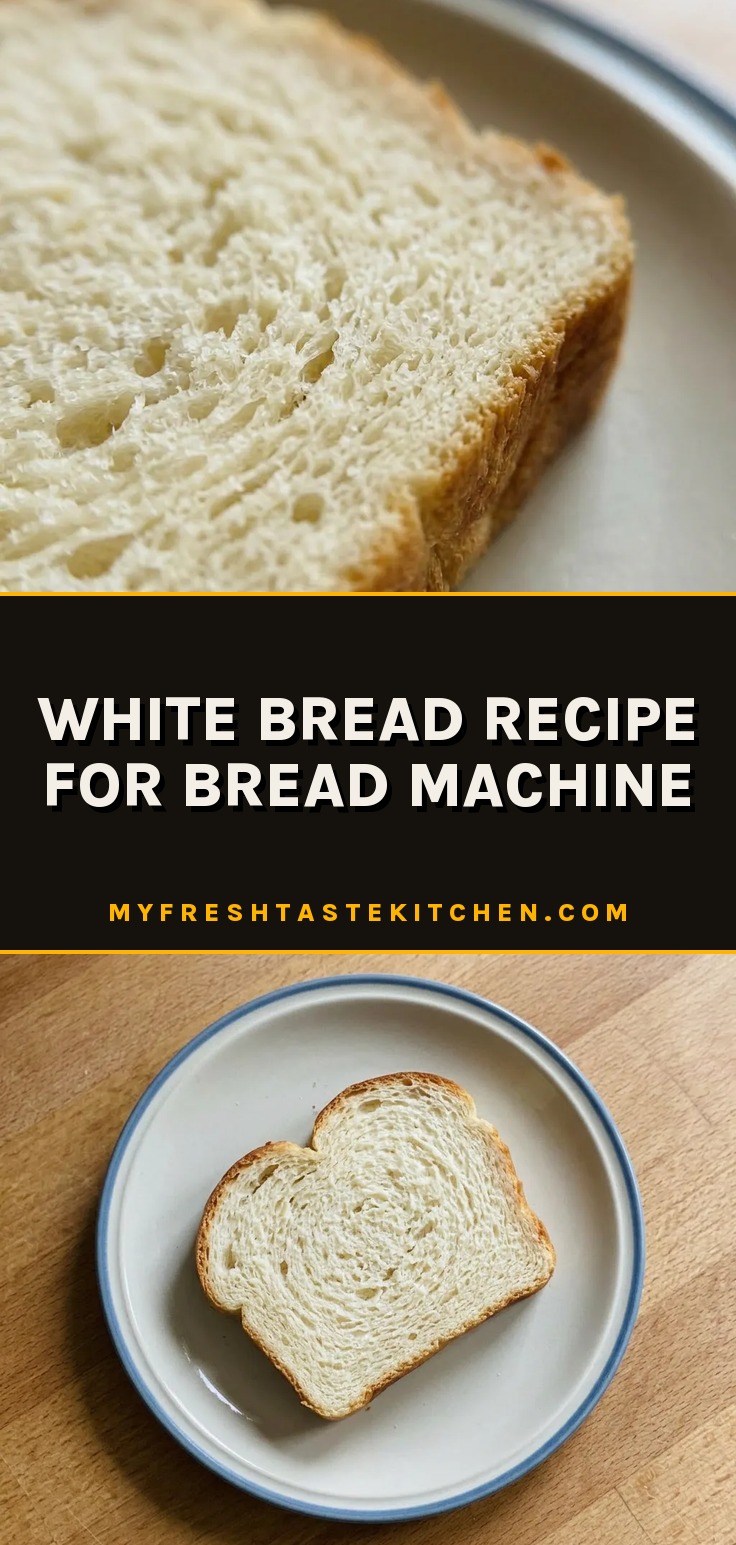
The crumb feels tender, not cottony, and the crust has a faint sweetness. If you want a loaf that slices clean without crumbling, this ratio delivers.
Dough feel during kneading tells you everything
The machine mixes blind, so you have to check the dough early. Open the lid during the first three to five minutes of kneading. The dough should form a smooth ball that barely sticks to your finger when you touch it, tacky, not sticky.
If it clings and leaves residue, sprinkle in a tablespoon of flour and let it incorporate. If the ball looks shaggy or the machine strains, add a splash of water. Humidity, flour protein content, and even how you measured the flour all affect hydration.
This one-minute adjustment saves you from a dense brick or a collapsed loaf. You can feel the right consistency: the dough should slap against the pan sides cleanly. That tacky ball will rise evenly and bake into a tall, even-crumbed loaf.
Trust your hands over the recipe.
Prep: 5 min · Cook: 3 hr · Total: 3 hr 5 min · Servings: 12 · Calories: 210 kcal
Ingredient picks for a tender loaf
lukewarm milk: Heat it to 100 to 110°F; hot milk kills yeast, cold slows the rise.
melted butter: Use unsalted so you control the salt level; cool it slightly so it doesn’t cook the milk.
all-purpose flour: Standard all-purpose works fine; bread flour makes the loaf chewier, not softer.
instant yeast: Buy fresh instant yeast; old yeast loses potency and gives a short, dense loaf.
Tried adding all flour at once once, dough was a sticky mess. Next time held back a tablespoon and added during knead check; ball every time.
Load the pan in the right order
Add liquids first
Pour the lukewarm milk into the pan. It should feel just warm to the wrist, too hot kills yeast, too cold slows it. This base prevents dry flour from scorching on the bottom.
Layer dry ingredients
Sprinkle salt and sugar over the milk, then dump in the flour to form a powder blanket. Yeast goes on top last. If salt touches wet yeast directly, fermentation stutters; this layering keeps them apart until kneading.
Set the machine and start
Lock the pan in the machine, select Basic cycle, 2 lb, medium crust, and press start. The machine will mix, knead, rise, and bake, no further input needed, except the early dough check.
Check dough after 3 minutes
Lift the lid a few minutes into kneading. The dough should form a smooth ball that barely sticks to your finger, tacky, not sticky. If it clings heavily, add a tablespoon of flour; if shaggy, add a splash of water.
Let the cycle finish
Close the lid and let the machine complete all phases. When the beep sounds, the loaf is baked. Wear oven mitts to remove the pan, it’s hot.
Cool completely before slicing
Turn the pan upside down over a wire rack. The loaf should drop out with a gentle shake. Let it cool for at least an hour; cutting warm collapses the tender crumb and makes it gummy.
White Bread Recipe for Bread Machine
Ingredients
- 1 1/4 cups lukewarm milk 312 g
- 2 tsp salt
- 3 tbsp sugar
- 1/4 cup melted butter 56 g
- 4 cups all-purpose flour 480 g
- 1 1/2 tsp instant yeast
Instructions
Fit Dough Hook:
Fit the dough hook or kneading blade onto the bread machine’s pan.Add Ingredients:
Into the baking pan, add 1 1/4 cups of lukewarm milk (or lukewarm water if using), then salt, sugar, melted butter, flour, and instant yeast. If using powdered milk, incorporate it before the melted butter.Start Basic Program:
Insert the bread pan into the machine, shut the lid. Configure weight to 2 lbs (1000 g), crust color to medium, and choose the Basic Bread program (typically the first option). Hit Start and let the machine finish the entire bread cycle.Check Dough Consistency:
Around 3-5 minutes into the kneading phase, lift the lid to check the dough. It ought to form a smooth, unified ball that feels slightly damp (tacky). If overly sticky, dust in a little extra flour; if too dry, add a small splash of water.Remove Bread Pan:
Once the bread machine completes its cycle, use oven mitts or pot holders to carefully extract the bread pan.Release and Cool:
Turn the pan upside down onto a wire rack to release the bread gently; let it cool fully before slicing.Slice and Enjoy:
Cut into slices and savor your tender, airy loaf!
Three swaps that work, one that doesn’t
lukewarm milk: 2% or whole plant-based milk (unsweetened, unflavored). Lower-fat milk reduces richness slightly; the crumb stays tender but less silky. Plant milks like oat or soy work, but avoid vanilla or sweetened versions, they add off-flavors and extra sugar that can throw off the rise.
melted butter: Salted butter if you reduce added salt by 1/4 tsp. Salted butter has about 1/4 tsp salt per stick. Keep total salt at 2 tsp.
If you skip adjusting salt, the loaf tastes noticeably saltier but still rises and browns fine.
all-purpose flour: Bread flour (same weight). Bread flour has more protein, so the loaf gets chewier with a higher dome. The crumb tightens up.
If you prefer soft sandwich bread, stick with all-purpose.
Storage and Serving
Cool the loaf completely on a wire rack before storing. Warm bread traps moisture and turns the crust soft, so wait at least an hour. Store leftover slices in an airtight container at room temperature for up to 3 days.
The crumb stays tender for the first 2 days; by day 3 it firms slightly but still toasts well. For longer storage, freeze slices in a zip-top bag for up to 3 months. Thaw at room temperature or pop directly in the toaster.
Toasted frozen slices regain a crisp crust and soft interior, so don’t bother thawing first. Avoid refrigerating the loaf, as the cold accelerates staling and dries out the crumb. For the best texture, eat the loaf within 24 hours of baking.
After that, toasting revives it. No finishing touch needed, the bread is ready as soon as it’s cool.
Tips
- If your machine has a fruit/nut dispenser, add 1/2 cup of raisins or chopped nuts when the beep sounds; the machine will fold them in without crushing.
Frequently Asked Questions
Can I use active dry yeast instead of instant yeast?
Yes, but you’ll need to proof it first. Dissolve active dry yeast in a few tablespoons of the warm milk with a pinch of sugar until foamy, about 5 to 10 minutes.
Then reduce the milk in the pan by that amount. The rise may take slightly longer, but the loaf still works.
Why did my bread collapse or have a dense texture?
Most likely the dough was too dry or too wet at the 3-minute check. If the ball felt stiff or shaggy, the yeast couldn’t expand fully; if it stuck to your finger, the gluten got waterlogged. Also old yeast loses power, test it by proofing a teaspoon in warm milk before starting.
Can I make this dough ahead of time and bake later?
Not in the machine, it’s designed for a single cycle. You can run the dough cycle only, then refrigerate the dough overnight in an oiled bowl.
The next day, shape it, let it rise in a loaf pan until doubled (1 to 2 hours), and bake at 350°F for 30 to 35 minutes. The crumb will be slightly denser.
How do I get a darker or lighter crust?
Use the crust color setting on your machine, choose light or dark instead of medium. For a darker crust manually, brush the top with milk or egg wash 10 minutes before the cycle ends.
Lighter crust? Remove the loaf 5 minutes early or use the light setting. The recipe’s 180-minute total time includes the full cycle.
Is this bread suitable for sandwiches or toast?
Yes, it’s designed for both. The milk, butter, and sugar create a tender crumb that holds up to spreads and fillings without tearing. Toast it after day one to restore crispness, the crumb softens by day two but still works.
Slices freeze well for later use.
