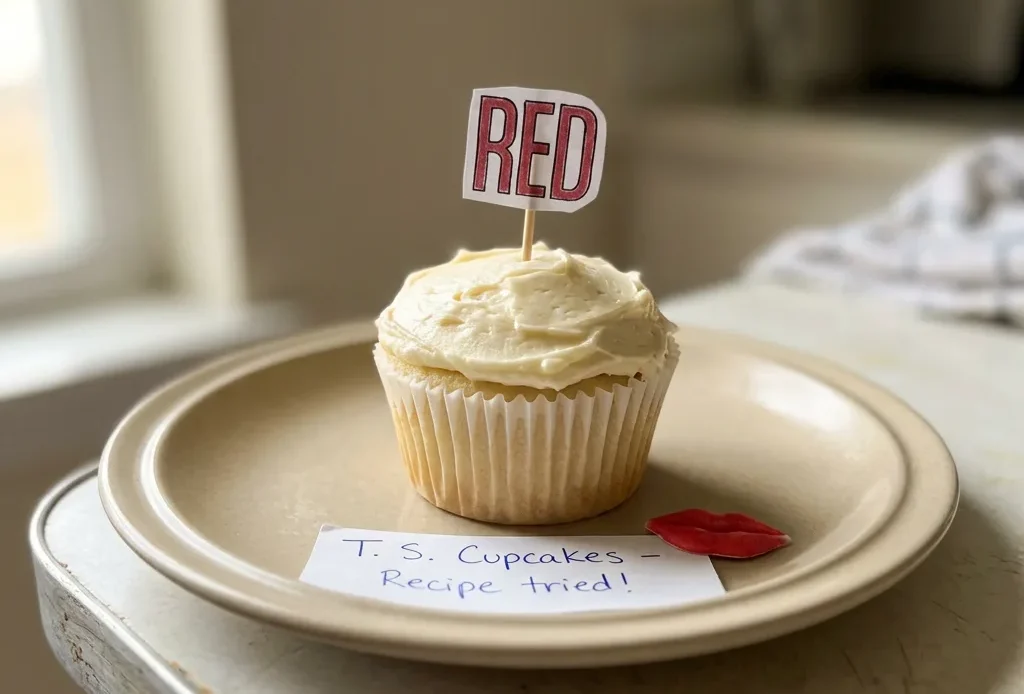
A bakery-style vanilla cupcake that’s tender, light, and evenly domed comes down to one unexpected detail: the order you add the flour and milk. It’s not fussy, it’s the difference between a crumb that melts and one that chews. These taylor swift cupcakes get that texture right by alternating dry and wet ingredients, starting and ending with flour.
The method looks extra, but it controls gluten development without any special technique. You whisk the dry stuff once, cream the butter, then stir in thirds with milk, barely mixing each time. The batter stays soft, never stretchy, and the cupcakes rise with a fine, even crumb that tastes like an nostalgic bakery case.
If you’ve ever pulled out dense, squat cupcakes, this is the fix.
Why does alternating dry and wet ingredients matter for texture?
The recipe has you whisk the dry ingredients together first, then cream butter and sugar, and finally alternate adding dry and wet to the butter mixture, starting and ending with dry. That order controls gluten development.
When you add flour to a wet batter all at once and stir vigorously, gluten strands form quickly, making cupcakes tough. By alternating, you keep the batter relatively thick and stir just enough to incorporate each addition. You can see how the batter stays soft and smooth, not stretchy.
The result is a tender crumb with a fine, even structure. This method, sometimes called the two-bowl or reverse creaming approach, gives you a cupcake that feels light and delicate, not dense or bready.
That’s why you start and end with dry ingredients: it minimizes gluten formation while still distributing everything evenly.
What does the blend of baking powder and baking soda do?
The recipe uses both baking powder and baking soda, each half a teaspoon. Baking powder provides a steady lift from the heat of the oven, creating an airy crumb. Baking soda does something else: it reacts with any acidity present, which in this case comes from the milk (slightly acidic) and possibly from the butter or eggs.
That reaction produces carbon dioxide bubbles early in baking, giving an initial spring. But baking soda also promotes browning, you’ll see the cupcakes develop a golden crust, not a pale one. Using both prevents the metallic soapy taste that can happen if you rely on baking soda alone without enough acid.
The combination gives you a light texture and a nicely browned top, without any off-flavors. The cupcakes rise evenly and look appealing, with a soft dome and a uniform color.
Why is softened butter key to the cupcake’s crumb?
The recipe calls for softened unsalted butter, and for good reason. When you cream softened butter with sugar, you trap air pockets in the fat.
Those pockets expand in the oven, giving the cupcake a light, fluffy crumb. If the butter is too cold, it won’t spread around the sugar granules properly, you end up with a dense, greasy batter. If the butter is too melted, it can’t hold air at all, and your cupcakes come out flat and heavy.
You want the butter at a cool room temperature, about 68°F, so it’s pliable but not shiny or oily. When you beat it with sugar, the mixture should look pale and fluffy, almost like a thick paste. That visual cue tells you you’ve incorporated enough air.
The result is a cupcake that feels tender and soft, not compact or rubbery. It’s a simple step that makes a real difference in the final bite.
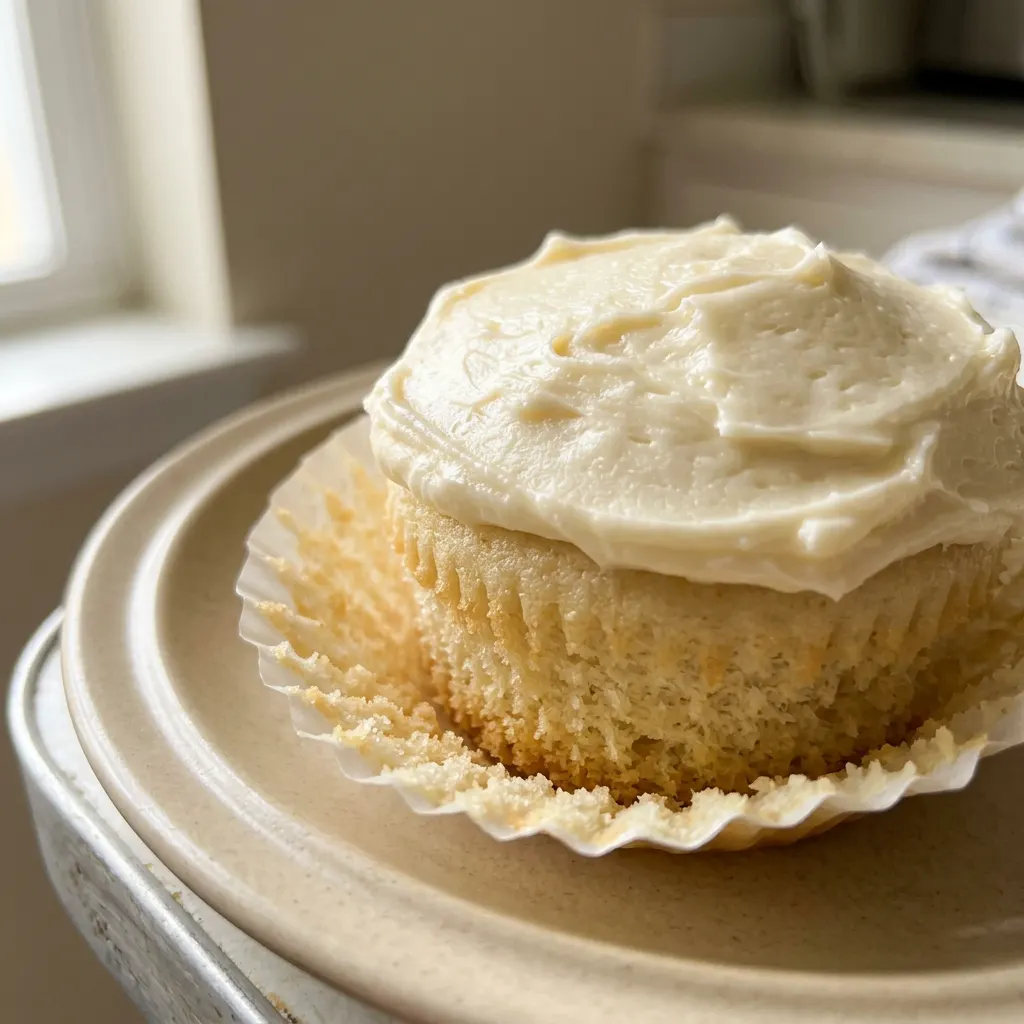
Prep: 20 min · Cook: 20 min · Total: 40 min · Servings: 12 · Calories: 120 kcal
What to look for when buying butter and milk
Unsalted butter: Use unsalted so you control the salt level; salted butter can make cupcakes taste flat.
Milk: Whole milk gives a richer crumb; low fat works but the texture will be slightly less tender.
How to judge doneness without opening the oven door too soon
Prep the pan and oven
Set the rack in the middle and preheat to 350°F. Line a 12-cup pan with paper liners. If you skip lining, the cupcakes will stick, paper makes removal clean.
Whisk the dry ingredients
In a big bowl, whisk flour, sugar, baking powder, baking soda, and salt until no streaks remain. A whisk breaks clumps better than a fork; you want an even distribution for uniform rise.
Cream butter and sugar
Beat softened butter and sugar on medium-high until pale and fluffy, about 2 to 3 minutes. Scrape the bowl once. The mixture should look like thick paste, not grainy or oily.
Add eggs and vanilla
Add eggs one at a time, beating well after each. Then mix in vanilla. The batter may look slightly curdled at this point, that’s fine if the butter was properly softened.
Alternate dry and milk
Add one-third of the dry mix, stir until just combined, then half the milk, stir, repeat, ending with dry. Stop as soon as the flour disappears; overmixing makes tough cupcakes.
Fill the liners
Spoon batter into liners until about two-thirds full. An ice cream scoop works well. Don’t overfill; the cupcakes will dome and may spill over the edges.
Bake and test
Bake 18 to 20 minutes. At 18 minutes, insert a toothpick in the center; if it comes out clean or with a few crumbs, they’re done. If wet, bake 2 more minutes and test again.
Cool completely
Let cupcakes rest in the pan for 5 minutes, then transfer to a wire rack. They must be fully cool before frosting, warm cupcakes will melt buttercream into a puddle.
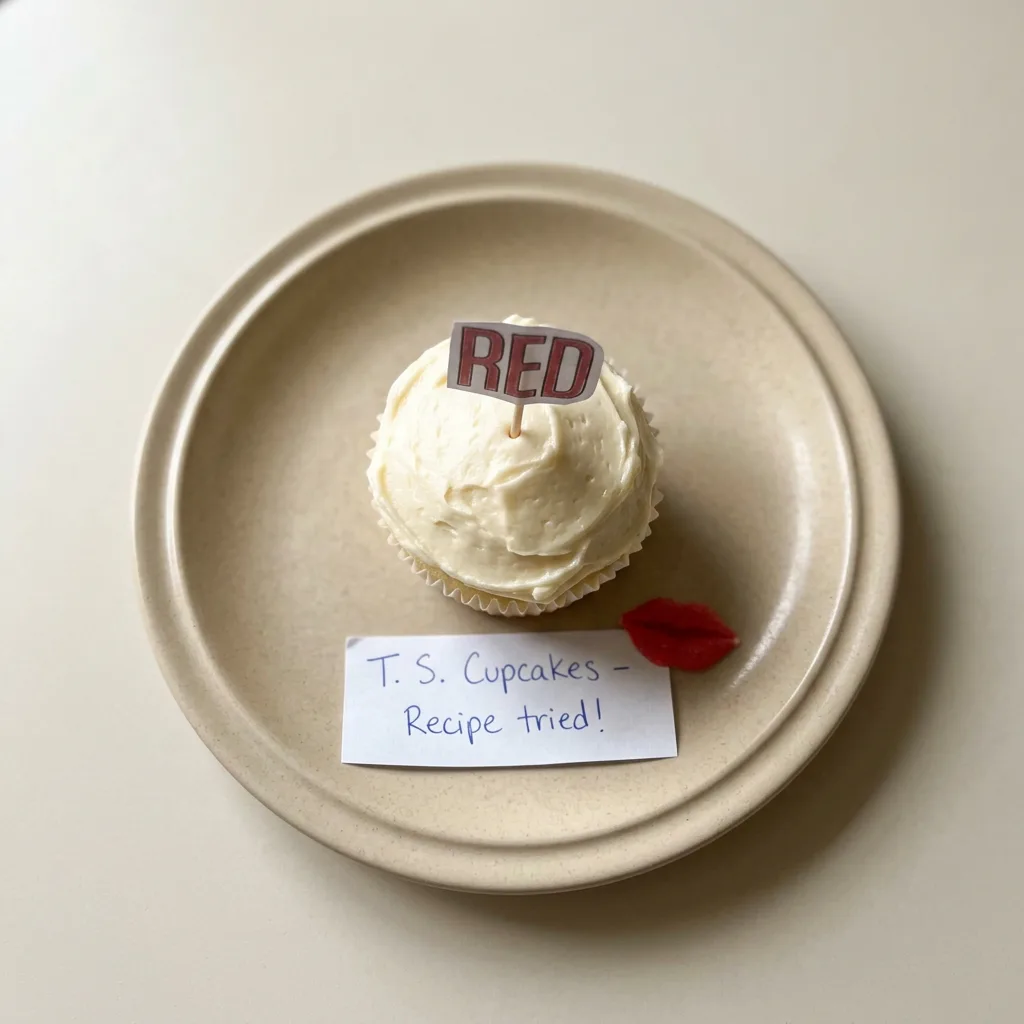
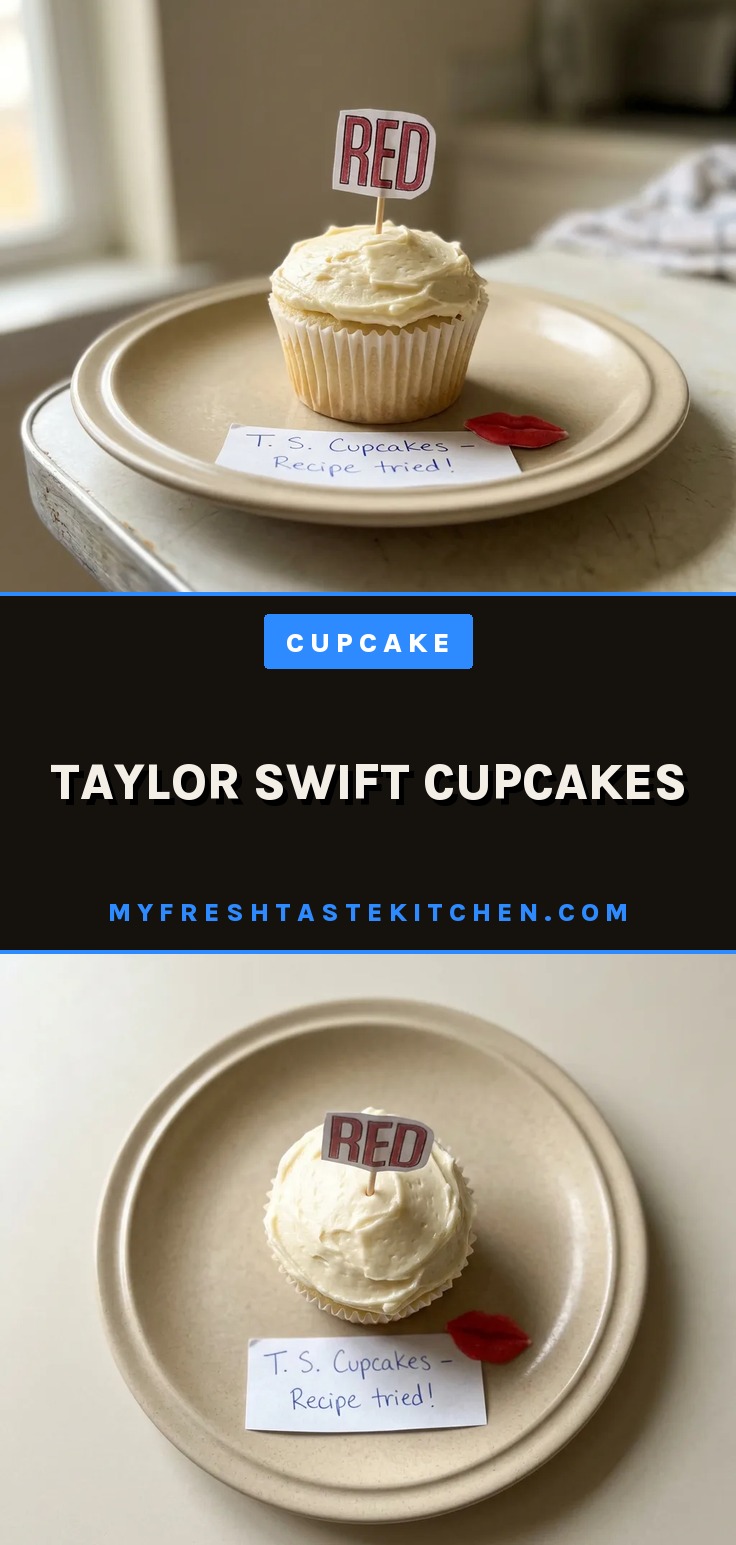
Taylor Swift Cupcakes
Ingredients
- 1.5 cups all-purpose flour 180 g
- 1.5 cups granulated sugar 300 g
- 0.5 teaspoon baking powder
- 0.5 teaspoon baking soda
- 0.25 teaspoon salt
- 0.5 cups unsalted butter 113 g, softened
- 2 large eggs
- 1 teaspoon vanilla extract
- 1 cup milk 240 ml
Instructions
Preheat Oven, Line Pan:
Set oven to 350°F (175°C). Place paper liners in a muffin pan.Whisk Dry Ingredients:
In a big bowl, combine flour, sugar, baking powder, baking soda, and salt with a whisk.Cream Butter and Sugar:
In another bowl, beat softened butter and sugar until fluffy. Mix in eggs one at a time, then add vanilla.Alternate Dry and Milk:
Alternate adding dry mix and milk to the butter mixture, starting and ending with dry. Stir just until incorporated.Fill Liners, Bake:
Spoon batter into liners until about two-thirds full. Bake for 18-20 minutes; a toothpick inserted in the center should come out clean.Cool Cupcakes:
Cool cupcakes in the pan for a few minutes, then move to a wire rack for complete cooling.Frost and Garnish:
Apply frosting and garnish as you like.
Swapping milk or flour without wrecking the crumb
Milk (1 cup): Buttermilk. Use the same amount.
Buttermilk adds tang and makes the crumb slightly more tender because it reacts with the baking soda for extra lift. The cupcakes will be a shade paler and taste less sweet, more complex.
5 cups): Gluten-free 1-to-1 flour blend (with xanthan gum). Use the same volume. The cupcakes will be more delicate and slightly grittier in texture; they may dome less and have a finer crumb that crumbles more easily.
Do not use a blend without binder, the structure collapses.
5 cup): Vegan butter sticks (like Country Crock Plant Butter). Use the same amount.
The creaming step still works, but the batter may seem slightly softer. The cupcakes will be a little less tender and won’t brown as deeply.
Avoid tub margarine, too much water makes them dense.
Tips
- Use an oven thermometer to verify the actual temperature. Ovens often run hot or cold, and even a 25°F difference can overbake or underbake these delicate cupcakes.
- Let eggs and milk sit out for 30 minutes before starting. Cold ingredients can cause the batter to curdle or the butter to seize, resulting in a less tender crumb.
Storage and Serving
Store unfrosted cupcakes in an airtight container at room temperature for up to 3 days. If you freeze them, wrap each tightly in plastic wrap and place in a freezer bag for up to 2 months.
Thaw at room temperature for about 1 hour before frosting. Frosted cupcakes are best eaten within 24 hours; after that, the frosting may soften or crust.
Refrigeration can dry out the cake, so avoid it unless the frosting is dairy based. For a make ahead option, bake the unfrosted cupcakes up to 2 days ahead and store at room temperature.
Add frosting and any garnishes no more than a few hours before serving to keep the texture fresh. Leftovers should be stored in a single layer in an airtight container at cool room temperature, not stacked, to prevent the frosting from smudging.
I see so many people end up with cupcakes that look like craters, and it’s almost always because they keep stirring like they’re punishing the batter.
Frequently Asked Questions
Can I make the cupcake batter ahead of time and bake later?
No, bake right away. The leavening starts reacting once mixed; waiting lets the bubbles escape, so cupcakes won’t rise as high and turn dense. If you need to prep ahead, bake the cupcakes first, then store unfrosted for up to 2 days at room temperature.
Why did my cupcakes sink in the middle after baking?
Most likely they were underbaked, the center needed more time to set. At 18 minutes, test with a toothpick; if it comes out wet, bake 2 more minutes. Another cause: opening the oven door too early, which lets cold air in and collapses the structure before the crumb firms up.
How do I know when the cupcakes are done without a toothpick?
Press the top gently with a fingertip, if it springs back and doesn’t leave an indent, they’re done. The edges will also start pulling away from the liners, and the center will look set, not shiny or jiggly.
Are these cupcakes supposed to be dense or light and fluffy?
Light and fluffy. The creaming method and alternating dry/wet ingredients give a tender, airy crumb. If yours came out dense, the butter was too cold to trap air, or you overmixed the batter after adding flour.
