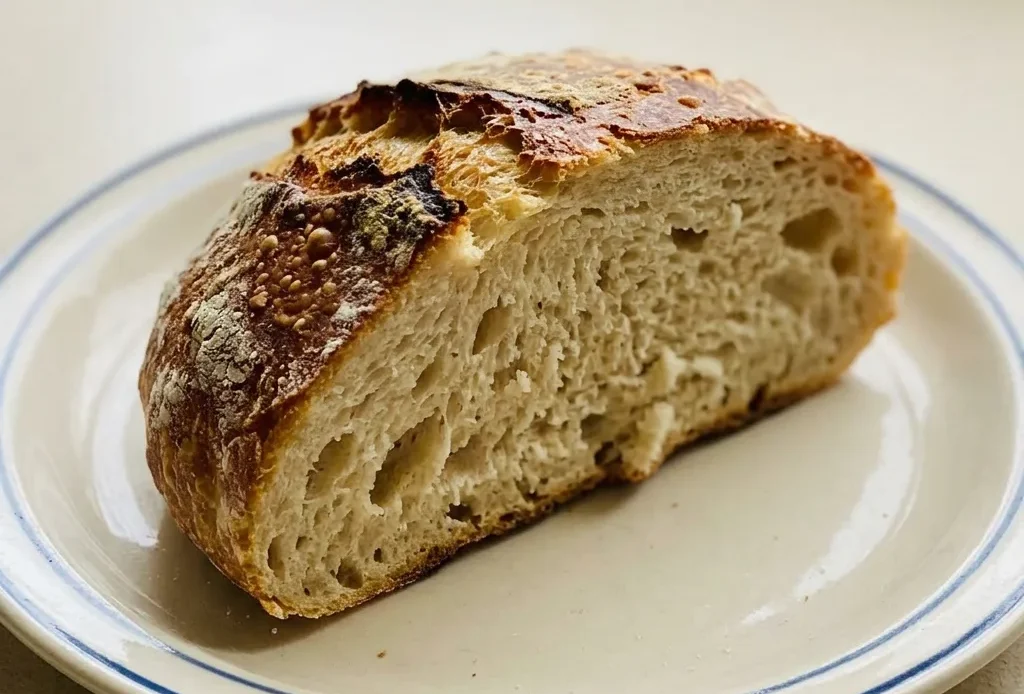
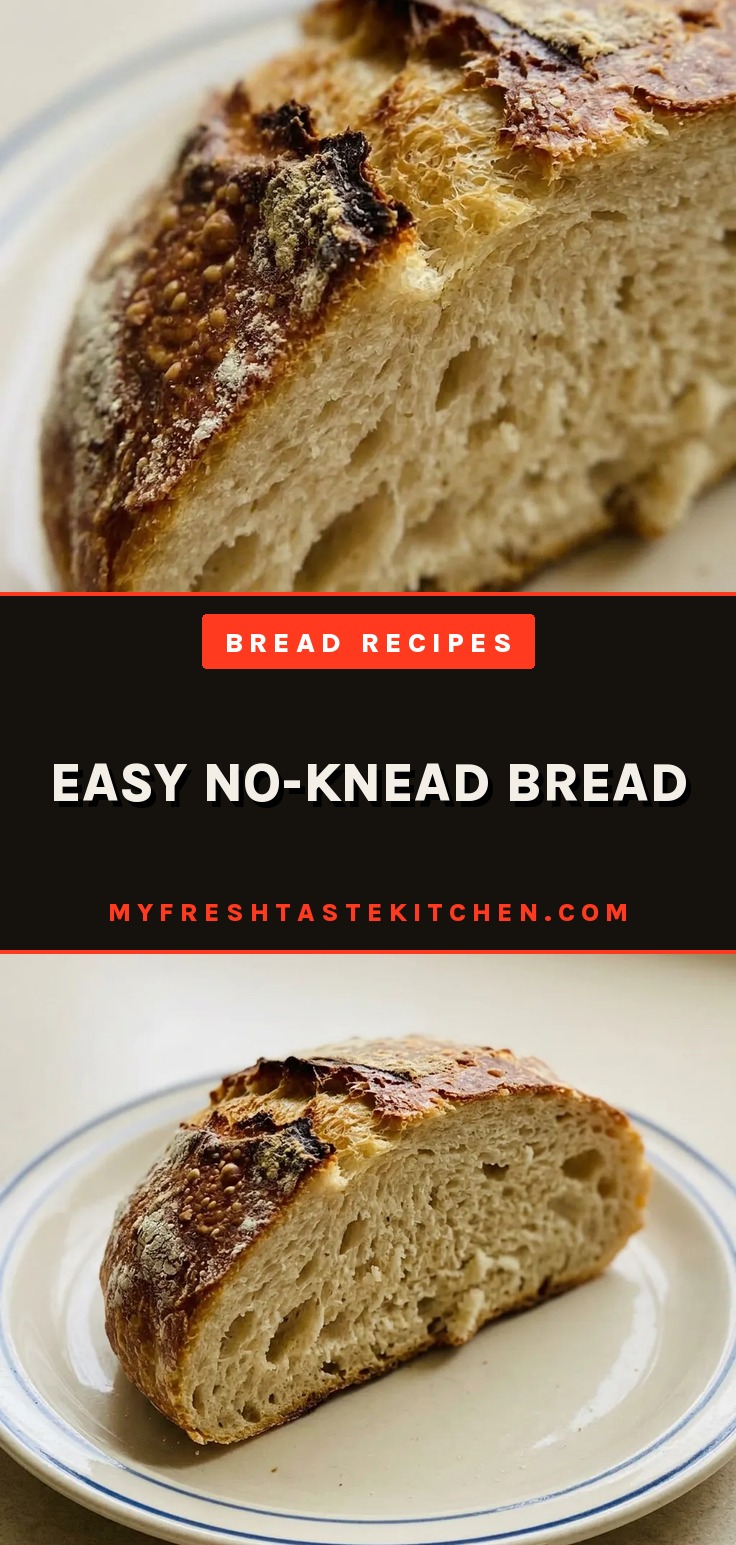
You mix flour, salt, yeast, and water, walk away for 8 hours, and come back to a bubbly, doubled dough that’s already developed enough gluten to hold an open crumb. That’s the core deception of easy no-knead bread: time, not effort, builds the structure and tangy flavor. The process is forgiving, a slack, sticky dough that feels wrong is exactly right, but the margin for error sits entirely in watching the rise, not in technique.
Even beginners get a crusty, crackling loaf on the first try.
I always dust the parchment with extra flour before turning out the dough, even though it feels wasteful.
Why does the dough need to rest 8 hours?
That long, slow rise isn’t just convenience, it’s the engine that builds both flavor and structure. At 8 hours, the yeast and bacteria have time to produce the acids and alcohols that give artisan bread its tangy, complex taste. Meanwhile, the wet dough (75% hydration) hydrates the flour fully and allows gluten bonds to form gradually, without any kneading.
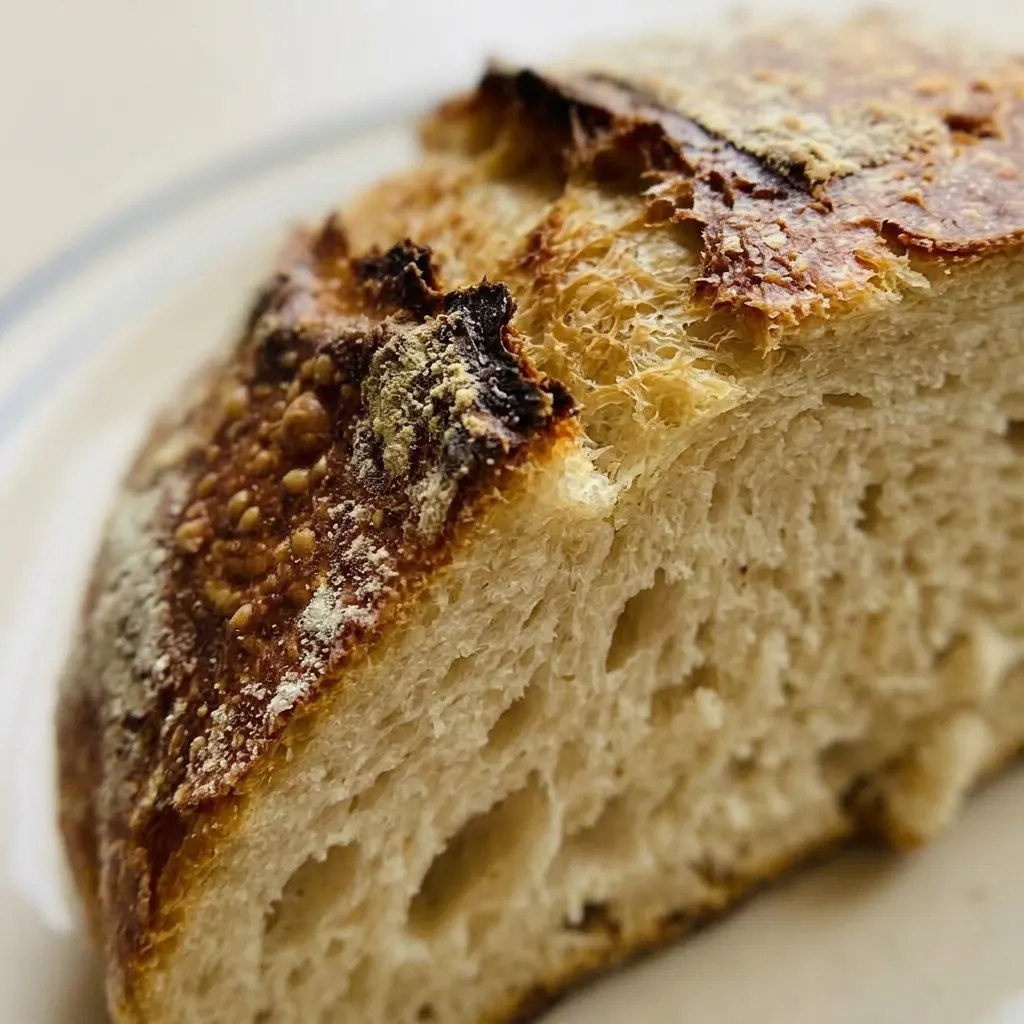
You’ll see the transformation: after 8 hours, the dough doubles, becomes bubbly, and feels elastic and airy. That crumb comes from gas trapped by gluten networks that developed on their own, not from muscle work.
A shorter rise would yield a denser, flatter loaf with less flavor. So let time do the heavy lifting.
What does the Dutch oven do for the crust?
A preheated Dutch oven creates a micro-steam environment that standard home ovens can’t match. As the dough hits the hot pot, moisture from the dough evaporates and stays trapped under the lid, keeping the surface moist.
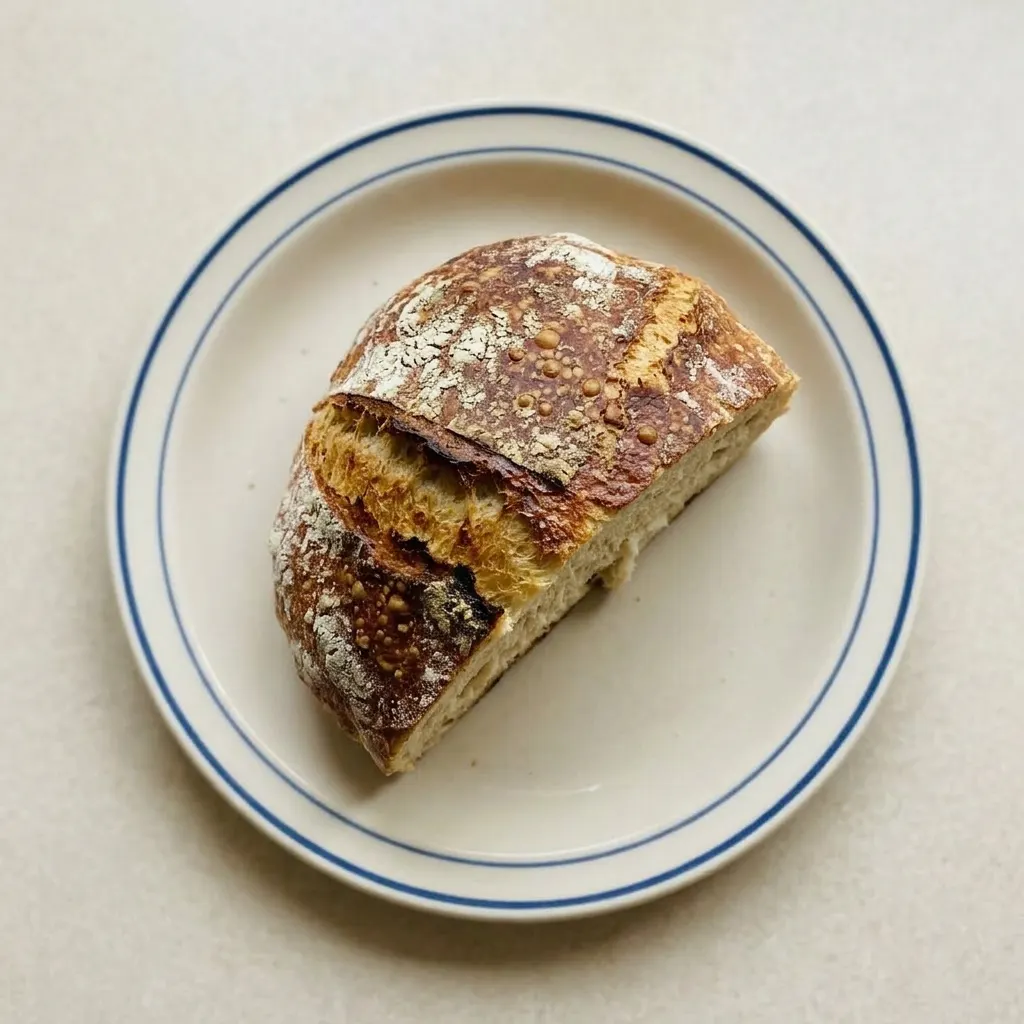
That moisture delays crust formation, letting the dough expand fully, that’s oven spring, the rise you see in the first minutes. Without steam, the crust would set too early and limit expansion. After 30 minutes covered, removing the lid lets the now-set crust dry out and brown, giving you that deep mahogany color and crackly crispness.
The result is a crust that shatters when you bite, not one that’s tough or pale.
How to handle a sticky, high-hydration dough
Yes, this dough is wet, that’s by design. High hydration (75%) is what produces those irregular, airy holes and a tender crumb.
But it can feel unworkable if you’re used to firmer doughs. The trick is to minimize direct contact: turn the dough onto a generously floured sheet of parchment, then fold it over itself with floured hands or a scraper. The parchment acts as a non-stick surface and later lets you transfer the dough cleanly into the pot.
Slashing the top is optional, it controls where the dough expands, creating a nice ear, but the steam will break through anyway. So don’t fight the stickiness. Embrace it as the sign of a great crumb to come.
Prep: 9 hr · Cook: 45 min · Total: 9 hr 55 min · Servings: 1
Ingredients that matter for this loaf
All-purpose flour: Standard AP flour works best here. Bread flour will make the crumb chewier, not airy.
Active dry yeast: Use active dry, not instant. The long rise gives it time to activate fully.
Lukewarm water: Aim for 105 to 110°F. Too hot kills the yeast, too cold slows the rise.
The right cues at each stage
Mix the dough
Whisk dry ingredients well so the salt and yeast distribute evenly. Then add water and stir until no dry patches remain.
The dough will look shaggy and rough, not smooth, that’s correct. Scrape down the bowl sides.
First rise, 8 hours
Cover the bowl tightly and set it somewhere warm but away from drafts. After 8 hours, the dough should have doubled and be covered in bubbles. If it hasn’t doubled, give it another hour.
A dense crumb means it rose too short.
Shape and second rise
Turn the dough onto floured parchment. It will be sticky; use floured hands or a scraper.
Fold the edges toward the center a few times to form a round. Don’t knead, just shape. Cover with a towel and let rise 1 hour.
It should puff slightly, not double.
Preheat the Dutch oven
30 minutes before baking, put the empty pot with lid on the oven’s center rack and preheat to 450°F. The pot must be screaming hot to get that oven spring and crust. A cold pot will give you a pale, flat loaf.
Bake covered, then uncovered
Carefully lower the dough into the hot pot using the parchment as a sling. Cover and bake 30 minutes. The steam trapped inside will expand the loaf.
Then remove the lid and bake 15 more minutes to brown the crust. It should be deep mahogany and sound hollow when tapped.
Cool before slicing
Transfer the bread to a wire rack and let it cool at least 15 minutes, preferably 30. Slicing too early will make the crumb gummy.
The interior continues to set as it cools. You’ll hear a crackling sound as the crust cools, that’s good.
Easy No-Knead Bread
Ingredients
- 3 cups all-purpose flour 360g
- 2 teaspoons salt
- 3/4 teaspoon active dry yeast
- 1 1/2 cups lukewarm water
Instructions
Whisk dry ingredients:
In a large bowl, combine the flour, salt, and yeast; whisk thoroughly to blend.Mix water and dough:
Pour in the lukewarm water and mix with a wooden spoon until a ragged dough forms. The texture will be quite coarse and not at all smooth.Proof dough 8 hours:
Seal the bowl tightly with plastic wrap and allow it to rise at room temperature for 8 hours. Position the bowl in a warm spot, away from drafts or direct sunlight. After 8 hours, the dough should have doubled in volume and appear bubbly.Shape into round loaf:
After proofing, turn the dough out onto a lightly floured sheet of parchment paper. Quickly fold the dough over itself a few times to shape it into a round loaf. Drape with a kitchen towel and let it rise for another 1 hour.Preheat oven and pot:
30 minutes before the second rise ends, preheat the oven to 450°F (230°C) and set a Dutch oven with its lid on the center rack to heat.Transfer dough to pot:
Using the parchment paper as a sling, carefully lower the dough (still on the paper) into the hot Dutch oven. Optionally, slash the top of the dough with a sharp knife to allow expansion during baking; this step is decorative but not required.Bake covered 30 min:
Wearing oven mitts, cover the pot and bake for 30 minutes. Remember, the lid is very hot!Bake uncovered 15 min:
Remove the lid and continue baking for another 15 minutes to brown and crisp the crust.Cool bread before slicing:
Carefully transfer the bread to a wire rack and let it cool for at least 15 minutes, or up to 30 minutes, before slicing.
Swapping flours and yeasts without wrecking the rise
All-purpose flour: Bread flour. Swapping AP for bread flour gives a chewier crumb and a slightly higher rise, but the holes won’t be as open. Use the same weight (360g).
All-purpose flour: Whole wheat flour (up to half). Replace up to 50% of the AP flour with whole wheat.
Beyond that, the loaf turns dense and flat because whole wheat absorbs more water. Expect a nuttier flavor and tighter crumb.
Active dry yeast: Instant yeast. Use a quarter less instant yeast by volume (about 1/2 teaspoon) and reduce the first rise time; check at 6 hours. Instant yeast works faster, so the dough may overproof if left the full 8 hours.
Storage and Serving
The bread’s crust is crispest the day it’s baked. Serve within 4 hours of cooling for the best shatter. After a day, the crust softens as moisture migrates from the crumb.
Store leftover bread cut side down on a cutting board at room temperature, wrapped loosely in a kitchen towel, for up to 2 days. Avoid plastic bags: they trap moisture and ruin the crust.
To refresh a day old loaf, reheat slices in a 350°F oven for 5 minutes. For longer keeping, freeze the whole loaf tightly wrapped in plastic then foil for up to 3 months. Thaw at room temperature still wrapped, then reheat uncovered at 350°F for 10 minutes to restore some crust.
Do not refrigerate; it accelerates staling. Slice only as needed to preserve moisture.
Tips
- Before mixing, proof the yeast by dissolving it in 1/4 cup of the warm water with a pinch of sugar. Wait 5 minutes; if it doesn’t foam or bubble, the yeast is dead and the loaf will not rise.
- Use a kitchen scale to measure flour by weight (360g) rather than cups. Scooping can add up to 30% extra flour, making the dough too stiff and reducing the open crumb.
Frequently Asked Questions
Can I let the dough rise longer than 8 hours?
You can push it to 10 hours max, but beyond that the dough overproofs, the gluten weakens, the top collapses, and the loaf won’t hold its shape. The bubbles you see after 8 hours are the peak. If you let it go too long, the dough will smell sour and feel deflated when you try to shape it.
Why is my bread dense and not airy?
Most likely the first rise was too short, the dough hadn’t doubled and was still flat. Check that after 8 hours it’s bubbly and doubled.
If it’s not, give it another hour. Another cause is too much flour when shaping; the extra flour tightens the crumb.
Use just enough to keep it from sticking.
Can I make the dough ahead and refrigerate?
Yes, but it changes the timing. After mixing, cover the bowl and refrigerate immediately for up to 24 hours; the cold slows the yeast, so the first rise will take longer. When you’re ready, let it sit at room temperature until doubled, that could take 12 to 16 hours from the fridge.
The flavor will be more developed.
How is no-knead bread different from traditional bread?
No-knead skips the muscle work. Traditional bread develops gluten by kneading for 10 to 15 minutes; here, a high hydration (75%) and an 8-hour rest let gluten form on its own. You get a wetter dough and a more open, irregular crumb.
The flavor is tangier from the long fermentation, while the crust gets its crackle from the steam in the Dutch oven.
