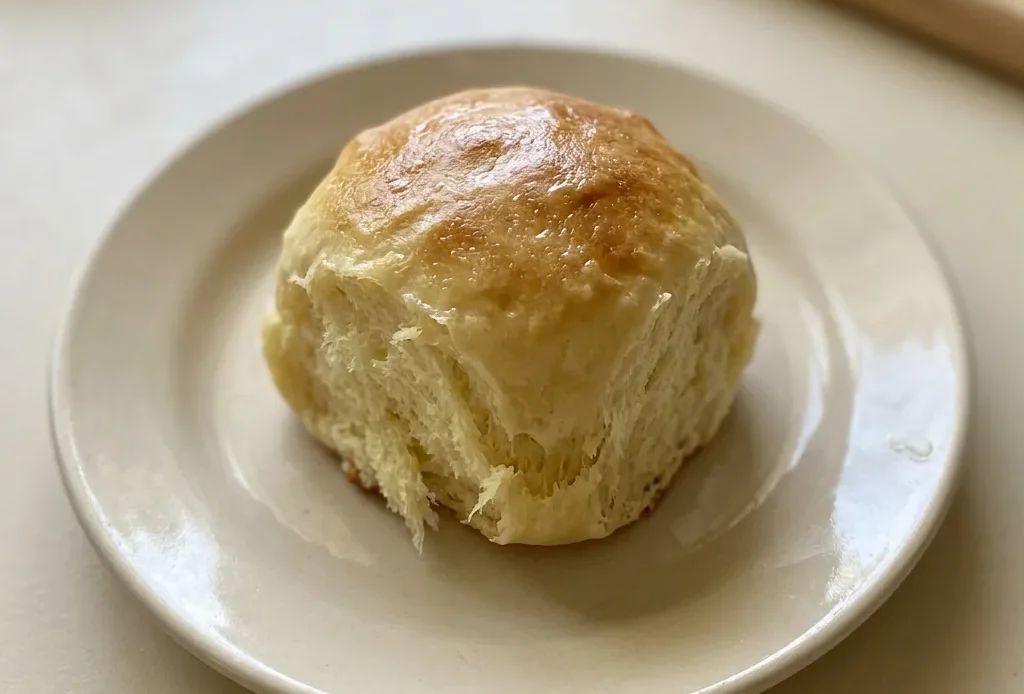
Canned pineapple juice is the important here, fresh juice’s active enzyme can turn your dough slack and gummy before it ever hits the oven, and that’s not recoverable. You’ll notice the dough stays elastic and smooth throughout the rise, which is the first clue these homemade hawaiian rolls are on track for that signature soft, buttery crumb. The real challenge?
Knowing when to stop adding flour during kneading; the dough should feel supple, not stiff, and a slightly tacky surface is fine. Over-flour and you’ll lose the tender pull-apart texture that makes these worth the double rise.
Why does pineapple juice have to be canned, not fresh?
Canned pineapple juice brings consistent sweetness and acidity that tenderizes the gluten, giving the rolls a soft, plush crumb without turning them gummy. Fresh pineapple contains an enzyme called bromelain that keeps breaking down protein even after mixing, and its activity varies from fruit to fruit, sometimes the dough becomes slack or develops off-flavors during the rise. Canned juice is heat-treated, so the enzyme is deactivated, delivering just enough acidity to brighten the flavor without messing with the structure.
You taste a subtle fruity note that complements the butter and vanilla, but the real test is how the dough handles: it stays elastic and smooth, not sticky or weakening. Sweet bread recipes often rely on this kind of acidity to soften the crumb; here it’s what makes the rolls taste distinct, not just sweet.
What does blending bread flour and all-purpose flour do?
Bread flour’s high protein gives the rolls structure and a satisfying chew, while all-purpose flour dials back the toughness so the crumb stays light and fluffy. If you used only bread flour, the rolls would be dense and bready, like dinner rolls meant for slicing; all-purpose alone makes them too soft to hold their shape after the second rise. The blend hits a sweet spot: the dough feels sturdy during kneading but bakes into rolls that tear apart easily, with a tender interior that still springs back when pressed.
You see the difference in how the rolls dome up in the oven, they rise evenly without flattening, and in the bite: airy but not cottony. This balance is common in yeast bread recipes that aim for softness without sacrificing support, and it’s why the rolls hold up to being split for sliders or eaten plain.
Why two rises for these rolls?
The first rise builds yeast activity and develops the flavor; you taste a deeper, slightly tangy note in the finished rolls that a single rise can’t deliver. After you shape the dough, the second rise restores the gas that was knocked out when you pressed it down, ensuring the rolls bake up tall and soft. Now I watch the second rise carefully and stop when the rolls are just doubled, never letting them go past that point, if they overproof, the gluten relaxes too much and the rolls collapse in the oven, turning dense.
You know it’s right when the dough feels puffy but still springs back slowly when poked. Each doubling is a cue: the first tells you the yeast is active enough to carry the dough; the second predicts the final crumb. Without both, the rolls would be flat and the interior tight, lacking that light, airy web you expect from sweet bread.
What does the egg wash and butter finish actually do?
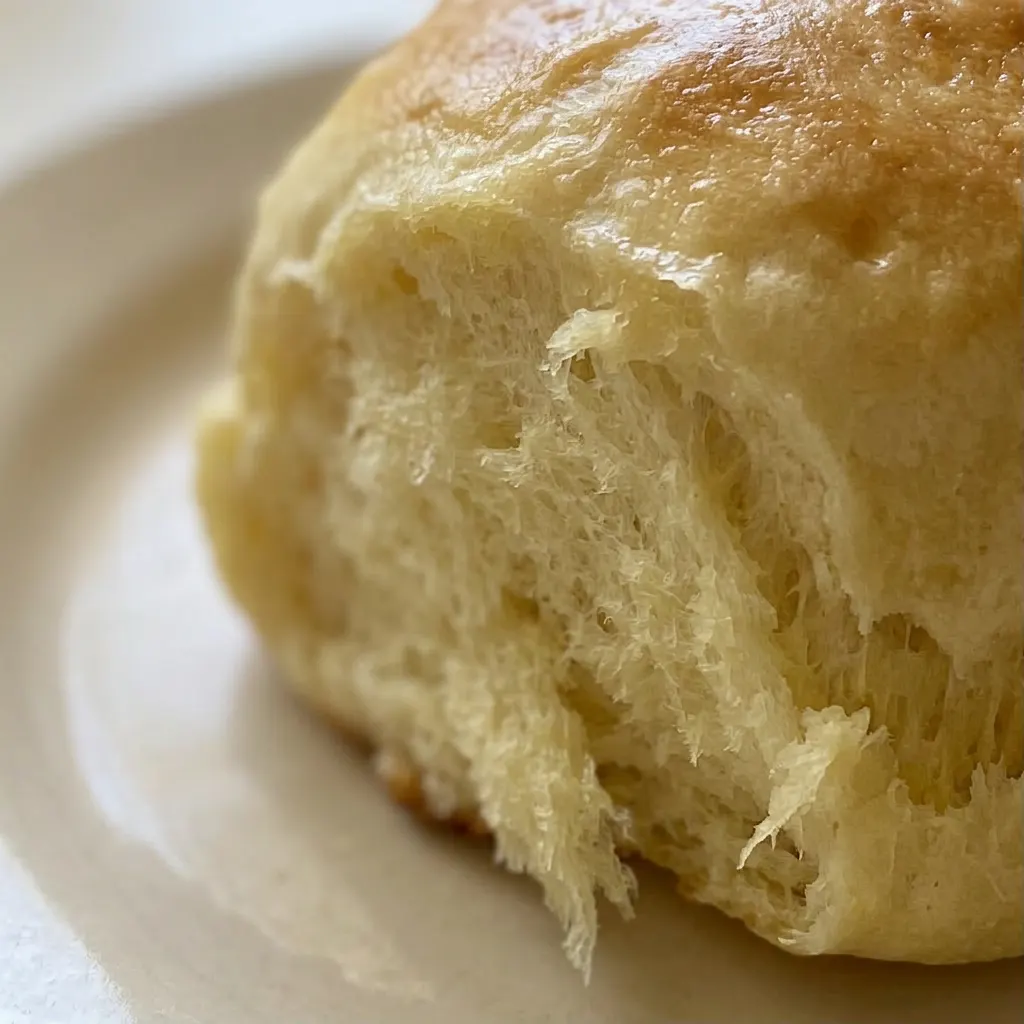
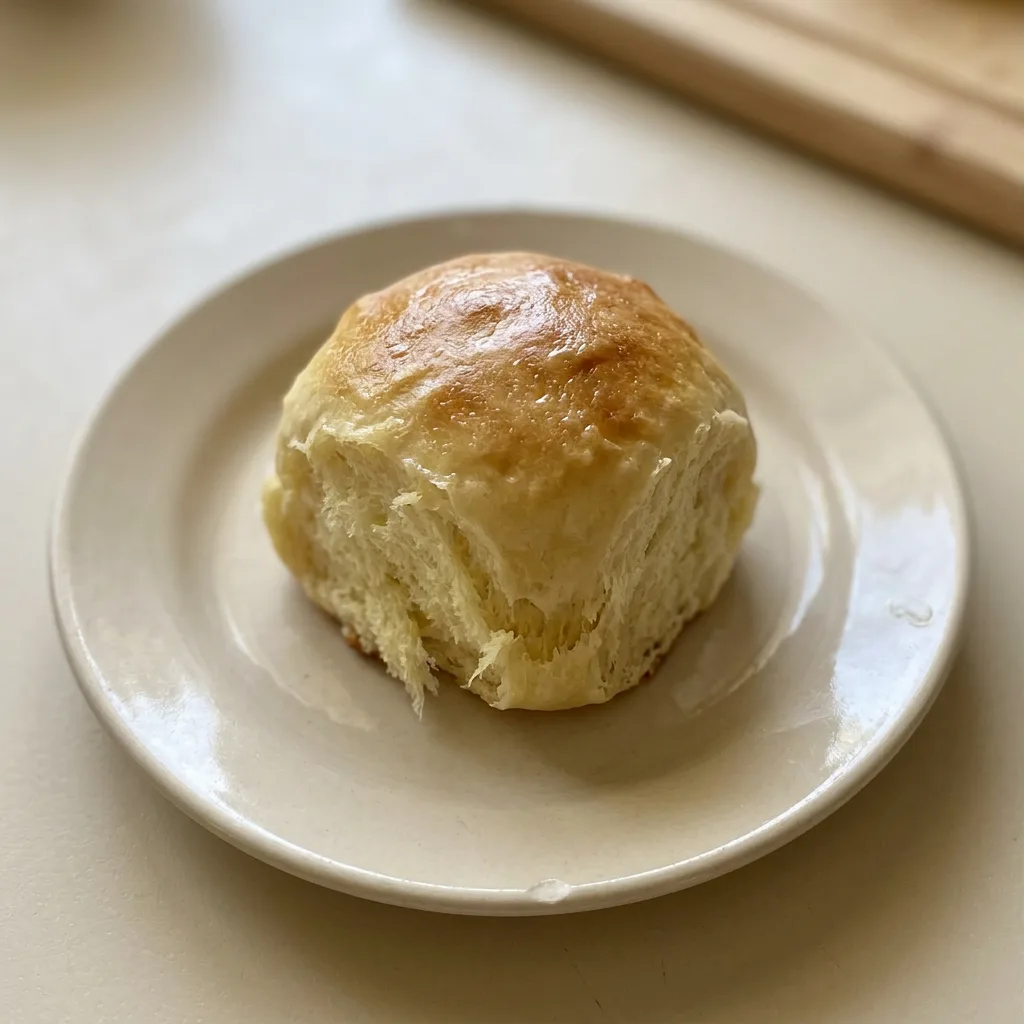
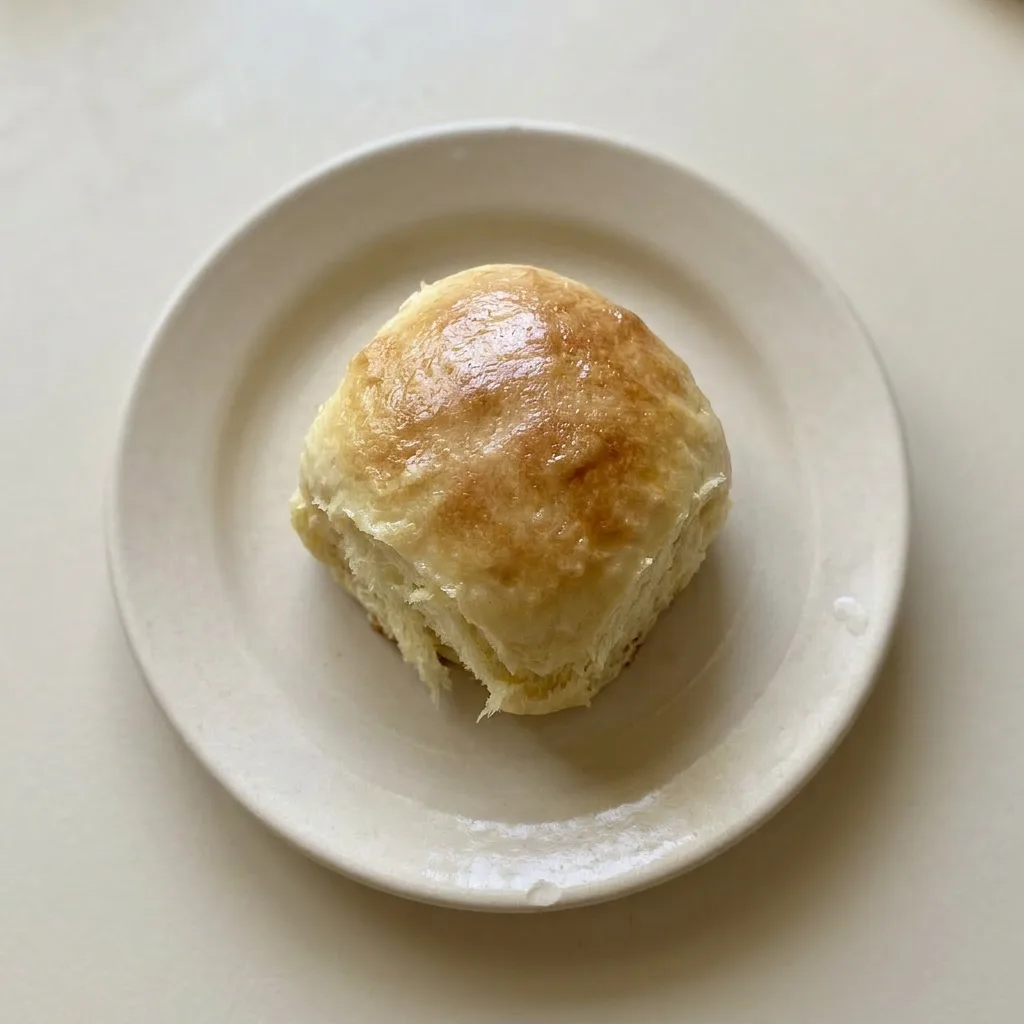
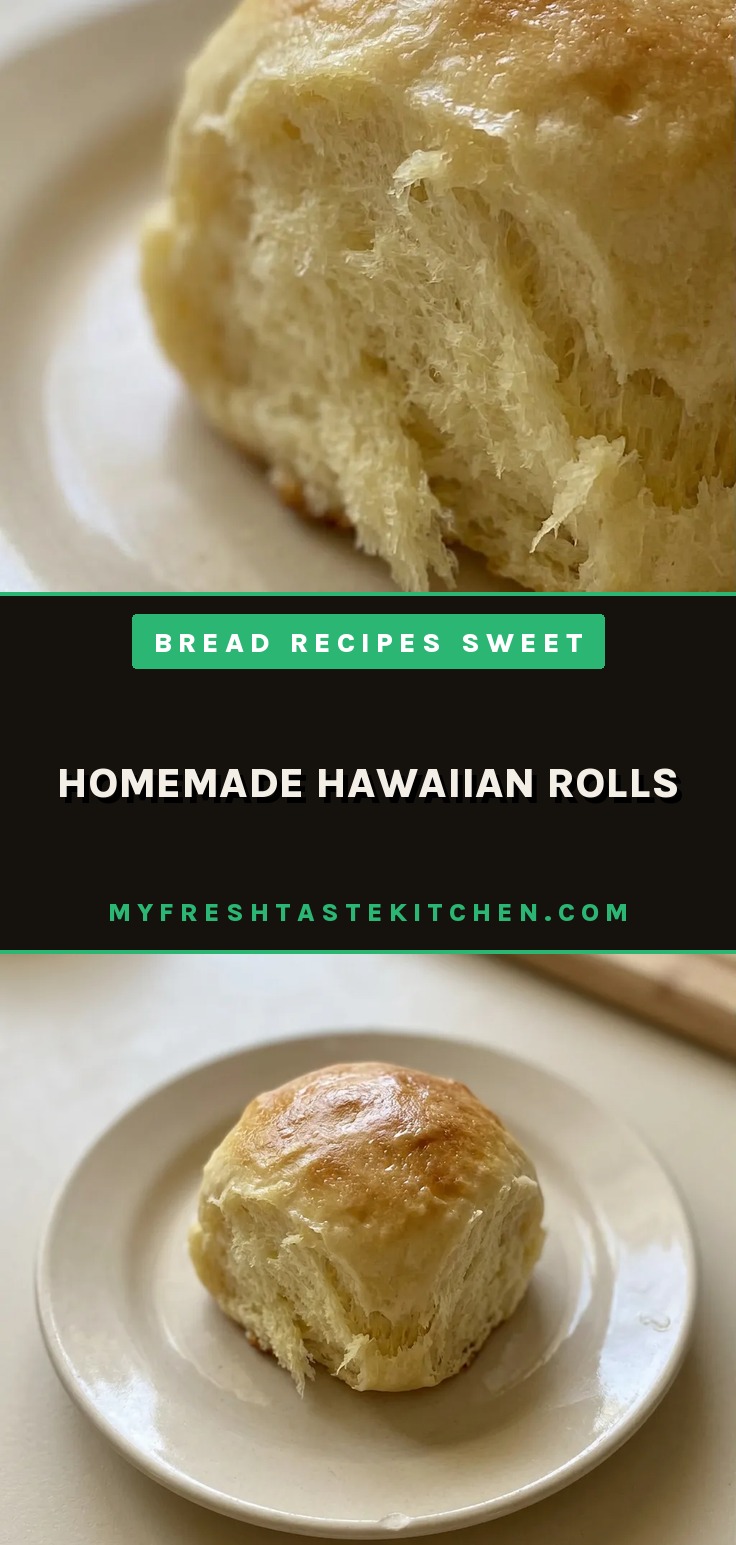
The egg wash before baking gives the rolls a deep golden-brown crust with a glossy sheen, skip it and the tops stay pale and matte, more like a dinner roll than a sweet Hawaiian roll. You brush it on gently so it doesn’t pool, then the heat sets it into a thin, shiny layer that catches the light. Right out of the oven, brushing with melted butter adds richness and a soft, supple crust that stays tender even the next day; the butter soaks into the surface, preventing it from drying out.
You see the rolls glisten and feel the difference when you pull one apart, the crust yields without cracking. This finish isn’t just for looks: the butter seals in moisture, so leftovers reheat well, and the egg’s proteins brown faster, giving you color before the inside overbakes.
It’s a simple step that makes the rolls look and taste like they came from a bakery.
Prep: 35 min · Cook: 20 min · Total: 3 hr 55 min · Servings: 15
Ingredient Notes for These Hawaiian Rolls
Pineapple juice: Use canned, not fresh, because fresh pineapple’s active enzyme can break down gluten and ruin the dough structure.
Bread flour: Start with 4 cups and add only enough for the dough to cohere; climate and brand affect how much you need.
Unsalted butter: Melt it and let it cool to just warm so it doesn’t kill the yeast or cook the eggs when mixed in.
Eggs: Bring them to room temperature so they blend smoothly into the dough without chilling the butter or milk.
How to shape and bake these rolls for a soft, even rise
Mix the wet ingredients and start the dough
Whisk the pineapple juice, milk, melted butter, both sugars, eggs, vanilla, and yeast until smooth. Add the flours and salt, then stir until a shaggy mass forms. The dough should look rough and shaggy at this point, if it’s stiff or dry, you’ve added too much flour.
Knead until smooth and elastic
Fit the dough hook and knead on medium-high for 4 to 5 minutes. Stop when the dough is soft, smooth, and pulls away from the bowl.
It should feel supple, not tacky or stiff. If it’s sticky, add a tablespoon of bread flour at a time until it coheres.
First rise until puffy and doubled
Transfer the dough to a lightly greased bowl, cover with plastic, and let it rise until doubled, about 1½ hours. You’ll know it’s ready when you press a finger in and the indentation stays. If the dough springs back quickly, it needs more time.
Shape into 15 balls
Press the dough down to deflate. Divide it into 15 equal pieces (about 60g each).
Roll each into a tight ball by cupping your hand and moving in a circular motion. The balls should be smooth on top and have a seam on the bottom.
Second rise until doubled again
Arrange the balls in a greased 9×13-inch pan, brush with egg wash, cover, and let rise until doubled, about 1 hour. When ready, the rolls will be puffy and touching each other.
Gently poke one, it should spring back slowly. If it collapses, you’ve overproofed.
Bake until golden brown
Bake at 375°F for 20 minutes. The tops should be deep golden and the internal temperature should read 190°F if you have a thermometer. If the tops are browning too fast, tent loosely with foil for the last 5 minutes.
Brush with butter
As soon as the rolls come out of the oven, brush the tops with melted butter. The butter will sizzle and soak in, leaving a glossy, tender crust. Let them cool in the pan for a few minutes before serving.
Homemade Hawaiian Rolls
Ingredients
Method
Mix dough ingredients:
In the bowl of a stand mixer, blend together the pineapple juice, milk, melted butter, both sugars, 2 eggs, vanilla, and yeast. Add the all-purpose flour along with 2 cups (286 grams) of the bread flour; stir with a wooden spoon until a shaggy, rough dough forms. Mix in the salt. Fit the dough hook, then run the mixer on medium-low. Slowly add the remaining bread flour only until the dough coheres; depending on your climate and flour brand, you might not need all of it. Knead on medium-high for 4 to 5 minutes, until the dough is soft and smooth.First rise:
Lightly oil or moisten your hands, then transfer the dough to a gently greased medium bowl. Cover with plastic wrap. Let it rise until puffy and doubled, around 1 ½ hours.Shape rolls:
Grease a 9×13-inch metal baking pan with cooking spray. Gently press down the dough to deflate. Using a bench scraper or knife, portion the dough into 15 equal pieces. Roll each piece into a ball and arrange in the prepared pan.Egg wash and second rise:
In a small bowl, whisk the remaining egg with 2 tablespoons of water. Brush this mixture over all the rolls. Cover with plastic wrap and let rise again until doubled, about 1 hour.Preheat oven:
Meanwhile, preheat the oven to 375°F (190°C).Bake and butter:
Bake the rolls for 20 minutes, until golden brown. Brush with melted butter. Serve warm. Store leftovers in an airtight container for up to 3 days.
Swapping Pineapple Juice and Flour in These Rolls
Canned pineapple juice: Equal amount of orange juice plus 1 tablespoon pineapple extract. The orange juice provides the necessary acidity to tenderize the gluten, while the extract brings the pineapple flavor. Without the extract, you’ll lose the distinctive fruity note that defines Hawaiian rolls.
Bread flour: All-purpose flour for all of the flour. The rolls will be softer and less chewy, with a more tender crumb that doesn’t hold up as well for splitting into sliders. The dough will feel slightly stickier during kneading; add only enough flour for it to cohere.
Whole milk: Canned coconut milk (full-fat, shaken) or unsweetened oat milk. Coconut milk adds a subtle tropical richness that complements the pineapple, but the rolls will be slightly denser. Oat milk keeps them dairy-free with a neutral flavor and similar moisture; the texture stays soft.
Both warm to 100 to 110°F before adding.
Storage and Serving
These rolls are best eaten within a few hours of baking, while the crust is still tender from the butter finish. For leftovers, store them in an airtight container at room temperature for up to 3 days. The crust will soften further, but the interior stays moist.
To reheat, wrap in foil and warm in a 350°F oven for 5 to 7 minutes, or microwave a single roll for 10 to 15 seconds. Freeze the baked rolls in a freezer bag for up to 2 months; thaw at room temperature and reheat as above.
Do not refrigerate, as the starch retrogrades faster and turns the rolls stale. The butter brush should be applied immediately after baking; it sets the crust and won’t repeat after storage.
Tips
- After the first rise, if the dough feels too sticky to portion, lightly oil your bench scraper or hands rather than adding more flour; this keeps the crumb tender and prevents dryness.
- When shaping the 15 balls, ensure each ball has a tight surface tension by dragging it across an unfloured surface with a cupped hand; this helps them rise tall and evenly in the pan.
Frequently Asked Questions
Can I make these rolls ahead of time?
You can bake them fully, then freeze for up to 2 months. Thaw at room temperature and reheat in a 350°F oven wrapped in foil for 5 to 7 minutes. Do not refrigerate, as the starch retrogrades faster and turns the rolls stale.
Why did my rolls turn out dense?
Most likely the dough didn’t rise enough during the second proof, rolls should double and feel puffy, springing back slowly when poked. If they overproof, the gluten relaxes and they collapse in the oven. Also check that your yeast is fresh and the milk was warmed to 100 to 110°F (45°C); too hot kills the yeast, too cold slows it.
How do I store leftover Hawaiian rolls?
Store in an airtight container at room temperature for up to 3 days. The crust will soften but the interior stays moist.
To reheat, wrap in foil and warm in a 350°F oven for 5 to 7 minutes, or microwave a single roll for 10 to 15 seconds. Do not refrigerate.
What makes these different from classic Hawaiian rolls?
Canned pineapple juice provides consistent acidity that tenderizes the gluten, giving a soft, plush crumb without gumminess. The blend of bread flour and all-purpose flour creates a structure that holds shape while tearing apart easily. A double rise develops deeper flavor and ensures a light, airy interior, finished with an egg wash and butter for a glossy, tender crust.
