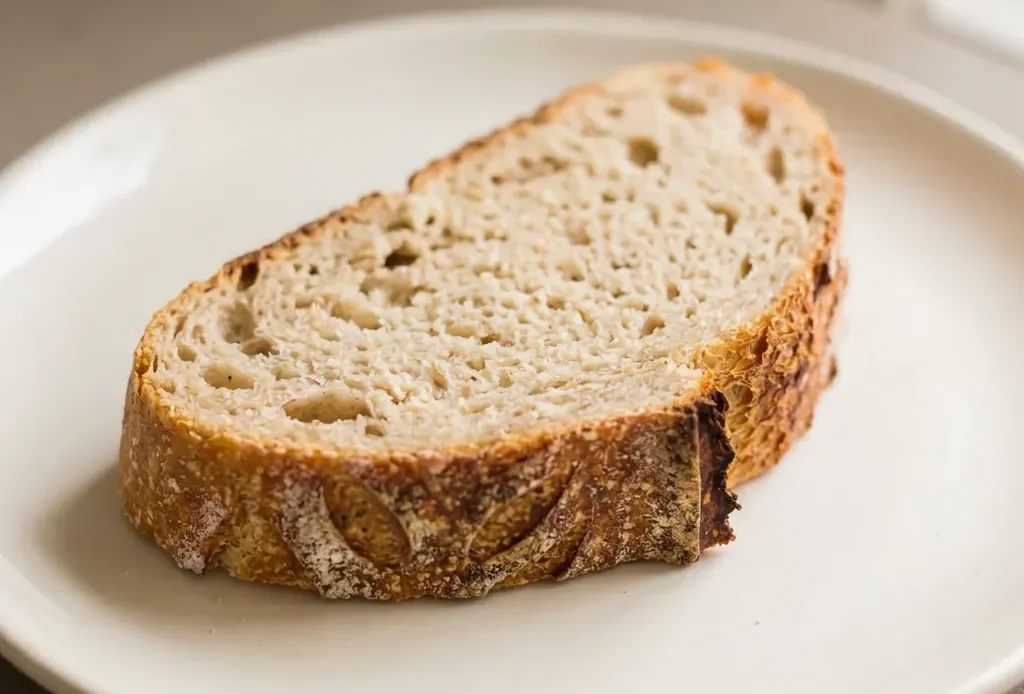
Most people expect gluten-free bread to be dense and crumbly, but this one isn’t. The trick is a batter-like dough and a long cold proof that builds structure without gluten.
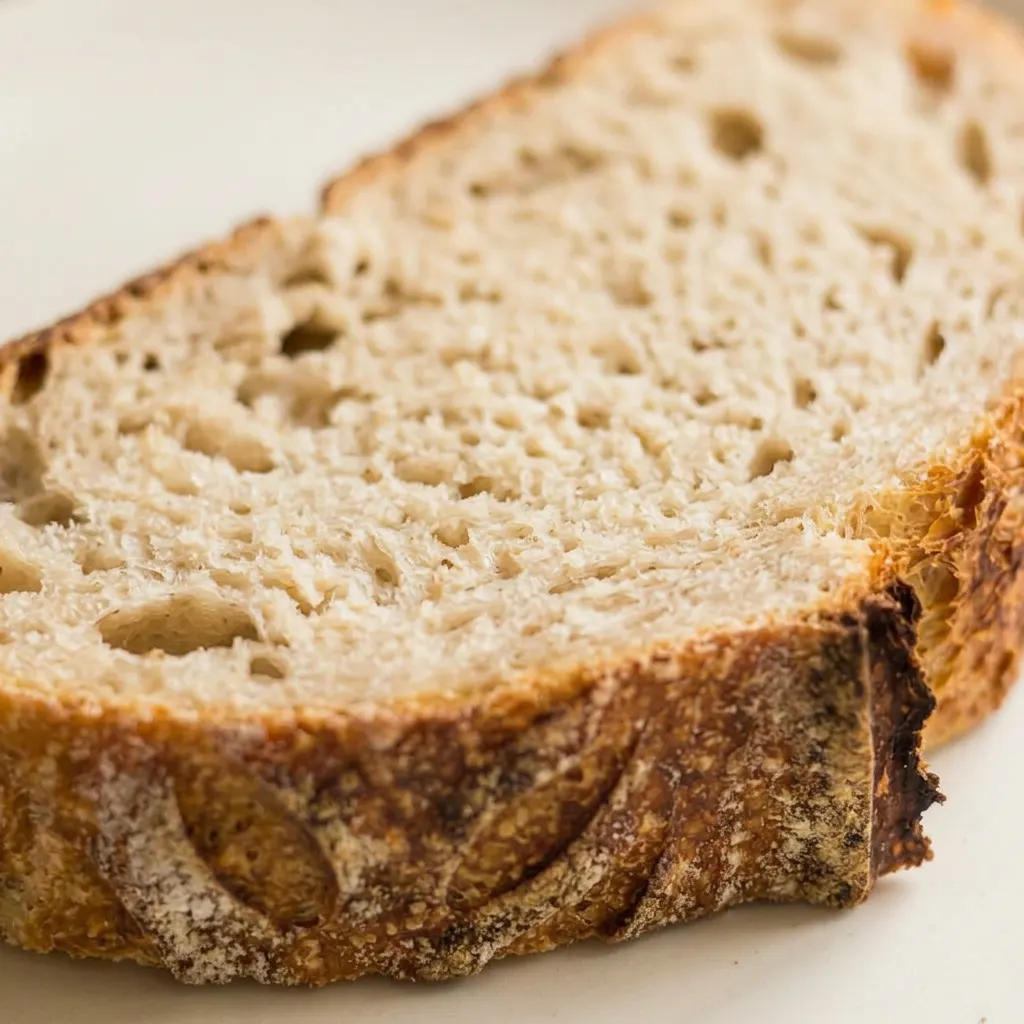
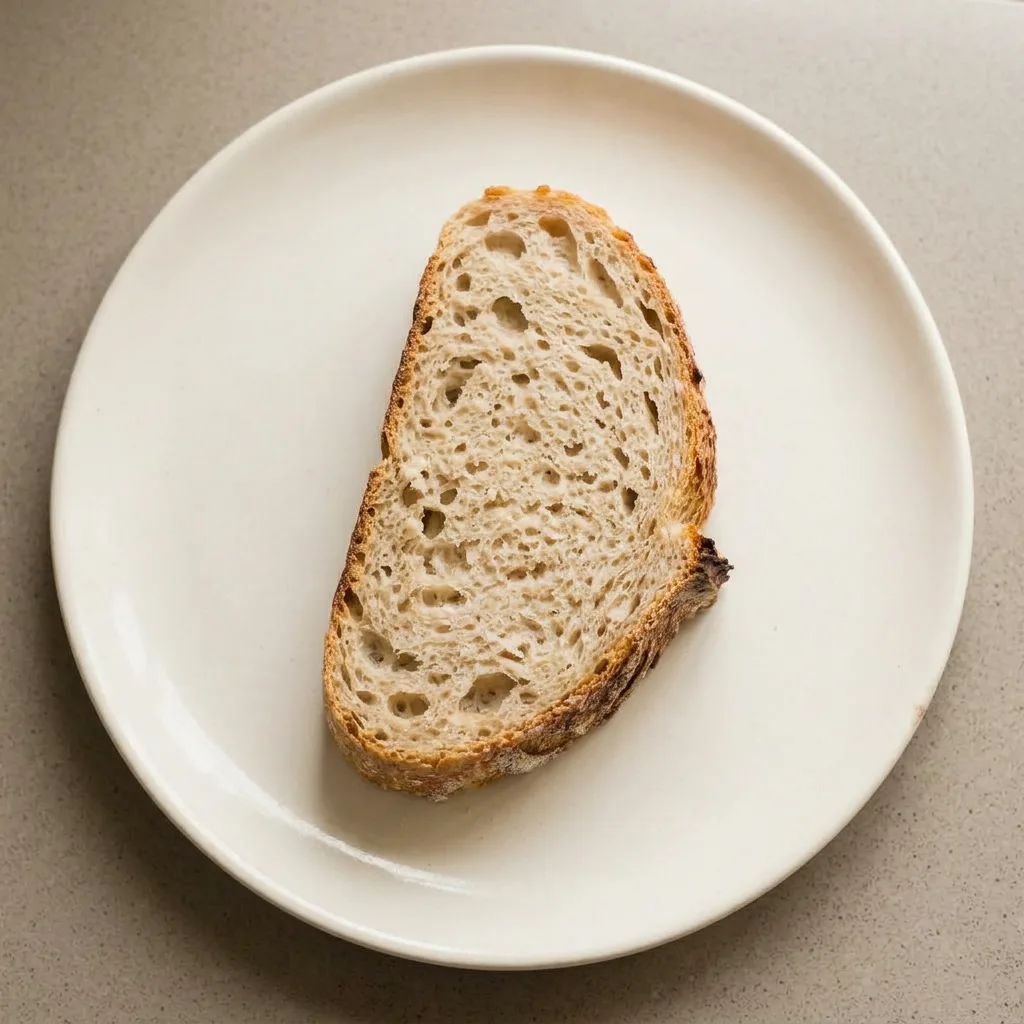
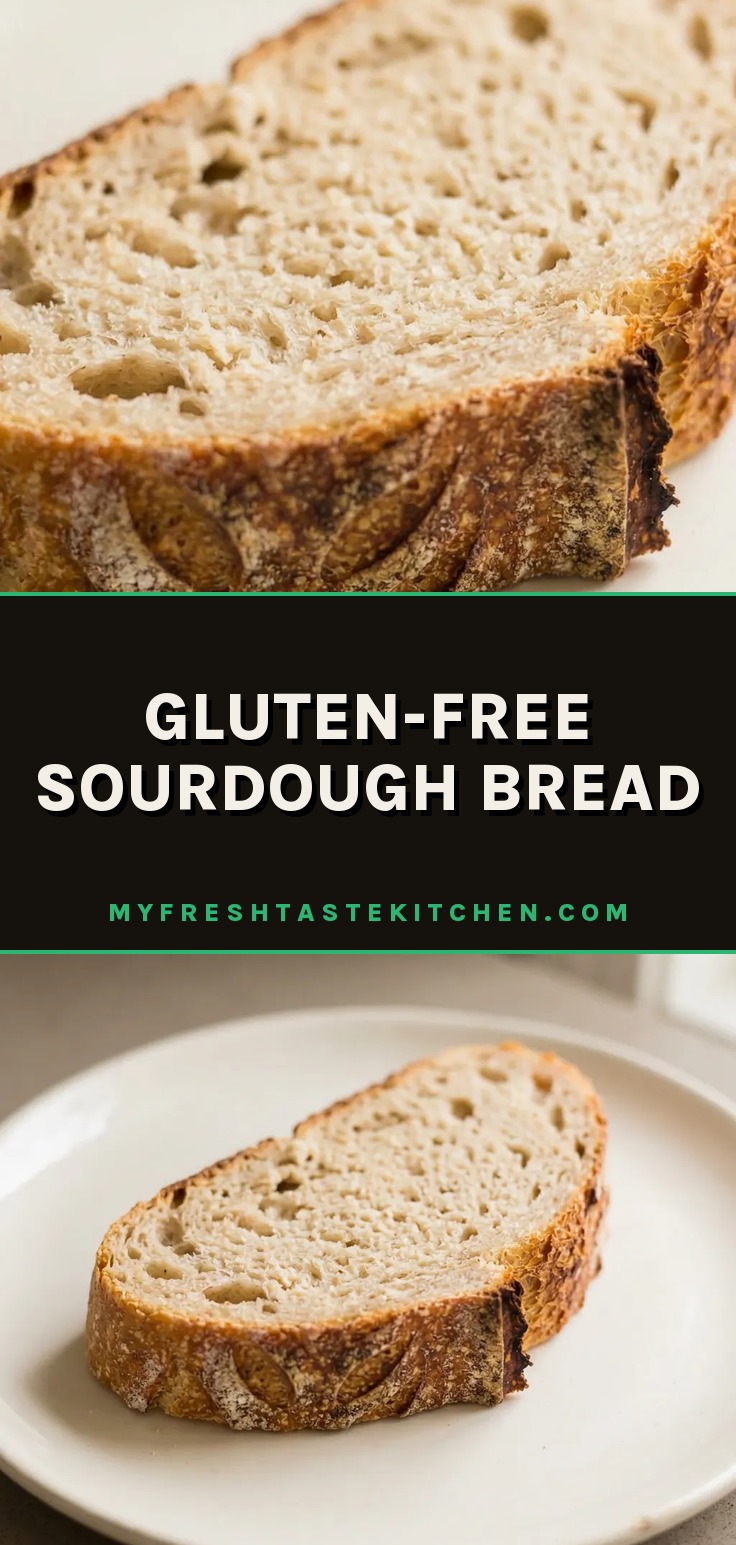
The result is a loaf with a crackling crust and an open, airy crumb that actually holds together when sliced. It’s a different process than standard sourdough, but once you see how the batter traps gas and the cold proof firms it up, it clicks. This gluten-free sourdough bread is worth the patience.
A batter, not a dough
Gluten-free flours lack the gluten network that gives traditional dough elasticity and structure. Without gluten, a kneadable dough would collapse under its own weight, trapping no gas. A batter-like consistency is intentional: it lets gas bubbles form and expand freely.
The xanthan gum in the flour blend provides necessary binding, mimicking gluten’s role. You’ll see a thick, sticky mixture that holds bubbles but doesn’t spring back when poked. That’s the key to a light crumb.
Recognizing the edge of proofing
Gluten-free dough is more fragile than wheat dough; over-proofing causes deflation and dense bread. It should expand 50-75% and show small bubbles just under the surface. The moment the center starts to sink, it’s gone too far.
The cold proof in the refrigerator controls yeast activity and prevents over-proofing. Catching it at the right moment separates an airy loaf from a brick.
Why the cold proof isn’t optional
Cold proofing slows fermentation, allowing enzymes to develop flavor without excessive gas production. It strengthens the dough structure by firming the batter-like consistency for better shaping. The 12 to 16 hour cold proof is important for achieving a light, airy crumb.
Without it, the dough would be too slack to hold its shape when scored. You’ll taste the difference in the tang and texture.
Prep: 20 hr · Cook: 1 hr 15 min · Total: 21 hr 15 min · Servings: 8 · Calories: 180 kcal
Ingredient picks for gluten-free sourdough
Gluten-free flour: Use a 1:1 blend with xanthan gum already added; it gives structure the gluten-free dough needs.
Unfed gluten-free sourdough starter: Use it straight from the fridge, unfed; the cold proof develops flavor and tang over the long fermentation.
Working with the batter dough
Mix thoroughly
Stir until no dry bits remain. The batter will be thick and sticky, like a heavy cake batter. If it seems too stiff, add water a tablespoon at a time until it reluctantly drops from the spoon.
Bulk ferment at room temp
Cover and let sit 6 to 9 hours. It’s ready when the surface looks puffy, shows tiny bubbles just under the skin, and has risen 50, 75%. If the center starts to sink, move on immediately, over-proofing leads to a dense loaf.
Shape and cold proof
Dust hands with flour, turn dough out, and fold edges into a round. Place seam-side up in a floured banneton or towel-lined bowl.
Refrigerate 12 to 16 hours. The dough will feel firmer and more cohesive when you unmold it.
Preheat and score
Place a Dutch oven with lid in the oven at 500°F for at least 30 minutes. Turn dough onto parchment, dust top heavily with flour, and slash 3/4, 1 inch deep. A clean slash helps the loaf expand evenly; if the dough is too sticky, add more flour on top.
Bake covered, then uncovered
Lower dough into hot pot, cover, bake at 450°F for 40 minutes. Remove lid, drop to 425°F, bake 30 to 35 minutes more. The loaf is done when deep golden brown and sounds hollow when tapped on the bottom.
Cool fully on a rack for at least 2 hours.
Gluten-Free Sourdough Bread
Ingredients
- 500 grams gluten-free flour (1:1 blend with xanthan gum)
- 380 grams room temperature water
- 200 grams unfed gluten-free sourdough starter
- 12 grams finely ground sea salt
Instructions
Mix dough ingredients:
In a large mixing bowl or the bowl of a stand mixer, add the gluten-free flour, salt, unfed sourdough starter, and water at room temperature. Stir until everything is incorporated and no dry bits remain. The mixture will be thick, sticky, and resemble a batter more than standard bread dough. Scrape the bowl sides, lightly smooth the top, and cover.Ferment until puffy:
Allow the dough to ferment at room temperature in a place without drafts for 6 to 9 hours, adjusting based on your kitchen’s warmth. It is ready when it looks puffy, slightly domed, with small bubbles just under the surface, and has expanded by about 50 to 75%. Do not let it double in size, as gluten-free dough may deflate if over-proofed. If the center starts to sink, move to the next step right away.Shape dough round:
Dust your hands with flour and gently turn the dough onto a floured surface. Form a round by folding the edges inward. The dough should be light and airy yet hold its shape. Place it seam-side up into a well-floured banneton or a bowl lined with a floured kitchen towel. Cover tightly.Cold proof overnight:
Refrigerate the covered dough for 12 to 16 hours for a cold proof. This slow fermentation controls yeast activity, strengthens the structure, and enhances taste. Do not omit this step.Preheat and score:
Set a Dutch oven with its lid inside the oven and preheat to 500°F (260°C) for at least 30 minutes. Take the dough from the fridge and turn it out onto a lightly floured parchment sheet, seam-side down. Heavily dust the top with flour, then make a slash about 3/4 to 1 inch deep using a sharp knife or bread lame.Bake covered then uncovered:
Carefully extract the hot Dutch oven. Using the parchment, lift the dough and lower it into the pot. Cover, return to the oven, and immediately drop the temperature to 450°F (230°C). Bake covered for 40 minutes. Then remove the lid, lower the temperature to 425°F (220°C), and bake for another 30 to 35 minutes until deep golden brown and the loaf sounds hollow when tapped on the bottom. Take the bread out of the Dutch oven and set on a wire rack. Cool fully for at least 2 hours before cutting.
What you can swap (and what you can’t) in gluten-free sourdough
Water: Beer (room temperature and flat) or milk (room temperature, not cold). Beer adds a malty, tangy depth that complements the sourdough; flat beer is key to avoid extra bubbles. Milk softens the crumb and adds a slight richness, but the loaf will be less tangy.
Start with the same 380 grams as water, then adjust the next time: beer may make the batter slightly looser, milk may thicken it, so add a tablespoon more liquid if it seems too stiff.
Gluten-free flour: A different 1:1 gluten-free flour blend without xanthan gum. If the blend lacks xanthan gum, the batter won’t hold structure and the loaf will be dense and crumbly. You must add 1 teaspoon of xanthan gum per 500 grams of flour.
If the blend already has it, swapping to a different 1:1 blend may change absorbency: start with 380 grams water but be ready to add 1 to 2 tablespoons more if the batter seems too thick, or reduce water if it’s too loose. The crumb texture will shift based on the blend’s rice, sorghum, or oat content.
Unfed gluten-free sourdough starter: Gluten-free active sourdough starter (fed within the last 4 to 8 hours). Using a fed starter will speed up fermentation significantly. The dough may reach the 50-75% rise in 4 to 5 hours instead of 6-9, so check it earlier.
If you let it go too long, the loaf can over-proof and collapse into a dense brick. For a more predictable result, stick with unfed starter straight from the fridge as the recipe specifies.
Finely ground sea salt: Kosher salt or table salt (not coarse sea salt). Use the same 12 grams by weight, not volume. Kosher salt weighs less per tablespoon, so if you measure by volume you’ll add too little and the bread will taste flat.
Table salt is denser; by volume you’d add too much and the bread can taste salty. Weigh it. Coarse sea salt won’t dissolve fully, leaving crunchy bits in the crumb.
Storing and Serving
Cool the loaf completely on a rack for at least 2 hours before cutting. Store cut bread cut side down on a board or in a paper bag at room temperature for up to 2 days. After that, the crust softens and the crumb turns gummy.
For longer storage, slice and freeze in a zip top bag for up to 3 months. Toast slices directly from frozen to restore the crust.
This bread is best eaten the day it’s baked for the crispest crust and lightest crumb. If you plan to serve it later, bake it the day before.
Do not refrigerate the whole loaf; it accelerates staling. Any final dusting of flour or seeds should go on before baking, not after.
Tips
- For a deeper sour flavor, extend the bulk fermentation by 1 to 2 hours in a cooler spot (around 68°F/20°C), but watch for the center beginning to sink as a sign of over-proofing.
I still keep checking the dough every hour during the bulk ferment, even though it feels fussy, because if the center starts to sink I know I’ve ruined it.
Frequently Asked Questions
Can I skip the cold proof and bake the bread right after the first rise?
No, the cold proof is not optional here. Without it, the batter-like dough will be too slack to hold its shape when you score it, and the crumb will turn out dense and gummy.
The 12 to 16 hour refrigeration firms the dough so you can handle it and controls yeast activity to develop flavor. Bake it straight from the fridge for the best rise.
Why did my gluten-free sourdough bread turn out dense and gummy?
The most likely cause is over-proofing during the bulk ferment. Gluten-free dough should only expand 50, 75%; if it rises further or the center sinks, the structure collapses. Another possibility is the cold proof was too short, so the dough didn’t firm up enough to hold gas.
Finally, slicing before the loaf has cooled fully (at least 2 hours) will make the crumb seem gummy.
How is gluten-free sourdough different from regular sourdough in terms of texture and taste?
Texture-wise, gluten-free sourdough is more like a moist, tender crumb than the chewy, elastic crumb of wheat bread. The crust is crisp but thinner, and the interior is soft, almost cake-like. Taste is tangy from the long fermentation, but the flavor is milder and less complex than wheat sourdough, with a subtle nuttiness from the flour blend.
