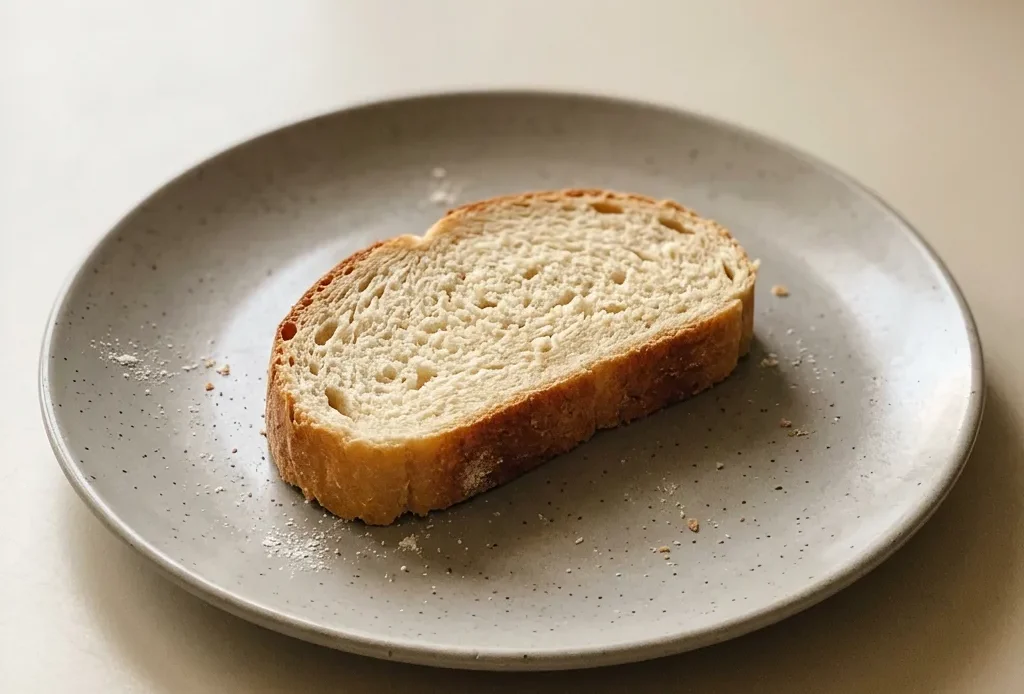
The first loaf you pull from the oven that actually looks like bread, golden, cracked across the top, hollow when you tap the bottom, changes something. You realize it wasn’t about a starter or a steam pan or a special flour. Just water, yeast, flour, salt, and a little oil, plus a technique you can feel in your hands.
The dough goes from sticky to smooth, the yeast foams or it doesn’t, and you learn to read those signs. That’s the satisfaction this easy Italian bread recipe offers: a real crusty loaf from four pantry staples, no fuss, no special gear. It’s the kind of baking where you trust the process and get rewarded with an airy crumb and a crisp shell.
Use warm water at 110°F for active yeast
Yeast is alive, and it needs a cozy bath to wake up. Too cold, and it’ll lag; too hot, over 130°F or so, and you kill it outright. That 110°F range is the sweet spot, warm to your wrist but not hot.
When you sprinkle the yeast on the water, wait five minutes. You’ll see it turn foamy and creamy.
That’s the yeast confirming it’s ready to work. No foam? The yeast is dead, and you need to start over with fresh yeast or cooler water.
That simple test saves you from wasting flour on a loaf that won’t rise.
Balance flour and water for a chewy crumb
For rustic Italian bread, you want a dough that’s stiff enough to hold shape but moist enough to open up. Four cups of flour to one and a half cups of water hits that mark.
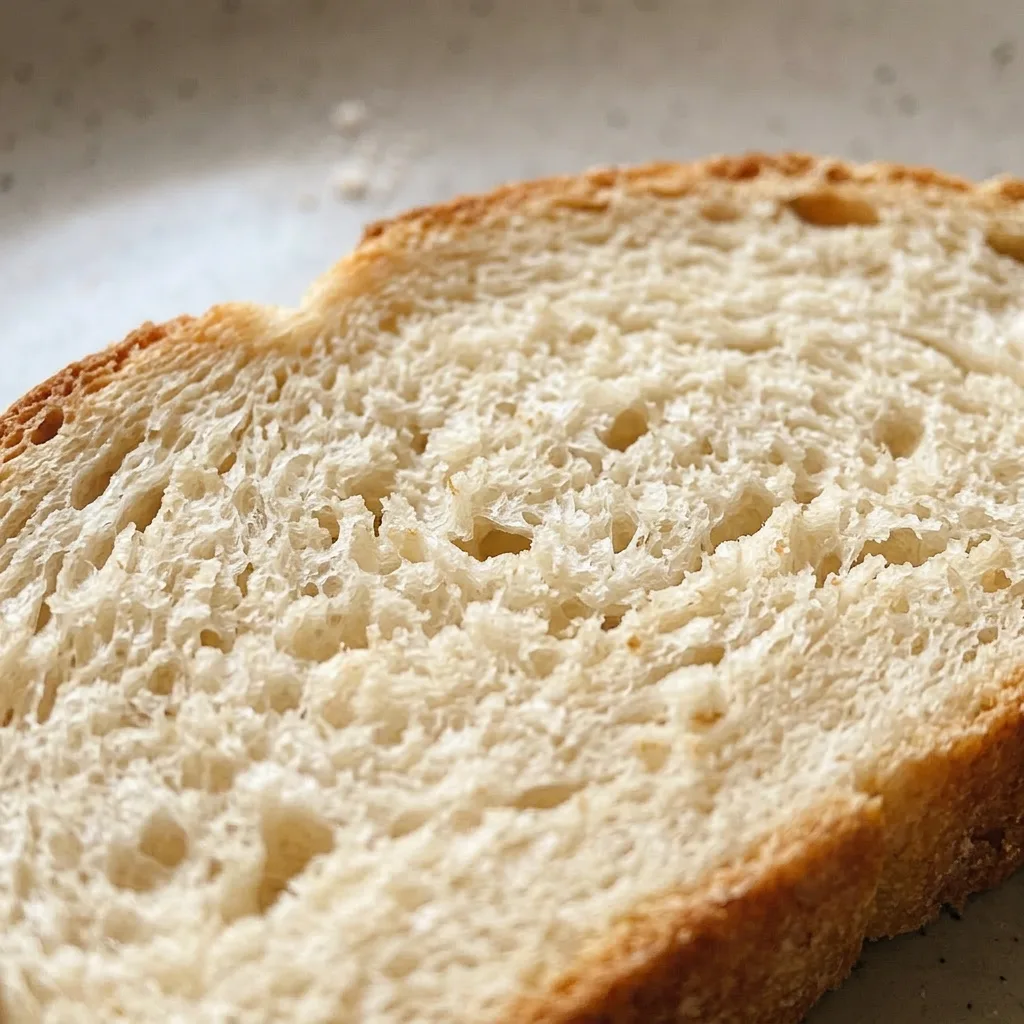
Kneading for a full ten minutes builds the gluten network, the strands that trap gas and give the crumb chew. You’ll feel the dough turn from shaggy and sticky to smooth and elastic. When you poke it, it springs back.
That’s your cue that gluten is developed. Stop earlier and the loaf will be dense and tight.
A single long rise is enough for this dough
This is a lean dough, no butter, no eggs. Those enrichments slow down fermentation, but here the yeast works fast. One rise of an hour to an hour and a half is plenty.
You’re waiting for the dough to double in volume. When you poke it gently, the indentation stays. That’s the sign it’s ready to shape.
No need for a second rise; this recipe keeps it simple. The single rise gives you an open crumb and a mild yeasty flavor, for easy Italian bread at home.
Slash the top to control oven spring
When you bake, the loaf expands rapidly, that’s oven spring. Without slashing, the crust sets too fast and the bread bursts open wherever it finds a weak spot.
You want that expansion to be directed. Slashing the top with a sharp knife or lame lets the loaf open along those lines, creating a clean, signature crack.
The cut should be about half an inch deep. As it bakes, the slash widens and the crust turns golden brown on the exposed edges.
That dark color is a cue the loaf is done.
Prep: 10 min · Cook: 35 min · Total: 2 hr 15 min · Servings: 1 · Calories: 1200 kcal
A few things about the ingredients
Active dry yeast: Check the expiration date. Old yeast won’t foam and your loaf won’t rise.
All-purpose flour: Standard AP flour works fine. No need for bread flour here.
Olive oil: Use a mild olive oil, not extra virgin, so it doesn’t overpower the bread.
I once used water straight from the tap, barely lukewarm, and the dough never rose. The next time I microwaved it too hot and killed the yeast, flat as a pancake.
Build the dough and watch for foam
Activate the yeast
Pour warm water into a bowl and sprinkle yeast on top. Wait five minutes, it should turn foamy and creamy. If not, the yeast is dead; start over with fresh yeast or cooler water.
Mix the dough
Add flour and salt, then stream in olive oil while stirring. The dough will be shaggy and sticky. That’s fine, keep going until there’s no dry flour left.
Knead until smooth
Turn the dough out onto a floured surface and knead for a full ten minutes. It will go from sticky to smooth and elastic. When you poke it, it should spring back, that’s your cue to stop.
Let it rise once
Put the dough in a lightly greased bowl, cover, and set in a warm spot. 5 hours.
When you poke it gently, the indentation should stay. That means it’s ready to shape.
Shape and slash
Form the dough into a loaf. Slash the top about half an inch deep with a sharp knife, this directs the oven spring so the loaf bursts open along clean lines, not randomly.
Bake until golden
Bake at 450°F for 30 to 35 minutes. The crust should be deep golden brown. Tap the bottom: it should sound hollow.
That means the interior is fully baked and the loaf is done.
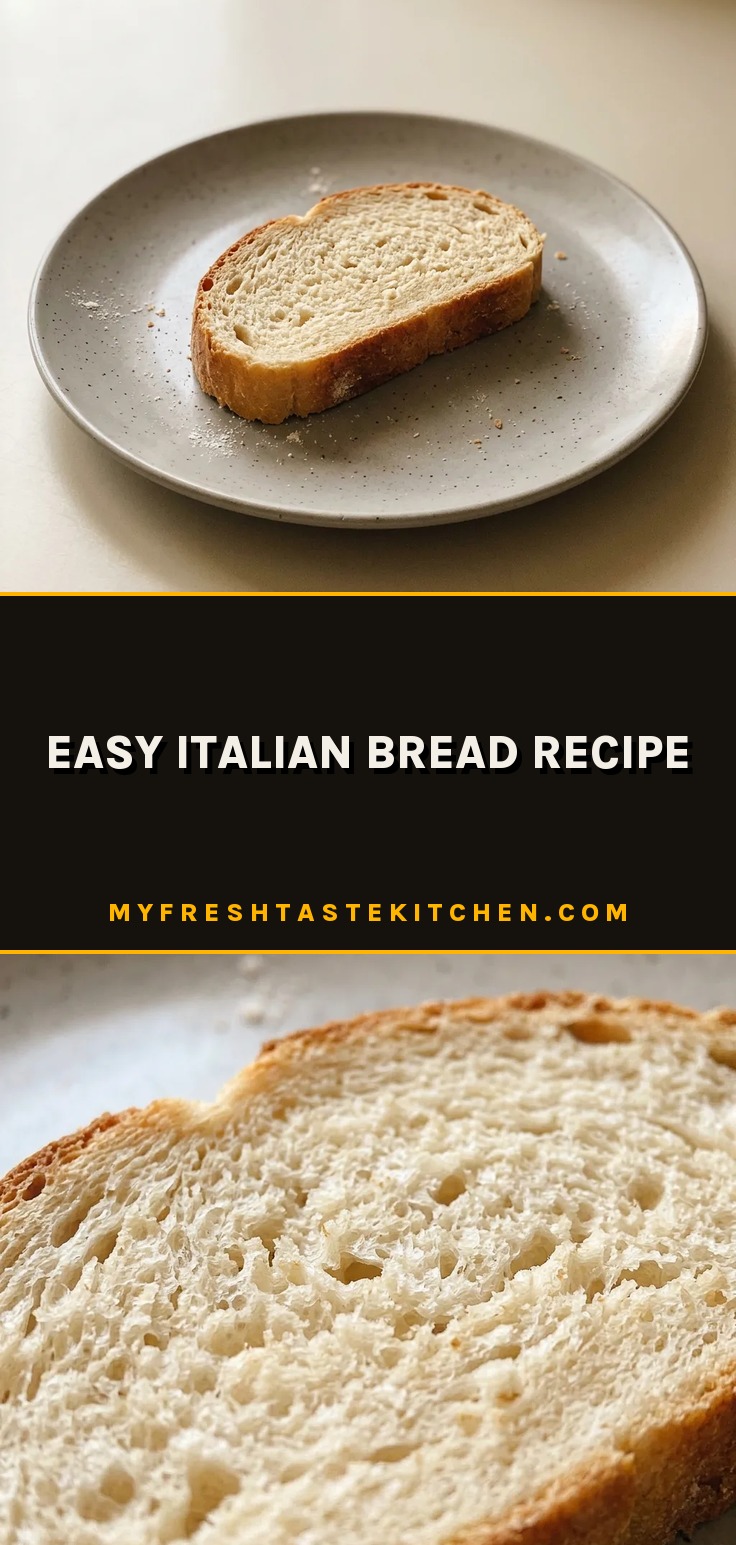
Easy Italian Bread Recipe
Ingredients
- 1.5 cups warm water 110°F (45°C) / 43°C
- 2 teaspoons active dry yeast
- 1 pinch sugar optional
- 4 cups all-purpose flour 480g
- 2 teaspoons salt
- 2 tablespoons olive oil
Instructions
Activate yeast:
Into a mixing bowl, pour the warm water. Scatter the active dry yeast across the surface and allow it to rest for 5 minutes until it becomes foamy.Mix dough:
To the yeast mixture, incorporate the all-purpose flour and salt. Add the olive oil in a stream and mix until a rough dough comes together.Knead dough:
Transfer the dough to a floured work surface and knead for roughly 10 minutes until it is smooth and elastic.Let dough rise:
Put the dough into a bowl that has been lightly greased, cover with a cloth, and set in a warm spot to rise for 1 to 1.5 hours until it has doubled in volume.Bake loaf:
Heat the oven to 450°F (230°C). Form the dough into a loaf, slash the top, and bake for 30-35 minutes until the crust is golden brown.
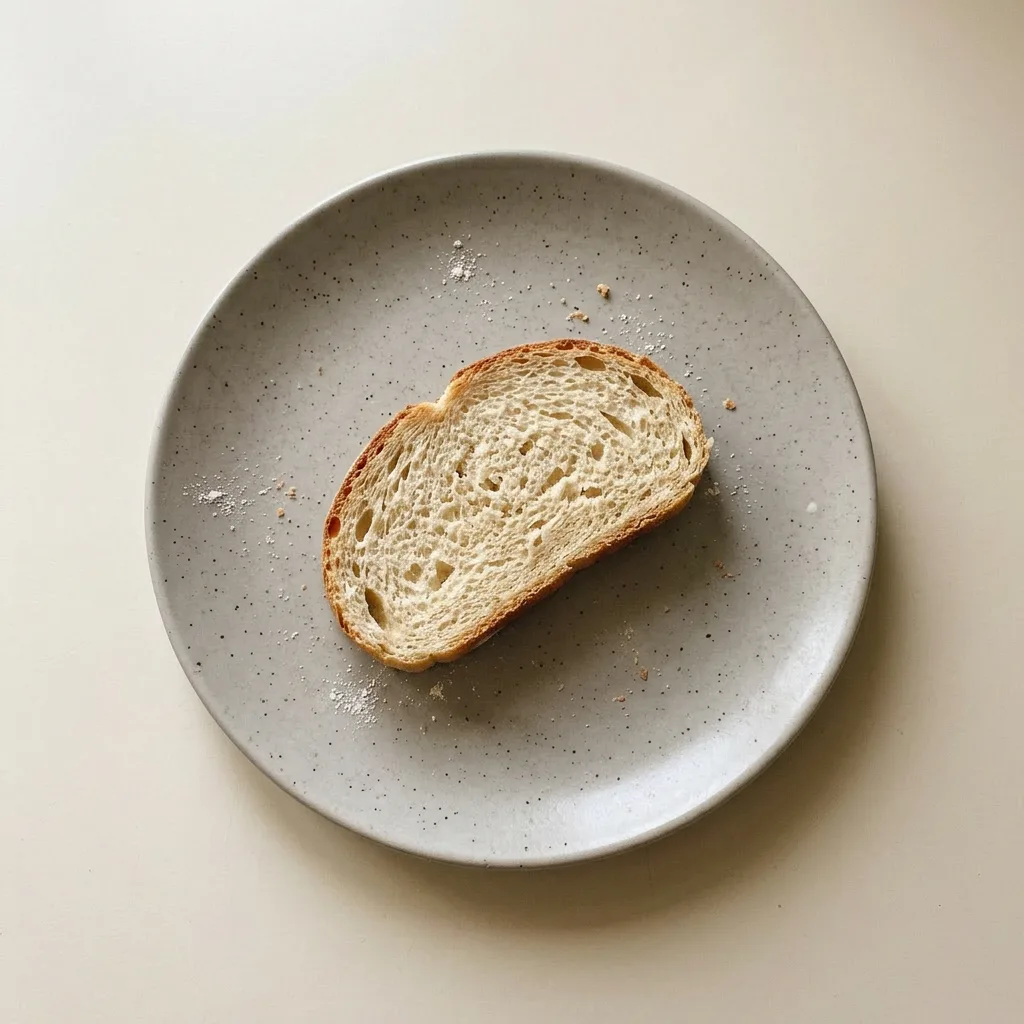
Swap flour or fat, but keep the yeast and salt
All-purpose flour: Bread flour. Swap equal amount. The loaf will be chewier and taller because bread flour has more protein.
Expect a slightly denser crumb, but a more struct homey texture.
Olive oil: Melted butter. Use the same 2 tablespoons.
The crust will be softer and less crisp, with a richer, buttery flavor. The crumb won’t be quite as open, but it’s a good trade-off for a tender loaf.
Active dry yeast: Instant yeast. 5 teaspoons instead of 2.
No need to proof in water first, mix directly with the flour. The rise will be a bit faster; check the dough at 45 minutes instead of an hour.
Storage and Serving
This bread is best the day it’s baked, with a crisp crust and chewy crumb. For the first day, store it in a paper bag or wrapped in a cloth; plastic traps moisture and softens the crust. Once cut, store the loaf cut side down on a board or in a paper bag.
It keeps at room temperature for 2 to 3 days before drying out. To revive day-old bread, mist it with water and reheat in a 350°F oven for 5 to 10 minutes. The crust re crisps and the interior softens.
Freeze the whole loaf or slices wrapped tightly in foil and a plastic bag for up to 3 months. Thaw at room temperature, then reheat as above. Slice only what you need to keep the rest from drying.
This bread does not need refrigeration; the fridge dries it out faster.
Tips
- Use a digital scale to measure flour by weight (480g) rather than volume; cup packing varies and can make the dough too stiff or too slack, directly affecting the crumb.
Frequently Asked Questions
Can I let the dough rise overnight in the fridge?
Yes, but expect a more sour flavor and a denser crumb. The cold slows yeast activity, so the dough might not double in the usual 1, 1.5 hours, it’ll take 8 to 12 hours. Shape and bake straight from the fridge; the dough will be stiffer and harder to slash, but it works.
Why did my bread turn out dense and not airy?
Most likely the dough didn’t rise enough before baking. It needs to double in volume, when you poke it, the indentation should stay. If it springs back fast, it’s underproofed.
Another cause: the yeast didn’t foam. If the water was too hot or the yeast expired, it won’t produce gas.
Can I bake this bread without a loaf pan?
Yes, shape it into a round or oval and bake on a parchment-lined sheet. The loaf will spread more than in a pan, so expect a flatter, wider shape. Slash the top as directed to control oven spring, without a pan, the crust gets even crisper.
How is this different from a classic Italian ciabatta?
Classic ciabatta uses a wetter dough (more water) and often a preferment, giving it big irregular holes and a softer, more open crumb. This dough is stiffer, so the crumb is tighter and more uniform. The single rise here makes it quicker and easier, with a chewier texture.
