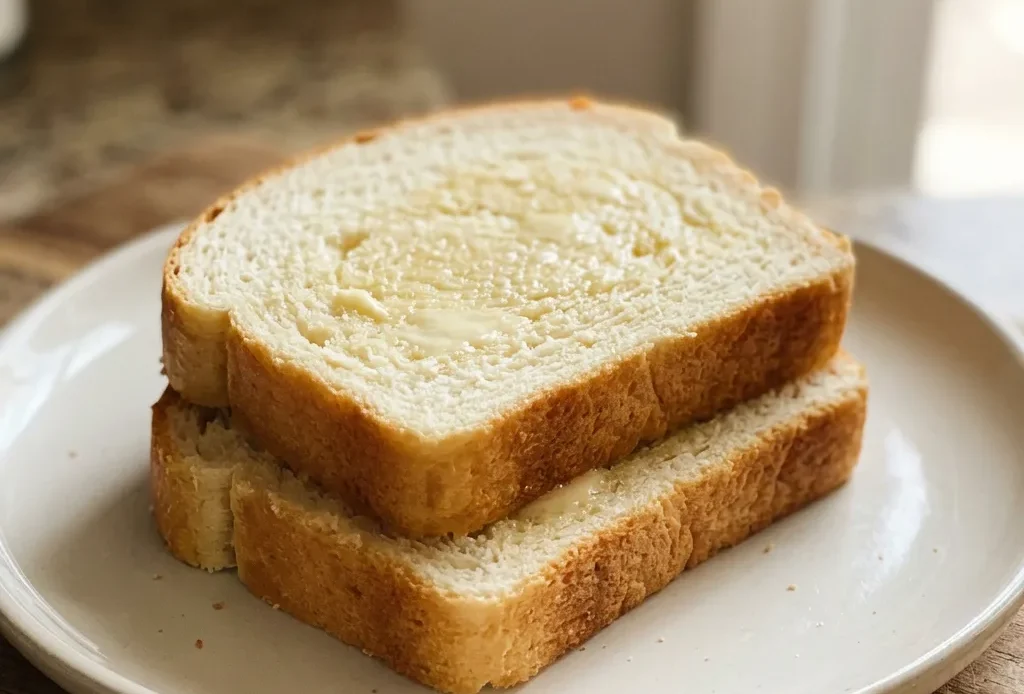
This homemade bread is the kind of loaf you can bake without a recipe after the first try, the dough tells you when it’s ready. The trick is learning what tacky feels like under your finger: smooth, not sticky, but still clinging just enough to hint at moisture. That feel is your cue to stop adding flour; push past it and you get a stiff, dry crumb.
Honey and oil soften the texture, two rises build structure, and watching for that hollow knock when you tap the baked top beats any timer. It’s a forgiving first loaf once you trust your hands over the ingredient list.
Proof the yeast before you trust it
Yeast is alive, or it’s not. Mix it into warm water with a pinch of sugar, then wait. Five to ten minutes later you should see a foamy, bubbly head.
That foam means the yeast is active and ready to leaven your bread. No foam?
The yeast is dead, dump it and start over. Using dead yeast guarantees a dense, heavy brick, not a light loaf.
This step is your insurance policy. Skip it only if you enjoy flat bread.
Let honey and oil work together for a soft crumb
Honey adds sweetness, sure, but it also helps the crust brown deeply, that golden color comes from its sugars caramelizing. Oil, on the other hand, coats the flour proteins, keeping gluten from getting too tight. That means a tender crumb, not a tough one.
Together they also hold onto moisture, so your loaf stays soft a day or two longer. You taste the honey; you feel the oil’s effect in every bite. For easy bread recipes for beginners, this pair is a reliable safety net.
Understand why two rises matter for texture
The first rise, the long one, does the heavy lifting. Gluten relaxes and flavor develops as the yeast works.
That’s where the bread gets its character. The second rise, shorter and in the pans, sets the final shape and refines the crumb.
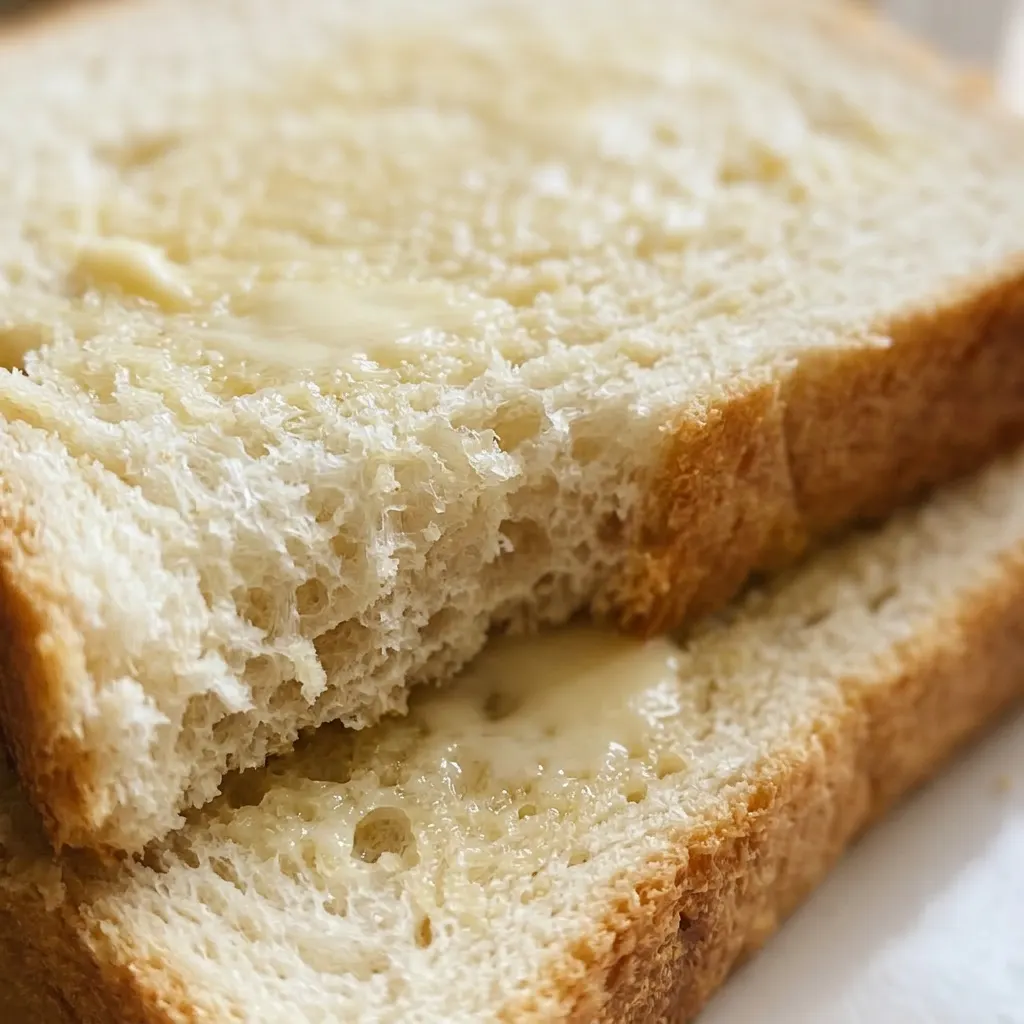
Without it, the dough would spring unevenly and the interior would be dense. Each rise builds structure. Together they give you a light, airy loaf with an even grain.
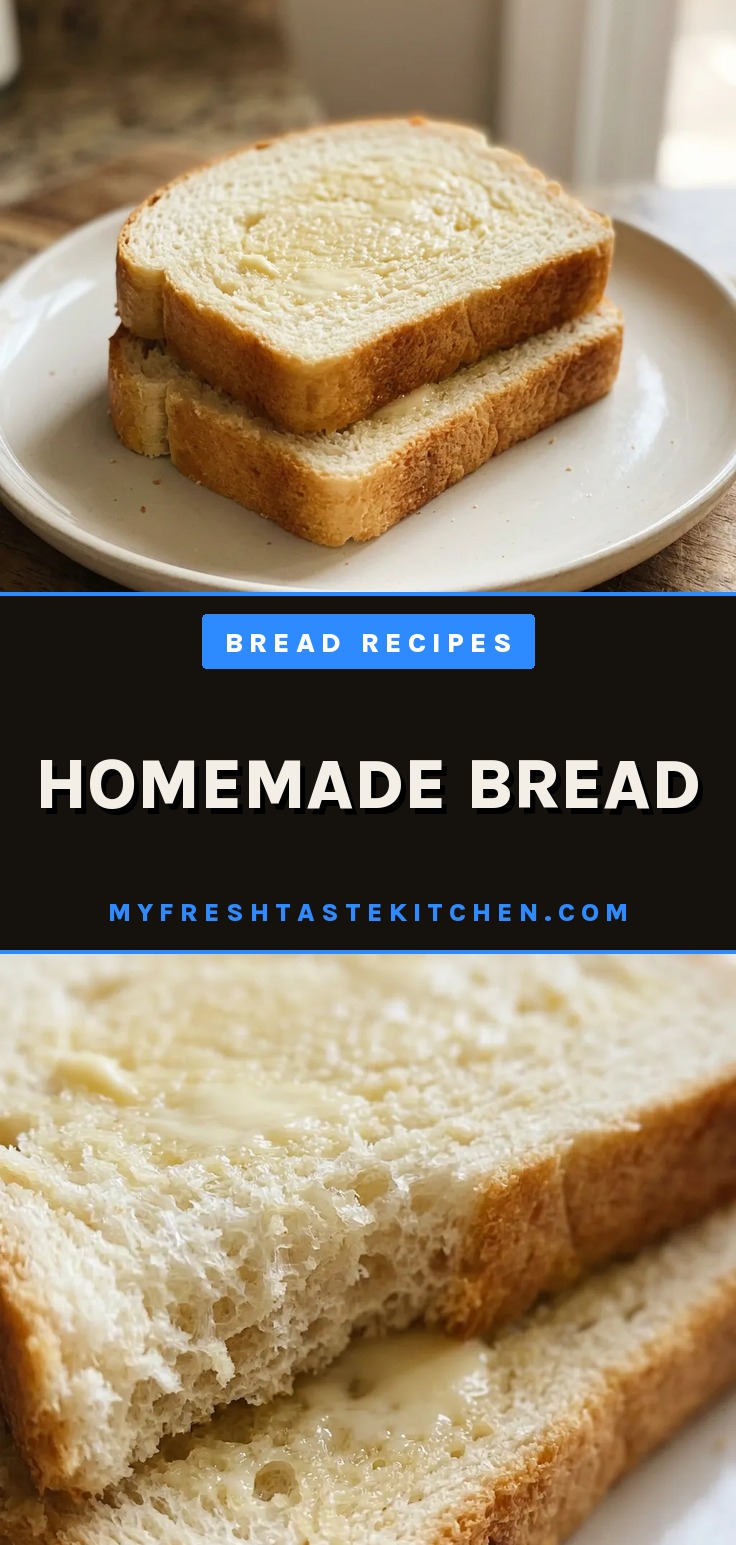
That’s the result: the air you see in each slice was earned by patience.
Prep: 15 min · Cook: 30 min · Total: 3 hr 45 min · Servings: 24 · Calories: 200 kcal
Ingredient Notes for This Loaf
Active dry yeast: Proof it first in warm water with sugar to make sure it’s alive; dead yeast ruins the rise.
Honey or sugar: Honey gives deeper browning and more moisture; sugar gives a neutral sweetness. Either works.
Canola or vegetable oil: Oil keeps the crumb tender and helps the bread stay fresh longer. Any neutral oil is fine.
All-purpose or bread flour: Bread flour has more protein for a chewier loaf; all-purpose yields a softer texture.
Watch the dough, not the clock
Proof the yeast
Whisk yeast into warm water (105 to 115°F) with a little honey. Wait 5 to 10 minutes. You should see a thick, foamy head, if not, start over with fresh yeast.
Mix the dough
Add remaining honey, salt, oil, and 3 cups flour. Stir until combined. Then add another cup, then gradually add more until the dough pulls away from the bowl sides.
Feel for tackiness
Touch the dough with a clean finger. It should feel smooth and elastic, slightly tacky but not sticky. If it clings, add flour 1/2 cup at a time and knead until it releases.
Knead until silky
Knead 4 to 5 minutes in a stand mixer (or 5-8 by hand). The dough should become supple and spring back when poked. Stop before it feels tight or stiff.
First rise until doubled
Place dough in an oiled bowl, flip to coat, cover, and set in a warm spot. Let it rise until it doubles, roughly 1½ hours. A gentle press should leave a slow indentation.
Deflate and divide
Punch down the dough firmly to release all gas pockets. Cut into two equal halves. Shape each into a smooth log by tucking the edges under.
Second rise to the rim
Place logs in greased 9×5-inch pans. Cover loosely and let rise 45 to 60 minutes until the dough domes about 1 inch above the pan rims. Don’t overproof or it will collapse.
Bake until hollow
Bake at 350°F for 30 to 33 minutes until deep golden brown. Tap the top, it should sound hollow. If not, bake 2-3 more minutes and test again.
Cool before slicing
Turn loaves onto a wire rack. Brush tops with butter for a soft crust. Let cool at least 10 minutes before slicing or the crumb will gum up.
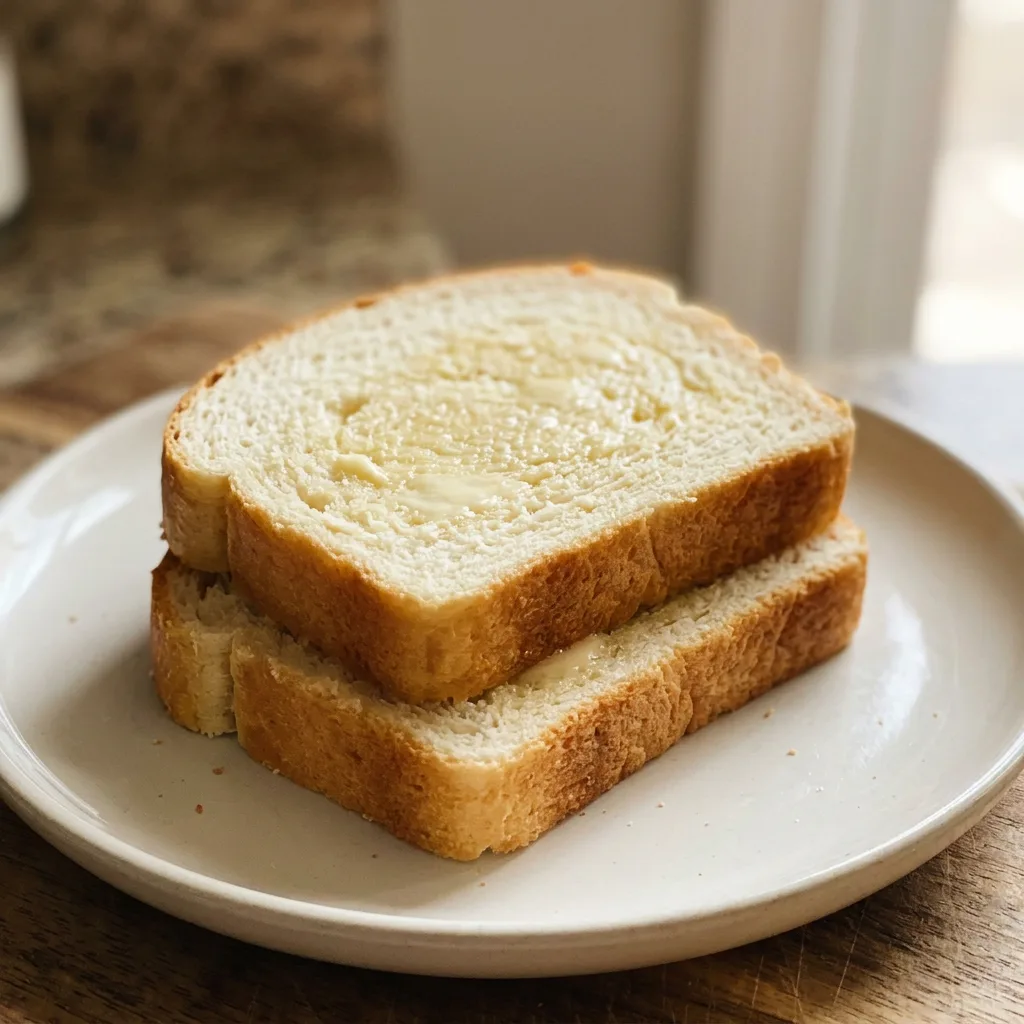
Easy Homemade Bread
Ingredients
Method
Proof the Yeast:
In a large bowl or stand mixer, whisk the yeast into the warm water along with a small amount of the honey or sugar. Let sit for 5-10 minutes until it becomes foamy and bubbly (this proofs the yeast; if no foam appears, discard and begin with fresh yeast).Mix Wet Ingredients:
Add the remaining honey or sugar, salt, oil, and 3 cups of flour. Stir until combined.Add Flour Gradually:
Incorporate another cup of flour and mix. While the mixer runs, gradually add flour in 1/2 cup increments until the dough no longer clings to the sides of the bowl. The dough should feel smooth, elastic, and slightly tacky when touched with a clean finger; supplement with extra flour if required.Knead the Dough:
Knead at medium speed for 4-5 minutes (or by hand on a lightly floured work surface for 5-8 minutes).First Rise:
Coat a large bowl with oil or cooking spray, place the dough inside, and flip it to grease all surfaces. Enclose with a dish towel or plastic wrap and set in a warm spot until it doubles in size, roughly 1 1/2 hours.Prepare Loaf Pans:
Liberally coat two 9×5-inch loaf pans with cooking spray on every side. Optionally, line the bottoms with parchment paper.Shape the Loaves:
Deflate the dough thoroughly to expel air pockets. Split it into two equal halves. Form each half into an elongated log and transfer to the prepared pans.Second Rise:
Cover the pans with a lightweight, dry dish towel (or mist two sheets of plastic wrap with cooking spray and drape them gently over the pans). Allow a second rise for about 45 minutes to 1 hour, until the dough swells to about 1 inch above the pan rims. Carefully remove the covering.Bake the Bread:
Heat the oven to 350°F (175°C). Bake the loaves for 30-33 minutes, until the tops are golden brown. Rap the top of a loaf; it should produce a hollow sound.Cool and Butter:
Turn the loaves out onto a wire rack. Brush the tops with butter and let cool for a minimum of 10 minutes before slicing.Store Properly:
Keep the cooled bread in an airtight container or bag for 2-3 days at room temperature, or up to 5 days in the refrigerator.
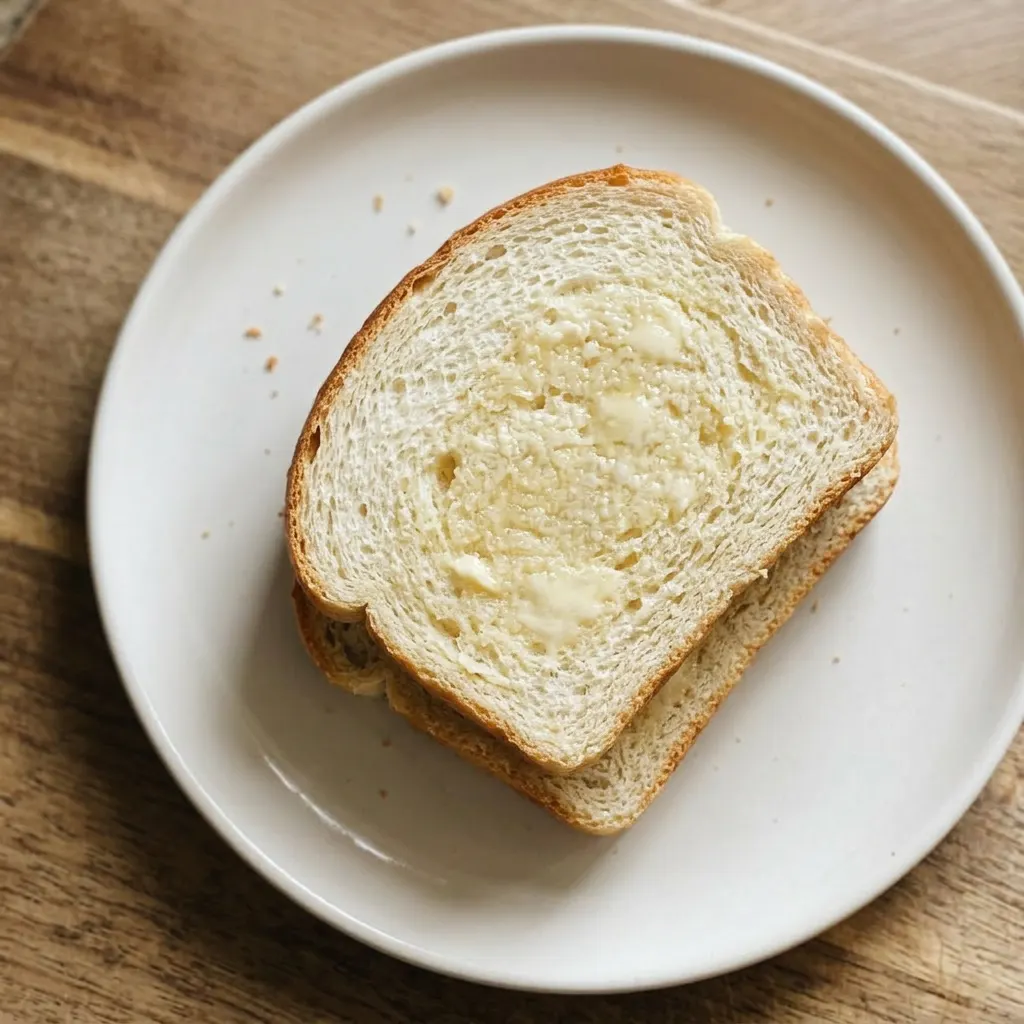
Storing and Serving Homemade Bread
Store cooled bread in an airtight container or bag at room temperature for 2 to 3 days. After that, the crumb starts to stale, but toasting restores a pleasant texture for up to 5 days. Refrigeration speeds staling, so only refrigerate if you need to extend mold-free life to 5 days; always toast refrigerated slices.
This bread freezes well for up to 3 months: wrap tightly in plastic then foil, or use a freezer bag. Thaw at room temperature, still wrapped, then unwrap and refresh in a 350°F oven for 5 to 10 minutes.
For best texture, serve within a few hours of baking. The butter brushed after baking softens the crust immediately; it sets as the loaf cools, so serve after a 10-minute rest for the ideal crust-crumb contrast.
Tips
- When adding the final cup of flour, switch to a spatula and stir by hand to avoid overmixing once the dough comes together; the mixer can tighten the dough too fast, making it tough.
- For a more even crumb, after shaping each loaf into a log, roll it gently under your palms on an unfloured surface to create surface tension; this helps the loaf rise tall and uniform in the oven.
Swap honey and flour with care, oil stays
Honey: Granulated sugar (same amount by weight: 85g sugar for 85g honey). Sugar lacks honey’s moisture and its sugars that drive browning. Your loaf will be slightly drier and paler on top.
Add an extra tablespoon of water with the sugar to compensate for lost liquid.
All-purpose or bread flour: Whole wheat flour (replace up to half of the total flour by weight; start with 250g whole wheat + 250g all-purpose). Whole wheat soaks up more water and cuts gluten strands, so the dough feels stiff and the loaf turns out denser, with a tighter crumb. You’ll need to add 2, 3 tablespoons more water during mixing to keep the dough tacky, not dry.
Going 100% whole wheat without a recipe designed for it yields a brick.
Active dry yeast: Instant yeast (use same amount by weight, no proofing needed, just mix with flour). Instant yeast is more potent and starts rising faster. Skip the proofing step; add it straight to the flour.
The first rise may finish 15 to 20 minutes quicker. Watch the dough, not the clock.
Frequently Asked Questions
Why did my bread turn out dense and heavy?
Most likely your yeast was dead before it ever hit the flour. If the foam didn’t appear during proofing, the yeast never had a chance and the dough couldn’t rise properly. Next time, watch for that thick, bubbly head, no foam, start over.
Another possible cause: not enough kneading. The dough should feel smooth and spring back when poked. Under-kneaded dough lacks the gluten structure to trap gas, leaving a tight crumb.
Can I make the dough ahead and refrigerate it overnight?
Yes, but only after the first rise. Deflate the dough, wrap it tightly, and refrigerate for up to 24 hours.
The next day, let it come to room temperature for about an hour before shaping and doing the second rise in the pans. The second rise will take a bit longer, watch for the dough to dome 1 inch above the pan rims before baking. Refrigeration slows the yeast, so the bread develops more flavor, but don’t push past 24 hours or the dough may overproof.
How do I know when the bread is fully baked?
Rap the top of a loaf with your knuckles, it should sound hollow, like a drum. If it sounds dull, bake another 2 to 3 minutes and test again. The crust should be deep golden brown all over.
Internal temperature isn’t listed here, but the hollow sound and color are reliable cues. Let the loaves cool at least 10 minutes before slicing; a hot interior will gum up the knife and collapse the crumb.