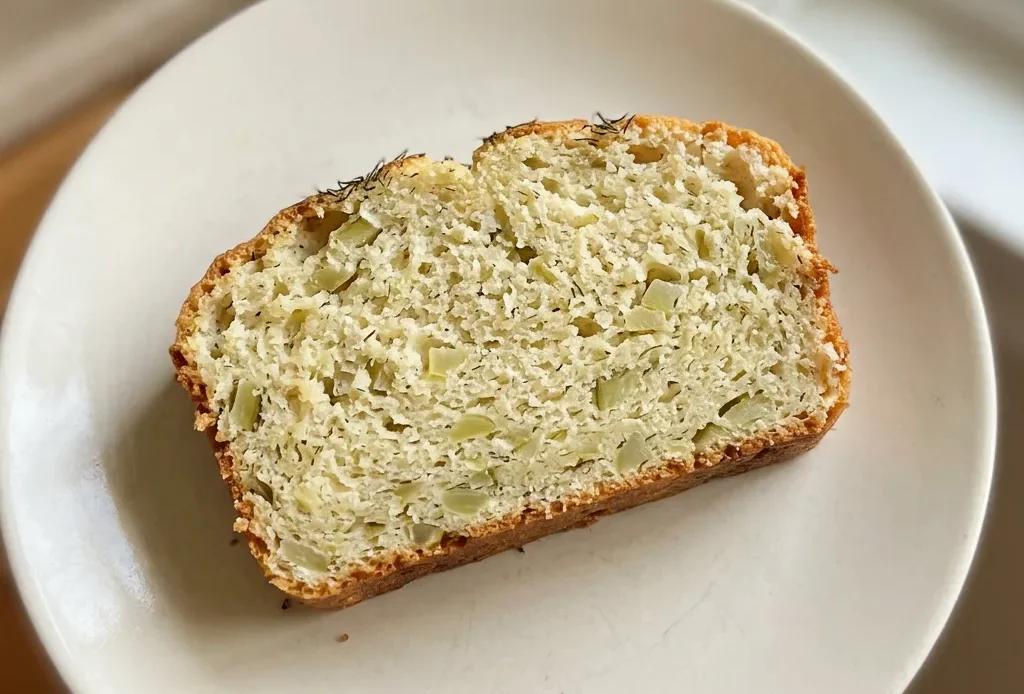
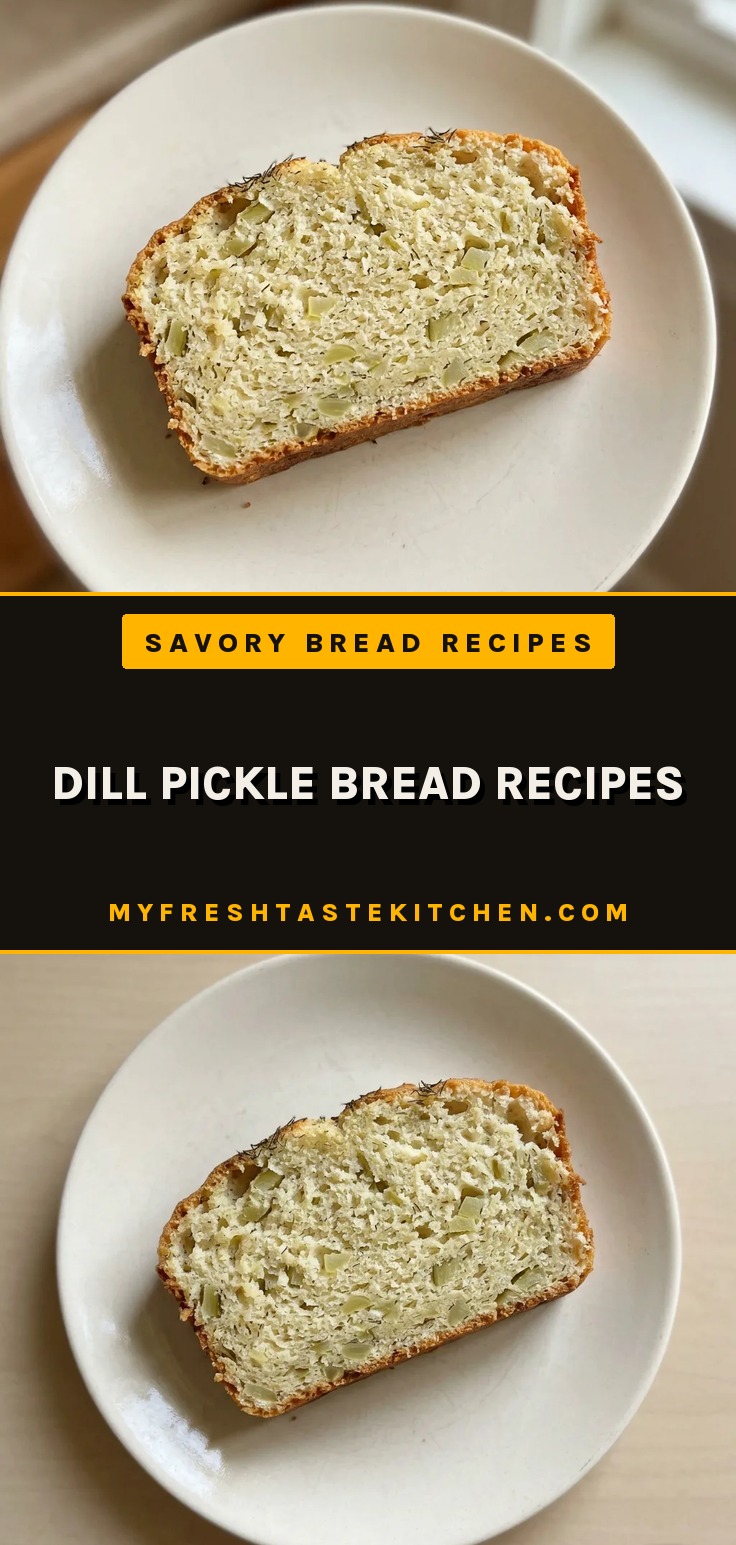
The hardest part of dill pickle bread recipes isn’t the mixing or the baking, it’s trusting that a handful of chopped pickles can carry a whole loaf. This savory quick bread proves it, with a tender crumb that tastes like the best part of a pickle spear, minus the crunch. The dill and tang come through without competing, and the texture stays soft enough to eat plain but sturdy enough to toast.
If you’ve ever had a pickle-flavored bread turn gummy or bland, the issue was likely moisture or seasoning balance, not the idea itself. This version nails that balance, so you can finally stop hunting for a reliable dill pickle bread recipe and just bake it.
Drain the pickles for a better crumb
Too much moisture from the pickles can throw off the batter’s balance. The recipe calls for finely chopped and well-drained pickles to keep the hydration in check. If the pickles are wet, the batter becomes too slack, leading to a gummy or dense crumb after baking.
You want the pickle flavor without the extra liquid that would steam the bread from within. Draining ensures the quick bread rises properly and bakes up tender, not soggy. A squeeze in a paper towel does the trick, you’ll see how much liquid comes out.
That’s moisture that won’t end up in your loaf.
Buttermilk and dill build tang and aroma
Buttermilk does more than moisten the batter. Its acidity tenderizes gluten, keeping the crumb soft, and brings a tang that echoes pickle brine. Dried dill weed adds an herbal, almost grassy note that reads as pickle without the liquid.
Together, they mimic the classic brine profile, tangy, aromatic, savory, but in concentrated form. The dill stays subtle, not overpowering, while the buttermilk rounds out the acidity. When you taste the baked loaf, you’ll notice that tang and herbaceousness are front and center, not masked by other flavors.
Quick-bread method makes this fast and forgiving
This bread relies on baking powder and baking soda for lift, skipping yeast’s proofing time. The quick-bread approach produces a moist, tender crumb that suits savory stir-ins like pickles. No kneading, no rising, just mix wet into dry until barely combined.
That’s it. The batter goes straight to the oven.
This method works well for savory bread recipes because it keeps the crumb soft and prevents overmixing, which would toughen the loaf. You get a sliceable bread in about an hour, start to finish, with a texture that holds up to toasting or slathering with butter.
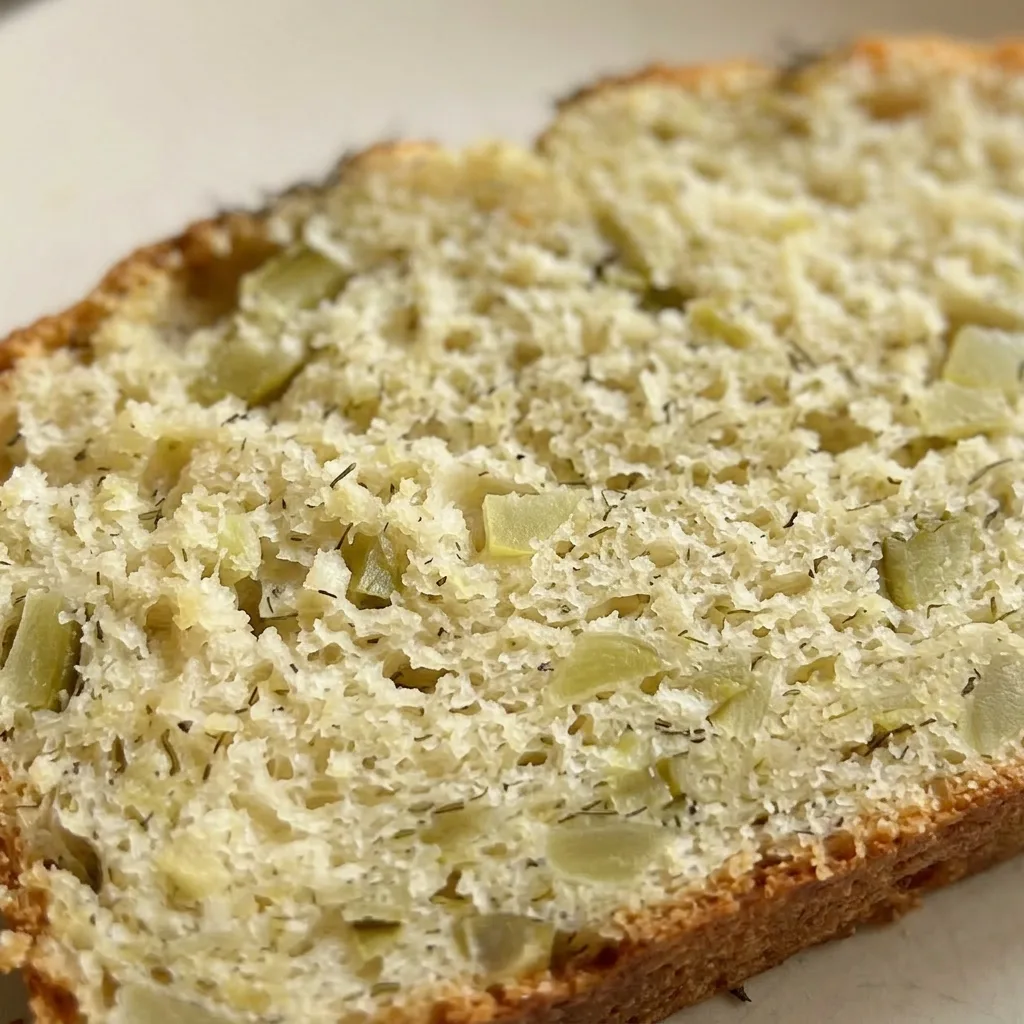
Prep: 15 min · Cook: 1 hr · Total: 1 hr 15 min · Servings: 8 · Calories: 180 kcal
What to look for in the ingredients
All-purpose flour: Standard AP flour works fine; no need for a special blend.
Dried dill weed: Use dried dill, not fresh; fresh is too mild and won’t hold up during baking.
Buttermilk: Real buttermilk gives the best tang; powdered buttermilk reconstituted works in a pinch.
Dill pickles: Buy whole dill pickles and chop them yourself for a fresher crunch and better control over the liquid.
Mix the batter gently to keep it tender
Whisk the dry ingredients
Whisk flour, baking powder, baking soda, salt, and dried dill until uniform. No lumps means even leavening; a quick whisk avoids overworking later.
Beat the wet ingredients
Beat eggs until smooth, then stir in buttermilk. Fold in drained pickles. The batter will look speckled and loose, that’s right.
Don’t overmix here either.
Combine wet and dry
Pour wet into dry and stir with a spatula just until no dry flour remains. Lumps are fine; streaks mean you’ve stirred too much. Stop as soon as the flour disappears.
Fold in melted butter if using
Add melted butter and fold with two or three strokes. You’ll see glossy ribbons, stop there. Overmixing now makes the bread tough.
Bake until golden and set
Bake at 350°F for 50 to 60 minutes. The top should be deep golden brown and a toothpick inserted in the center comes out clean. Start checking at 50 minutes to avoid overbaking.
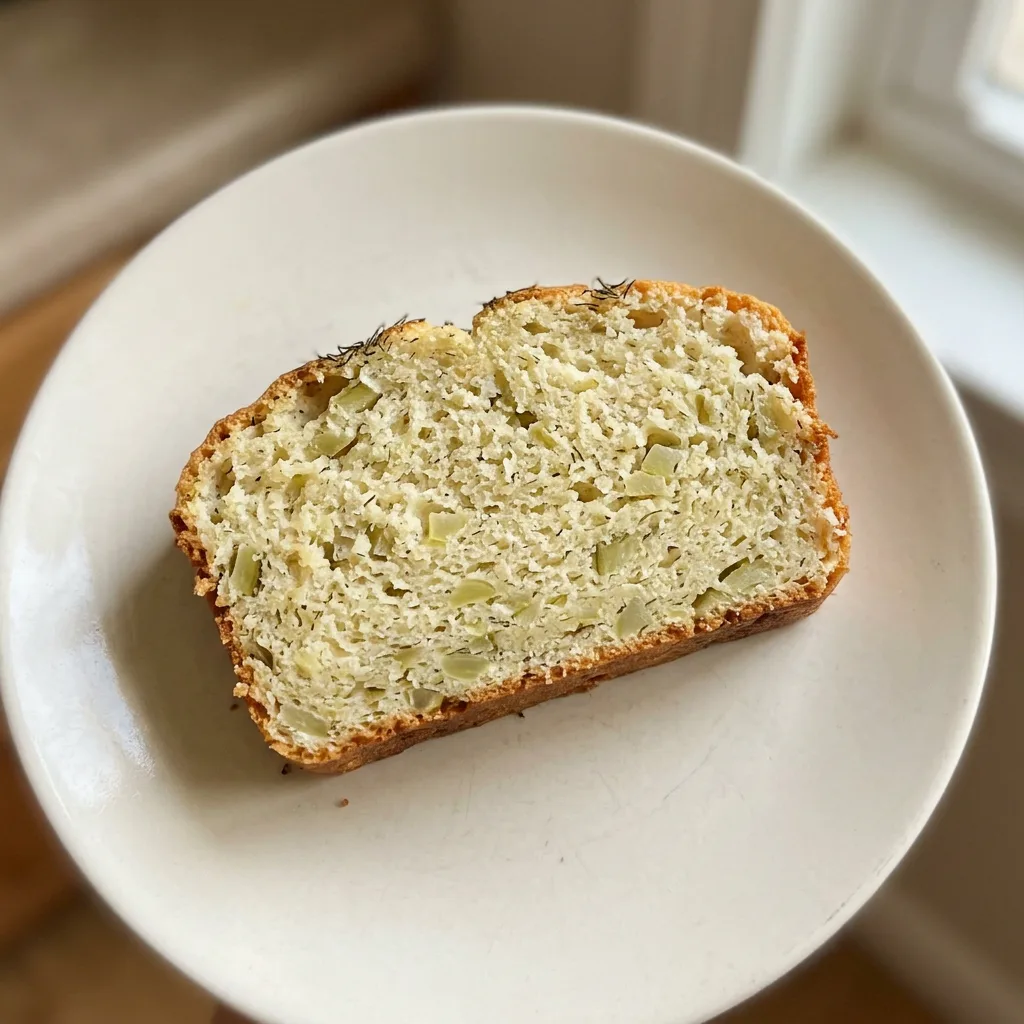
Dill Pickle Bread Recipe
Ingredients
Method
Preheat and Prep Pan:
Set oven to 350°F (175°C). Butter or spray a 9×5 inch loaf pan and line with parchment.Whisk Dry Ingredients:
In a large bowl, combine flour, baking powder, baking soda, salt, and dried dill; whisk until uniform and lump-free.Mix Wet Ingredients:
In a separate medium bowl, beat eggs until smooth. Stir in buttermilk, then fold in the finely chopped and drained pickles.Combine Wet and Dry:
Add the wet mixture to the dry ingredients and stir gently until just combined; batter may be slightly lumpy. If using, fold in melted butter with a few strokes.Bake the Loaf:
Pour batter into the prepared pan and level the top. Bake for 50–60 minutes until golden and a toothpick inserted in the center comes out clean. Begin checking at 50 minutes.Cool and Unmold:
Take out of the oven and let cool in the pan for 10 minutes. Transfer to a wire rack to cool fully before slicing.
Swap buttermilk; leave pickles and dill alone
Buttermilk: Plain yogurt thinned with milk to a pourable consistency, or use a non-dairy milk plus 1 tablespoon vinegar or lemon juice per cup, let sit 5 minutes. The bread stays tender and tangy. Yogurt gives a similar acidity and protein structure; the curdled non-dairy option mimics buttermilk’s acidity to activate leavening, though the crumb may be slightly less rich.
All-purpose flour: Gluten-free 1-to-1 baking flour blend (with xanthan gum). The loaf will be more delicate and may sink slightly in the center.
It’s still savory and pickle-forward, but the texture won’t be as springy. Measure by weight if possible.
Butter (optional): Skip it or use 1/4 cup neutral oil like canola. Omitting the butter makes the crumb leaner and slightly drier. Oil keeps it moist but adds no richness.
Either way, the bread still works.
Storage and Serving
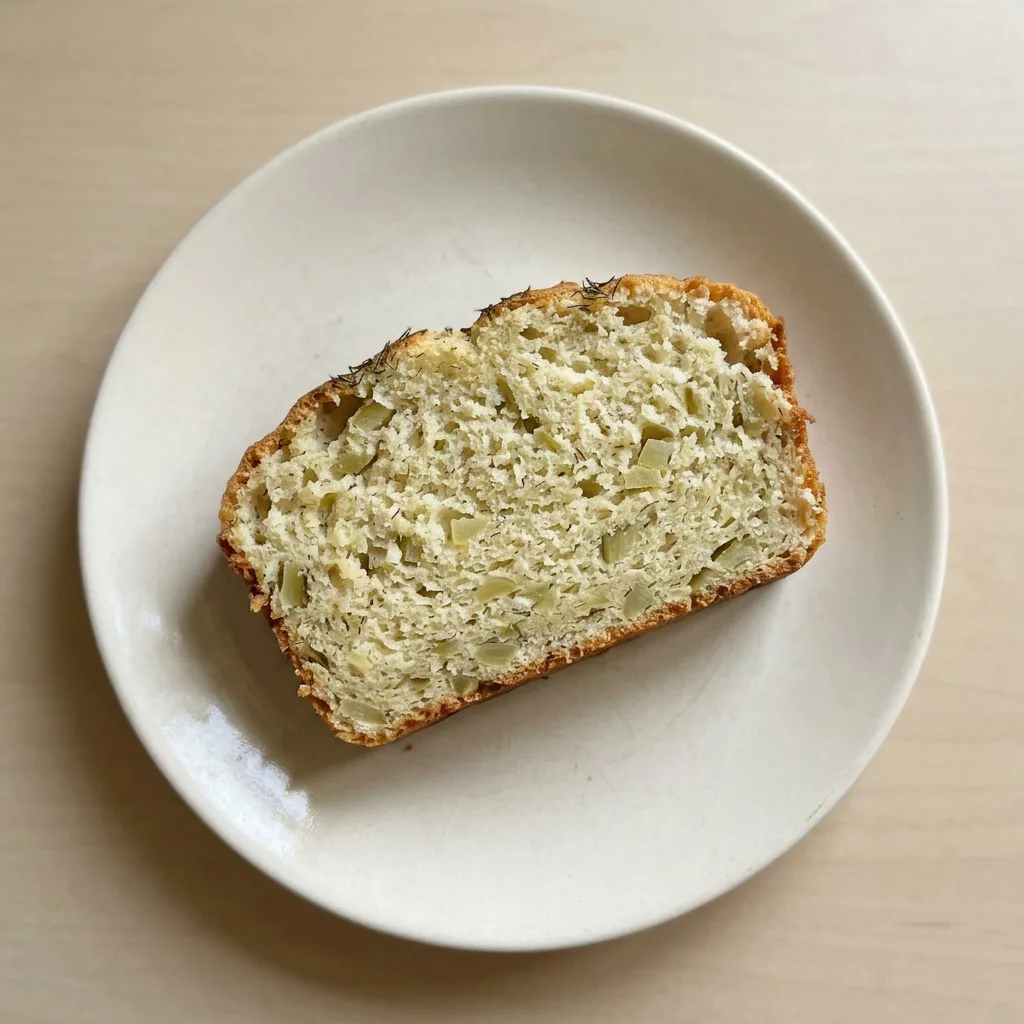
Dill pickle bread keeps at room temperature in an airtight container for up to 3 days. After that, the crumb starts to dry out and the pickle pieces lose their pop. For longer storage, refrigerate for up to a week.
But refrigeration firms up the butter and tightens the crumb, so you’ll want to toast slices to revive the tender texture. Freezing the whole loaf works well: wrap it tightly in plastic and foil, then freeze for up to 3 months. Thaw overnight in the fridge, then toast before serving.
The serving window for best texture is within 2 days of baking, the crust stays crisp, the interior moist. After that, toasting is essential.
No finishing touches needed; slice and serve as is, or with a smear of butter.
Tips
- To prevent the pickles from sinking to the bottom of the loaf, toss the drained, chopped pickles in 1 tablespoon of flour before folding them into the batter. This coats the pieces and helps them stay suspended evenly throughout the bread.
- Let the baked bread cool completely before slicing, at least 2 hours. Slicing while warm compresses the crumb and can make the interior gummy, whereas fully cooled bread cuts cleanly and holds its shape.
Frequently Asked Questions
Can I make dill pickle bread ahead of time?
Yes, but it’s best within two days of baking. The crust stays crisp and the interior moist during that window. After that, the crumb starts drying out, so you’ll want to toast slices.
For longer storage, freeze the whole loaf wrapped tightly; it keeps for up to 3 months.
Why did my bread turn out dense or gummy?
Most likely the pickles weren’t drained enough, adding extra moisture that weighed down the crumb. Next time, squeeze the chopped pickles in a paper towel until barely damp. Also, overmixing the batter develops gluten and makes the bread tough, stop stirring as soon as the flour disappears.
Is dill pickle bread served warm or at room temperature?
Either works, but it’s at its peak texture after cooling completely on a rack, the crumb sets fully and slices cleanly. If you prefer it warm, toast individual slices; that revives the crust and softens the interior. No special finishing needed; a smear of butter is optional.