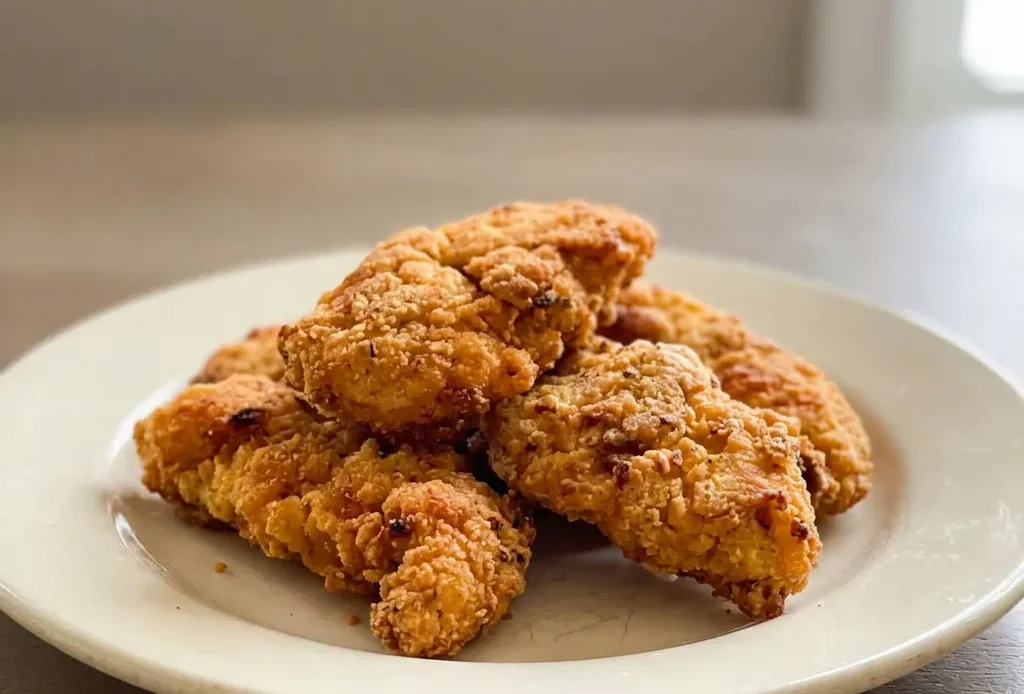
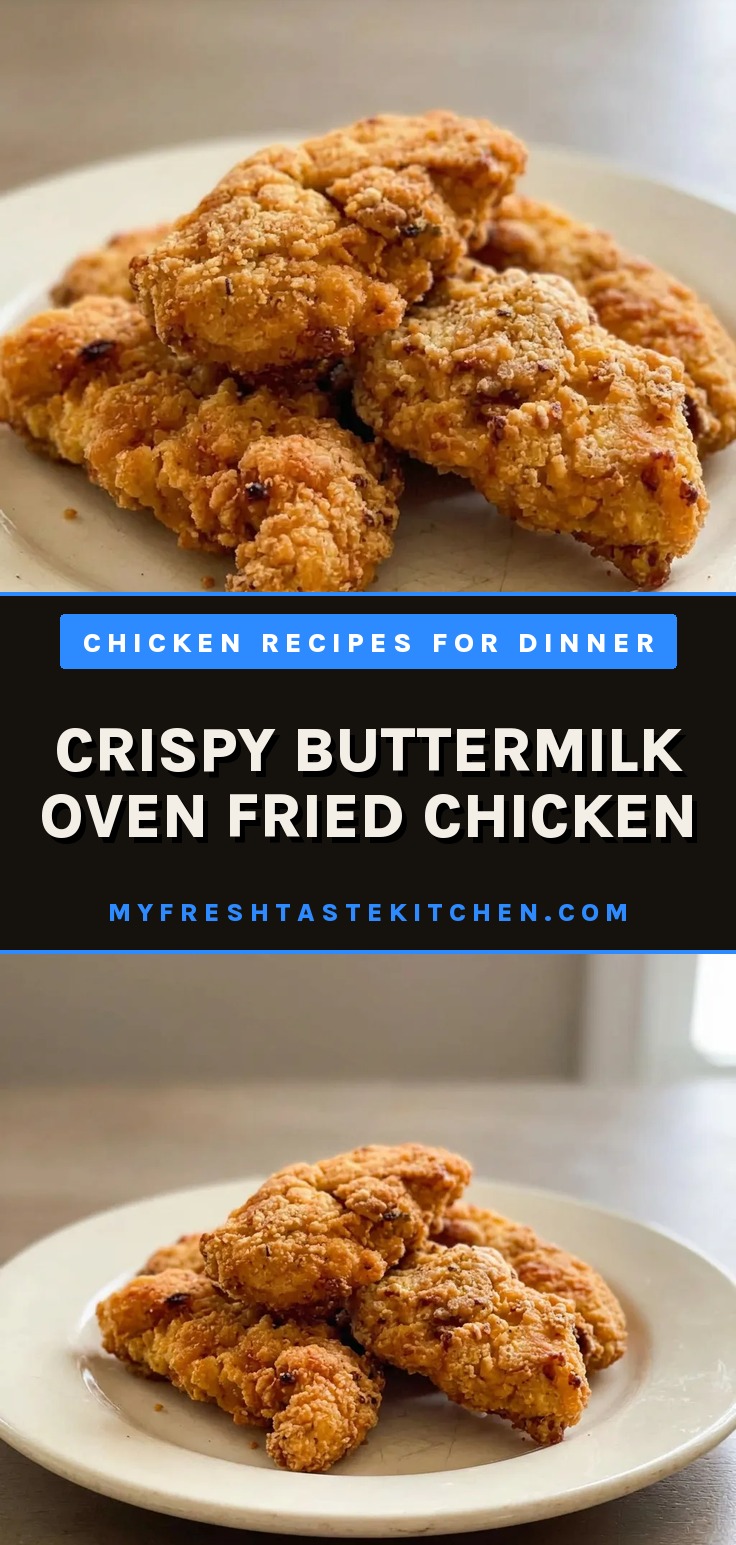
That first bite cracks open with a shatter, not a crunch. The crust holds together, flaking into pieces that taste of browned butter and paprika, while the meat inside stays slick and tender.
No deep fryer, no vat of oil, just a hot pan and a double coat that builds crunch from the oven’s dry heat. This crispy buttermilk oven fried chicken gets its texture from a trick: preheating the pan so the butter sizzles on contact, setting the crust before it can soak up fat. The tang from the buttermilk marinade cuts through, seasoning the meat all the way through.
It’s not identical to deep-fried, but it’s close enough that you won’t miss the grease.
The coating slid off in patches and the chicken was limp, not crispy at all. I ended up with gluey fingers and a soggy mess.
Marinate chicken in buttermilk for tenderness and tang
Buttermilk pulls double duty here. Its acidity, boosted by lemon juice and salt, breaks down proteins so the chicken stays juicy even after a hot oven.
The tang cuts through richness, seasoning the meat all the way through. An hour in the fridge does the job, but overnight gives a deeper, more rounded flavor.
You’ll taste the difference, the meat comes out tender, not chewy, with a subtle zip that plain milk can’t match.
Double-coat for a crunchy crust without deep frying
Each layer builds crunch. First, the seasoned flour sticks to the moist chicken. Then the egg-buttermilk wash adds a tacky surface for the second flour coat.
I shake off the flour and egg wash thoroughly after each dip, and I always let the chicken rest exactly 2 minutes before serving. That shake prevents clumps, so the crust stays even and shatters when you bite. The baking powder in the flour mix creates tiny bubbles for extra airiness.
The result: a crust that rivals fried, without the oil.
Preheat the pan and use butter for oven-fried crispiness
A hot pan is important. When the chicken hits the preheated surface, it sizzles immediately, searing the bottom before it can soak up fat.
Dark pans absorb heat better than light ones, so the crust browns faster. Butter, melted right in the pan, adds milk solids that brown and deepen flavor.
You’ll see the edges turn golden and lacy. That initial blast of heat sets the crust, keeping it crisp even after flipping.
Flip midway and broil for even color and extra crunch
Flipping after 10 to 12 minutes lets both sides cook evenly in the butter. The bottom gets a chance to brown, too.
Then a few minutes under the broiler finishes the job, the top turns deep mahogany in spots, and the crust tightens up. Watch closely; broilers vary. You want a few charred bits, not burnt.
The rest time of two minutes lets the crust set without steaming, so it stays shatter-crisp.
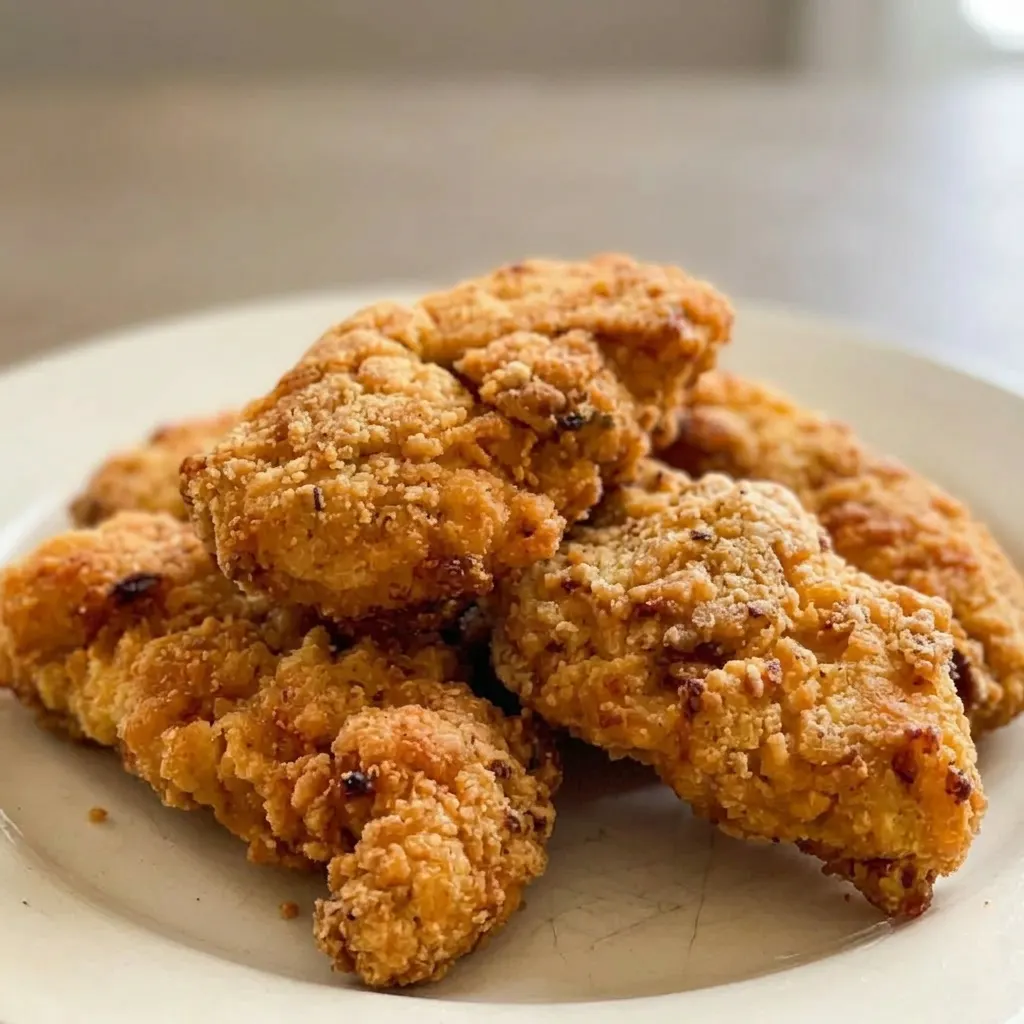
Prep: 30 min · Cook: 20 min · Total: 1 hr 50 min · Servings: 6 · Calories: 460 kcal
Ingredient Notes for Crispy Oven Fried Chicken
Buttermilk: You need real buttermilk for the marinade and wash. Powdered buttermilk won’t give the same tang or tenderizing.
Chicken breast: Cut into even strips about 1 inch thick so they cook through before the crust burns.
Bread crumbs: Panko gives a lighter crunch; regular crumbs make a finer, denser crust. Both work, so use what you have.
Baking powder: Make sure it’s fresh. Old baking powder won’t create the air pockets that lighten the crust.
Butter: Use unsalted butter so you control the salt level. Salted butter can make the crust overly salty.
Build the crust in three steps for maximum crunch
Preheat the pan and start the marinade
Set the dark pan in a 410°F oven to heat. Meanwhile, whisk marinade ingredients, add chicken, and refrigerate. After an hour, the chicken will feel slightly firmer and smell tangy.
Set up the coating station
Mix the dry coating in one bowl, whisk egg and buttermilk in another. When you run your fingers through the dry mix, it should feel powdery, not lumpy.
Double-coat each strip
Shake excess marinade off a strip, dredge in flour, shake off. Dip in egg wash, let excess drip, then dredge again. The second coat should look dry and pebbly, not slick.
Sear in hot butter
Pull the hot pan from the oven, drop in butter to melt. Lay chicken in a single layer, leaving space. You should hear a sizzle on contact, if not, the pan wasn’t hot enough.
Bake, flip, then broil
Bake 10 to 12 minutes until bottoms are golden. Flip carefully, the crust should release easily. Bake another 5 to 10 minutes, then broil 2 to 3 minutes until the top has dark brown spots.
Rest before serving
Let the chicken rest on the pan for 2 minutes. The crust will feel firm and sound crispy when you tap it. Don’t wait longer or steam will soften it.
Crispy Buttermilk Oven Fried Chicken
Ingredients
Marinade
- 1/2 teaspoon salt
- 1/2 teaspoon ground paprika
- 1/4 teaspoon garlic powder
- 1/4 teaspoon onion powder
- freshly ground black pepper to taste
- 1 cup buttermilk
- 1/2 lemon juice only
Coating and Assembly
- 2 pounds chicken breast cut into strips (or use tenders)
- 1 1/4 cups white flour 156g
- 4 tablespoons plain bread crumbs panko or regular both work
- 1/2 teaspoon baking powder
- 1/2 tablespoon salt or less to taste
- 2-3 teaspoons garlic powder
- 1 teaspoon ground paprika
- 1 teaspoon onion powder
- 1/2 teaspoon ground black pepper
- 2 large eggs
- 2/3 cup buttermilk
- 1/3 cup butter 76g
Instructions
Marinade
Marinate Chicken Strips:
In a large bowl, combine salt, paprika, garlic powder, onion powder, black pepper, buttermilk, and lemon juice; whisk thoroughly. Add chicken strips and toss to coat. Cover and refrigerate for 1 hour to overnight. Alternatively, place everything in a zip-loc bag, massage for a few minutes, then refrigerate for 10 minutes.
Coating and Assembly
Preheat Oven and Pan:
Set oven to 410°F (210°C). Insert a dark, rimmed roasting or baking pan into the oven to preheat.Mix Dry Coating:
In a large bowl, whisk together flour, bread crumbs, baking powder, salt, garlic powder, paprika, onion powder, and black pepper.Whisk Egg Mixture:
In another bowl, beat eggs with 2/3 cup buttermilk until smooth.Coat Chicken Pieces:
Remove chicken from marinade and let excess drip off. Coat in flour mixture, shake off excess. Dip into egg mixture, ensuring full coverage. Coat again in flour mixture, shaking off extra.Melt Butter in Pan:
Take the hot pan out of the oven carefully. Add butter to the pan and let it melt. Arrange chicken pieces on the pan, leaving space between each.Bake and Broil Chicken:
Bake for 10-12 minutes, then flip each piece carefully. Continue baking for 5-10 minutes based on thickness. Finish under the broiler for a few minutes until golden and crispy.Rest Chicken Briefly:
Allow chicken to rest for 2 minutes before serving to enhance crispness. Do not rest longer to avoid sogginess.
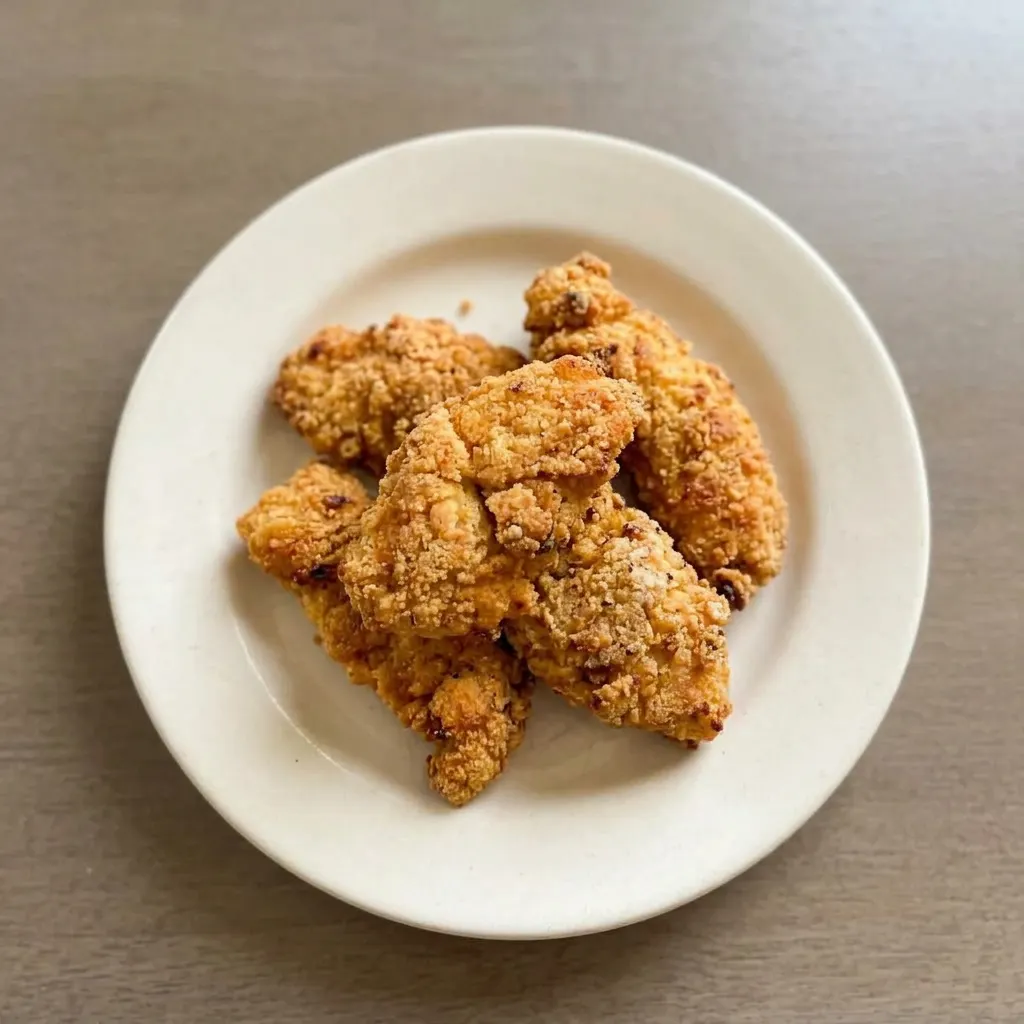
Storage and Reheating for Crispy Leftovers
Eat this chicken within 30 minutes of broiling for the crunchiest crust. After that, steam from the meat softens the coating.
Store leftovers in a single layer in a container lined with paper towels, lid slightly cracked. Refrigerate up to 3 days.
Do not stack or wrap tightly, or the crust gets soggy fast. To reheat, place strips on a wire rack over a baking sheet in a 375°F oven for 5 to 7 minutes, flipping once. An air fryer at 350°F for 3 to 4 minutes works even better, restoring most of the shatter.
Microwaving will turn the crust rubbery. The chicken itself stays juicy for a day or two, but the texture drops off after that.
Freezing is not recommended; the coating becomes gummy and the meat dries out. If you must, freeze the baked chicken in a single layer, then vacuum seal, and reheat from frozen in a 400°F oven for 12 to 15 minutes, but expect a softer crust.
Tips
- Shake off excess marinade before the first flour coat; if the chicken is too wet, the first flour layer turns pasty and creates lumps that won’t crisp.
- After the egg wash, let the chicken drip for a few seconds over the bowl; too much egg on the surface makes the second flour coat gummy instead of pebbly.
What to swap (and what to leave) in oven fried chicken
Buttermilk: Regular milk plus 1 tablespoon lemon juice or white vinegar per cup, let sit 5 minutes. The acid in the DIY buttermilk still tenderizes the meat and gives the same tang, but the texture of the wash will be slightly thinner, the crust may not puff quite as much. Use the same volume as buttermilk.
Chicken breast: Boneless skinless chicken thighs or tenders. Thighs have more fat, so they stay juicier even if you accidentally overbake by a minute.
Tenders cook faster, so reduce baking time by 2 to 3 minutes and watch the crust color. Both work well, but thighs need trimming of excess fat for even coating.
White flour: A 1:1 gluten-free all-purpose flour blend (one containing xanthan gum). The crust will be slightly less crisp and more delicate, handle the chicken gently when flipping. The blend must have xanthan gum or the coating won’t stick.
Start with the same amount as flour.
Butter: Neutral oil like canola or avocado oil, using the same amount. You lose the browning from milk solids, so the crust won’t develop the same deep golden color or nutty flavor.
The chicken will still crisp, but it tastes cleaner and less rich. If you’re dairy-free, this works fine.
Frequently Asked Questions
Can I make this chicken ahead of time and reheat it?
Only if you can eat it within 30 minutes of broiling, otherwise steam softens the crust. For leftovers, reheat in a 375°F oven for 5 to 7 minutes on a wire rack, or an air fryer at 350°F for 3 to 4 minutes.
Don’t microwave; the crust turns rubbery. The chicken stays juicy a day or two, but the crunch fades fast.
Why did my coating fall off during baking?
Most likely the pan wasn’t hot enough when the chicken went in. A preheated dark pan creates immediate sizzle that sets the crust. Also, shaking off excess flour after each dredge prevents clumps that peel away.
If the coating still slips, the chicken may have been too wet from the marinade, let excess drip off before the first flour coat.
How do I know when the chicken is fully cooked?
Cut into the thickest strip, the meat should be opaque all the way through with no pink. The crust will be deep golden with a few dark brown spots from the broiler. If you have a thermometer, 165°F is safe, but the visual check works reliably with even 1-inch strips.
Can I use chicken thighs instead of breasts?
Yes, boneless skinless thighs work well and stay juicier if you overbake slightly. Trim excess fat for even coating. They may need an extra minute or two in the oven since they’re thicker, but watch the crust color, it should be deeply golden before you pull them.
Is this recipe really as crispy as fried chicken?
Close, but not identical. The double coating and hot butter create a shatter-crisp crust that rivals deep frying, especially after the broiler step gives it dark, lacy edges. The texture is crunchy and airy, not greasy, but it won’t have the same oily sheen or uniform crunch of submerged frying.
