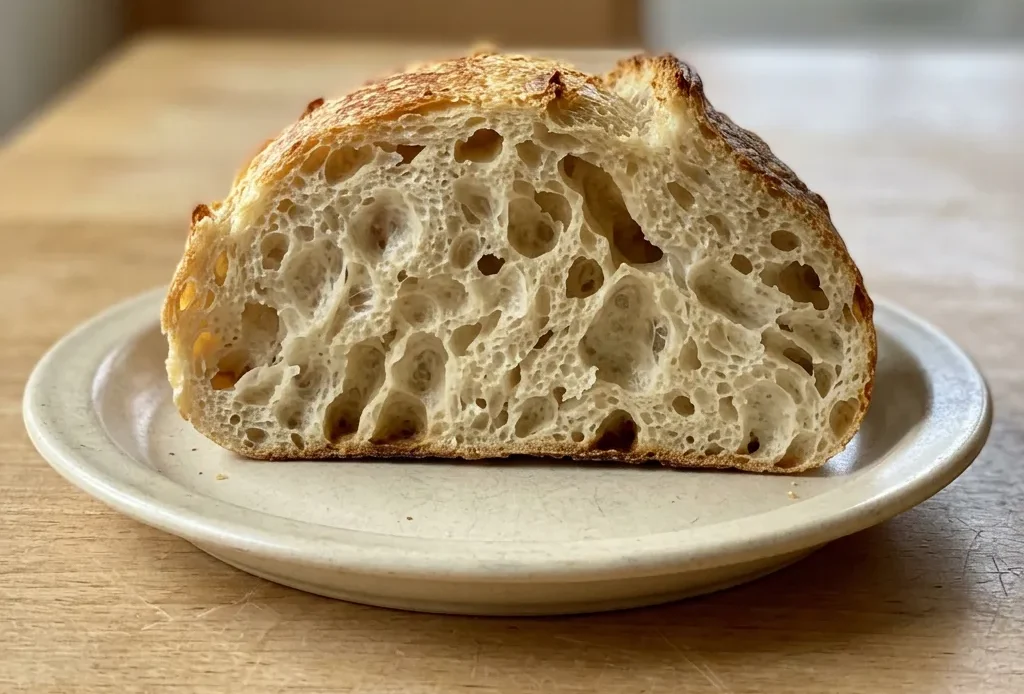
The most common error in homemade sourdough bread step by step is misjudging bulk fermentation, waiting until the dough doubles instead of stopping at a 50 to 75 percent rise. That extra stretch collapses the gluten network, and you get a flat loaf with a dense crumb instead of one that springs tall in the oven. The rest of the process, from the long hands-off rise to the blasting heat of the Dutch oven, is surprisingly forgiving once you dial in that one visual cue.
I tried letting it double like I used to, and the crumb was dense and gummy, then I pulled it at 60% rise and got tall, open loaves that actually spring in the oven.
Why does a strong starter matter so much?
A bubbly, active starter is the engine of this bread. The recipe calls for 100 g of it, that’s not optional.
A weak starter, one that’s sluggish or just barely doubling, won’t generate enough gas or acid to lift the dough properly. You’ll see a dense crumb, a flat top. The starter’s activity dictates how fast the bulk fermentation runs and how much oven spring you get.
Watch how your starter behaves: if it doubles in 4 to 6 hours after feeding, it’s ready. Use it at peak.
That’s the difference between a loaf that opens up in the oven and one that stays squat.
What do stretch-and-folds actually do?
Easy sourdough bread recipes for beginners often skip kneading, and this is why. Stretch-and-fold builds dough strength without working it into a sticky mess.
Over four sets, each 30 minutes apart, the dough goes from shaggy to smooth and taught. You’re aligning gluten strands gently, creating a network that traps gas.
The dough becomes easier to shape, less likely to tear. You’ll feel it tighten after each fold. That structure is what holds the rise during baking.
Without it, the loaf spreads instead of springing.
How do you know when bulk fermentation is done?
Homemade sourdough bread recipes often rely on time, but volume is what counts. The recipe targets a 50 to 75 percent increase, not a full double.
At 78°F that took about 6 hours in my kitchen. A straight-sided container lets you see the rise clearly.
Look for a few bubbles on the surface and a jiggle when you shake the bowl. Underproofed dough won’t open up; overproofed dough collapses. Judge by the dough, not the clock.
That’s the reliable way.
Why refrigerate the shaped loaf overnight?
Recipes with sourdough bread often recommend a cold proof for a reason. The fridge slows yeast to a crawl, giving enzymes time to break down starches and proteins. You get a tangier, more complex flavor.
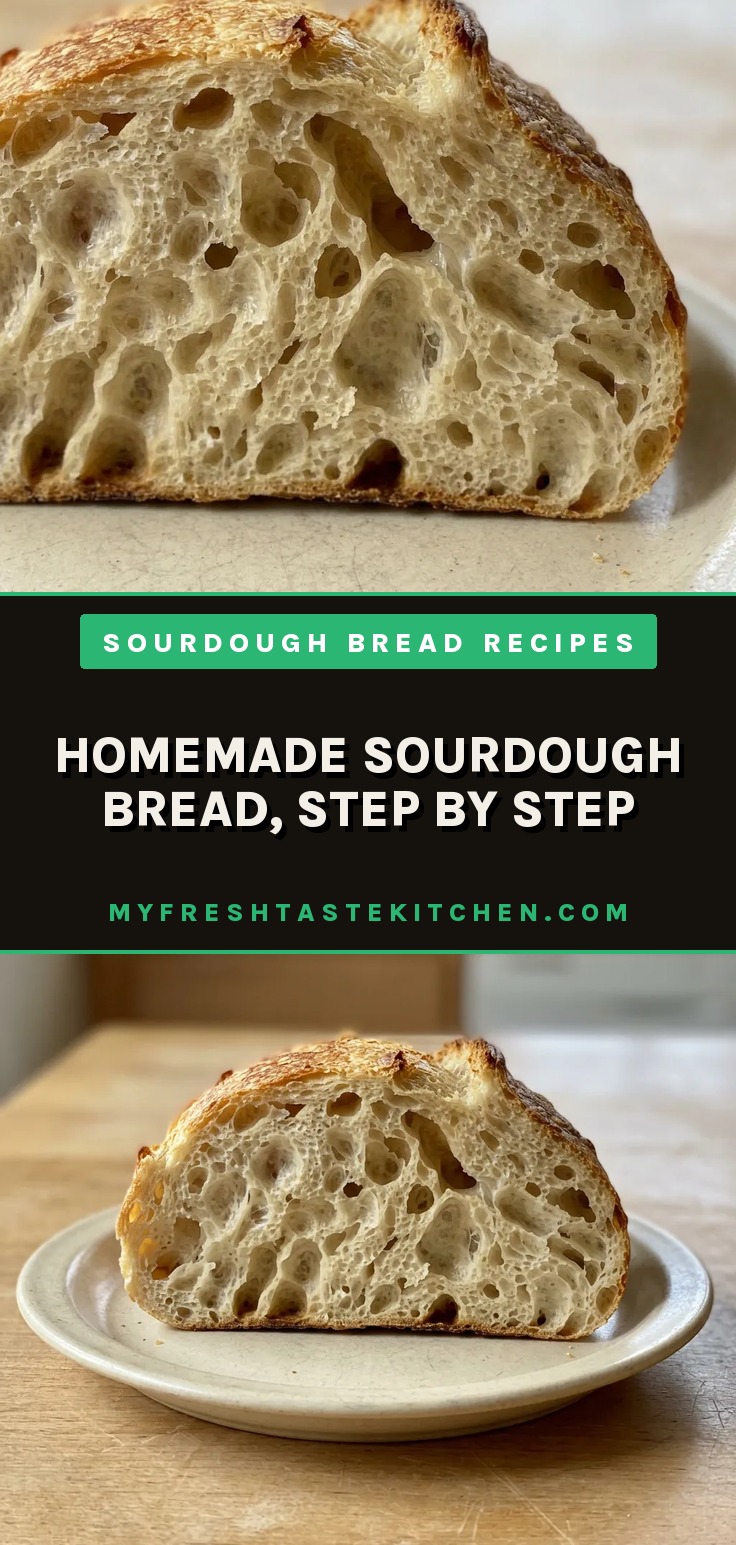
The dough firms up, so scoring is cleaner, and the crust blisters. That long rest also tightens the crumb structure, creating those irregular holes.
A 24-hour cold proof is the sweet spot. The difference in taste and texture is noticeable, and the dough handles better when you flip it out.
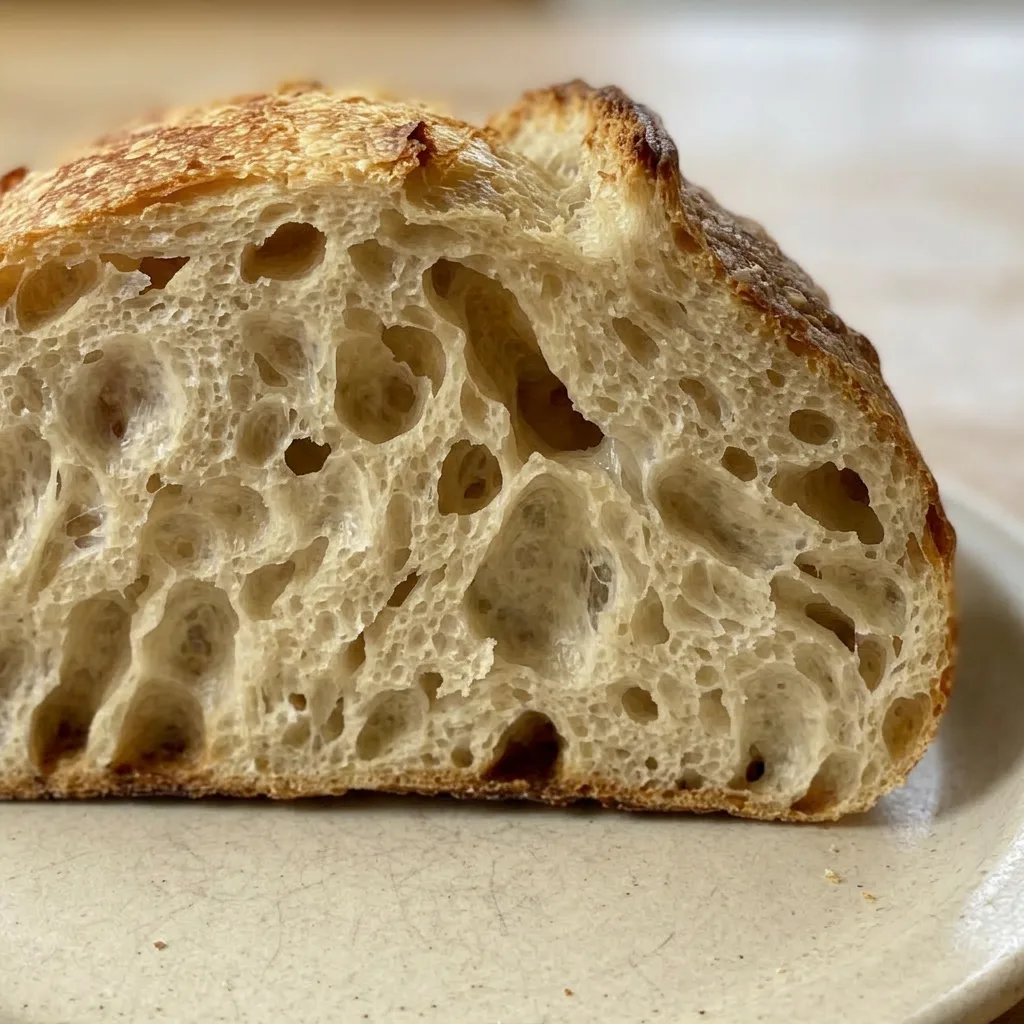
Prep: 18 hr · Cook: 45 min · Total: 18 hr 45 min · Servings: 1
Three ingredients, one catch each
Starter: Use 100 g at its bubbly peak; a weak starter means a dense loaf.
Bread flour: 500 g bread flour gives the protein needed for structure and oven spring.
Fine sea salt: 9 to 12 g fine sea salt; coarse salt won’t dissolve evenly in the dough.
Mix and autolyse: the first fold happens on its own
Mix the dough
Stir starter into the warm water until it looks milky, then dump in flour and salt. Mix until no dry bits remain, a shaggy, sticky mass.
Cover and walk away for 30 minutes. The flour hydrates, and the gluten starts linking without any work from you.
Stretch and fold, first round
Wet your hand. Grab one edge of the dough, lift it up until you feel resistance, then fold it over the center.
Rotate the bowl and repeat 4 to 5 times total. The dough will feel loose and sticky at first. Cover and rest 30 minutes.
Repeat stretch-and-folds
Do another set the same way. The dough should feel a bit tighter, less sticky. Repeat two more times if you can, each 30 minutes apart.
By the fourth round, the dough should be smooth, elastic, and hold a rounded shape. If it still tears easily, it needs more time.
Bulk fermentation: watch the dough, not the clock
Cover the bowl tightly and let it sit at room temperature. At 78°F, this takes about 6 hours.
The dough is ready when it has grown 50 to 75 percent, shows a few bubbles on top, and jiggles when you shake the bowl. Underproofed dough feels dense and won’t jiggle; overproofed dough looks deflated and smells sharply sour.
Shape the dough into a round
Turn the dough onto a lightly floured surface. Gently coax it into a round by folding the edges into the center, working your way around.
Use a bench scraper to push and pull the dough against the counter to create surface tension. The skin should feel taut, the interior soft.
Rest and reshape
Let the round rest seam side up for 30 minutes. Meanwhile, line a bowl or banneton with a towel and dust with rice flour. After the rest, reshape the dough the same way, then place it seam side up in the prepared vessel.
The dough should hold its shape without spreading.
Cold proof: flavor develops in the fridge
Cover and refrigerate for at least 1 hour, up to 48 hours. For the best tang and crumb, aim for 24 hours.
During cold proof, the dough firms up, making scoring cleaner. It also develops a more complex flavor.
If you skip the long chill, the loaf will still be good but less tangy.
Preheat and prepare for baking
Place a Dutch oven inside the oven and preheat to 550°F. Cut a parchment sheet to fit the pot. When ready, place parchment over the dough, invert the bowl to release, and score the top with a simple X.
The dough should feel cold and firm, not sticky.
Bake covered, then uncovered
Lower oven to 450°F, cover the pot, and bake 30 minutes. Remove lid, reduce to 400°F, and bake another 10 to 15 minutes. If the bottom is pale, lift the loaf onto the oven rack and bake 5 more minutes.
The crust should be deep brown and sound hollow when tapped.
Homemade Sourdough Bread, Step by Step
Ingredients
- 1/4 to 1/2 cup bubbly, active starter 50 to 100 g
- 1 1/2 cups plus 1 tbsp warm water 375 g, or more
- 4 cups plus 2 tbsp bread flour 500 g
- 1.5 to 2.5 tsp fine sea salt 9 to 12 g
Instructions
Mix dough and rest:
In a large bowl, use a fork or spatula to combine the starter and water. Incorporate the flour and salt, mixing until a shaggy dough forms, using your hands if needed. Cover with a damp towel and let sit for 30 minutes.Stretch and fold:
After 30 minutes, lift one edge of the dough and fold it over the center. Rotate the bowl and repeat this stretch-and-fold sequence 4 to 5 times. Let the dough rest for another 30 minutes, then repeat the process. If possible, perform two more rounds over 2 hours for a total of 4 sets. Even one round helps, so don’t stress if you’re short on time.Bulk ferment dough:
Cover the bowl with a damp towel or an airtight lid to prevent drying. Let the dough ferment at room temperature for about 8 to 10 hours at 70°F (20°C), or less in warmer conditions. The dough is ready when it has expanded by 50-75%, shows a few surface bubbles, and jiggles when shaken. (Previously, I suggested waiting until it doubled; if that works for you, continue. Now I prefer a 50% increase for better oven spring. With 100 g starter, bulk fermentation may finish sooner; at 78°F (25°C) in my kitchen, it takes 6 hours. Judge by volume increase rather than time; a straight-sided container helps.)Shape into round:
Turn the dough out onto a lightly floured surface. Gently shape into a round: fold the top edge to the center, rotate, and repeat until you’ve gone full circle. Use a bench scraper to push and pull the dough to build surface tension.Rest and prepare basket:
Let the dough rest seam side up for 30 minutes. Meanwhile, line an 8-inch (20-cm) bowl or banneton with a towel (flour sack works well) and dust with rice flour (to prevent burning). Reshape the dough as in step 4, then place it seam side up in the prepared vessel.Cold proof dough:
Cover and refrigerate for at least 1 hour, up to 48 hours. (I prefer a 24-hour cold proof for better crumb structure; see video for differences. For extended refrigeration, place the dough in a loosely tied produce bag to prevent drying. The original recipe’s 1-hour rise works too.)Preheat Dutch oven:
Place a Dutch oven inside the oven and preheat to 550°F (290°C). Cut a parchment sheet to fit the pot.Score and load dough:
Place the parchment over the dough and invert the bowl to release. Score the top with a knife or razor blade—a simple “X” is fine. Use the parchment to carefully lower the dough into the hot pot.Bake with lid then without:
Reduce oven temperature to 450°F (230°C). Cover the pot and bake for 30 minutes. Remove the lid, lower temperature to 400°F (205°C), and bake another 10 to 15 minutes. If needed, lift the loaf out and bake directly on the rack for the final 5 to 10 minutes. Cool on a wire rack for 1 hour before slicing.Store or freeze bread:
Store the loaf at room temperature in an airtight bag or container for up to 3 days. It also freezes well.
Storage and Serving
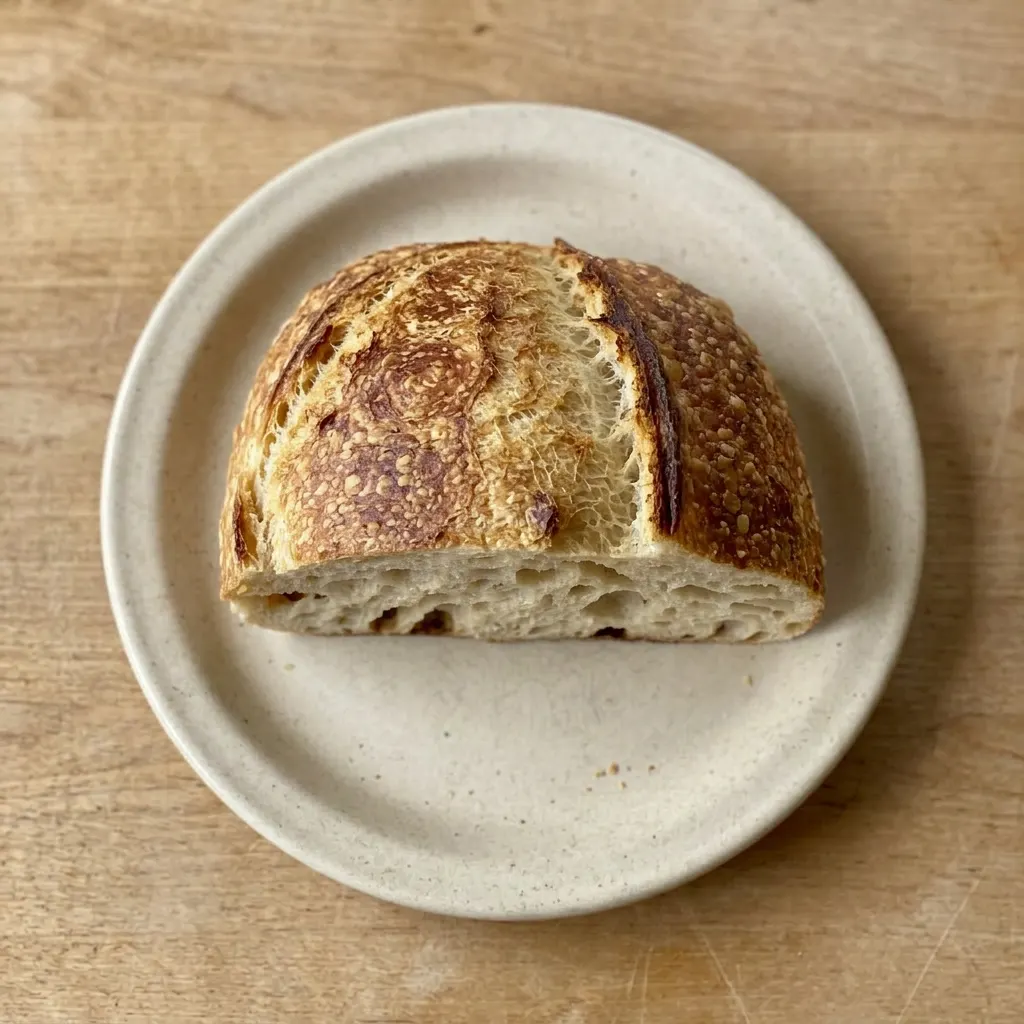
The crust is at its crispiest the day you bake. After day one, it softens as moisture migrates from the crumb. For the best crust texture on the second day, store the loaf cut side down on a cutting board, not in a bag.
Keep at room temperature for up to 3 days; beyond that, the crumb dries out. For longer storage, freeze the whole loaf or slices.
Thaw at room temperature, then reheat in a 350°F oven for 5 to 10 minutes to restore some crust crunch. Sourdough freezes well for up to 3 months.
Slice before freezing so you can grab individual pieces. Serve anytime after the loaf has cooled completely, at least 1 hour after baking. That waiting period sets the crumb structure; slicing too early compresses it.
Swapping flours changes water needs and crumb structure
Bread flour: Whole wheat or spelt flour. Whole wheat absorbs more water, so reduce water by 25, 50 g and expect a denser, more compact crumb. Spelt is weaker, handles less folding and rises less, so swap no more than half.
Starter: Reducing starter below 50 g. Fermentation drags out, risking weak rise and a dense loaf. Stick to 100 g for reliable activity; less starter demands longer bulk fermentation you can’t easily control.
Bread flour: Gluten-free flour blend. No gluten means no stretch, the dough won’t hold gas.
Expect a flat, heavy loaf. Not recommended unless you add xanthan gum and follow a dedicated gluten-free sourdough recipe.
Tips
- Check dough temperature after each stretch and fold; if it falls below 70°F, place the bowl in a warm spot (like an oven with the light on) to keep fermentation on track.
- Use a kitchen scale for the water and flour; measuring by volume can vary by up to 20% and throw off hydration, especially in humid weather.
Frequently Asked Questions
Can I bake the bread without a Dutch oven?
Yes, but you’ll need to create steam. Place a shallow metal pan on the bottom rack while preheating, then add hot water when you slide the loaf in on a preheated baking sheet or pizza stone. The steam mimics a Dutch oven’s trapped moisture for a good crust.
Without steam, the crust sets too quickly and the loaf won’t spring as well.
Why did my bread turn out dense and gummy?
Most likely the bulk fermentation went too long, breaking down the gluten structure, the dough overproofed. Check your dough next time: it should have grown 50 to 75 percent, not doubled, and jiggled when shaken. A weak starter that wasn’t at its bubbly peak can also cause density, so use 100 g of active starter.
Can I let the dough cold proof for longer than 48 hours?
You can push to 72 hours, but the flavor gets very sour and the dough may overproof, becoming slack and hard to score. I wouldn’t go past 48 hours for the best balance of tang and oven spring. If you go longer, watch for a sharp acidic smell and a deflated look.
What’s the difference between using 50g vs 100g of starter?
With 50 g of starter, bulk fermentation takes much longer, maybe 12 to 14 hours at 70°F, and you risk a weak rise if the starter isn’t super active. The crumb will be denser and less open. I always use 100 g for a reliable 6-hour bulk at 78°F and a strong oven spring.
