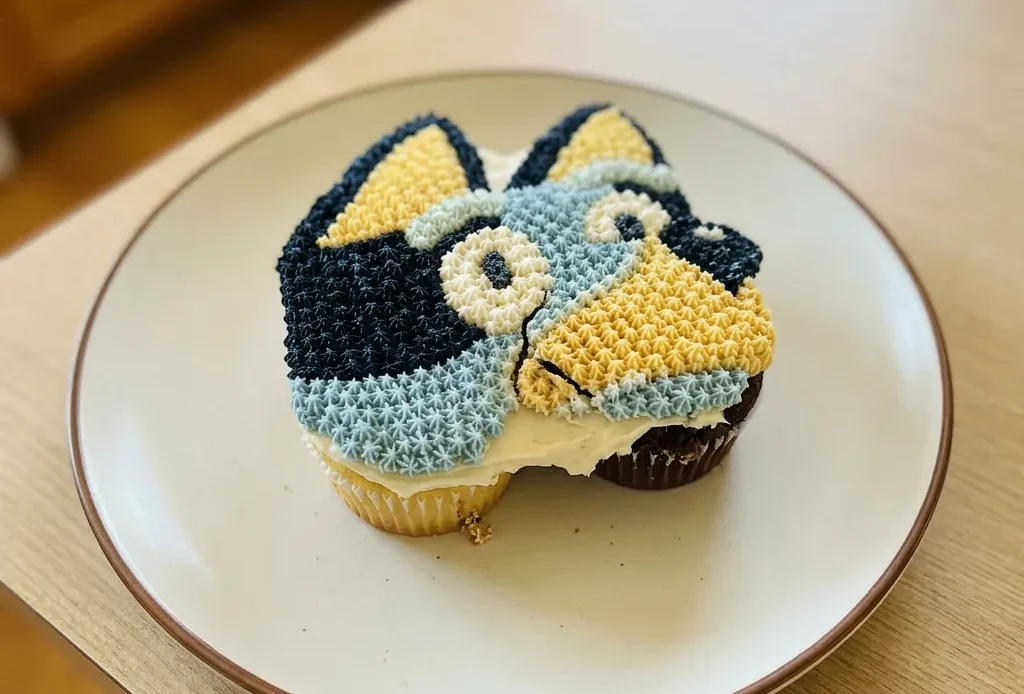
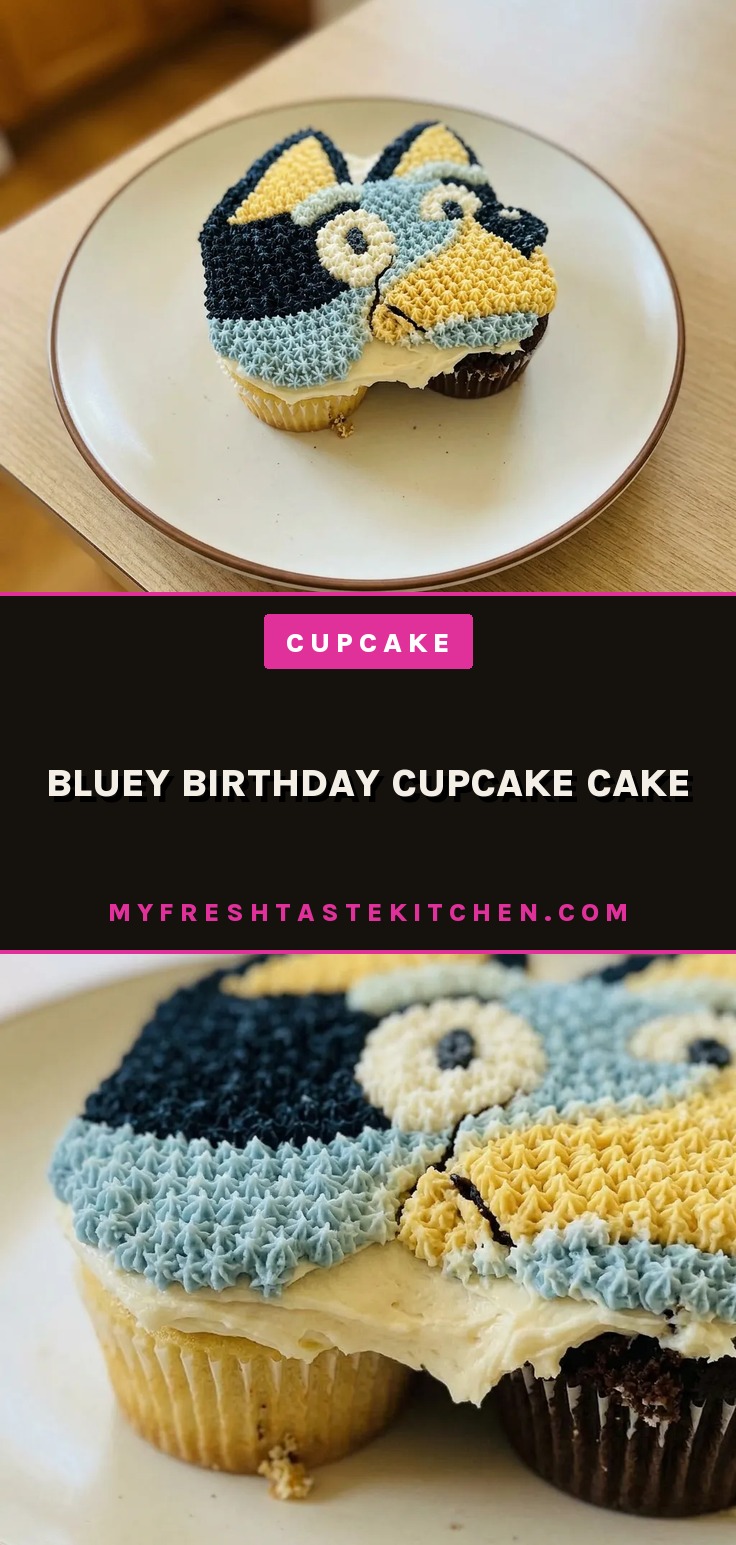
A character cake that actually looks like the character, and tastes like real buttercream, not shortening paste, is rare. This Bluey birthday cupcake cake pulls it off because the buttercream, made with chilled butter, pipes crisp enough to trace a cartoon face but stays soft enough to eat by the handful. The method is forgiving: the base coat and template trick remove the guesswork, so even a first-timer can get Bluey’s ears and tail right.
You’re not freehanding a portrait; you’re simply filling in the lines. That’s what makes this bluey birthday cupcake cake a win, kid-friendly detail without the stress.
Chilled butter builds structure
Starting with chilled butter, still cold from the fridge, is what gives this buttercream its backbone. Whip it straight from the cooler, and you’ll see the color shift from yellow to a pale white, and the texture turn light and airy. That airiness creates a stable emulsion that holds firm under the piping bag.
For a detailed design like Bluey’s face, you need frosting that doesn’t soften or slump as you work. Room-temperature butter would whip up softer, more prone to melting under your hands and losing definition.
Chilled butter keeps those piped lines sharp and the filled sections distinct, so the character stays recognizable through the party.
Base coat locks in the design
A thin layer of buttercream applied to all cupcakes and then chilled creates a smooth, firm canvas. Without it, the template would stick to the soft frosting and tear when you lift it. Refrigerating that base coat for 10 to 15 minutes sets the surface just enough that the paper lays on cleanly.
Tracing the template with a toothpick transfers the outlines through to the frosting underneath. The holes are your guide, visible against the pale buttercream. Work promptly, once the base coat warms, the holes blur.
This technique is why the final piping lands exactly where it should, no guesswork, no smudged edges.
Piping face first prevents smears
When you assemble a character cake, start with the face. The eyes, nose, and mouth are the focal point, get those placed, and everything else falls into line.
Piping outward from the center means you’re never reaching over freshly piped details. If you did the background first, you’d risk dragging a bag across wet frosting and blurring those features. Press firmly when you start a line, then release pressure as you pull away; that clean break gives you precise edges.
The face establishes the expression, and working outward keeps it crisp. Your finished Bluey will look like the cartoon, not a melted version.
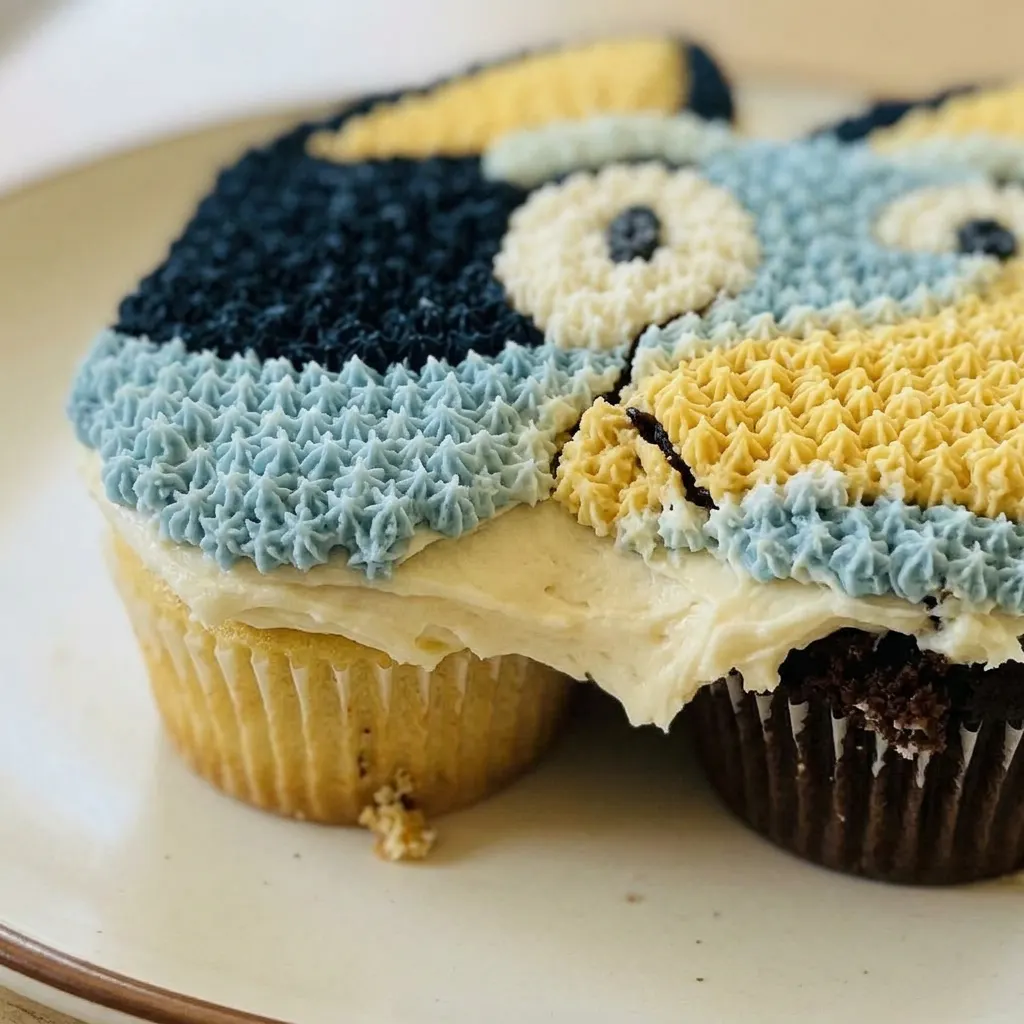
Prep: 20 min · Cook: 40 min · Total: 2 hr · Servings: 25
Chilled butter and heavy cream: why they matter here
Unsalted butter, still chilled: Chilled butter whips up airy and stable, so piped details stay sharp without slumping as you work.
Heavy cream: Heavy cream (not milk) adds richness and fine-tunes consistency without thinning the buttercream too fast.
Chilled butter is important for crisp details
Whip the cold butter
Start with butter straight from the fridge. Beat on medium until it lightens from yellow to pale white and looks fluffy, that’s your emulsion forming. If it stays yellow and dense, keep whipping.
Add sugar gradually
Add powdered sugar one cup at a time, mixing after each. Scrape the bowl often. The mixture will look crumbly at first, that’s normal.
It comes together once all sugar is in.
Finish with cream and beat
Add salt, vanilla, and 1/3 cup cream. Beat on high for 3 minutes, then squeeze a bit to the touch.
It should push through with little resistance. If stiff, add remaining cream 1 tablespoon at a time.
Apply the base coat and chill
Spread a thin layer of buttercream over all cupcakes. Pop the cake in the fridge for 10 to 15 minutes. The surface should feel firm but not hard when you touch it, the template will sit on top without sticking.
Trace the template promptly
Lay the paper template on the chilled base coat. Use a toothpick to poke holes along the lines, pressing just hard enough to mark the frosting. Work quickly, once the base coat warms up, the holes blur.
Pipe the face first
Start piping with the eyes, nose, and mouth. Press firmly at the start, then ease pressure as you pull away for clean edges. Piping outward from the center means you never drag a bag over wet details.
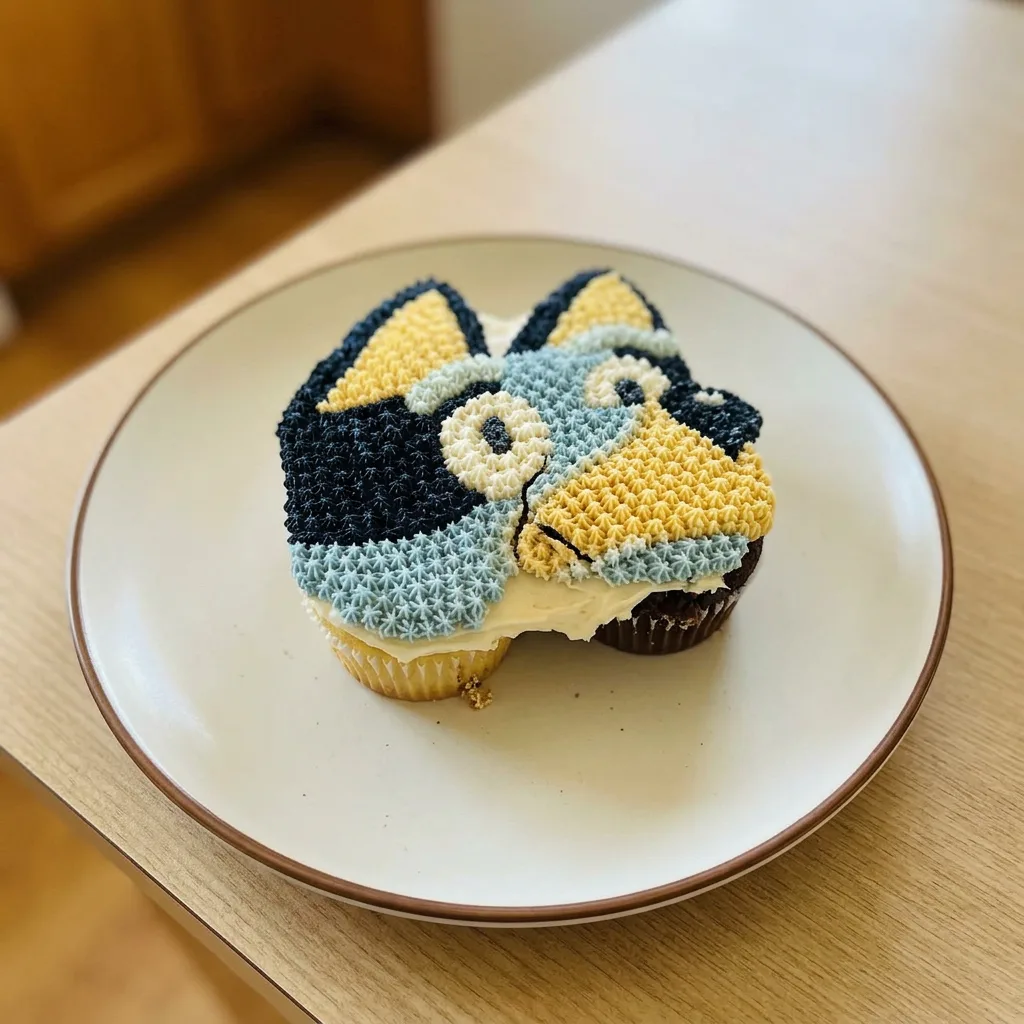
Bluey Birthday Cupcake Cake
Ingredients
Method
Bake and cool cupcakes:
Bake roughly two dozen cupcakes following your chosen recipe. Let them cool completely, then set aside.
Whip butter until pale:
In a stand mixer on medium speed, whip the butter until it becomes light and airy, shifting from yellow to a pale white hue.Add powdered sugar gradually:
Gradually add the powdered sugar, one cup at a time, mixing after each addition.Mix buttercream to consistency:
After incorporating the sugar, mix in the salt, vanilla, and heavy cream (begin with the smaller amount). Beat on high for 3-5 minutes; check consistency at 3 minutes. You want a smooth buttercream that squeezes through your fingers with little resistance, easy to pipe and spread. If it’s too stiff, add more cream.
Assemble and cut template:
Print the Bluey template on thin paper, tape the pieces together, and cut along the edges.Arrange cupcakes on board:
Set up the cake board and cupcakes. Position the cupcakes on the board matching the photo pattern. Fix each cupcake to the board with a dab of kid’s glue or buttercream on the base.Tint frosting per guide:
Tint the frosting per the color guide (see source notes).Apply base coat of buttercream:
Apply a thin base coat of buttercream over all cupcakes.Trace template with toothpick:
Refrigerate the cake for 10-15 minutes, then lay the template on the frosted cupcakes. Use a toothpick to trace the template, poking holes along the lines. Do this promptly.Pipe frosting onto sections:
Using a piping bag, pipe frosting onto each section of the cake, beginning with the face and working outward. While piping, press firmly and then release pressure as you pull away. First outline the area, then fill the interior.Admire and serve cake:
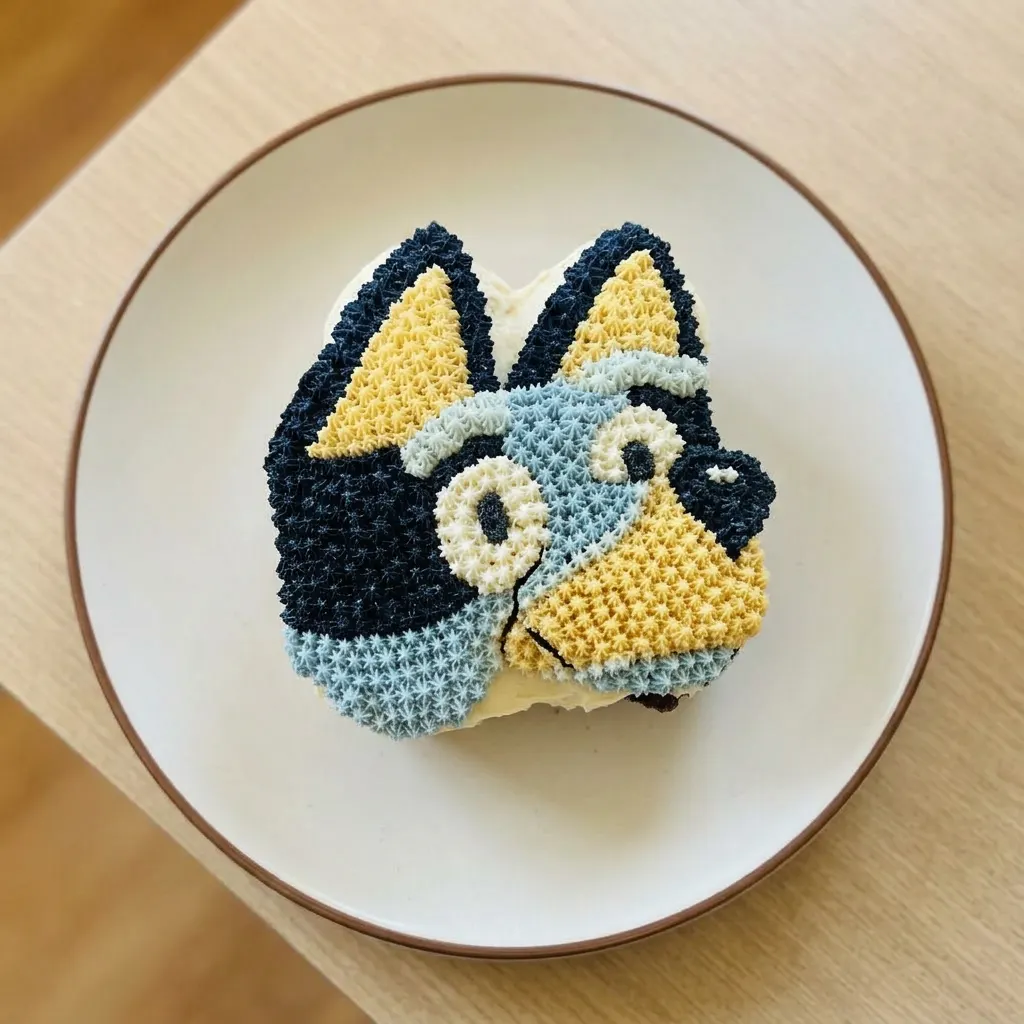
Admire your finished Bluey cake and serve!
Storage and Serving
Once assembled, the Bluey cake holds well in the fridge for up to 3 days. The buttercream stays firm when cold, but at room temperature it softens quickly. For the best texture, serve within 2 hours of taking it out of the fridge.
If you need to make ahead, bake the cupcakes and prepare the buttercream separately up to 2 days in advance; store each in the fridge and assemble the day of serving. Leftover cake can be refrigerated in an airtight container for up to 3 days. The buttercream may absorb moisture from the cupcakes over time, making the cake slightly denser but still pleasant.
Freezing the assembled cake is not recommended because the buttercream can separate when thawed. Instead, freeze unfrosted cupcakes for up to 3 months; thaw at room temperature before frosting and assembling.
Tips
- If your buttercream looks curdled or separated after adding cream, don’t panic. Place the bowl in a warm water bath for 10 seconds, then rebeat on medium-high for 1 to 2 minutes. The gentle heat re-emulsifies the mixture without melting the butter too much, restoring a smooth texture.
- When piping the base coat, use a large offset spatula instead of a piping bag. It’s faster and creates an even, thin layer with fewer air pockets, which helps the template lie flat and trace cleanly.
Swap butter or cream, not the technique
Unsalted butter, still chilled: Vegan butter sticks (like Miyoko’s or Earth Balance), kept cold. Dairy-free option.
Whip it straight from the fridge; it aerates similarly. Expect a slightly softer pipe at room temp, so chill the base coat longer, 15 to 20 minutes, before tracing.
Heavy cream: Whole milk or half-and-half, starting with 1/4 cup (60 ml). Lighter texture, less richness. Add slowly: too much liquid thins the buttercream and piped details lose definition.
Start with 1/4 cup, beat, then squeeze a bit; if it still resists, add 1 tablespoon more.
Powdered sugar: Gluten-free powdered sugar (check label for cornstarch-based). No change in texture or stability.
Most brands use cornstarch anyway. Just sift if clumpy.
Frequently Asked Questions
Can I make the cupcakes and buttercream a day ahead?
Yes, bake the cupcakes and prepare the buttercream up to 2 days ahead and refrigerate separately. Assemble and decorate the day you serve, the buttercream holds its shape best when piped fresh onto chilled cupcakes.
How do I keep the buttercream from getting too soft while piping?
If your hands warm the bag, the buttercream softens. Chill the filled piping bag for 5 to 10 minutes whenever you pause, and work in a cool room. Starting with chilled butter already gives you a stable base, but body heat is the main culprit.
What if my buttercream is too stiff or too runny?
Too stiff: add heavy cream 1 tablespoon at a time, beating after each, until a small squeeze to the touch offers little resistance. Too runny: chill the bowl for 10 minutes, then re-whip; if still loose, beat in a few tablespoons of powdered sugar until firm.
How many cupcakes do I need for a different size cake board?
The recipe uses 25 cupcakes on a standard 12×16-inch board. For a different board size, estimate by placing cupcakes in the desired shape and counting, no need to change the buttercream recipe, since it yields enough for generous piping.
Can I use a different character template with this method?
Absolutely. The template tracing and base coat technique work for any simple character outline. Just print your chosen template, tape pieces together, and follow the same steps, pipe the face first, then fill outward.
