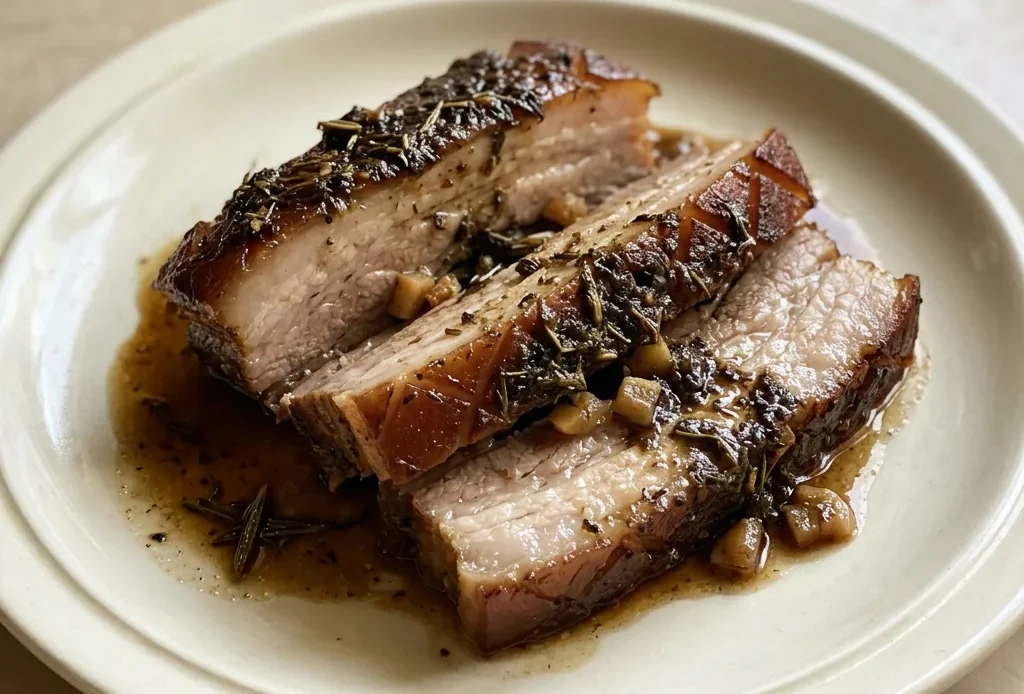
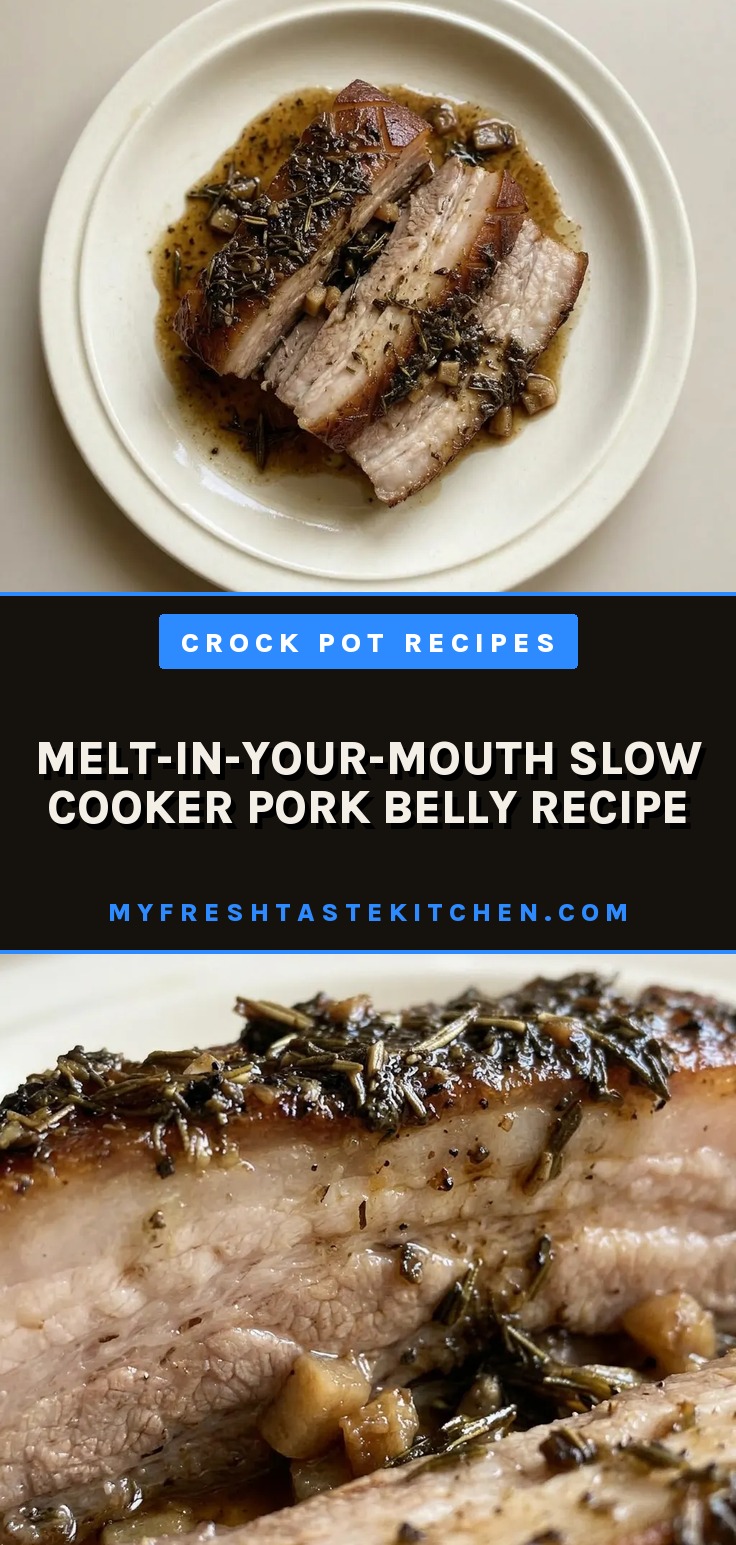
Sear the skin to a deep golden crackle, then let the slow cooker change a thick slab of pork belly into something that pulls apart with the weight of a fork. The contrast between that crisp exterior and the impossibly tender meat beneath comes from a long, gentle simmer in aromatic broth. This melt-in-your-mouth slow cooker pork belly delivers the kind of richness that makes you stop and notice, the fat rendered silky, the collagen broken down into lushness.
It’s a dish that looks like a project but behaves like a set-it-and-forget-it keeper, forgiving as long as you give it time.
Score the skin in a diamond pattern
The diamond cuts do more than look nice. They create channels for the garlic-herb paste to seep deep into the fat and meat. Scoring through both skin and fat means seasoning reaches beyond the surface, so every bite is flavored evenly.
Those cuts also help render fat more efficiently, the heat can penetrate the thick fat layer. Plus, the extra surface area gives you more spots to brown during searing, which adds flavor later.
You’ll taste the difference in the crust and the seasoning intensity.
Sear the pork belly before slow cooking
That deep brown crust you get from searing is pure flavor you can’t get any other way. The Maillard reaction on the skin and all sides creates a savory richness that slow cooking alone never develops.
You need to sear every side, including the edges and thin ends, so the flavor is uniform. That browned surface also gives a texture contrast against the tender meat. Without it, the pork belly tastes flat, like it’s missing something, because it is.
Cook on low for 6 hours for tenderness
Low heat over a long time is what makes this pork belly fall-apart tender. The collagen slowly breaks down into gelatin, giving you that silky, moist texture.
Fat renders gradually, basting the meat as it goes, so nothing dries out. Now I always cook on low for a full 6 hours so the collagen fully breaks down and the fat renders slowly.
Keeping the skin side up keeps it out of the liquid, so it doesn’t turn soggy. You’ll see the meat pull apart easily with a fork.
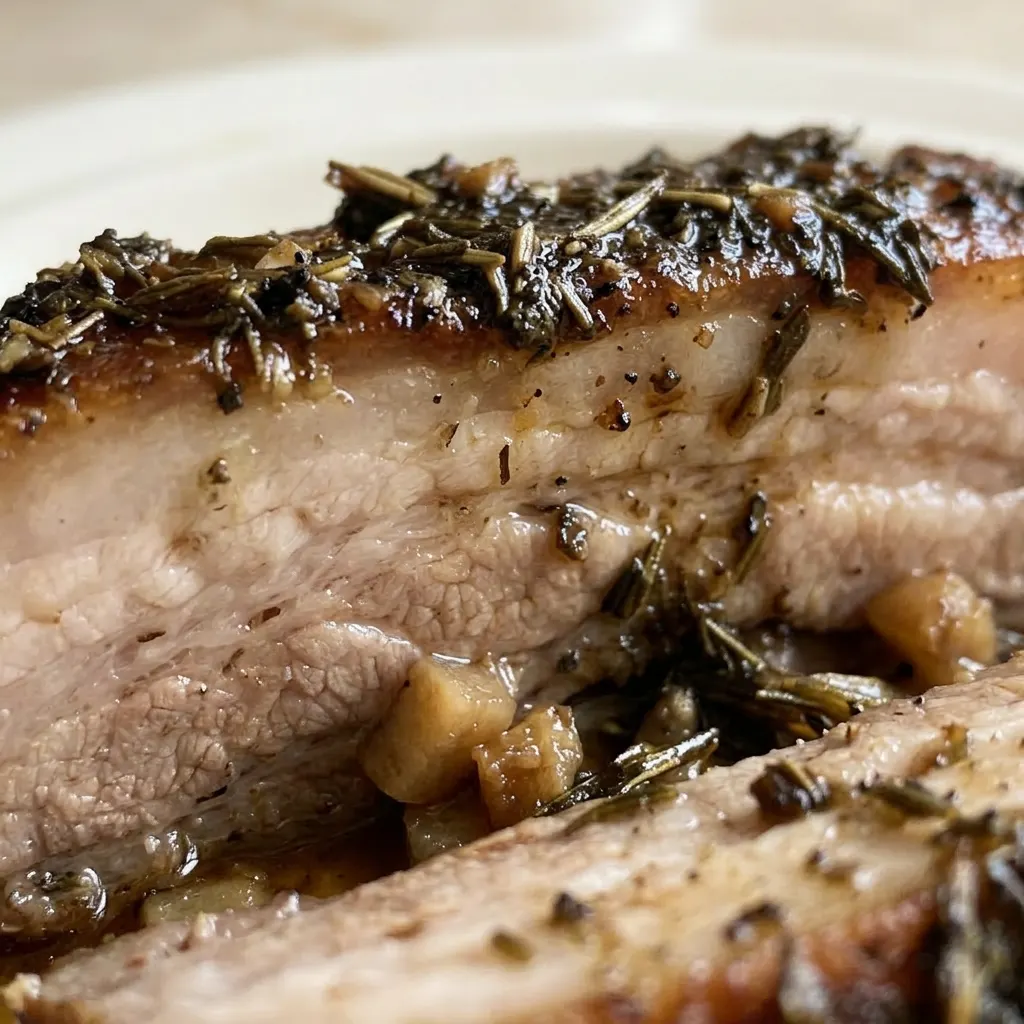
Prep: 15 min · Cook: 6 hr · Total: 6 hr 15 min · Servings: 6
What to Look for in Each Ingredient
Pork belly: Buy a piece with a thick, even fat layer and skin on; about 2.6 lb works for 6 servings.
Fresh rosemary and thyme: Use fresh herbs, not dried. They grind into a paste and give a stronger, cleaner flavor.
Beef stock: Use low sodium so the salt from seasoning and paste doesn’t make it overly salty.
Garlic cloves: Peel and dice them before grinding so they break down evenly in the paste.
Make the garlic-herb paste and score the skin
Grind the paste
Pound garlic, rosemary, and thyme in a mortar until a rough paste forms. Add oil, salt, pepper, and coriander. Keep grinding until the herbs are broken down and the paste smells intensely aromatic.
If the paste looks dry, add a touch more oil.
Score the skin
Use a sharp knife to cut a diamond pattern through the skin and fat, about 1/2 inch apart. You should see the fat layer beneath. Go all the way through the skin, not just scoring the surface.
This lets the paste seep in deeply.
Season the meat
Sprinkle the remaining salt and pepper over all sides of the pork belly. Rub it in with your hands.
You should see the seasoning evenly coating the meat. Don’t skip the sides and ends.
Sear every side
Heat a large skillet over high heat with a generous drizzle of oil. Place the pork skin side down first. Sear until the skin is deep golden and crackling.
Turn and sear all other sides, including the narrow ends, until well browned. You want a rich brown crust, not just pale.
Apply the paste and slow cook
Transfer the pork to the slow cooker, skin side up. Spread the garlic-herb paste all over, pressing it into the scored cuts. Pour in the stock around the meat, not over the skin.
Add extra herb sprigs. Cook on low for 6 hours (or high for 4).
The meat should be fork-tender when done.
Slice and serve
Carefully lift the pork belly out. It will be very tender. 5-2 cm thick.
If you want crispy skin, you can remove it and broil it briefly until bubbly and crisp. Otherwise, discard the skin.
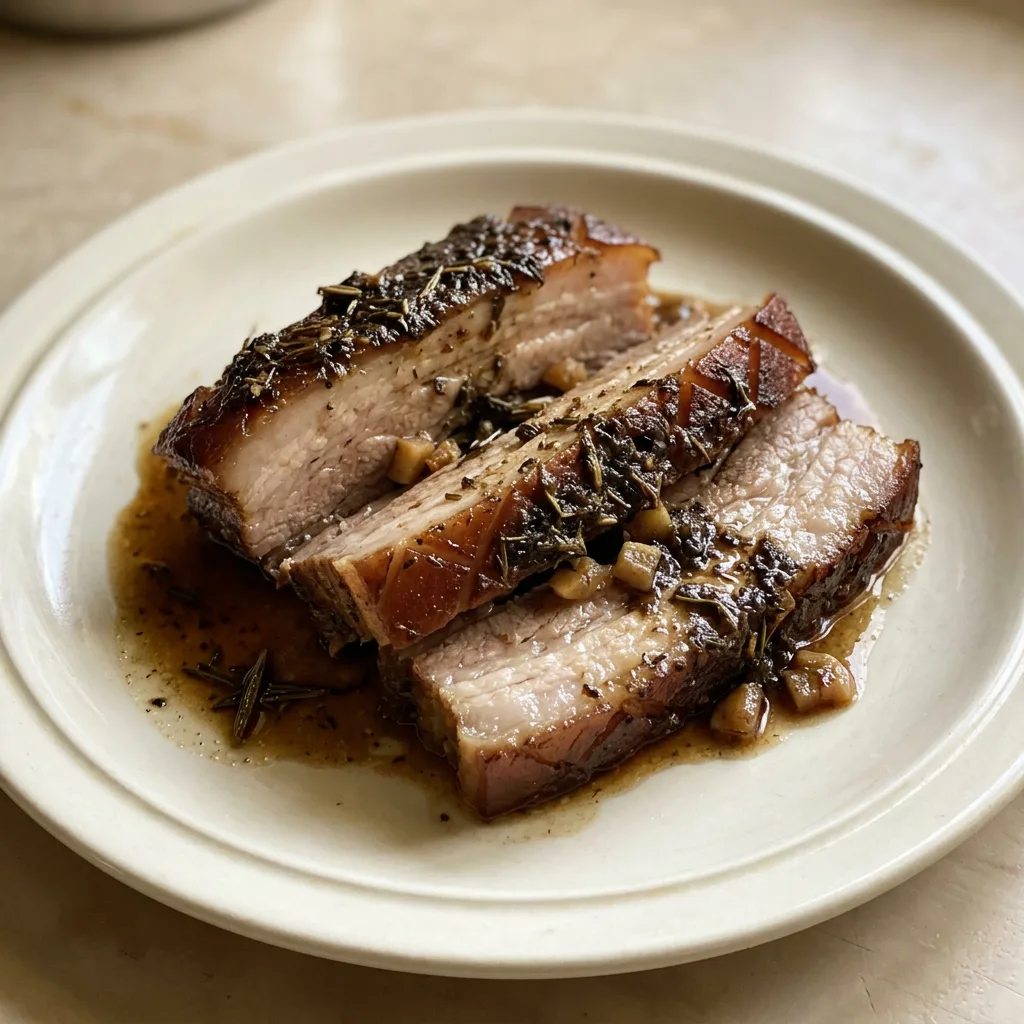
Melt-In-Your-Mouth Slow Cooker Pork Belly
Ingredients
Method
Make garlic-herb paste:
Make the garlic-herb paste: In a mortar and pestle, put the diced garlic, rosemary, and thyme. Grind them. Then add 2 tbsp extra virgin olive oil, 1/4 tsp salt, 1/4 tsp pepper, and ground coriander (if using). Keep grinding until everything is thoroughly mixed.Score and season pork:
Get the meat ready: With a very sharp knife, cut a diamond pattern into the pork belly skin, going all the way through the skin and fat. Season the entire piece with the leftover 1/4 tsp salt and 1/4 tsp pepper.Sear pork belly:
Sear the pork: Place a large skillet or non-stick pan over high heat and add a generous drizzle of extra virgin olive oil. Brown the pork on every side, achieving a golden color on the skin side and a deep brown on the others. Make sure all sides, including the thinner edges and ends, are well seared.Apply paste and slow-cook:
Apply herbs and slow-cook: Move the pork belly into the slow cooker. Coat the pork all over with the garlic-herb paste, pressing it into the cuts on the skin side. Place the pork with the skin facing up. Pour in the beef stock (or vegetable/chicken stock) and add a few extra herb sprigs into the slow cooker. Cook on low for 6 hours or high for 4 hours.Slice cooked pork:
Cut: After cooking, cut the pork belly into slices 1.5-2 cm thick. They will be extremely tender. Note: I typically remove the skin, but you can make it crispy under the oven broiler if you like.
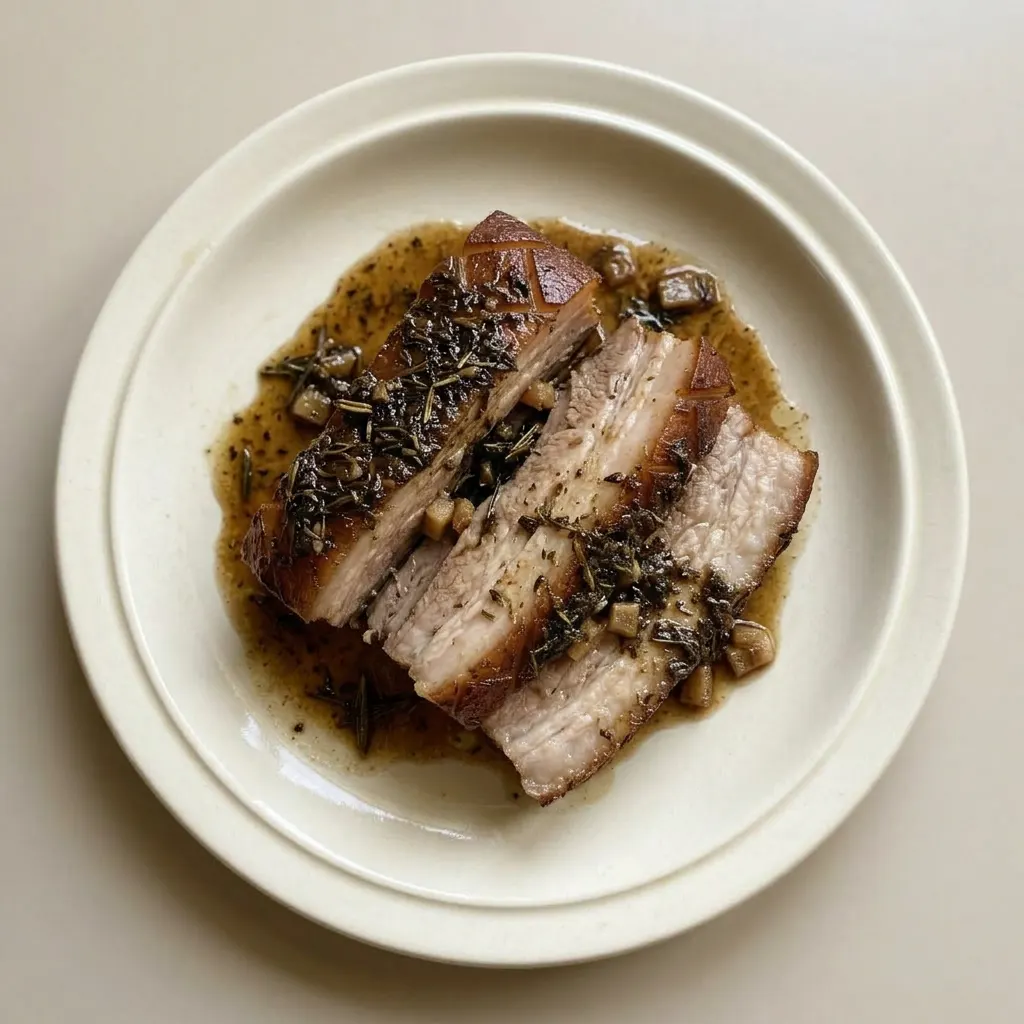
Storage and Serving
Leftover pork belly keeps in the fridge for 3 to 4 days in an airtight container. The texture is best within the first 2 days; after that, the meat becomes softer and the fat sets more firmly when cold. To serve cold leftovers, slice and pan-fry over medium heat until the surface crisps.
If reheating in the microwave, do it in short bursts to avoid drying out the meat. The final step of broiling the skin for crispiness should be done just before serving, as the skin will soften within 30 minutes. The pork belly itself holds well for up to 4 hours after slicing if kept warm in a covered dish.
For longer storage, freeze the cooked and sliced pork belly for up to 3 months. Thaw overnight in the fridge, then reheat gently.
The skin will not crisp after freezing; broil fresh skin before serving if desired.
Don’t Trade the Fresh Herbs for Dried, Here’s Why
Beef stock: Chicken or vegetable stock. Chicken stock keeps the savory profile but is lighter; vegetable stock adds a mild sweetness. Both work fine.
Use the same amount.
Fresh rosemary and thyme: Dried herbs (1 tbsp each). Dried herbs don’t grind into a paste, so the rub will be crumbly. The flavor will be less intense and more dusty.
If you must, crush them first and add a splash more oil to help it stick.
Ground coriander: Ground cumin or omit. Cumin adds a warm, earthy note that still complements the pork. Leaving it out just loses that subtle spice layer; the dish still tastes great.
Tips
- Use a meat thermometer to check the internal temperature of the pork belly after 6 hours on low: it should be at least 195°F. This ensures the collagen has fully broken down for that fall-apart tenderness.
- If your slow cooker runs hot or you’re unsure of its calibration, start checking the temperature at 5 hours. Pork belly needs that high internal temp to become tender, and undercooking leaves it chewy.
Frequently Asked Questions
Can I make this pork belly ahead of time and reheat it?
Yes. Cook the pork belly up to slicing, then refrigerate for 3 to 4 days. To reheat, slice and pan-fry over medium heat until the surface crisps.
Microwaving works in short bursts, but the fat sets firmly when cold, so pan-frying gives better texture. Don’t broil the skin until just before serving, it softens within 30 minutes.
Why is my pork belly tough after slow cooking?
Most likely the cook time wasn’t long enough. On low, the full 6 hours is needed for collagen to break down into gelatin and fat to render. If you used high, it might still be tough at 4 hours, check for fork-tenderness before pulling the plug.
Also, be sure you scored through the skin and fat so heat penetrates evenly.
What’s the difference between this slow cooker version and a traditional oven-roasted pork belly?
The slow cooker gives you ultra-tender, fall-apart meat with less hands-on work, but the skin won’t crisp during cooking. Oven-roasting at high heat delivers crackling skin and a firmer texture, but requires more attention to prevent drying out. In this version, you sear before slow cooking for flavor, then can broil the skin separately if you want crunch.
