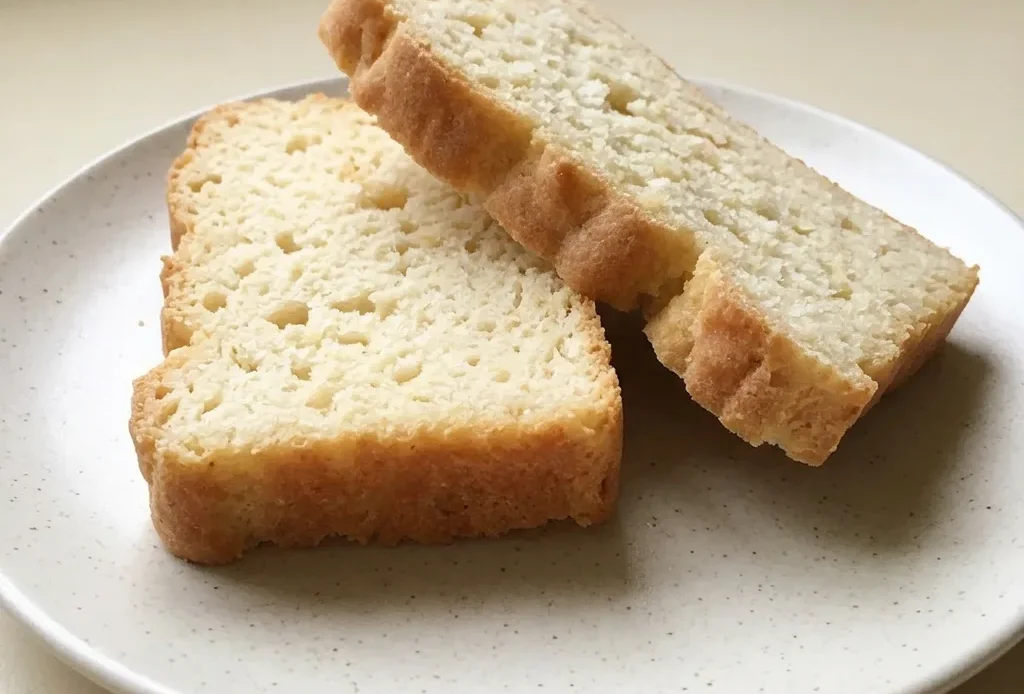
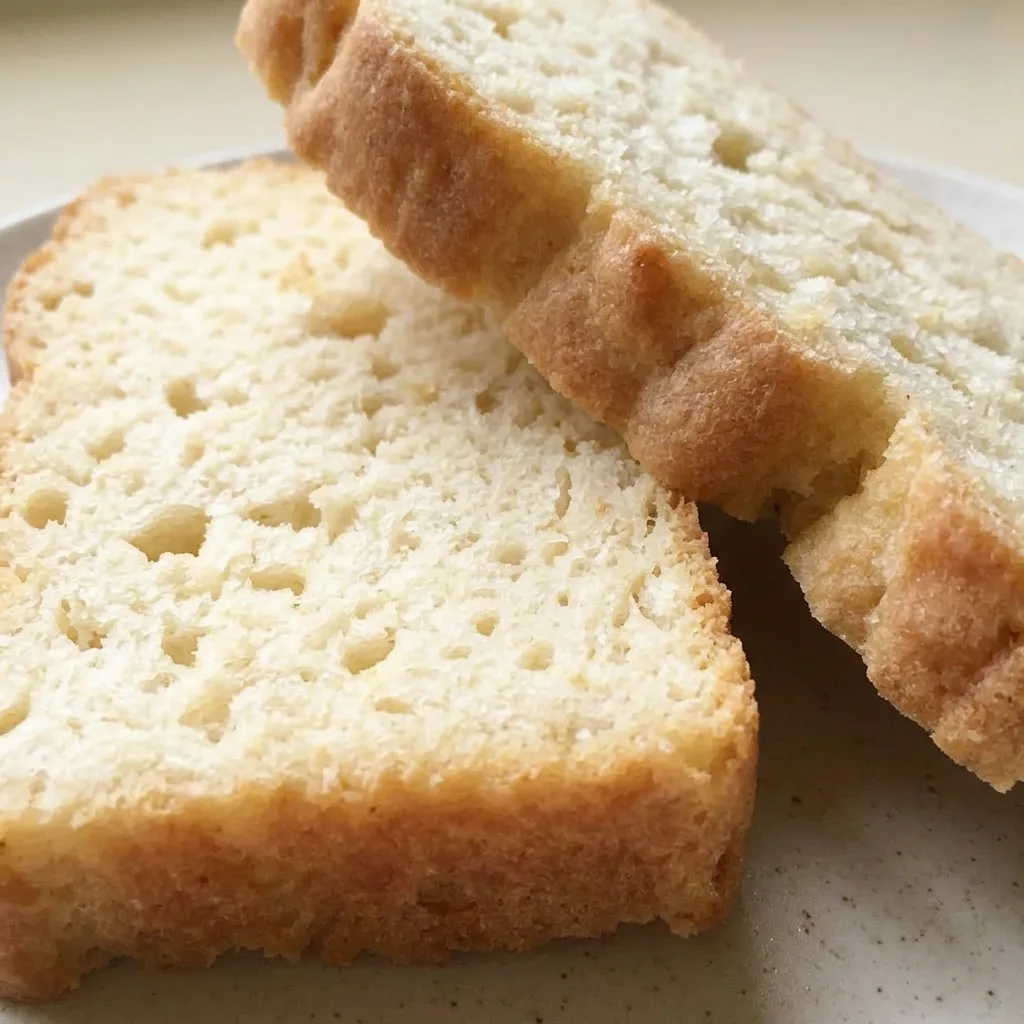
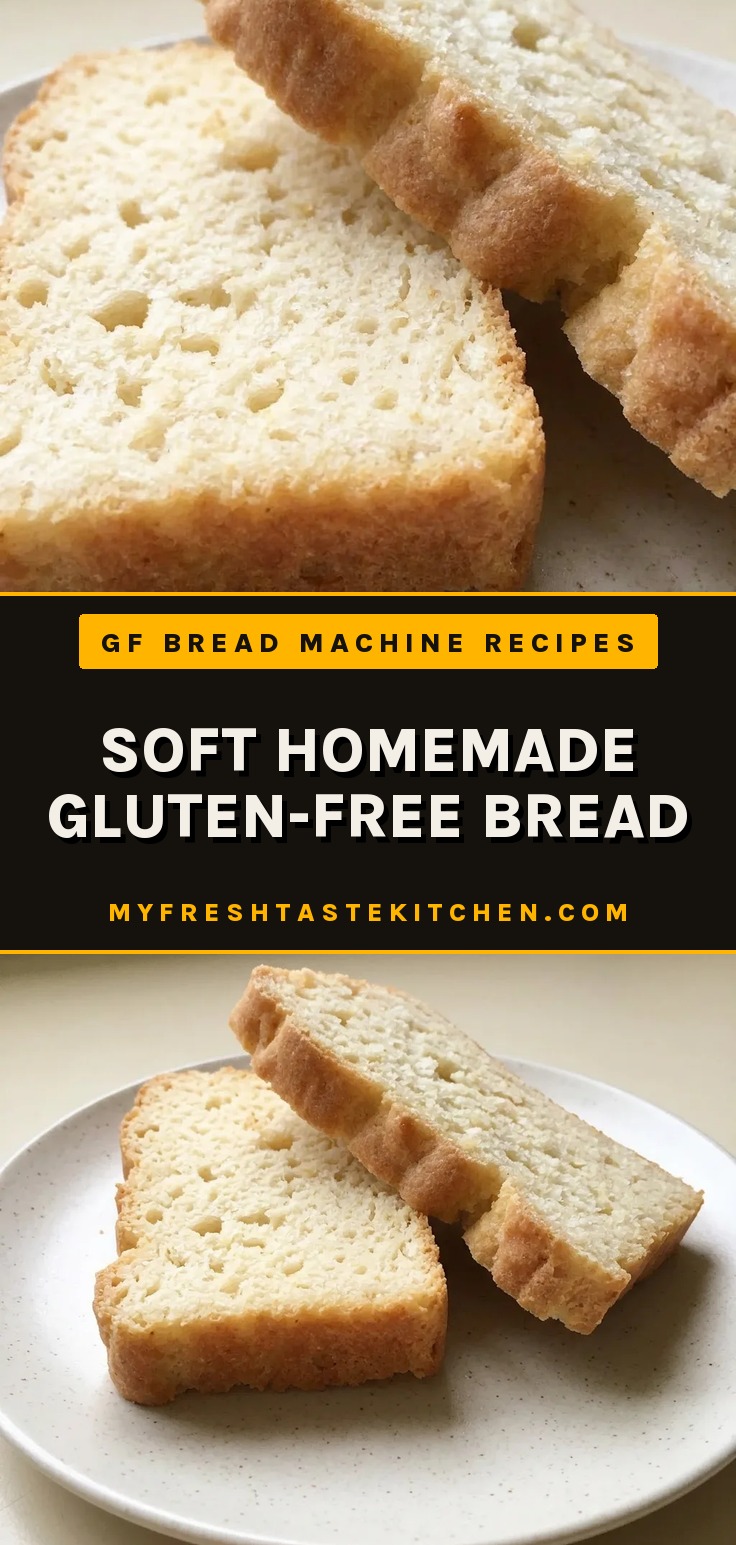
Most gluten-free bread recipes ask you to knead a dough that won’t ever come together right. This one skips that frustration entirely, you mix a thick batter, pour it into a pan, and let the yeast do the heavy lifting. The result is a soft homemade gluten-free bread with a tender crumb that actually slices without crumbling, no special tricks required.
Mix a batter, not a dough
Gluten-free flours lack the protein structure that forms a traditional dough. Without gluten, kneading won’t develop elasticity, it’ll just make a dense, gummy mess.
A batter consistency traps gas bubbles from yeast without needing that stretch. Xanthan gum stands in for gluten, giving the batter enough body to hold its shape as it rises. The result is a loaf that’s light and open, not heavy.
Think of it as pouring a thick cake batter into the pan, then letting the yeast do the work.
Feed the yeast, strengthen the crumb
Honey isn’t just for sweetness, it feeds the yeast, driving fermentation and a proper rise. You’ll see the yeast go foamy in the honey water; that’s active yeast doing its job.
Apple cider vinegar acidifies the batter slightly, which helps the crumb set up firmer and more tender. Together, honey and vinegar contribute to a moist, soft crumb that doesn’t dry out quickly. The loaf will slice cleanly, not crumble, and stay tender for days.
Temperature matters for a full rise
Cold ingredients slow yeast activity, leading to underproofing. Warm water at 100°F (40°C) activates the yeast without killing it, too hot and the yeast dies, too cold and it stays dormant. Room-temperature eggs blend more evenly into the batter, preventing dense spots.
The difference shows in the rise: batter made with cold eggs rises slower and lower, while everything warm gives you a tall, even loaf that bakes up light.
Balance three flours for the best texture
Rice flour gives structure and a neutral base, the backbone of the loaf. Tapioca starch adds chewiness and helps the crust brown nicely; you’ll see a golden, crisp crust.
Sorghum flour contributes a mild sweetness and soft crumb, making the bread taste more like wheat. The trio works together so the bread isn’t gritty from rice alone or gummy from too much starch. Each bite feels tender, with a crumb that holds together without gluten.
Prep: 30 min · Cook: 45 min · Total: 2 hr 15 min · Servings: 1 · Calories: 190 kcal
Pick the right flours and starch
Rice flour: White rice flour gives a lighter crumb; brown rice flour adds more fiber and a nuttier taste.
Tapioca starch: Use starch, not flour. They are the same thing. It adds chewiness and helps the crust brown.
Sorghum flour: Look for finely ground sorghum flour. Coarse grinds can make the bread gritty.
Xanthan gum: This replaces gluten. Do not skip it. It gives the batter enough structure to hold its rise.
Active yeast: Use active dry yeast, not instant. The honey water proofs it; if it doesn’t foam, the yeast is dead.
I used to grab eggs straight from the fridge and wonder why my bread came out like a hockey puck. Most people don’t realize that 70°F eggs aren’t just a suggestion, they’re the difference between a fluffy slice and a doorstop.
Watch the batter, not the clock
Proof the yeast
Stir honey into warm water until dissolved, then sprinkle yeast on top. After 10 minutes, you should see a thick, foamy layer, if not, the yeast is dead and the loaf won’t rise.
Mix the batter
Whisk dry ingredients to distribute the xanthan gum, then add wet ingredients. Beat for 1 to 2 minutes; the batter should be thick but pourable, like a dense cake batter. Scrape the bowl once to ensure even mixing.
Fill the pan
Pour batter into a parchment-lined loaf pan. Tap the pan firmly on the counter a few times, you’ll see bubbles rise and the batter settle into the corners. This removes large air pockets that would create tunnels.
Rise until just right
Set in a warm spot for about 1 hour. Check at 45 minutes: the center should dome no more than 1/4 inch above the rim. If it rises higher, it may collapse in the oven.
Bake to temperature
Bake at 350°F for 45 to 60 minutes. The loaf is done when an instant-read thermometer in the center hits at least 200°F. A lower temp means a gummy crumb.
Cool completely
Cool in the pan for 5 minutes, then transfer to a wire rack. Wait until the loaf is completely cool, warm bread will crumble when sliced. You’ll feel it firm up as it cools.
Soft Homemade Gluten-Free Bread
Ingredients
- 1/4 cup warm water about 100°F (40°C)/37°C
- 2 tbsp honey
- 4.5 g active yeast
- 260 g rice flour (white or brown)
- 80 g tapioca starch (same as tapioca flour)
- 60 g sorghum flour (can substitute with buckwheat or oat flour)
- 4.5 g xanthan gum
- 2 g salt
- 3 eggs room temperature
- 1 tbsp apple cider vinegar
- 1 1/4 cup water about 100°F (40°C)/37°C
- 1/4 cup light olive oil (or any neutral flavored oil)
Instructions
Activate Yeast Mixture:
Stir 2 tbsp honey into 1/4 cup warm water (100°F (40°C)/37°C) until dissolved. Add 4.5 g active yeast and let rest for 10 minutes until foamy.Whisk Dry Ingredients:
In a large bowl, whisk 260 g rice flour, 80 g tapioca starch, 60 g sorghum flour, 4.5 g xanthan gum, and 2 g salt until combined.Combine Wet and Dry:
Pour the yeast mixture, 1 1/4 cups warm water (100°F (40°C)/37°C), 1/4 cup light olive oil, 3 room-temperature eggs, and 1 tbsp apple cider vinegar into the dry ingredients.Beat Batter:
Using a hand or stand mixer, beat the batter for 1-2 minutes, pausing to scrape down the bowl sides once. The consistency should be like a thick batter.Transfer to Loaf Pan:
Transfer the batter to a parchment-lined loaf pan. Tap the pan firmly on the counter a few times to settle the batter into the corners.Let Batter Rise:
Set the pan in a warm spot to rise for about 1 hour. Check at 45 minutes; the loaf’s center should rise no more than 1/4 inch above the pan rim.Preheat Oven:
Preheat the oven to 350°F (175°C).Bake Bread:
Bake without a cover for 45-60 minutes. The bread is done when an instant-read thermometer inserted in the center reads at least 200°F (95°C).Cool Bread:
Let the bread cool in the pan for 5 minutes, then transfer to a wire rack to cool completely before slicing.
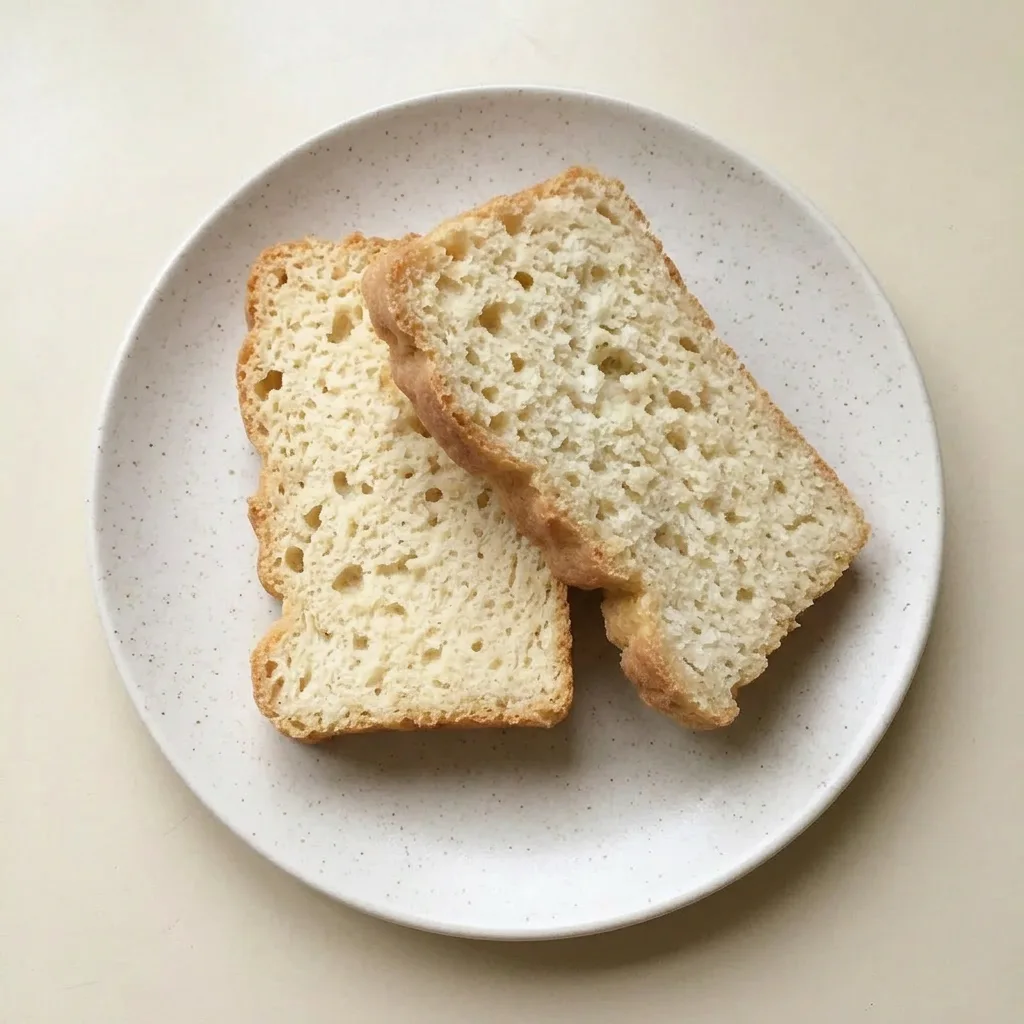
Storage and Serving
Cool the loaf completely before storing, or it will trap steam and turn gummy. Store in an airtight container at room temperature for up to 3 days. After that, the crumb starts drying out.
For longer storage, slice the bread and freeze the slices in a sealed bag for up to 3 months. Toast frozen slices directly to restore a crisp crust and soft interior.
The bread is best eaten within 2 days of baking for the softest texture. If you make it ahead, freeze slices and toast as needed. No finishing touch is added after baking.
Tips
- Insert the thermometer from the top center at an angle to avoid hitting the pan bottom; a false reading from the pan can make you overbake.
- If the top browns too fast before reaching 200°F, tent loosely with foil for the last 15 minutes to prevent burning while the interior finishes.
Three flours that work together
Sorghum flour: Buckwheat or oat flour, same amount by weight. Buckwheat adds an earthy, slightly bitter note and darkens the crumb. Oat flour makes the bread slightly sweeter and more tender, but can make it a little more fragile.
Both swap cleanly without changing the batter consistency.
Rice flour: Do not swap. It provides the structure and neutral base that keeps the loaf from being gummy. Without it, the bread won’t hold together.
Tapioca starch: Do not swap. It gives necessary chewiness and helps the crust brown. No other starch or flour does the same job here.
Frequently Asked Questions
Can I make this bread ahead of time and freeze it?
Yes, slice the cooled loaf and freeze slices in a sealed bag for up to 3 months. Toast frozen slices directly to restore a crisp crust and soft interior. The bread is best within 2 days of baking for the softest texture, so freezing is the way to go for longer storage.
Why did my gluten-free bread turn out dense and gummy?
Most likely the batter didn’t rise enough, check that your yeast was foamy after proofing and that the batter rose until the center domed no more than 1/4 inch above the pan rim. Underbaking is another culprit; the internal temperature must reach at least 200°F (95°C) or the crumb stays gummy. Also, make sure you used the correct flours and didn’t skip the xanthan gum.
How is this gluten-free bread different from regular wheat bread in texture and taste?
The texture is tender and moist, similar to a dense cake, not chewy or stretchy like wheat bread, the crumb holds together but lacks gluten’s elasticity. Taste-wise, the rice flour gives a neutral base, tapioca adds a slight chew, and sorghum contributes a mild sweetness, so it’s subtly sweet and not overly earthy. The crust browns well and crisps up, but the interior stays soft without the open crumb of wheat bread.
