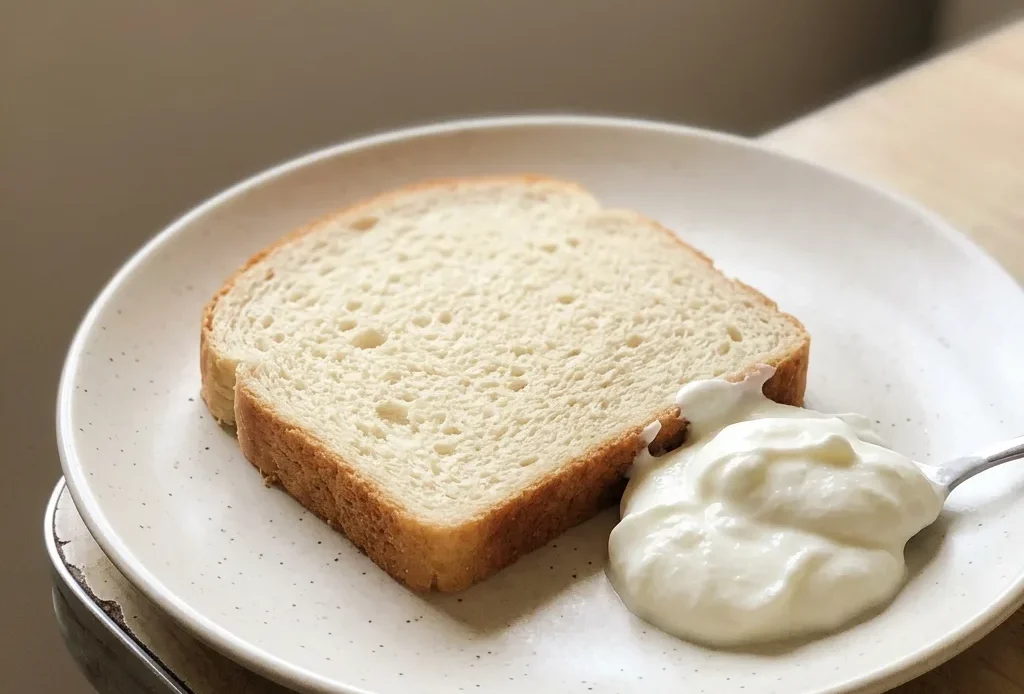
If you’ve ever pulled a dry, crumbly loaf out of the bread machine, you know the disappointment. This greek yogurt bread sidesteps that problem with one swap that changes the whole texture. The yogurt keeps the crumb tender and moist, but it also adds enough protein to give the structure real chew, so the bread holds up for sandwiches without turning dense.
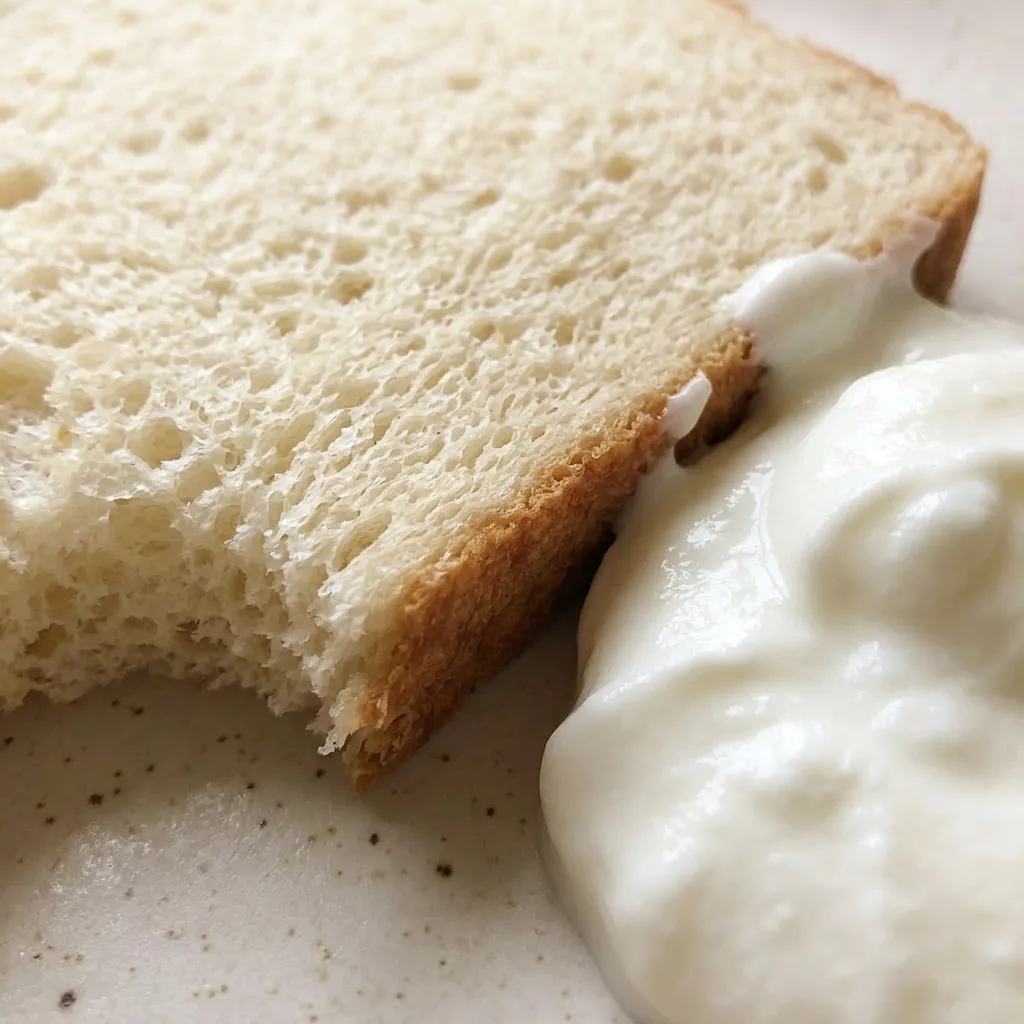
It’s a forgiving recipe: the machine does the timing, and you just check the dough ball once. The margin for error is wider than you’d think, because the yogurt buffers against over-kneading and inconsistent hydration. You’ll notice the difference when you slice it, the crumb is fine and even, not cavernous, and the slices spring back instead of tearing.
It’s the kind of loaf that makes you reconsider what a bread machine can do.
I once added the full cup of water because I misread the recipe, and the bread came out like a brick. Now I always weigh the flour and measure water carefully.
Greek yogurt’s role in texture
Greek yogurt adds moisture and tenderness without extra fat. The protein in the yogurt strengthens the crumb, while its acidity helps activate the yeast and develop gluten.
That’s why this loaf stays soft for days, not dry by the next morning. The yogurt replaces some of the liquid and fat you’d normally add, so the bread is rich but not greasy. You’ll notice a fine, even crumb when you slice it, and each bite feels moist, not heavy.
It’s a simple swap that changes the whole character of a basic white loaf.
Why bread flour gives it chew
Bread flour’s higher protein content creates more gluten, which gives this loaf its structure and chew. Gluten traps gas from the yeast, letting the bread rise tall with a firm, springy crumb.
If you use all-purpose flour instead, the loaf will be softer and less chewy, still good but not as satisfying to tear. That chew is what makes this bread sturdy enough for sandwiches or toast.
You can feel the difference when you squeeze a slice, it bounces back rather than collapsing.
Letting the bread machine handle the work
The bread machine controls kneading, rising, and baking in one cycle, so you don’t have to babysit dough. It maintains the ideal temperature and timing for yeast activity, which means consistent results every time. The ‘Basic’ program is designed for standard yeast breads like this one, so just set it and come back when it beeps.
You get a well-risen loaf with a golden crust and soft interior without hovering. For easy bread machine recipes, this is as straightforward as it gets.
Prep: 5 min · Cook: 3 hr 30 min · Total: 3 hr 35 min · Servings: 12 · Calories: 200 kcal
The ingredients that matter most
Greek yogurt: Use full fat or 2% for best texture; nonfat makes the crumb drier and less tender.
Bread flour: Bread flour gives the chew and structure you want; all purpose makes a softer, less springy loaf.
Yeast: Instant yeast works directly with flour; active dry needs proofing in warm water first.
Oil: Any neutral oil works: canola, vegetable, or light olive oil. Avoid extra virgin here.
Loading the bread machine right
Add wet ingredients first
Pour in the yogurt, warm water (20 seconds in microwave), oil, and sugar. The liquid should feel warm to the wrist, not hot, if it’s too hot, it kills the yeast.
Layer dry ingredients on top
Add flour, then salt on one side, yeast on the other. Salt can deactivate yeast if they touch directly, so keep them separated until mixing starts.
Run the Basic cycle
Close the lid, select Basic, 1.5 lb, medium crust. The machine kneads for about 20 minutes, then rises and bakes. You’ll hear it kneading and then a pause for rising, don’t open the lid.
Check the dough consistency early
After 5 minutes of kneading, peek inside. The dough should form a smooth ball that cleans the sides of the pan. If it’s too dry, add water a teaspoon at a time; if too sticky, add flour.
Let it finish undisturbed
The machine will beep when done. The loaf should be golden brown and sound hollow when tapped on the bottom. If it’s pale or soft, bake 10 more minutes at 350°F in a conventional oven.
Cool before slicing
Turn the pan upside down and tap to release the loaf. Set it on a wire rack and let it cool completely, about 1 hour. Slicing warm bread compresses the crumb, making it gummy.
Greek Yogurt Bread
Ingredients
- 1 cup Greek yogurt
- 1/2 cup Water heat in microwave for 20 seconds
- 4 tbsp Oil
- 2 tbsp Organic cane sugar
- 1 tsp Salt
- 3 1/2 cups Bread flour 420 grams or all-purpose flour
- 1 1/2 tsp Bread machine yeast 5 grams or instant yeast
Instructions
Add ingredients to machine:
Add wet and dry components into your bread machine following the sequence it specifies.Select basic program:
Shut the lid and pick the “Basic” program, 1.5 lb loaf, and set crust to “medium”.Wait for program end:
Once the program finishes, the loaf is done.Remove loaf from pan:
Take out the loaf by turning the pan upside down and tapping it.Cool on wire rack:
Set the bread on a wire rack and let it cool.Slice with serrated knife:
After it has fully cooled, cut it using a serrated bread knife or an electric knife.
What you can swap in this yogurt bread, and what to leave alone
Greek yogurt: Plain regular yogurt or buttermilk. Regular yogurt is thinner, so the dough may be slightly wetter. Cut the water back by 1, 2 tablespoons to compensate.
Buttermilk adds similar acidity and tenderness but less protein, so the crumb won’t be quite as sturdy. Nonfat Greek yogurt is fine, but the bread will be a bit drier and less tender.
Bread flour: All-purpose flour. All-purpose flour has less protein, so the loaf will be softer and less chewy.
It will still rise and taste good, but the structure won’t have the same spring. If you do swap, use the same 420 grams by weight, don’t just swap cup for cup.
Yeast: Active dry yeast. Active dry yeast needs proofing first: dissolve it in the warm water with a pinch of sugar, wait 5 to 10 minutes until foamy, then proceed. Use the same 5 grams.
If you don’t proof it, the bread may not rise properly.
Oil: Butter (melted and cooled) or other neutral oil. Butter adds richer flavor. Use the same 4 tablespoons.
For oil, stick with neutral ones like canola or vegetable, olive oil can overpower the mild yogurt flavor. Don’t skip the oil entirely; the bread will be dry.
Storing and Serving Greek Yogurt Bread
Once fully cooled, store the loaf in an airtight container at room temperature. It stays moist and tender for up to 3 days, thanks to the yogurt’s moisture. After that, the crumb starts drying out.
For longer storage, slice the bread and freeze individual slices in a zip top bag for up to 3 months. Thaw slices at room temperature or toast directly from frozen.
Toast revives the texture, restoring the crust’s crunch and softening the interior. Don’t refrigerate the loaf; it accelerates staling. Serve the bread within 4 hours of baking for the best texture, while the crust is crisp and the crumb is softest.
If you’re making it ahead, freeze slices immediately after cooling, then toast as needed.
Tips
- If the dough ball feels dry and stiff after the first knead, add water 1 tablespoon at a time until it becomes supple and slightly tacky. A dry dough won’t rise as high and will produce a denser crumb.
- If the dough is too sticky and doesn’t pull away from the pan sides, sprinkle in flour 1 tablespoon at a time until it forms a smooth, cohesive ball. Excess moisture can lead to a gummy interior or a collapsed loaf.
Frequently Asked Questions
Can I make this bread without a bread machine?
Yes, you can make it by hand or with a stand mixer. Knead the dough for about 10 minutes by hand until smooth and elastic, then let it rise in a greased bowl until doubled, about 1 hour.
Shape it, place in a greased 9×5-inch loaf pan, and let rise again until it crowns above the rim, about 45 minutes. Bake at 350°F for 35 to 40 minutes, until golden and hollow when tapped. The bread machine controls temperature and timing precisely, so you’ll need to watch the dough’s feel and rise yourself.
Why did my bread turn out dense and not rise well?
The most likely cause is the water was too hot and killed the yeast, it should feel warm to the wrist, not hot. If the dough looked dry during kneading, it may not have enough moisture; next time add water a teaspoon at a time until it forms a smooth ball. Another possibility is old yeast: instant yeast should be active within its expiration date.
Also, too much salt touching the yeast directly can deactivate it, so always layer salt on one side of the flour and yeast on the other.
How long does this bread stay fresh and how should I store it?
Store the fully cooled loaf in an airtight container at room temperature; it stays moist and tender for up to 3 days. After that, the crumb starts drying out.
For longer storage, slice and freeze individual slices in a zip-top bag for up to 3 months, thaw at room temperature or toast directly from frozen. Don’t refrigerate the loaf; it accelerates staling.
