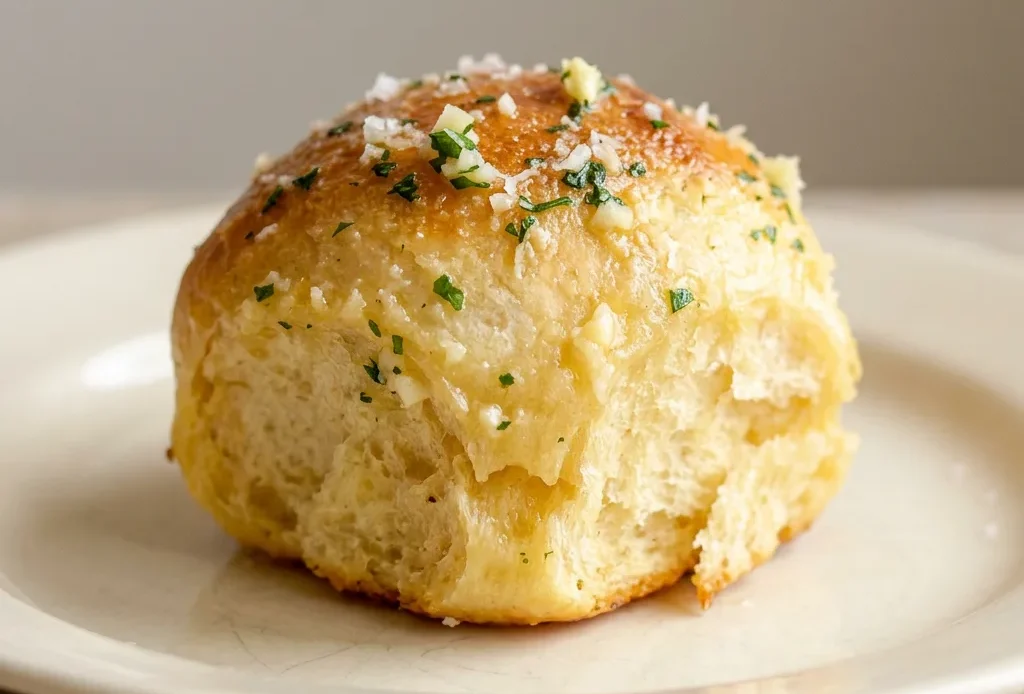
The moment those rolls hit the table, everyone reaches for one, but the real work happens in the first five minutes of the dough. If the yeast doesn’t froth, you’re sunk before you start, and no amount of garlic butter can rescue a dense crumb. That’s the margin here: a thirty-second temperature check with a thermometer separates fluffy pull-apart rolls from hockey pucks.
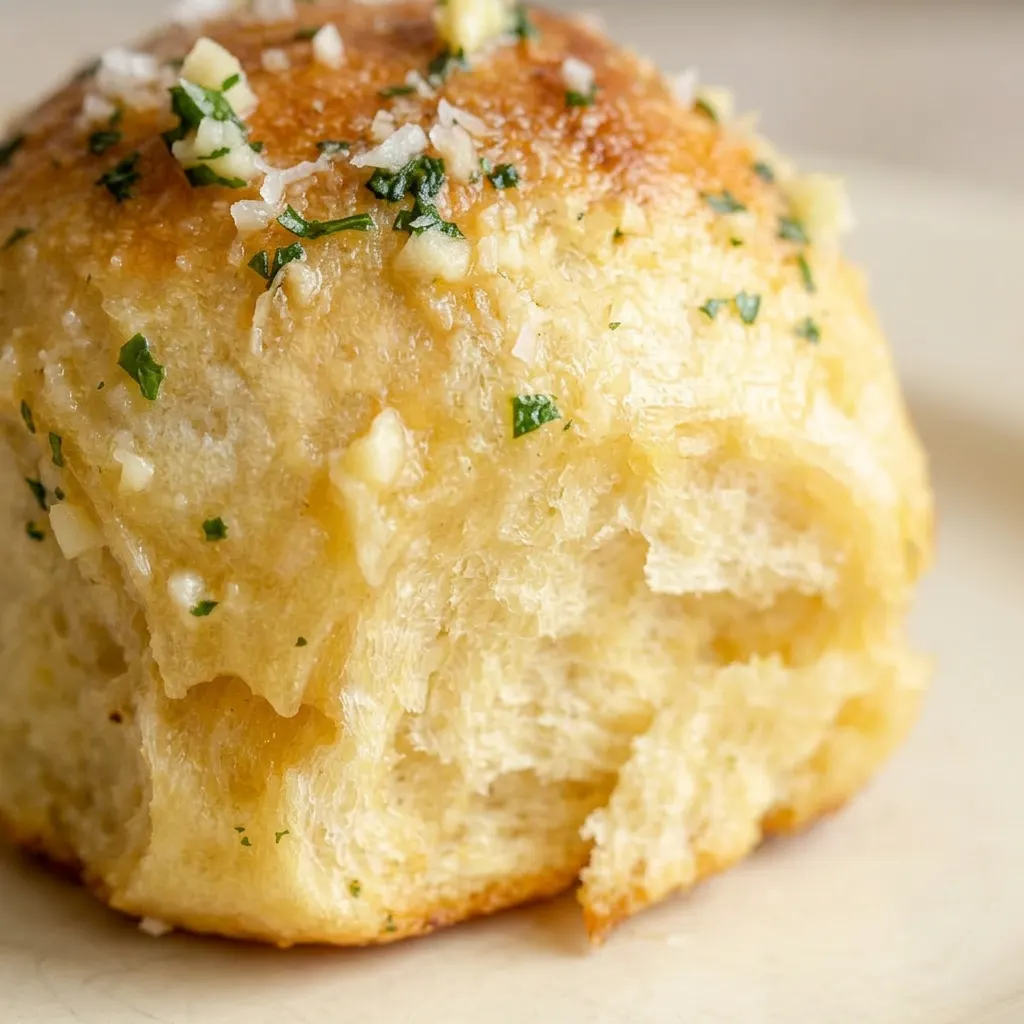
When you get it right, the cast iron skillet delivers a crust that crackles, while the milk and eggs keep the interior so soft it almost squishes when you pull a roll free. These cast iron garlic butter dinner rolls demand attention upfront but reward with that first bite of warm, garlicky bread.
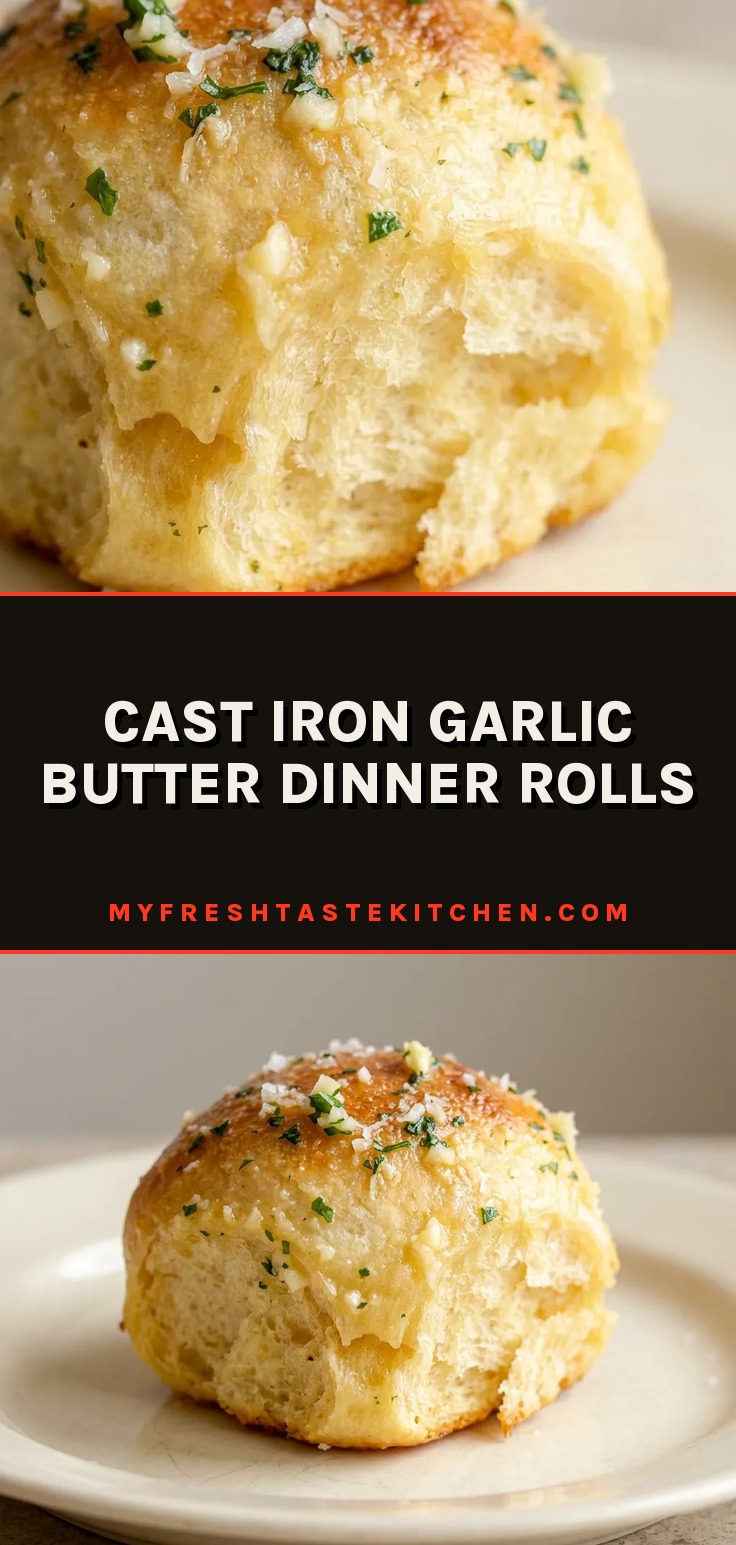
Bake rolls in a cast iron skillet for a crusty exterior and fluffy interior.
Cast iron holds heat evenly, so the skillet browns the bottoms and sides consistently without hot spots. When you pack the dough balls close together, they rise upward instead of sprawling outward.
That tight cluster traps steam as they bake, keeping the interior of each roll tender and soft, while the exposed tops and edges crisp up. The result: a crust that shatters slightly when you bite, giving way to a soft crumb.
Cast iron also stays hot when you pull the skillet from the oven, so the rolls keep cooking a moment longer, that final blast sets the crust. If you’ve only used baking sheets before, you’ll notice a darker, more even color and a satisfying contrast between the outer shell and the soft pull-apart center. The moisture trapped between rolls is key; it’s what stops them from drying out while the crust forms.
Brush garlic herb butter after baking to keep the garlic punch bright.
Garlic burns at oven temperatures. Add it before baking and you’ll get bitter specks instead of that aromatic kick. Brushing the rolls straight out of the oven lets the butter melt into the crevices while the garlic stays raw and pungent.
Now I trust the milk and eggs to keep the dough soft, and I only add flour sparingly, just enough to stop it from sticking to the mixer. The heat of the rolls gently warms the garlic, taking off its raw edge without cooking it.
Fresh parsley adds a clean, green note that contrasts with the rich butter. You taste the garlic clearly, not as a background hint. That immediate brush also gives the rolls a glossy sheen, signaling they’re ready to eat.
Serve them warm, and the butter stays liquid enough to soak into every nook, so each pull-apart piece carries that herb-garlic flavor all the way through.
Use milk and eggs in the dough for richness and a tender crumb.
Milk brings fat and natural sugars that help the crust brown and the crumb stay moist. Eggs add structure, the proteins firm up the dough so it holds its shape as it rises, but the fat in yolks keeps it from feeling tough.
Together, they make a dough that’s rich but not heavy, soft but sturdy enough to support the weight of the rolls stacked in the skillet. The milk also tenderizes the gluten, so you get a finer, more even crumb than water-based doughs produce.
If you’ve made lean rolls before, you’ll notice these feel almost brioche-like, with a slight pull-apart tenderness that doesn’t tear into shaggy strands. The balance matters: too much liquid and the dough flattens; too little and the rolls turn dry.
This ratio hits a point where the crumb stays plush even after the rolls cool a bit.
Prep: 15 min · Cook: 20 min · Total: 3 hr 5 min · Servings: 12 · Calories: 270 kcal
A few notes on the key players in these rolls
Bread flour: Its higher protein content builds the gluten structure needed for the rolls to rise tall and stay chewy.
Active dry yeast: Proof it in warm water with sugar until frothy; if it stays flat, the yeast is dead and won’t leaven the dough.
Whole milk: Room temperature milk blends evenly without shocking the yeast; cold milk slows the rise.
Garlic: Finely mince so it disperses through the butter without large raw chunks that can overwhelm a bite.
Proof the yeast until frothy, then build the dough in the mixer, watch for the windowpane test to know it’s done.
Bloom the yeast
Warm the water to 110 to 120°F, then stir in yeast and sugar. After 5 minutes, the mixture should be foamy with a cloud-like top, if it’s flat, the yeast is dead and you need to start over.
Mix the dough
Combine milk, 3 tablespoons melted butter, eggs, and salt in the bowl. Add half the flour, then the bloomed yeast and remaining flour. The dough will be shaggy at first but should come together into a cohesive ball.
Knead until smooth
Knead on low-medium speed for 4 to 5 minutes. The dough should be smooth and elastic, pulling away from the sides. To check, pinch a small piece and stretch it, you should see a thin, translucent membrane (windowpane) without tearing.
If it rips, knead another minute.
First rise
Place the dough in a buttered bowl, turning to coat. Cover and let rise in a warm spot for 90 minutes. It should double in size, when you poke it with a finger, the indentation should stay and not spring back.
Divide and shape
Deflate the dough and turn onto a lightly floured surface. Divide into 12 equal pieces.
Shape each into a tight ball by folding edges inward and pinching the bottom. The surface should be smooth, not lumpy.
Second rise
Place the balls seam-side down in a greased 10-inch cast iron skillet. Cover and let rise for 1 hour. They should become puffy and touch each other, if they’ve merged into one mass, they’re over-proofed.
Bake
Preheat oven to 375°F. Brush the tops with 1 tablespoon melted butter. Bake for 20 to 25 minutes, rotating the skillet halfway, until the rolls are deep golden brown and the internal temperature reaches 190°F.
Finish with garlic butter
Whisk together 3 tablespoons melted butter, minced garlic, and parsley. As soon as the rolls come out, brush the mixture over the tops. The garlic should be fragrant but not cooked through, if it smells burnt, the rolls are too hot.
Top with Parmesan and flaky salt.
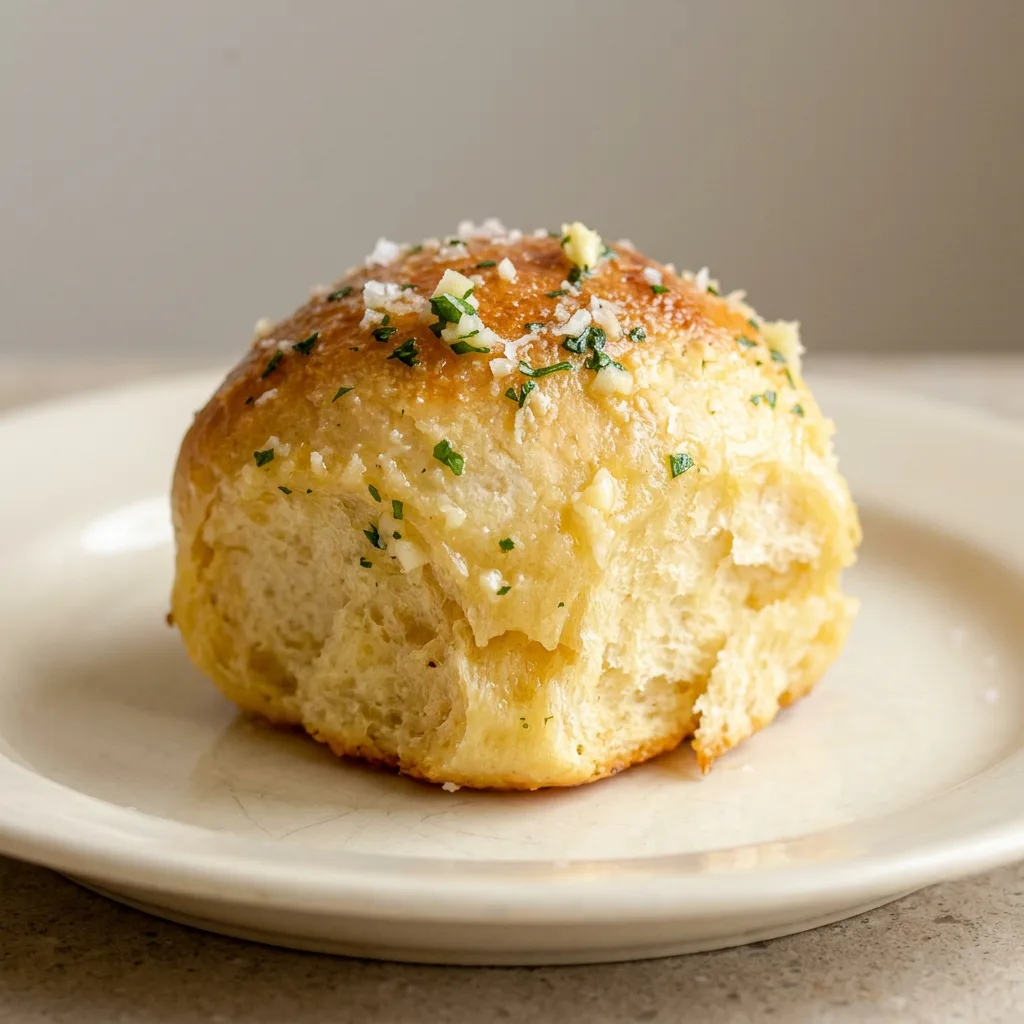
Cast Iron Garlic Butter Dinner Rolls
Ingredients
Method
Bloom the Yeast:
Warm 1/3 cup water to 110-120°F (43-49°C) in a microwave-safe bowl, roughly 1 minute. Add the yeast packet and 1 tablespoon sugar; stir until dissolved. Allow to sit for 5 minutes until frothy.Knead the Dough:
In a stand mixer bowl with the dough hook, combine the room-temperature milk, 3 tablespoons melted butter, eggs, and kosher salt. Using a silicone spatula, mix in half the flour, then add the remaining flour and the bloomed yeast. Knead on low-medium speed for 4-5 minutes until a smooth dough forms. If too sticky, dust in a little extra flour.First Rise:
Coat a large bowl with 1 tablespoon butter. Place the dough ball inside, turning to coat all sides. Cover with a towel or plastic wrap and let rise in a warm spot for 90 minutes until doubled in size.Divide the Dough:
Deflate the dough. Lightly dust a clean work surface with flour and gently flatten the dough into a circle. Using a bench scraper or a sharp knife, divide into 12 equal portions.Shape and Second Rise:
Form each piece into a ball by folding the edges inward and pinching the bottom. Grease a 10-inch cast iron skillet with 1 tablespoon butter. Arrange the dough balls seam-side down in the skillet, side by side. Cover and let rise for 1 hour until puffy and touching.Preheat Oven:
Preheat the oven to 375°F (190°C).Brush with Butter:
Brush the tops and gaps of the rolls with 1 tablespoon melted butter.Bake Rolls:
Bake for 20-25 minutes, turning the skillet halfway, until golden brown.Make Garlic Butter:
While baking, prepare the garlic herb butter: whisk together 3 tablespoons melted butter, minced garlic, and parsley.Finish with Garlic Butter:
Take the rolls out of the oven. Immediately brush with the garlic herb butter. Grate fresh Parmesan over the top and sprinkle with flaky sea salt.Serve Warm:
Serve warm. Use a spatula to lift the entire roll cluster onto a plate; pull apart to reveal the soft interiors.
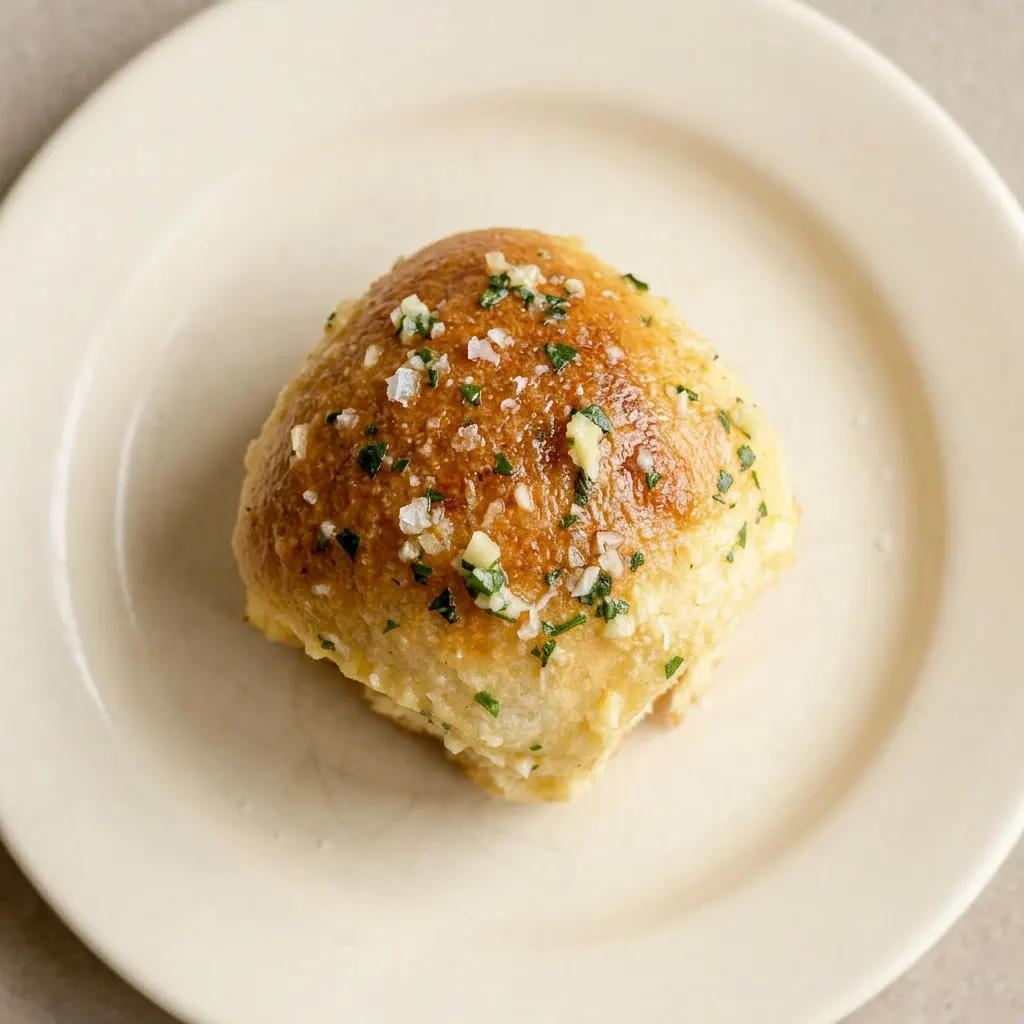
Store leftover rolls in an airtight container at room temperature for up to 2 days. Reheat to restore the crust.
These rolls are best eaten within an hour of baking, while the crust is crisp and the garlic butter is still fragrant. Leftovers keep at room temperature in a sealed container for up to 2 days. The fridge dries them out faster, so skip it unless your kitchen is very warm.
After a day, the crust softens and the crumb firms slightly. To bring back the contrast, reheat in a 350°F oven for 5 minutes, or in a toaster oven. Microwaving turns them rubbery.
The garlic butter will have soaked in, so the flavor stays but the finish fades. For longer storage, freeze the baked rolls (without the garlic butter) in a freezer bag for up to 1 month.
Thaw at room temperature, then brush with fresh garlic butter and reheat. The Parmesan and flaky salt should be added after reheating, not before freezing, so they stay crisp.
Tips
- If your yeast doesn’t froth after 5 minutes, the water may be too hot; let it cool to 110 to 120°F before retrying with fresh yeast.
- Use a digital thermometer to confirm the water temperature; guessing leads to dead yeast and wasted ingredients.
Bread flour builds the structure; all-purpose works but changes the crumb.
Bread flour: All-purpose flour, same volume (4 1/2 cups, 540g). Lower protein means less gluten. Rolls will be softer and slightly less chewy, with a tighter crumb.
They won’t rise as tall, but the flavor stays nearly the same. If the dough feels slack during kneading, add a tablespoon more flour.
Active dry yeast: Instant yeast, same weight (2 1/4 tsp, 7g). No need to proof, just mix into the flour. The rise may start a bit faster.
Reduce total rise time by about 15 minutes, but watch the dough, not the clock. Over-proofing happens quicker, so don’t let it double fully before the second rise.
Whole milk: 2% milk or unsweetened oat milk, same volume (1 cup, 240ml). 2% milk: slightly less tender crumb, the browns a shade lighter.
Oat milk: less rich, rolls dry out faster, serve same day. Avoid almond milk; its thin consistency makes the dough slack and the rolls flat.
Frequently Asked Questions
Can I make the dough the night before and bake the next day?
Yes, you can after the first rise. Deflate the dough, wrap it tightly in plastic, and refrigerate overnight. The next day, shape the rolls and let them rise at room temperature for about 1 hour, watch for them to become puffy and touch each other before baking.
The cold dough will take a bit longer to come to temperature, so don’t rush the second rise.
Why did my rolls come out dense instead of fluffy?
Most likely the dough wasn’t kneaded enough to develop gluten. Check the windowpane test next time: a small piece should stretch thin without tearing. Over-proofing can also cause density, if the rolls collapsed after the second rise, they rose too long and the gluten structure weakened.
Can I use a different pan if I don’t have a cast iron skillet?
A 9-inch round cake pan or a 9×13-inch baking dish works, but the crust won’t be as crisp. Cast iron’s even heat and heat retention are what brown the bottoms and sides deeply. With other pans, the rolls may turn out lighter in color and the bottoms softer, still good, just less contrast.
