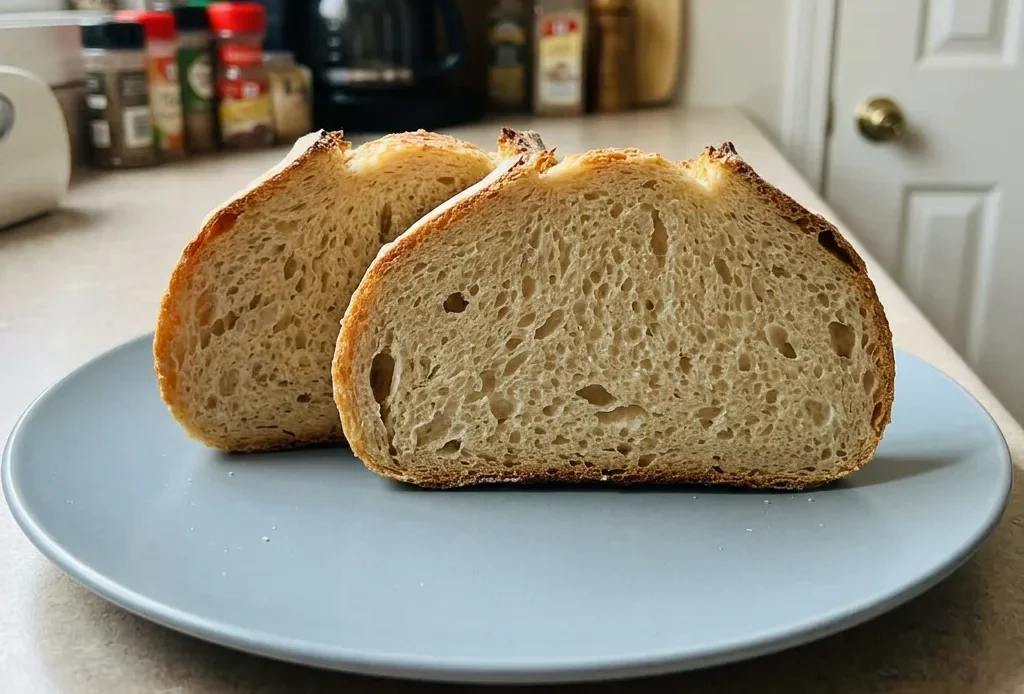
Stand mixer sourdough bread skips the hand-kneading and guesswork, but the real win is the 18-hour cold proof. That long chill builds a complex tang and a crust that shatters, without you touching the dough after shaping. If your starter is bubbly and active, this recipe rewards patience with a loaf that’s tall, open, and worth every hour.
The Long Cold Proof
Refrigeration for up to 18 hours does more than just pause the clock. Enzymes in the dough keep working at a slower pace, breaking down starches into simple sugars that feed the yeast and bacteria.
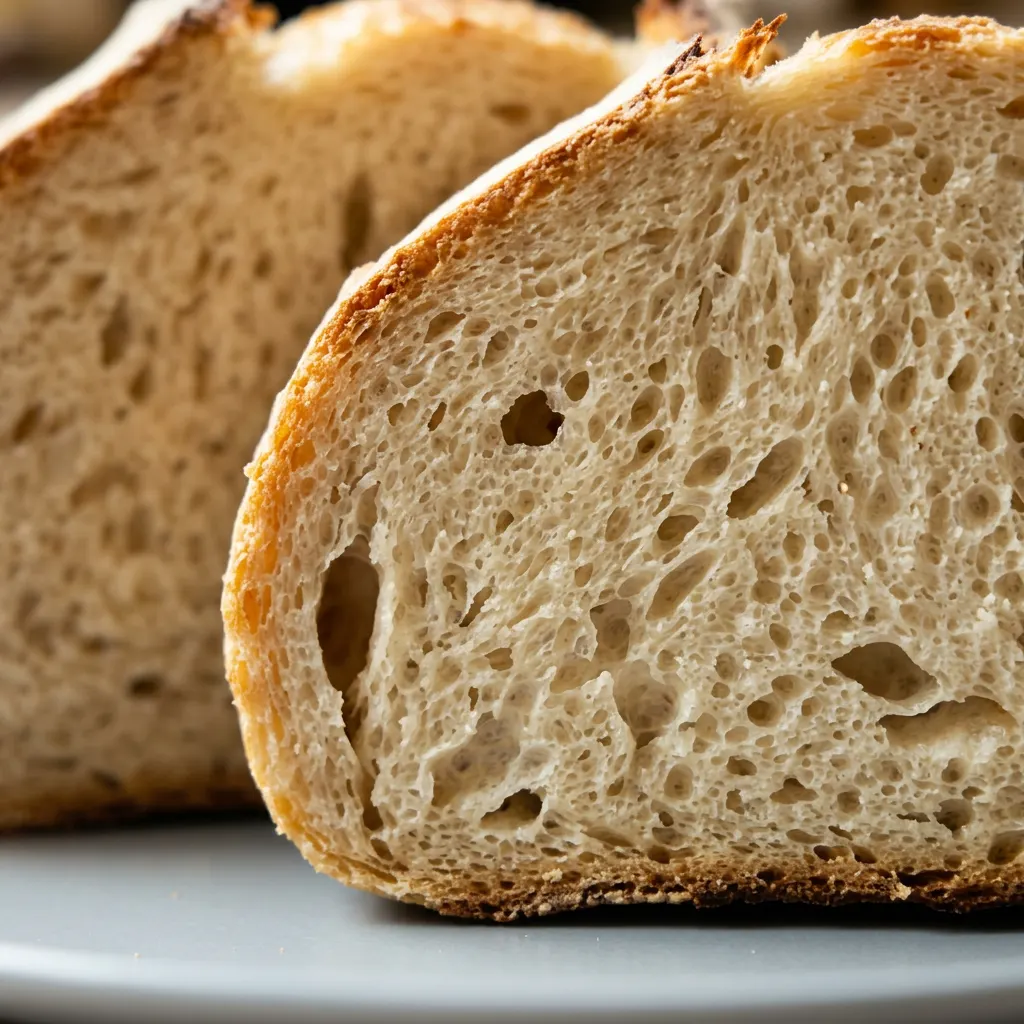
This extended fermentation deepens the bread’s flavor, you’ll taste a more pronounced sourness and complexity. At the same time, the cold tightens gluten bonds, making the dough firmer and easier to handle when you shape it. That firmer structure holds gas better, which translates to a more open crumb and better oven spring when the loaf hits the hot Dutch oven.
The contrast between the cold dough and the 425°F oven gives an explosive lift, too. If you skip the cold proof, you lose both flavor depth and crumb structure; the result is flatter and blander.
Why Rest Before Salt
That 30-minute rest after mixing flour, water, and starter is not a passive pause. It lets the flour fully absorb the liquid, so every starch granule hydrates evenly.
You’ll see the dough go from a shaggy, dry mass to something supple and cohesive, without any work. This hydration also kickstarts gluten formation naturally: enzymes begin linking proteins into strands, giving the dough extensibility. When you add salt right before kneading, it tightens those bonds and reinforces structure, but if you add it too early, it can interfere with hydration.
The result is a dough that comes together faster on the stand mixer and needs less kneading overall. That means less oxidation and a more consistent crumb in the finished loaf.
Controlled Expansion Through Scoring
If you bake the dough without scoring, it will burst wherever the surface is weakest, often at the bottom or sides, producing an ugly crack. Scoring with a lame or serrated knife right before loading into the oven directs that expansion into clean, intentional gashes. The cuts also allow steam to escape in a controlled way, which helps the crust develop and prevents the crumb from becoming dense.
You’ll see the loaf open along the score lines, giving that classic ear. The timing matters: score just before baking, because the dough starts to deflate if left too long. A shallow, angled cut gives the best lift; a deep one may cause collapse.
The controlled expansion directly affects how airy and uniform the inside becomes.
Prep: 30 min · Cook: 45 min · Total: 19 hr 15 min · Servings: 20 · Calories: 140 kcal
What to Look For in Each Ingredient
bread flour: Use bread flour, not all purpose; its higher protein gives the structure needed for a tall, open crumb.
active sourdough starter: Your starter should be bubbly and doubled in size within 4 to 6 hours of feeding, so it’s at peak activity.
sugar: A tablespoon of sugar feeds the yeast and helps browning; it won’t make the loaf sweet.
How the Stand Mixer Changes the Dough
Mix Then Rest
Combine flour, starter, sugar, and water on low until a shaggy, dry mass forms, no streaks of flour left. Cover and let rest 30 minutes. The dough will turn supple and cohesive on its own.
Knead with Salt
Add salt and knead on low 5 to 9 minutes. The dough should clean the bowl and feel smooth, not sticky. If it clings to the sides, add flour a tablespoon at a time; if it looks dry and stiff, add water a teaspoon at a time.
Bulk Rise
Place the dough in an oiled bowl, cover with greased plastic, and let rise in a warm spot 3 to 4 hours. It should double in size and feel very puffy, with bubbles showing under the surface.
Divide and Shape
Turn the dough onto a lightly floured surface and cut into two equal pieces. Shape each into a tight ball by pulling the dough underneath and tucking inward until the top is smooth and taut.
Cold Proof
Place each ball seam-side up in a floured proofing basket or on a parchment-lined sheet. Cover with greased plastic and refrigerate overnight, up to 18 hours. The dough will firm up and smell more sour.
Score and Bake
Preheat oven to 425°F with a Dutch oven inside. Just before baking, score the loaf with a lame or serrated knife, make a shallow, angled cut about 1/2 inch deep. The dough should open cleanly along the cut.
Bake Covered Then Uncovered
Lower the loaf into the hot Dutch oven on parchment, cover, and bake 25 minutes. Remove lid and bake another 20 minutes until deep golden brown. The crust should sound hollow when tapped.
Cool Completely
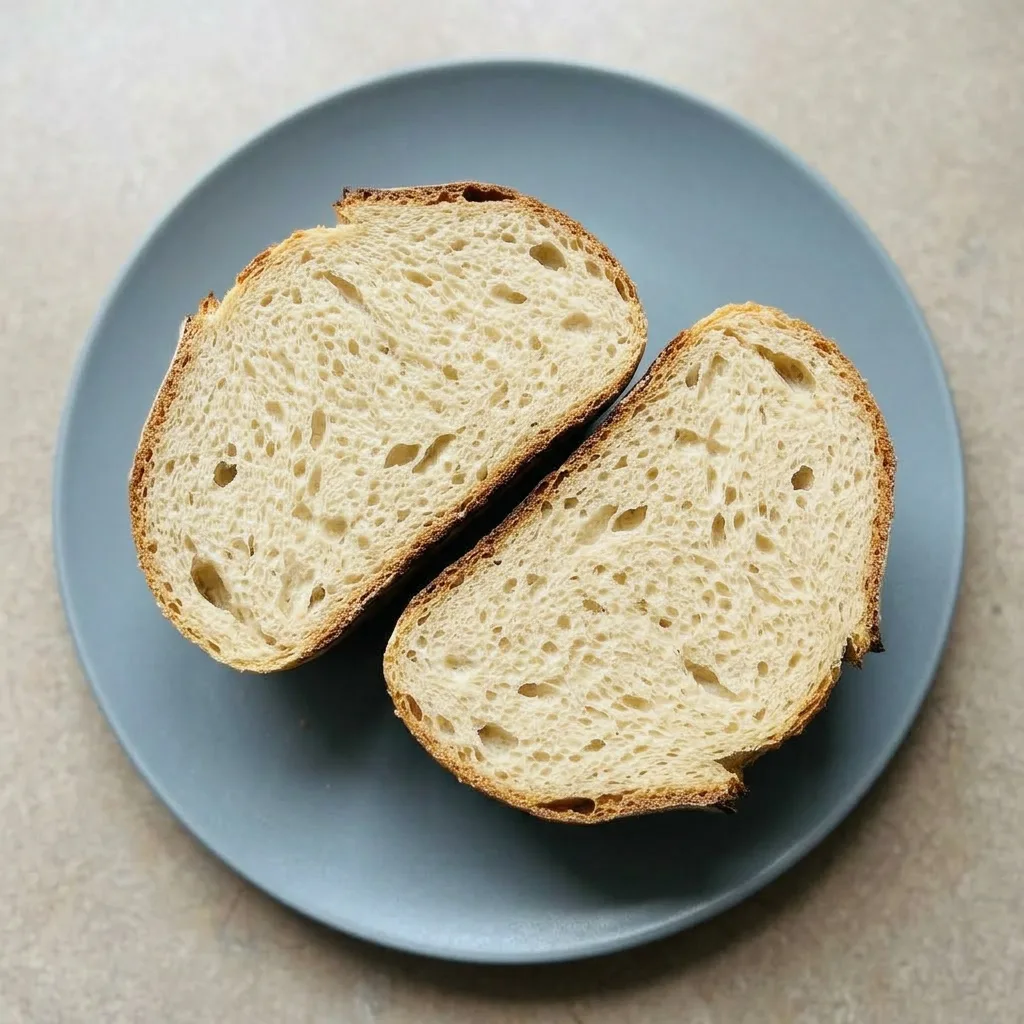
Transfer the loaf to a wire rack and let cool at least 4 hours before slicing. The crumb will be gummy if cut warm, wait until it’s completely cool to the touch.
Stand Mixer Sourdough Bread
Ingredients
- 6 cups bread flour 31.8 oz
- 2 cups lukewarm water 16 oz
- 1 1/2 cups active sourdough starter 11.25 oz
- 1 tablespoon sugar
- 3 1/2 teaspoons salt
Instructions
Mix and Rest Dough:
In a stand mixer bowl, mix the bread flour, active sourdough starter, sugar, and lukewarm water on low speed until just combined; the dough will be shaggy and a bit dry. Cover the bowl with a damp tea towel and let it rest at room temperature for 30 minutes. Tip: Set the measured salt on the towel as a reminder to add it next.Knead with Salt:
Add the salt and knead on low for 5 to 9 minutes, until the dough is smooth and forms a ball that cleans the sides and bottom of the bowl. If the dough seems too dry, add a bit more water; if too wet, add a bit more flour.First Rise:
Form the dough into a smooth ball and place it in a clean, lightly oiled bowl. Cover with greased plastic wrap and set in a warm area to rise for 3 to 4 hours, until doubled in size and very puffy.Divide and Shape:
Divide the dough into two equal portions. Shape each portion into a smooth ball by gently pulling the dough from underneath and tucking it inward until the surface is taut.Cold Proof Overnight:
Place each dough ball into a flour-dusted proofing basket or onto a parchment-lined baking sheet. Cover with greased plastic wrap and refrigerate overnight, or for up to 18 hours.Bake in Dutch Oven:
Preheat the oven to 425°F (220°C) with an empty Dutch oven inside. Score the top of each loaf with a lame or serrated knife. Transfer one loaf onto a piece of parchment paper and carefully lower it into the hot Dutch oven. Cover with the lid and bake for 25 minutes, then remove the lid and bake for another 20 minutes, until deep golden brown.Cool Before Slicing:
Take the loaf out of the Dutch oven and set it on a cooling rack. Let it cool for at least 4 hours before slicing. Store at room temperature in a bread bag or airtight container for up to 4 days.
Swapping Flours Without Losing Structure
bread flour: All-purpose flour. Bread flour has more protein than all-purpose, which builds stronger gluten. Swap one-for-one and your loaf will still rise, but expect a softer, less chewy crumb, closer to a sandwich loaf than artisan bread.
The crust may be slightly less crisp.
bread flour: Whole wheat flour (substitute up to half the total flour). Whole wheat adds a nutty, earthy flavor and a denser crumb because the bran shreds gluten strands.
The dough will feel stiffer and less extensible. Replace no more than half the bread flour (3 cups max) or the loaf won’t rise well.
You may need to add an extra tablespoon of water to compensate for the bran’s absorption.
active sourdough starter: Sourdough discard (unfed). Discard hasn’t been fed recently, so it’s less active.
The dough will take longer to rise, possibly double the bulk fermentation time, and the final loaf will be denser with a milder sourness. Expect a tighter crumb and less oven spring.
Best used if you have extra discard and don’t mind a longer wait.
Tips
- If your starter takes longer than 6 hours to double, use it at its peak anyway; the bulk rise may take up to 5 hours. The loaf will still develop good flavor, just with a slightly denser crumb.
- Feed your starter twice a day for 2 to 3 days before baking to ensure it is vigorous enough to lift the dough in the cold proof stage. A sluggish starter may not produce enough gas for the long refrigeration.
Storage and Serving
Store the cooled loaf in a bread bag or airtight container at room temperature for up to 4 days. The crust will soften slightly by day 2, but the crumb stays moist. For longer storage, slice the loaf and freeze in a zip-top bag for up to 3 months.
Thaw slices at room temperature or toast directly from frozen. Reheat whole loaves in a 350°F oven for 10 to 15 minutes to restore crust crispness.
Serve within a few hours of baking for the best crust and crumb texture; after 24 hours, toasting brings back the best eating quality. Do not refrigerate the whole loaf; it accelerates staling.
I still have to stop myself from adding extra water during the autolyse rest, because the shaggy dough always looks dry to me. That extra splash turns the dough into a sticky mess that won’t hold its shape.

Frequently Asked Questions
Can I skip the overnight cold proof and bake the bread the same day?
You can, but the loaf will be flatter and less flavorful. The cold proof firms up the dough so it holds gas better during baking, giving more oven spring. Without it, the dough is softer and spreads more.
If you’re in a rush, let the shaped dough rise at room temperature until puffy, about 1 to 2 hours, then bake. The crumb will be denser and the sourness milder.
My dough is too sticky after the autolyse; what should I do?
Sticky dough after the rest is normal, it hasn’t been kneaded yet. When you add the salt and start kneading, the gluten develops and the dough will come together and clean the bowl.
If after 5 minutes it’s still clinging excessively, add flour a tablespoon at a time until it smooths out. The goal is a dough that feels tacky but not wet; it should pull away from the sides of the bowl.
Why does my sourdough bread not have a good oven spring?
Most often it’s weak gluten structure or an under-proofed dough. Make sure your starter is bubbly and doubled before mixing.
During bulk rise, wait until the dough doubles and shows bubbles under the surface, 3 to 4 hours in a warm spot. If you shaped too early, the dough lacks the gas to spring. Cold proofing also helps: the cold dough hitting the 425°F oven creates explosive lift.
Finally, score deeply enough (about 1/2 inch) so the dough can expand without full.
