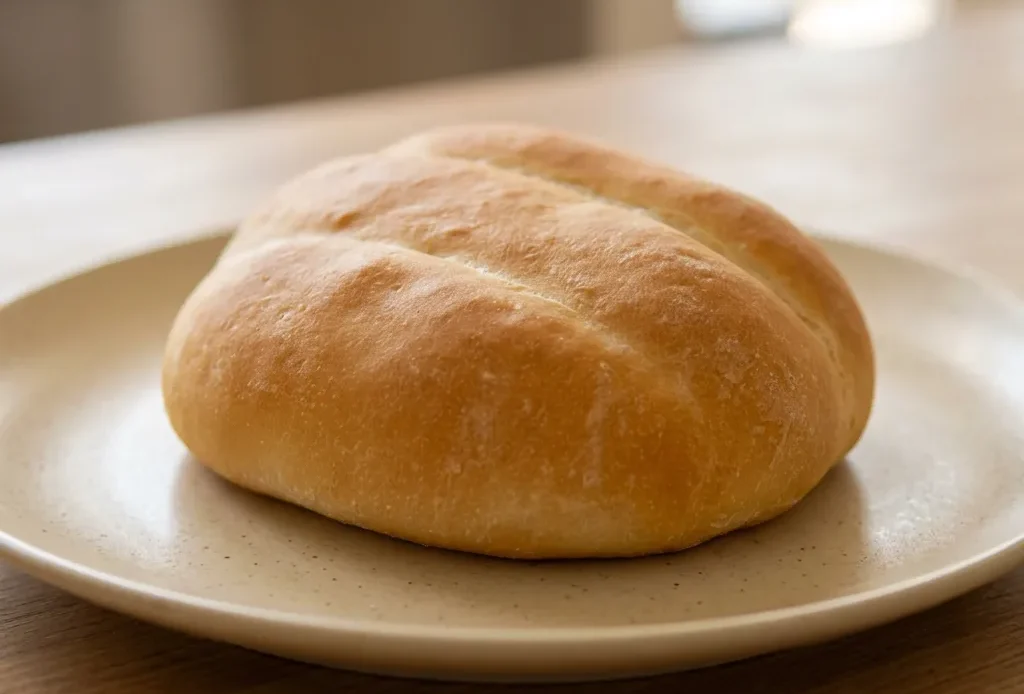
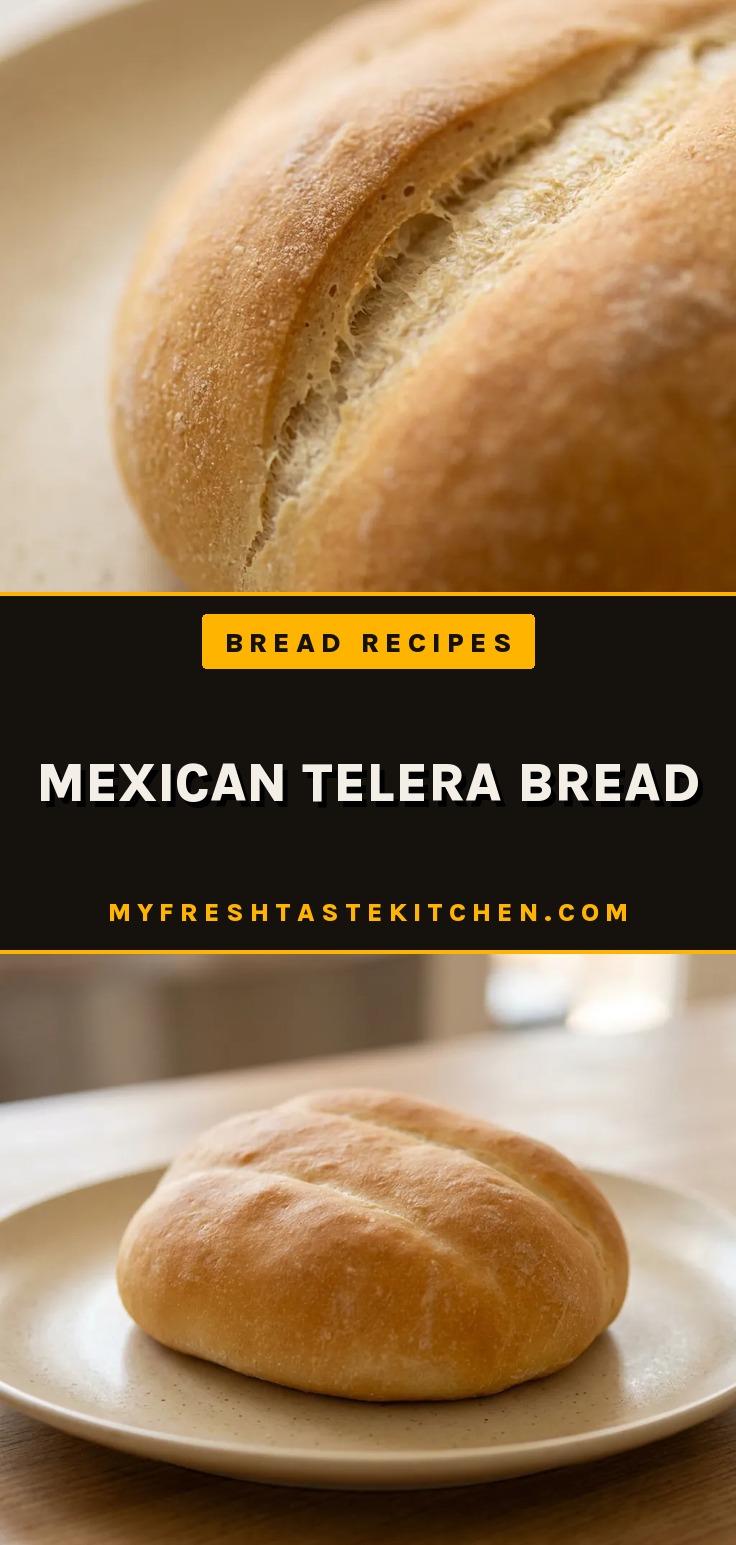
The telera is the Mexican sandwich roll that looks like it was stamped by a mold, soft, flat, oval, with two deep grooves that aren’t just for show. Those dimples create thin spots that brown faster, giving you pale stripes between golden ridges, and they lock the bread into a shape that holds up to juicy fillings without turning to shreds. It’s a straightforward lean dough, but the trick is learning to press hard enough to mark it without cutting through.
Too light and the indent vanishes in the second rise; too deep and the loaf blows out in the oven. Get that feel right, and you’ve got the base for tortas.
That satisfying moment when you position a plastic straw and push down until it hits the work surface? That’s the whole point of mexican telera bread.
Why the well method
You pile flour and salt into a mound and scoop out a crater in the center. That well holds the yeast, sugar, and a splash of water, keeping them separate from the salt until the yeast wakes up.
Salt can slow or even stop yeast activity if they sit together too long. By letting the yeast bubble in that isolated puddle for a minute, you confirm it’s alive and active.
Then you stir the water outward, gradually dragging flour into the center. The rim of dry flour acts like a dam, preventing the liquid from running off and making a soupy mess.
You end up with a rough, shaggy dough that comes together without dead yeast hiding in dry patches. The method buys you insurance, no guessing whether your yeast will pull its weight through the long rise ahead.
How dimples shape the telera
After the first rise, you divide and rest the dough, then take a ball and stretch it gently before pressing it into an oval on a floured board. The real trick comes next: position a plastic straw a third of the way from one long edge and press down firmly, stopping just short of cutting through.
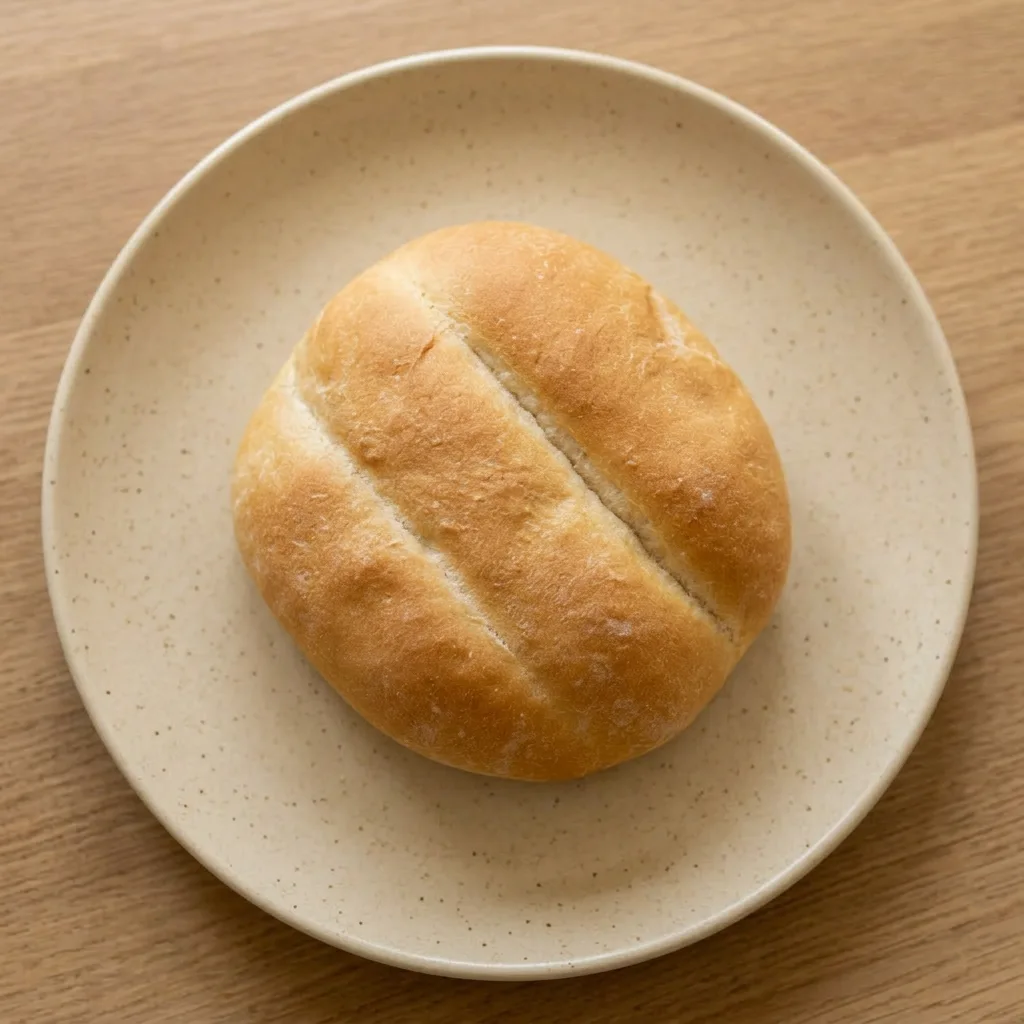
Repeat on the opposite edge. That double indent gives the telera its signature flat, dimpled look. Pressing too hard pierces the skin and the loaf blows out; too light and the marks vanish as the dough bakes.
The grooves also create thin spots that brown faster, so you get two pale stripes sandwiched between golden ridges. The result is a roll that looks like it was stamped by a mold, distinctive, even, and suited for piling on sandwich fillings.
Why two rises build structure
The first rise, about 45 minutes to an hour, lets the yeast work through the whole mass until the dough doubles. You punch it down, which redistributes the yeast and sugars and evens out the temperature. Then you shape the rolls and let them rise again for another 45 minutes.
That second rise rebuilds the airy network that got collapsed during shaping. Without it, the bread bakes dense and tight, more like a puck than a soft roll. The long total time also lets enzymes break down complex sugars, which deepens the crust color and gives a subtle, bready sweetness you don’t get from a single quick rise.
You can see the difference in the crumb: after two rises it’s open and soft, with a tender chew that matches the golden, crackly crust.
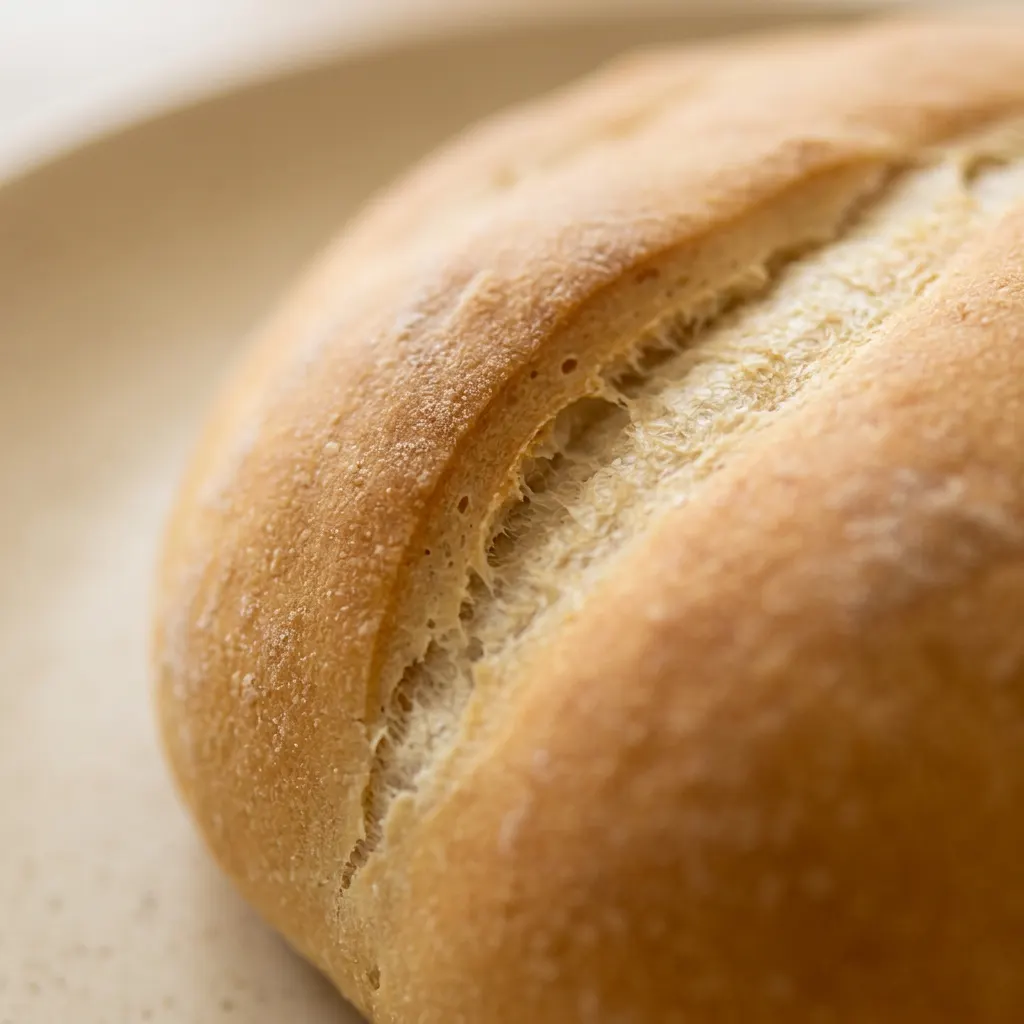
Prep: 8 min · Cook: 28 min · Total: 2 hr 6 min · Servings: 8 · Calories: 240 kcal
What to know about the ingredients
All-purpose flour: 500 g all-purpose flour gives the telera a sturdy crumb that holds up to fillings.
Dry active yeast: Use 6-7 g dry active yeast; the well method confirms it’s alive before mixing.
Unsalted butter: 25 g unsalted butter, softened, adds a tender richness without greasing the dough.
Sugar: 4 teaspoons sugar feeds the yeast and helps the crust brown evenly.
Shaping the telera dimples
Mix the dough
Pile flour and salt, make a well, and add yeast, sugar, and a splash of water in the center. Let it sit 1 minute until bubbly, that means the yeast is alive.
Form the shaggy ball
Stir water into the flour from the center outward, keeping a dry rim. When it comes together into a shaggy ball that barely sticks to your hands, you’re ready to knead.
First rise
Knead 4 to 5 minutes until smooth. Transfer to an oiled bowl, cover, and let rise 45 minutes to 1 hour. The dough should double, poke it; the indentation should stay.
Divide and rest
Punch down, knead a few seconds, then divide into 8 equal portions (about 100 g each). Shape into balls, cover, and rest 10 to 15 minutes. This relaxes the gluten so the dimples hold.
Shape the oval
Take a ball, stretch gently, then flatten into an oval on a floured surface. Use your fingertips to press it flat, it should be even, about ½ inch thick.
Press the dimples
Position a plastic straw a third of the way from one long edge and press firmly until it touches the surface, but don’t cut through. Repeat on the opposite edge. The grooves should be deep but intact.
Second rise
Arrange on a parchment-lined baking sheet, cover, and let rise 45 minutes until doubled. The dimples will spread but stay visible, if they vanish, you pressed too lightly.
Bake
Preheat oven to 400°F. Brush tops with water and bake 15 minutes until golden brown. The dimpled areas will brown faster, creating pale stripes between crisp ridges.
Mexican Telera Bread
Ingredients
- 3 1/2 cups all-purpose flour 500 g
- 1 1/2 teaspoons salt 10 g
- 2 teaspoons dry active yeast 6-7 g
- 1 1/3 cups warm water 300 ml
- 1 1/2 tablespoons unsalted butter, softened 25 g
- 4 teaspoons sugar 20 g
- A little bit of oil to grease bowl
Instructions
Combine flour and salt:
On a clean work surface, combine flour and salt. Form a well in the center.Activate yeast mixture:
Add yeast and a portion of the sugar into the well. Pour in a small amount of water, stir with a fork, and let sit for 1 minute until the yeast becomes bubbly.Incorporate water gradually:
Gradually incorporate the remaining water while mixing the flour with a fork until a very wet batter forms in the center. Keep a rim of dry flour around the edges to prevent the water from escaping.Work in butter:
Add the remaining sugar and the butter in small pieces. Using your fingers, work the butter into the flour, then mix everything together until a shaggy ball forms that no longer sticks to your hands.Knead and rise dough:
Knead for 4-5 minutes until a smooth, soft ball is achieved. Transfer to a lightly oiled bowl, turning to coat the surface. Cover with plastic wrap or a clean kitchen towel and let rise until doubled in volume, approximately 45 minutes to 1 hour.Divide and rest dough:
Remove the dough from the bowl, punch it down to expel gas, knead briefly for a few seconds, and divide into 8 equal portions (roughly 100 g / 3.5 oz each). Shape into balls, cover with a towel, and let rest for 10-15 minutes.Shape into oval:
Take one ball, gently stretch the sides, then flatten on a floured surface into an oval shape. Dust with a little more flour and use your fingertips to press it into a flat oval.Press telera indentations:
Position a plastic straw (or a thin rolling pin, clean round spoon handle, or clean thick pen) on top, one-third of the way from one edge, and press down firmly until it contacts the surface without cutting through the dough. Repeat on the opposite edge to form the classic telera shape.Shape all and proof:
Repeat with all 8 pieces and arrange on a baking sheet lined with parchment paper. Cover with a kitchen towel and let rise until doubled in size, about 45 minutes.Preheat oven:
Preheat the oven to 400°F (205°C).Bake until golden:
Lightly brush the tops with water using a pastry brush and bake for 15 minutes or until golden brown.
Telera bread swaps that actually hold the dimples
All-purpose flour: Bread flour. Swap measure for measure. Bread flour’s higher protein builds more gluten, giving a chewier crumb that still bakes soft.
The rolls puff a touch taller and the dimples stay crisp. Expect a slightly firmer bite, but it’s still tender enough for tortas.
Dry active yeast: Instant yeast. Use the same weight (6-7 g). Instant yeast doesn’t need proofing, skip the 1-minute wait in the well.
The dough may rise a bit faster, so keep an eye on the first rise; it might finish in 30 to 40 minutes instead of 45-60. No change to flavor or crumb.
Unsalted butter: Vegetable oil or shortening. Replace with 2 tablespoons (25 g) oil or shortening. Butter adds a subtle richness and helps the crust brown.
Oil yields a slightly paler, softer crust with less flavor depth. Shortening gives a tender, neutral crumb but the dimples may soften a little during baking.
Either works, but the bread won’t taste as buttery.
All-purpose flour: Gluten-free 1-to-1 flour blend. This is risky.
Most gluten-free blends lack the strength to hold the deep dimples, they may spread into flat ovals or crack during the second rise. If you try, add 1 teaspoon xanthan gum if the blend doesn’t include it. Expect a denser, more cake-like crumb that won’t slice as cleanly for sandwiches.
Storage and serving
Telera bread is best eaten the day it’s baked, within a few hours of cooling. The soft crust and tender crumb peak right after baking. For next day, wrap the cooled rolls tightly in plastic wrap or a zipper bag and keep at room temperature.
The crust will soften further and the crumb will tighten slightly. To refresh, unwrap and warm in a 350°F oven for 4 to 5 minutes, which restores some crust crispness. Avoid the microwave: it turns the crust chewy and the crumb gummy.
They’ll hold at room temperature for 2 days before starting to stale. For longer storage, freeze the baked, fully cooled rolls in a freezer bag for up to 3 months. Thaw at room temperature, then refresh as above.
Do not freeze the unbaked dough; the second rise is delicate and freezing can deflate the dimples. Make ahead: you can shape the rolls after the second rise, cover tightly, and refrigerate overnight. Bake directly from the fridge, adding 2 to 3 extra minutes.
The cold fermentation deepens the flavor but the dimples may spread slightly.
Tips
- Soften the butter to room temperature (about 68°F) before adding it to the dough. Cold butter won’t incorporate evenly, leaving greasy patches that weaken gluten structure and cause uneven rising.
- Cut the softened butter into small pieces (about 1/2-inch cubes) before adding. This distributes the fat more evenly during mixing, ensuring the dough stays cohesive and the crumb remains tender without dense spots.
I still keep a small bowl of extra flour nearby when I shape the telera, even though the recipe says it shouldn’t stick, because the first time I ended up with a sticky mess that wouldn’t hold the dimples.
Frequently Asked Questions
Can I make the dough ahead and refrigerate it overnight?
Yes, after the second rise you can cover the shaped rolls tightly and refrigerate overnight. Bake directly from the fridge, adding 2, 3 extra minutes. The cold fermentation deepens flavor, but the dimples may spread slightly.
Why did my telera bread not get the classic dimpled shape?
Most likely you pressed too lightly with the straw, the grooves need to hit the work surface without cutting through. If the second rise was too long, the dimples can also puff out. Check that your dough rested 10 to 15 minutes after dividing so the gluten relaxed enough to hold the indent.
How do I know when the bread is fully baked?
Look for a deep golden brown color, especially on the raised ridges between the dimples. The rolls should sound hollow when tapped on the bottom. If you have a thermometer, the center should read 190, 200°F.
What is the difference between telera bread and bolillo rolls?
Telera is soft, flat, and oval with two dimpled grooves, while bolillo is crusty, football-shaped, and often has a single lengthwise slash. Telera’s tender crumb suits tortas; bolillo’s crisp crust works for tortas or as a side.
