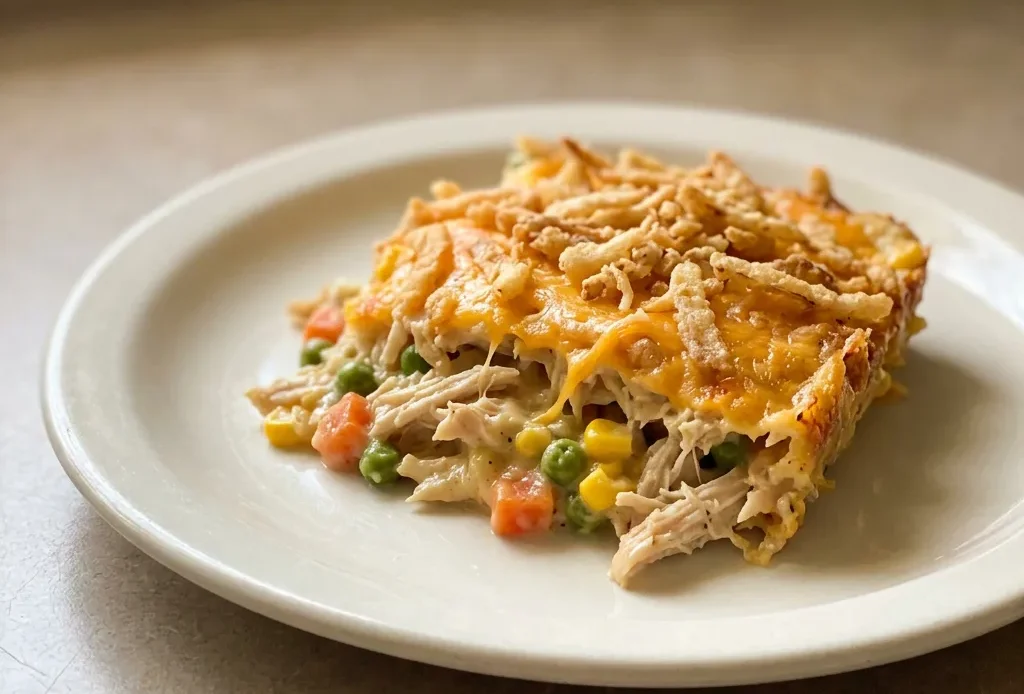
This isn’t a dump-and-bake casserole that comes out watery or bland. It’s a rotisserie chicken casserole that actually has structure, a creamy filling that holds together, a crunchy topping that stays crisp, and a sauce that doesn’t separate.
The method matters: baking in two stages lets the filling thicken before the cheese and onions go on, so the topping stays golden, not burnt. The rotisserie chicken shortcuts the prep without sacrificing moisture or flavor.
If you’ve had a casserole turn into a mushy, one-note mess, this one sidesteps those pitfalls with simple technique.
Why use a rotisserie chicken for this casserole?
Rotisserie chicken is already cooked and seasoned, cutting out the step of poaching or roasting raw chicken. You save roughly 30 minutes of hands-on time.
The dark and white meat mix stays moist during baking, white meat alone dries out. Plus, the seasoning from the rotisserie adds a subtle savory boost to the filling. For leftover rotisserie chicken recipes, this is one of the easiest.
You just pull the meat off the bones; no chopping or trimming needed. The flavor is already built in, so you don’t need to add extra salt or herbs. If you’ve got a rotisserie chicken from dinner, this casserole is a quick way to turn it into a new meal.
What makes the creamy base work without feeling heavy?
The cream of mushroom soup acts as a thickener and a flavor backbone, it’s concentrated, so a little goes a long way. Sour cream adds tanginess and richness, cutting through what could be a one-note savory sauce. Milk thins the mixture to the right consistency: not too thick that it bakes into a paste, not so thin that it’s watery.
Together, they create a sauce that coats the chicken and vegetables evenly. When you’re looking for recipes with rotisserie chicken, this base is forgiving, you can swap in any condensed cream soup. The tang from the sour cream keeps the dish from feeling gloppy or overly heavy.
Why bake in two stages?
Baking uncovered first lets the filling heat through and thicken without a lid trapping steam. The sauce reduces slightly, concentrating flavor and preventing a soupy result. Adding cheese and fried onions later, midway, stops them from burning.
If you added the topping at the start, the fried onions would turn dark and bitter, and the cheese would overcook into a tough skin. By waiting, the onions stay crisp and the cheese melts but doesn’t brown too fast.
The final bake gives you a bubbly, hot casserole with a crunchy, golden crust. For leftover rotisserie chicken recipes, this technique ensures the chicken doesn’t dry out from overbaking.
How the topping gives both crunch and richness
French fried onions bring a crispy texture and a savory, slightly sweet flavor from the breading and frying. Sharp cheddar melts and browns into a rich, salty layer that complements the onions.
Together, they form a crust that contrasts with the soft filling. The cheese acts as a glue, helping the onions stick and creating a cohesive topping that doesn’t scatter when you scoop.
When you bite in, you get a crunch from the onions, then a gooey cheese pull. For easy rotisserie chicken recipes, this topping adds texture without extra work, no breadcrumb mixing or butter melting needed. It’s a direct path from casserole to table with a satisfying finish.
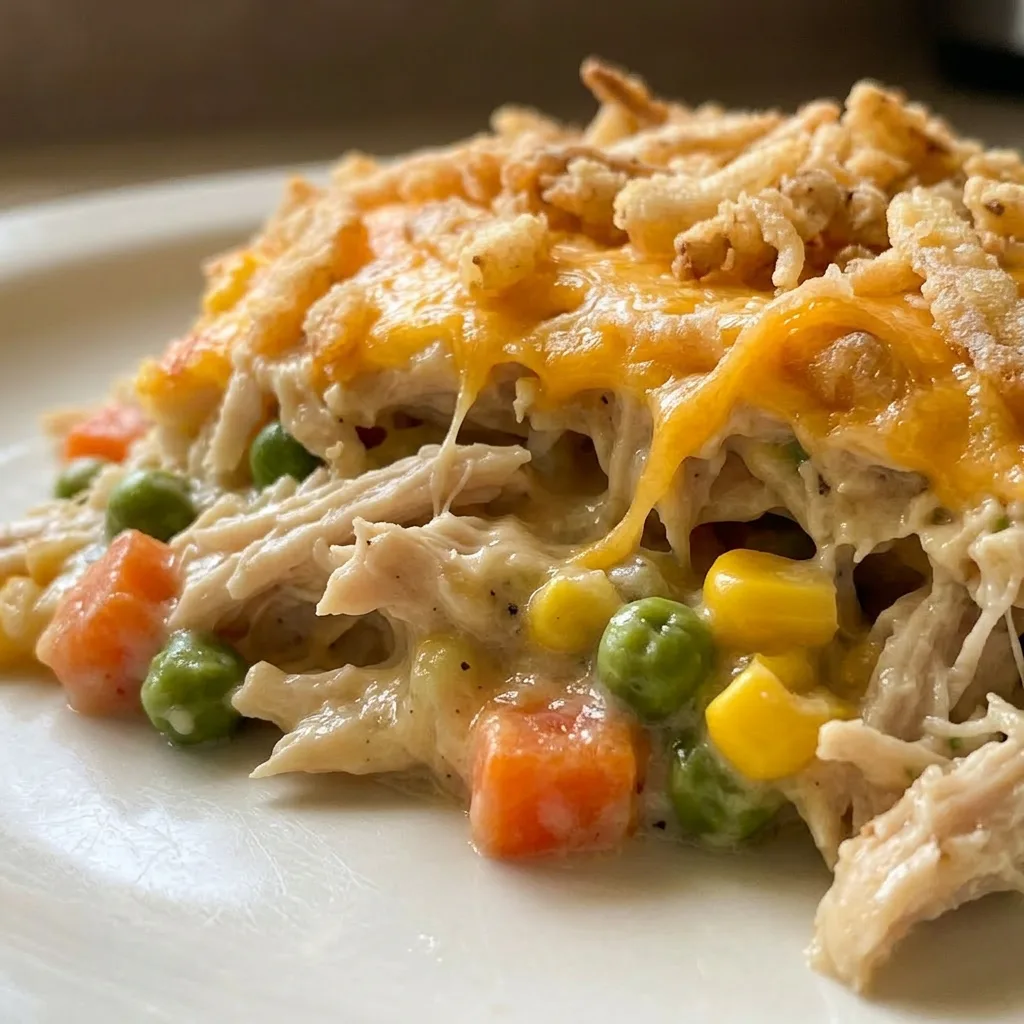
Prep: 15 min · Cook: 30 min · Total: 45 min · Servings: 6 · Calories: 420 kcal
What to know before you shop
Rotisserie chicken: Buy a standard seasoned bird; skip plain rotisserie or unseasoned chicken, as the built-in savory flavor carries the dish.
Frozen mixed vegetables: Use the bag with peas, carrots, and corn. Avoid blends with heavy seasoning or sauce, which throw off the balance.
Sharp cheddar cheese: Buy a block and shred it yourself. Pre-shredded cheese has anti-caking agents that prevent smooth melting.
French fried onions: Pick the can of original crispy onions. The store brand works fine as long as they are not flavored or extra thick cut.
How to assemble and bake this rotisserie chicken casserole
Mix the filling
Combine shredded chicken, soup, sour cream, milk, frozen vegetables, 1 cup cheese, garlic powder, and pepper. Fold until evenly coated, no dry patches of chicken or clumps of soup.
Spread and bake first stage
Pour into the greased dish and smooth flat. Bake uncovered for 20 minutes. The edges should start bubbling and the surface will look slightly darker but not browned.
Add topping and finish
Scatter remaining 1/2 cup cheese evenly, then top with fried onions. Bake 10 to 12 minutes more. The onions turn golden and the cheese melts fully, watch for dark spots, which mean it’s overdone.
Rest before serving
Let the casserole sit 5 to 7 minutes after baking. The filling will set up so it scoops cleanly without turning soupy on the plate.
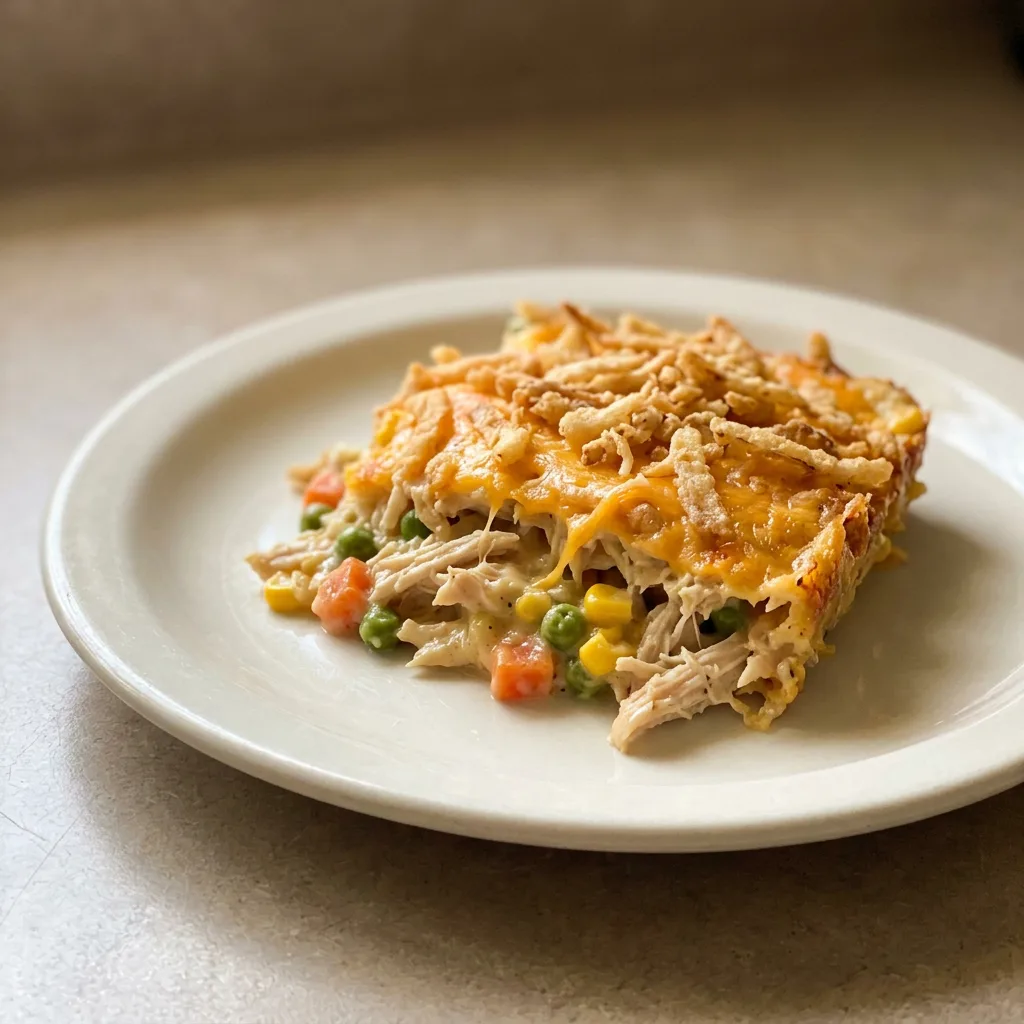
Rotisserie Chicken Casserole
Ingredients
Method
Preheat and Grease Dish:
Heat oven to 350°F (175°C). Coat a 9×13-inch baking dish with butter or nonstick spray.Mix Chicken Mixture:
In a large bowl, mix together shredded chicken, cream of mushroom soup, sour cream, milk, frozen vegetables, 1 cup of cheddar cheese, garlic powder, and pepper. Fold until thoroughly blended.Pour into Dish:
Pour the chicken mixture into the greased dish and smooth into an even layer.Bake for 20 Minutes:
Bake without cover for 20 minutes. Take out of the oven cautiously.Add Cheese and Onions:
Top with the remaining 1/2 cup cheddar cheese, then scatter French fried onions over the cheese.Bake Until Golden:
Put back in the oven and bake for an additional 10-12 minutes, until the topping turns golden and the filling is hot and bubbly.Let Casserole Rest:
Allow the casserole to sit for 5-7 minutes before serving so it can firm up.
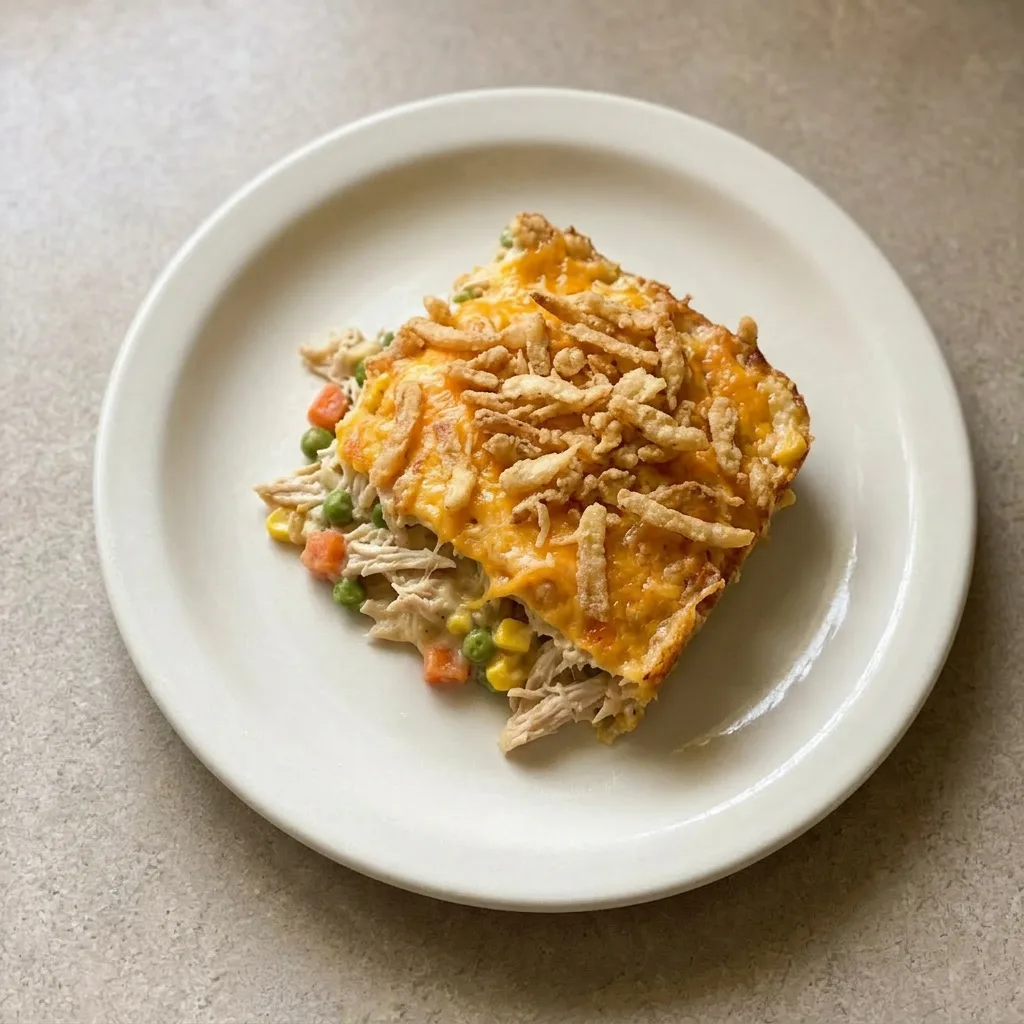
What to swap and what to keep in this rotisserie chicken casserole
Condensed cream of mushroom soup: Condensed cream of chicken or cream of celery soup. The casserole will taste slightly different, cream of chicken adds more poultry flavor, cream of celery gives a milder, vegetal note, but the texture and binding remain the same. Avoid low-fat or reduced-sodium versions; they tend to be thinner and less savory, making the filling watery and bland.
Sour cream: Plain full-fat Greek yogurt. Greek yogurt is thicker and tangier than sour cream. The casserole will be a bit firmer and more tart, but the texture difference is minor once baked.
Swap in the same amount. Do not use nonfat yogurt, it will curdle or separate under heat, leaving a grainy sauce.
peas and carrots, broccoli and cauliflower). The swap works as long as the pieces are roughly the same size so they cook evenly.
Larger florets like broccoli will soften but may release more water, making the filling slightly looser. Avoid blends with added sauce or seasoning; they’ll throw off the creaminess balance.
French fried onions: Crushed potato chips (plain or lightly salted) or panko breadcrumbs tossed with a little melted butter. Potato chips give a similar crunch but a different salty, fatty flavor; they brown faster, so check the casserole after 8 minutes instead of 10, 12. Panko creates a more neutral, crispy crust but lacks the savory onion taste.
Both options are drier, so the cheese layer underneath is even more important for adherence.
Storage and Serving
Let the casserole rest 5 to 7 minutes after baking, then serve immediately for the crispiest topping. Leftovers keep in an airtight container in the fridge up to 3 days. The fried onions will soften as they sit; for the best texture, reheat in a 350°F oven until hot and the topping re-crisps, about 15 minutes.
Avoid the microwave: it turns the onions rubbery. The casserole can be assembled without the topping up to 24 hours ahead, then baked when ready.
If baking from chilled, add 5 to 8 minutes to the first bake stage. Freezing is not recommended. The sour cream and soup base can separate upon thawing, and the fried onions lose all crunch.
Tips
- After spreading the mixture in the dish, press down gently with a spatula to eliminate air pockets, which can cause uneven baking and dry spots.

Frequently Asked Questions
Can I make this casserole ahead of time and refrigerate before baking?
Yes. Assemble the casserole without the topping up to 24 hours ahead, cover, and refrigerate. When ready to bake, add 5 to 8 minutes to the first 20-minute bake stage since it starts cold.
The fried onions and cheese go on at the same point in the second stage.
Why does the casserole need to rest for 5 to 7 minutes after baking?
The rest lets the filling firm up so it scoops cleanly instead of turning soupy on the plate. Straight out of the oven, the sauce is still loose from bubbling; those few minutes allow it to settle and thicken slightly. You’ll see the edges pull away from the dish and the surface stop steaming once it’s set.
What if my casserole turns out watery after baking?
Most likely the frozen vegetables weren’t added straight from the bag, if they thawed first, they released extra water. Next time, toss them in frozen.
You can also check that you used full-fat sour cream and the standard condensed soup, not reduced-fat versions, which are thinner. If it’s already watery, let it rest 10 minutes instead of 7; it may thicken as it sits.
How is this different from a traditional chicken casserole made with raw chicken?
Here the chicken is already cooked, so you skip the step of poaching or baking raw chicken first. That means the total baking time is shorter, 30 minutes versus 45 to 60 minutes for a raw-chicken casserole, and the meat stays moist because it’s not cooking from raw inside the sauce. The rotisserie seasoning also adds built-in flavor without extra salt or herbs.
