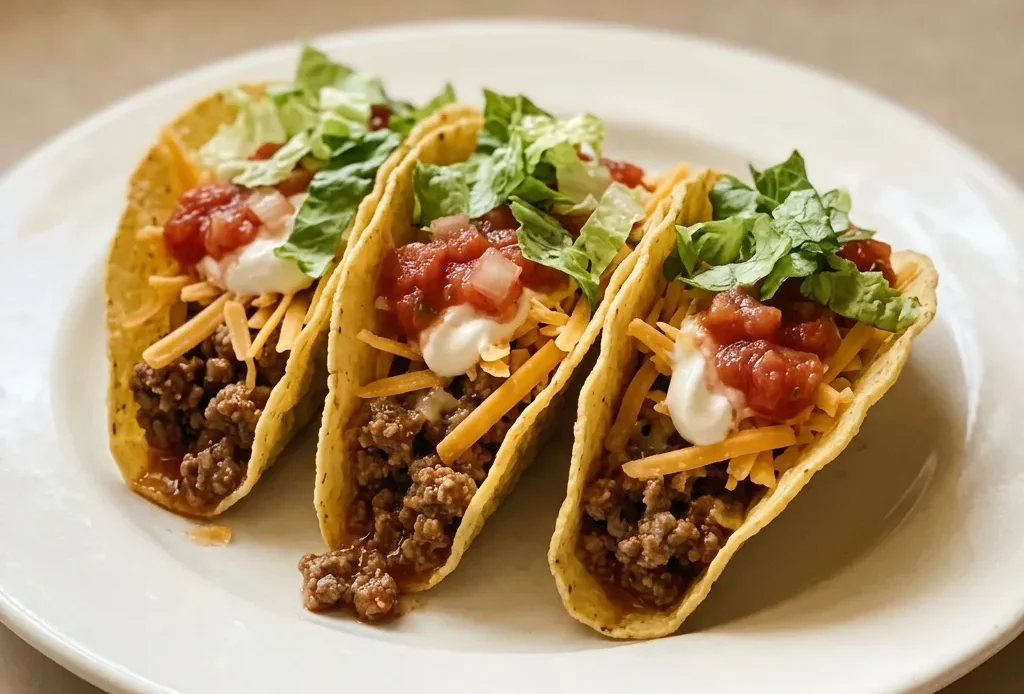
A taco filling that tastes like it simmered for an hour, done in 15 minutes flat, that’s the payoff from browning the beef hard and letting the seasoning packet do its job. The margin for error is small: skip the browning and the filling is bland, skip the simmer and the sauce won’t cling. These easy ground beef tacos hinge on two short steps that deliver flavor without extra effort.
Browning beef builds savory depth
When ground beef hits a hot skillet, the browning you get isn’t just for color. That deep, savory flavor comes from the Maillard reaction as the meat’s proteins and sugars react to heat. Without it, the filling tastes flat.
The fat content matters: an 80/20 blend browns well and stays moist, but too much fat turns the filling greasy. That’s why you pour off the excess after browning. Now I always tilt the pan and spoon off the grease until only a thin film remains, which keeps the shells crisp.
Leaner beef browns faster but can dry out; fattier blends need a careful drain. Either way, let the meat sizzle undisturbed for a minute before stirring to get a good crust.
Packet seasoning ensures consistent flavor
Taco seasoning from a packet isn’t a cheat, it’s a shortcut to a balanced spice blend. Chili powder, cumin, garlic powder, onion powder, and paprika are pre-proportioned so you don’t end up with too much cumin or not enough heat.
When you add water and simmer, the dried spices hydrate and the starch thickens the sauce just enough to cling to the meat. That step matters: a dry stir won’t coat evenly.
The packet gives you the same result every time, which is why many quick and easy dinner recipes rely on it. No guessing, no hunting for a jar that’s run out.
Prep: 5 min · Cook: 10 min · Total: 15 min · Servings: 4
Ingredient Notes for Easy Ground Beef Tacos
Ground beef: Go for 80/20 blend for a balance of flavor and moisture without making the filling greasy.
Taco seasoning: A packet gives you a pre-balanced mix of chili powder, cumin, garlic, and onion powders.
Taco shells: Use standard 6-inch shells here; warm them just before filling to keep them crisp.
Shredded cheddar cheese: Buy a block and shred it yourself for better melt and no anti-caking additives.
Brown the beef, then simmer with seasoning
Cook the beef
Spread the ground beef in a cold skillet, then set over medium heat. Let it sit undisturbed for a minute until you hear a steady sizzle, that’s the crust forming. Break it up with a spatula; you’re after even browning, not gray mush.
Drain the fat
Tilt the pan and spoon off the excess fat until only a thin slick coats the bottom. Too much grease and the shells get soggy; too little and the meat will feel dry. You want just enough to coat the seasoning.
Add seasoning and water
Sprinkle the packet over the meat, pour in the water, and stir until every crumb is coated. The mixture will look thin at first, that’s fine. Let it come to a gentle bubble; you should see small bubbles breaking the surface.
Simmer until thickened
Lower the heat and let it simmer for 5 minutes. Stir once or twice; the sauce will reduce to a clingy glaze. When you drag the spatula across the pan bottom, it leaves a clean trail that holds for a second before filling back in.
Assemble the tacos
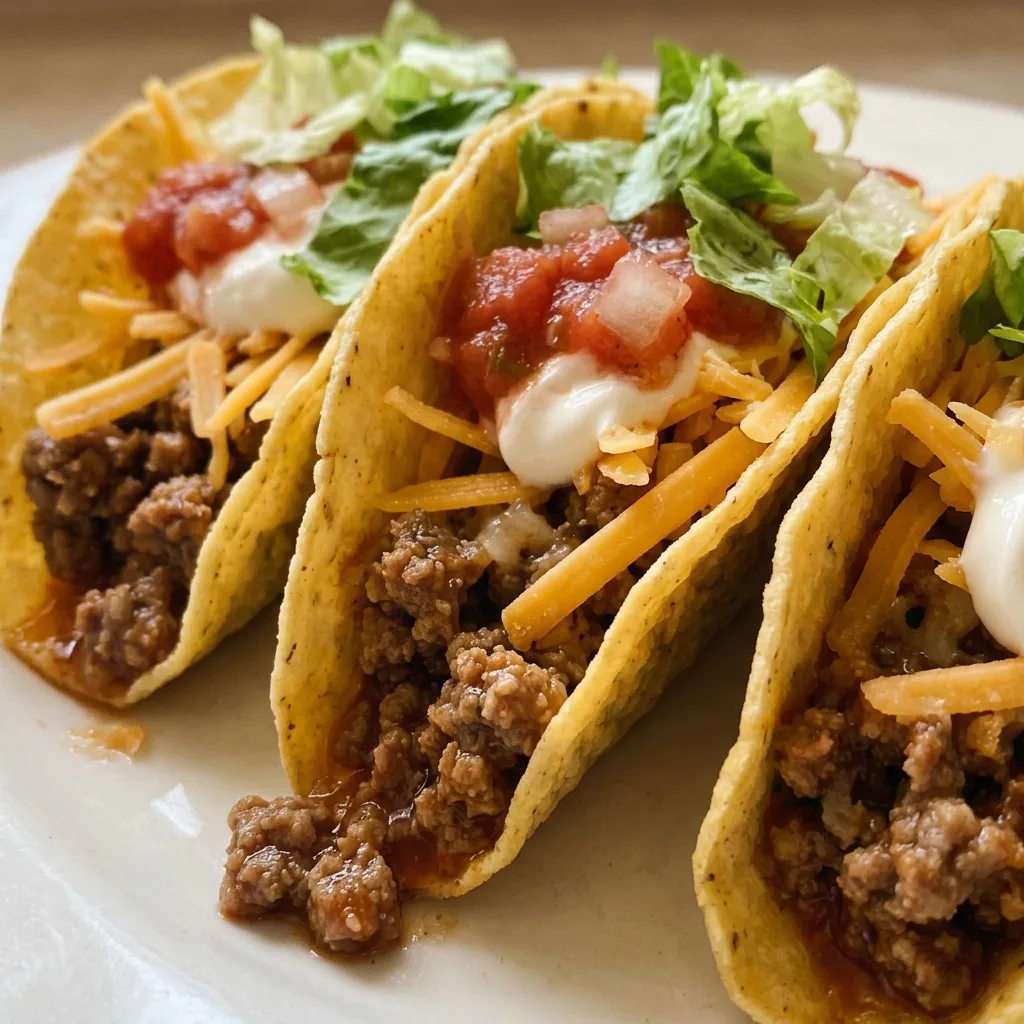
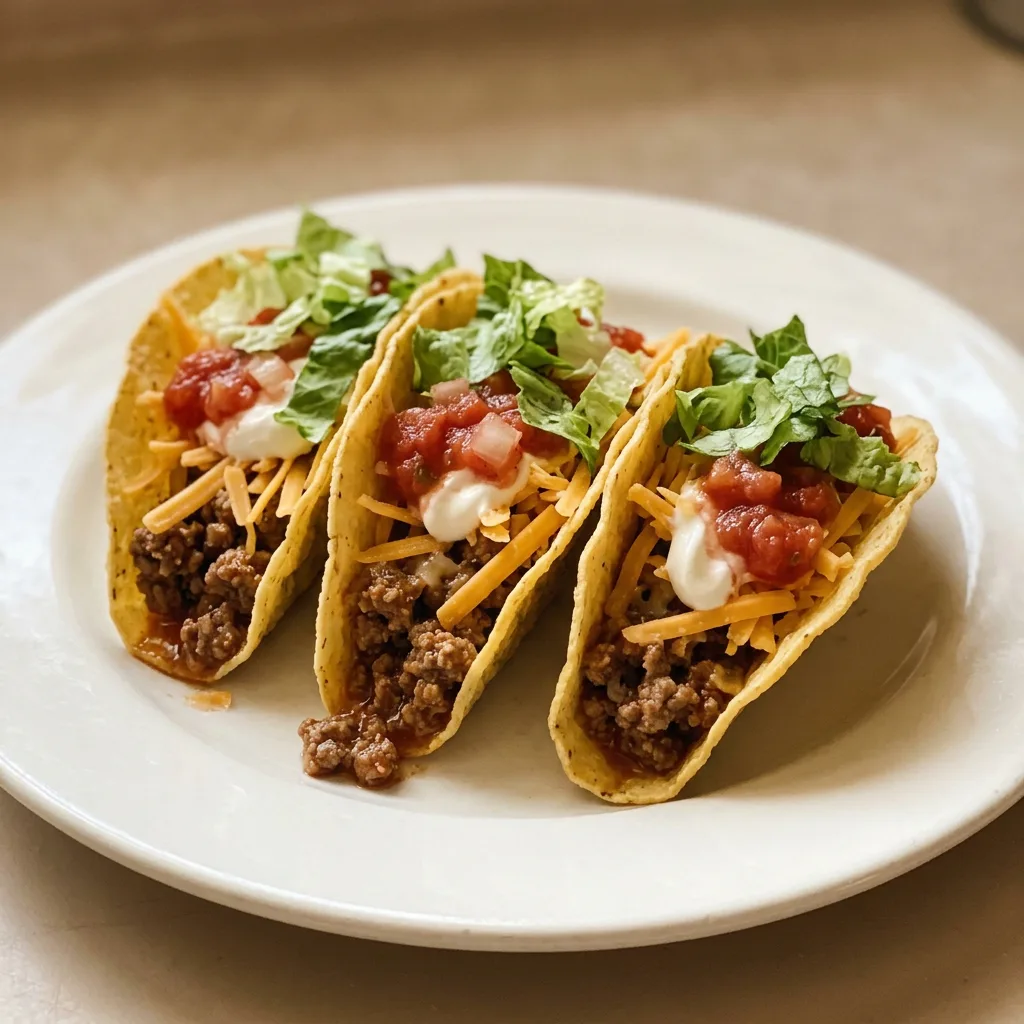
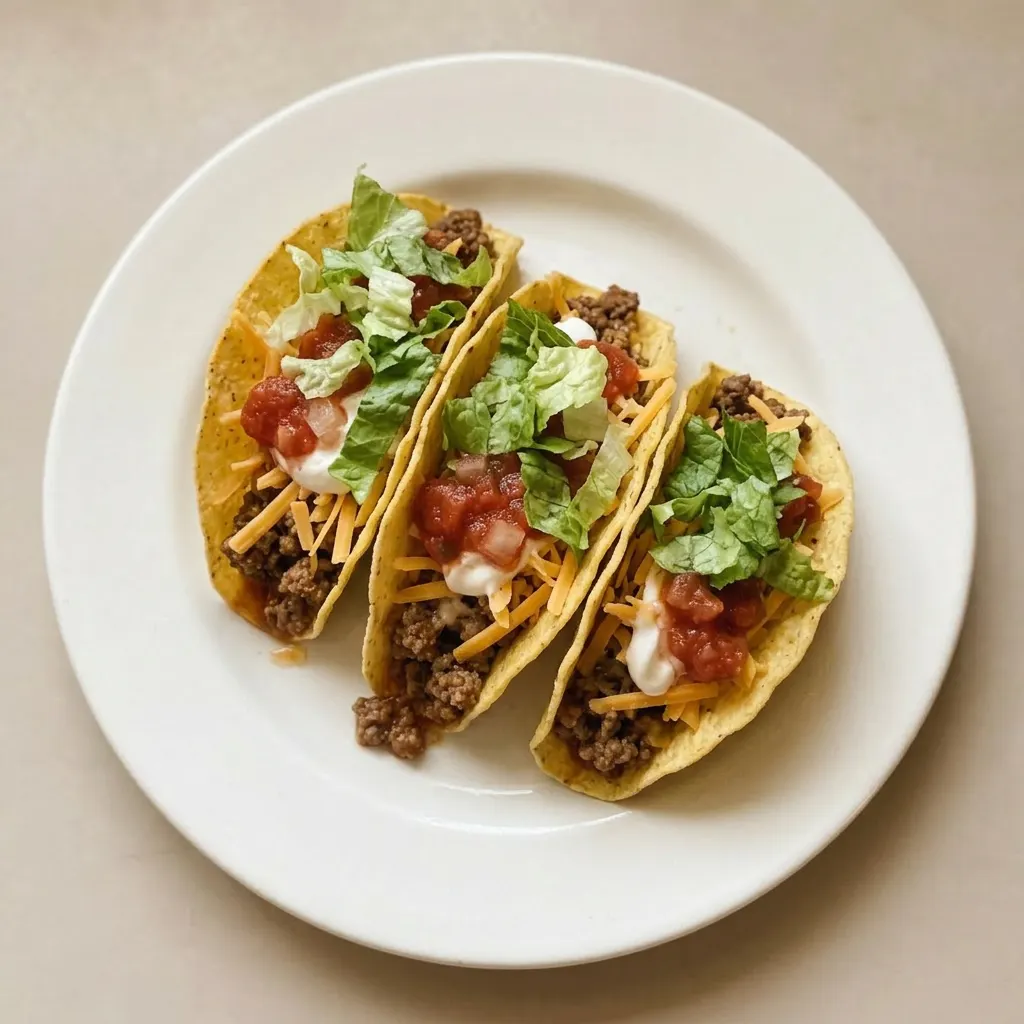
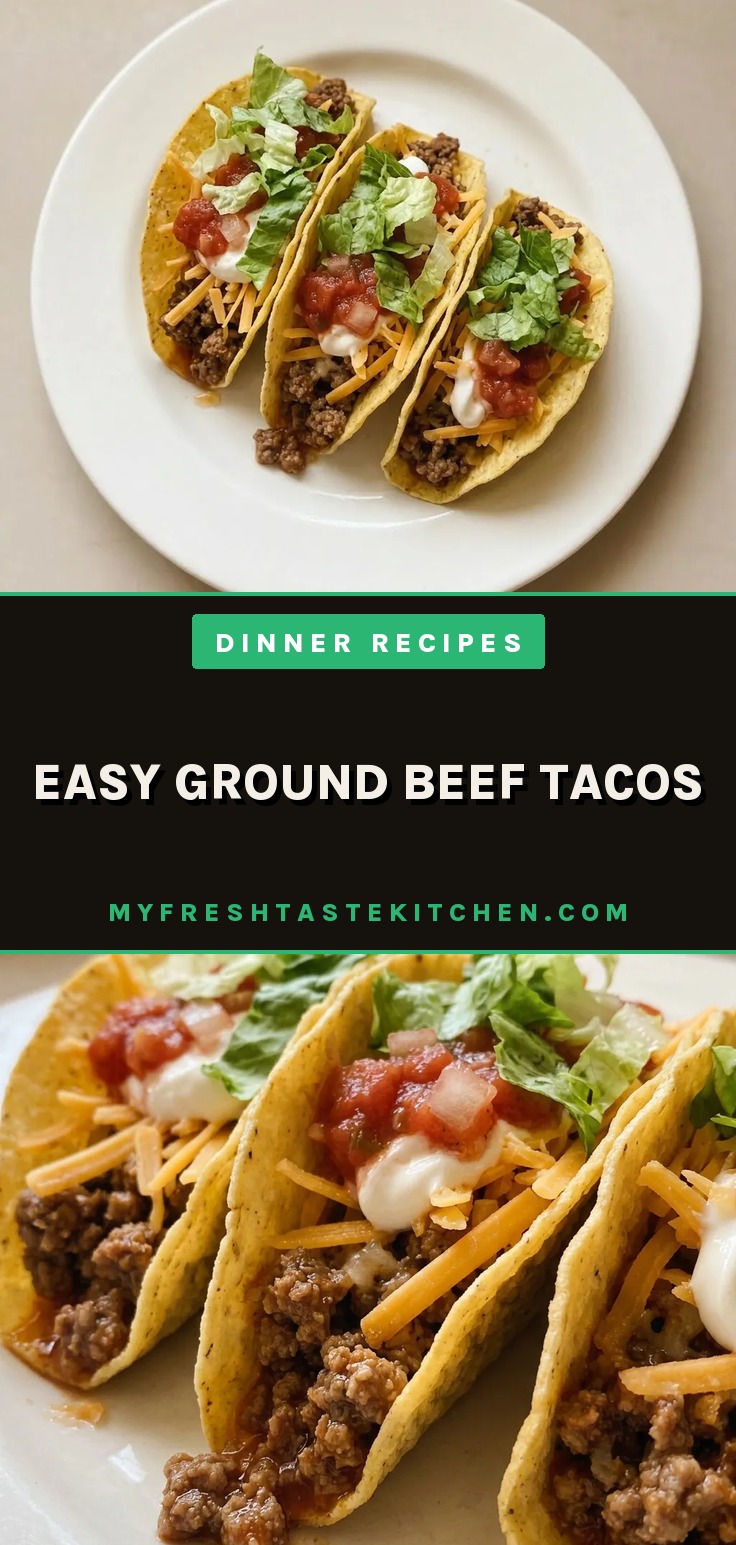
Warm the taco shells according to the package directions. Spoon the beef into each shell, about 2 tablespoons per taco, then top with cheese, a dollop of sour cream, salsa, and shredded lettuce. The filling should be moist but not runny.
Easy Ground Beef Tacos
Ingredients
Method
Brown ground beef:
Cook the ground beef in a skillet over medium heat until fully browned. Pour off any excess fat.Simmer with taco seasoning:
Mix in the taco seasoning and water, stir thoroughly, then let it simmer for 5 minutes.Fill and garnish tacos:
Fill each taco shell with the beef mixture and garnish with shredded cheddar cheese, sour cream, salsa, and lettuce.
Storage and Serving
Assemble tacos right before serving. The warm beef filling softens shells quickly, so build each taco just before eating for the best crunch. Leftover beef filling keeps in an airtight container in the fridge for up to 3 days.
Reheat in a skillet over medium heat, adding a splash of water if it looks dry. Stir until hot and serve with fresh toppings.
The filling also freezes well for up to 3 months. Thaw overnight in the fridge, then reheat as above.
Do not freeze assembled tacos; shells will be soggy and toppings won’t hold up. Store taco shells separately at room temperature in their original packaging. Shredded cheese, sour cream, salsa, and lettuce should all be refrigerated and used within their own expiry dates.
For best texture, eat tacos within 10 minutes of assembling.
This filling can take a ground meat swap, but not every taco shell substitution works
Ground beef: Ground turkey or black beans. Turkey needs a fattier blend (93/7 minimum) or it’ll dry out; you’ll see less fat to drain.
For black beans, use one 15-oz can, drained and rinsed, and skip the water, simmer the seasoning with 1/4 cup water instead. The texture will be softer, less crumbly.
Taco seasoning packet: Homemade blend (1 tbsp chili powder, 1 tsp each cumin, garlic powder, onion powder, 1/2 tsp paprika, 1/2 tsp salt). Same volume, but the starch from the packet is gone, so the sauce won’t thicken as much. You’ll get a looser filling that pools at the bottom of the shell.
Let it simmer an extra minute or two to concentrate.
Taco shells: Corn tortillas or lettuce wraps. Warm corn tortillas in a dry skillet until they puff, they’re more pliable but tear easier than shells. Lettuce wraps (butter or romaine) give a cold, crunchy contrast but won’t hold as much filling.
For a gluten-free option, corn tortillas are the natural swap; just double up to prevent breaking.
Shredded cheddar cheese: Monterey Jack, pepper Jack, or dairy-free shreds. Monterey Jack melts creamier; pepper Jack adds heat. Dairy-free shreds (cheddar-style) melt less and stay separate, use a little more to compensate.
No swap changes the taco’s core flavor, just the cheese’s melt character.
Tips
- Warm taco shells in a 350°F oven for 5 minutes to prevent cracking when filling. The gentle heat makes them pliable without drying out.
- Drain the cooked beef on paper towels before adding seasoning to remove more fat than tilting alone, ensuring the shells stay crisp longer.
Frequently Asked Questions
Can I make the beef filling ahead of time?
Yes, you can. The beef filling keeps in the fridge for up to 3 days or freezes for up to 3 months. Reheat in a skillet over medium heat, adding a splash of water if it looks dry.
Stir until hot and serve with fresh toppings. The shells and toppings should be added just before eating.
How do I prevent the taco shells from breaking?
Warm the shells according to the package directions just before filling, heat makes them pliable. Don’t overfill; about 2 tablespoons per taco is enough. The biggest cause of breakage is moisture: drain the beef fat thoroughly and don’t let the filling pool in the shells.
Assemble right before eating, never ahead.
What’s the best way to reheat leftover taco filling?
Reheat in a skillet over medium heat, stirring occasionally, until hot throughout. If the filling looks dry, add a splash of water, it will steam and rehydrate the seasoning. Microwave on high in 30-second bursts if you’re short on time, but a skillet gives you better control over moisture.
